Python | askopenfile() function in Tkinter
Last Updated :
31 Mar, 2023
While working with GUI one may need to open files and read data from it or may require to write data in that particular file. One can achieve this with the help of open() function (python built-in) but one may not be able to select any required file unless provides a path to that particular file in code.
With the help of GUI, you may not require to specify the path of any file but you can directly open a file and read it’s content.
In order to use askopenfile() function you may require to follow these steps:
-> import tkinter -> from tkinter.filedialog import askopenfile ## Now you can use this function -> file = askopenfile(mode=’r’, filetypes=[(‘any name you want to display’, ‘extension of file type’)])
We have to specify the mode in which you want to open the file like in above snippet, this will open a file in reading mode.
Python3
from tkinter import *
from tkinter.ttk import *
from tkinter.filedialog import askopenfile
root = Tk()
root.geometry('200x100')
def open_file():
file = askopenfile(mode ='r', filetypes =[('Python Files', '*.py')])
if file is not None:
content = file.read()
print(content)
btn = Button(root, text ='Open', command = lambda:open_file())
btn.pack(side = TOP, pady = 10)
mainloop()
|
Output:
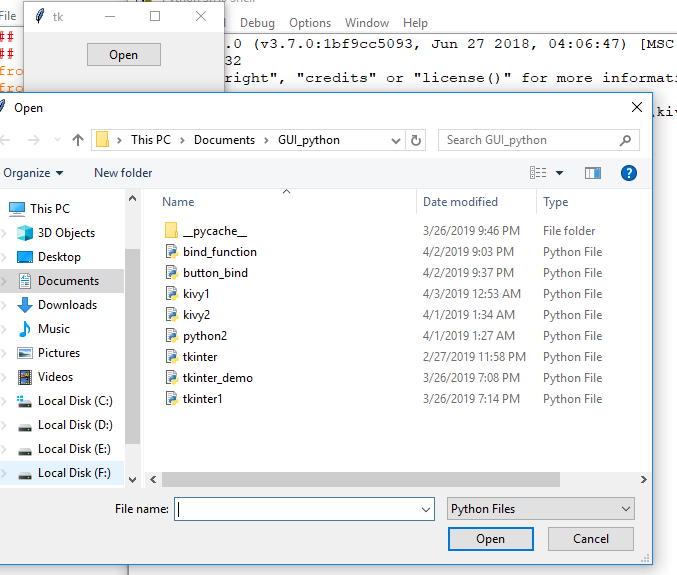
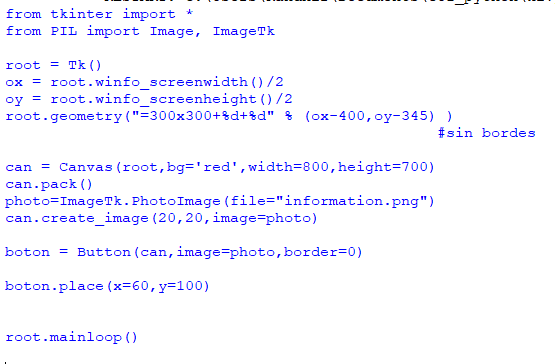
Printed content of selected file –
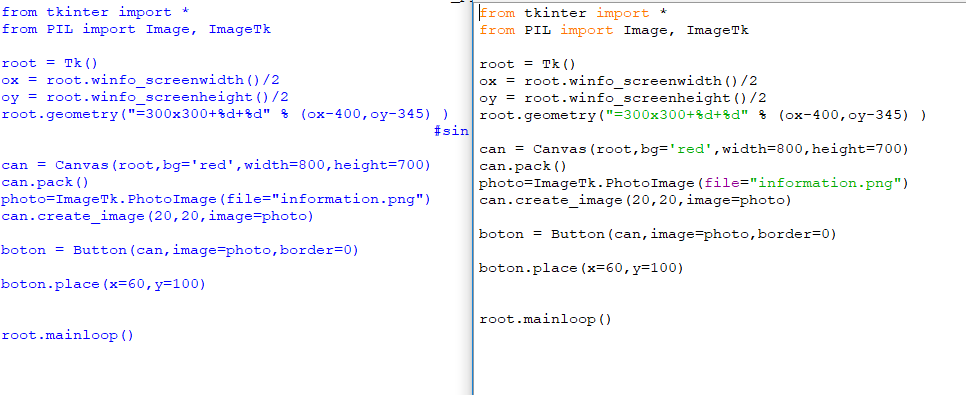
Comparison of content of original file and printed content –
 Note: In above code only .py (python files) types files will be open. To open specified type of files, one has to mention it in the filetypes option along with it’s extension as done in above code.
Share your thoughts in the comments
Please Login to comment...