Animated Floating Action Button in kivy – Python
Last Updated :
19 Oct, 2021
Kivy is a platform independent GUI tool in Python. As it can be run on Android, IOS, linux and Windows etc. It is basically used to develop the Android application, but it does not mean that it can not be used on Desktops applications.
In this article we will learn about how can we Add the Animation to a Floating Action button. To learn How to create it you must know about the Animation and Clock.
Animation : Animation and AnimationTransition are used to animate Widget properties. You must specify at least a property name and target value. To use an Animation, follow these steps:
- Setup an Animation object
- Use the Animation object on a Widget
To animate a Widget’s x or y position, simply specify the target x/y values where you want the widget positioned at the end of the animation:
anim = Animation(x=100, y=100)
anim.start(widget)
Clock: The Clock object allows you to schedule a function call in the future; once or repeatedly at specified intervals.
It is must to use kivy inbuilt module while working with Animation and clock –
from kivy.animation import Animation
from kivy.clock import Clock
Basic Approach:

1) import kivy
2) import kivyApp
3) import Boxlayout
4) import Animation
5) Import Clock
6) Set minimum version(optional)
7) create Layout class and Add(create) animation in it
8) create App class
9) Set up .kv file :
       1) Add Floating Button Properties
       2) Create Main Window
       3) Add Float Button(don't forget to give id)
10) return Layout/widget/Class(according to requirement)
11) Run an instance of the class
Kivy Tutorial – Learn Kivy with Examples.
Implementation of the Approach:
main.py file
Python3
import kivy
from kivy.app import App
from kivy.uix.boxlayout import BoxLayout
from kivy.config import Config
Config.set('graphics', 'resizable', True)
from kivy.clock import Clock
from kivy.animation import Animation
class MainWindow(BoxLayout):
def __init__(self, **kwargs):
super().__init__(**kwargs)
Clock.schedule_interval(self.breath, 1)
def breath(self, dtx):
anim = (Animation(btn_size =(60, 60), t ='in_quad', duration =.5)+
Animation(btn_size =(70, 70), t ='in_quad', duration =.5))
tgt = self.ids.cta
anim.start(tgt)
class MainApp(App):
def build(self):
return MainWindow()
if __name__ == '__main__':
MainApp().run()
|
.kv file
Python3
<FloatButton@FloatLayout>
id: float_root
size_hint: (None, None)
text: ''
btn_size: (70, 70)
size: (70, 70)
bg_color: (0.404, 0.227, 0.718, 1.0)
pos_hint: {'x': .6}
Button:
text: float_root.text
markup: True
font_size: 40
size_hint: (None, None)
size: float_root.btn_size
pos_hint: {'x': 5.5, 'y': 3.8}
background_normal: ''
background_color: (0, 0, 0, 0)
canvas.before:
Color:
rgba: (0.404, 0.227, 0.718, 1.0)
Ellipse:
size: self.size
pos: self.pos
<MainWindow>:
BoxLayout:
FloatButton:
id: cta
text: '+'
markup: True
background_color: 1, 0, 1, 0
|
Output:
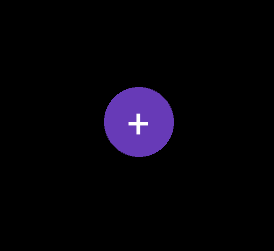
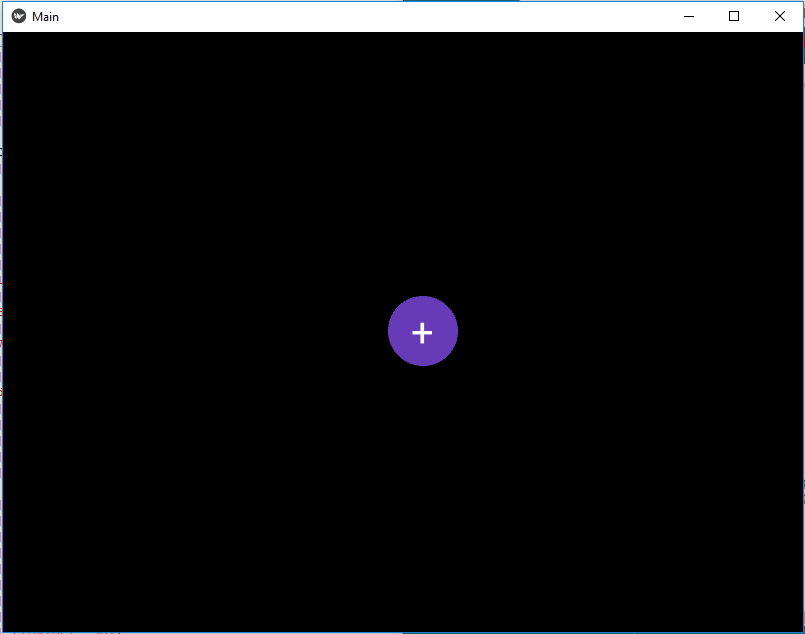
Video Output:
Share your thoughts in the comments
Please Login to comment...