Python | Layouts in layouts (Multiple Layouts) in Kivy
Last Updated :
22 Sep, 2021
Kivy is a platform independent GUI tool in Python. As it can be run on Android, IOS, linux and Windows etc. It is basically used to develop the Android application, but it does not mean that it can not be used on Desktops applications.
In this article, we are going to discuss how we can use layouts in layouts basically multiple Layouts the most basic example of it.
Most of the time we are able to use one layout but having difficulty to use multiple layouts.
Kivy Tutorial – Learn Kivy with Examples.
In kivy there are many Types of Layouts:
- AnchorLayout: Widgets can be anchored to the ‘top’, ‘bottom’, ‘left’, ‘right’ or ‘center’.
- BoxLayout: Widgets are arranged sequentially, in either a ‘vertical’ or a ‘horizontal’ orientation.
- FloatLayout: Widgets are essentially unrestricted.
- RelativeLayout: Child widgets are positioned relative to the layout.
- GridLayout: Widgets are arranged in a grid defined by the rows and cols properties.
- PageLayout: Used to create simple multi-page layouts, in a way that allows easy flipping from one page to another using borders.
- ScatterLayout: Widgets are positioned similarly to a RelativeLayout, but they can be translated, rotate and scaled.
- StackLayout: Widgets are stacked in a lr-tb (left to right then top to bottom) or tb-lr order.
Note:You can use as many as you can in a single file.
Basic Approach to create multiple layouts in one file:
1) import kivy
2) import kivyApp
3) import BoxLayout
4) import
4) set minimum version(optional)
5) Extend the container class
6) set up .kv file :
7) create App class
8) return container class or layout
9) Run an instance of the class
Implementation of the Approach –
main.py file
Note:
If you were using .kv file to make multiple layouts There is no need to import Gridlayout, Boxlayout, AnchorLayout, FloatLayout, StackLayout, PageLayout, Button, etc. As .kv file supports all this as It has all this imported already. But if doing this without .kv file you must have to import these.
Python3
import kivy
from kivy.app import App
kivy.require('1.9.0')
from kivy.uix.button import Button
from kivy.uix.boxlayout import BoxLayout
from kivy.uix.gridlayout import GridLayout
from kivy.uix.pagelayout import PageLayout
class MultipleLayout(PageLayout):
pass
class Multiple_LayoutApp(App):
def build(self):
return MultipleLayout()
MlApp = Multiple_LayoutApp()
MlApp.run()
|
In this file we are creating/using all the layout as it is Simpler to built/ use all these in .kv file
.kv file of the code
Python3
<PageLayout>:
BoxLayout:
canvas:
Color:
rgba: 216 / 255., 195 / 255., 88 / 255., 1
Rectangle:
pos: self.pos
size: self.size
orientation: 'vertical'
Label:
size_hint_y: None
height: 1.5 * self.texture_size[1]
text: 'page 1'
Button:
text: 'GFG :)'
on_press: print("This Is The First Page")
BoxLayout:
orientation: 'vertical'
canvas:
Color:
rgba: 109 / 255., 8 / 255., 57 / 255., 1
Rectangle:
pos: self.pos
size: self.size
Label:
text: 'page 2'
AsyncImage:
GridLayout:
canvas:
Color:
rgba: 37 / 255., 39 / 255., 30 / 255., 1
Rectangle:
pos: self.pos
size: self.size
cols: 2
Label:
text: 'page 3'
AsyncImage:
Button:
text: 'Its User:):)'
on_press: print("Heloo User This is the Last Page")
AsyncImage:
Widget
AsyncImage:
|
Output:
Image 1:
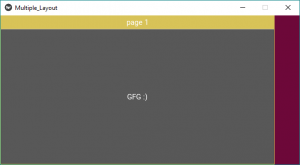
Image 2:
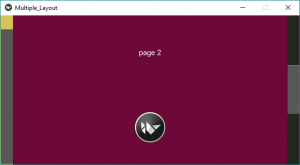
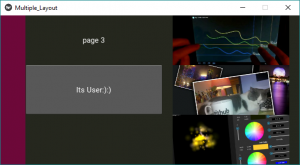
Image 3:
Video Output:
Reference: https://kivy.org/doc/stable/gettingstarted/layouts.html
Share your thoughts in the comments
Please Login to comment...