How to resize Image in Python – Tkinter?
Last Updated :
31 Aug, 2021
Prerequisite:
Python offers multiple options for developing GUI (Graphical User Interface). Out of all the GUI methods, Tkinter is the most commonly used method. It is a standard Python interface to the Tk GUI toolkit shipped with Python. Python with Tkinter is the fastest and easiest way to create GUI applications. Creating a GUI using Tkinter is an easy task.
In this article, we will learn how to resize an image using python in Tkinter. In Tkinter, there is no in-built method or any package to work with images. Here we will use pillow library for images.
Let’s Understand step by step implementation:-
Python3
from tkinter import *
from PIL import Image, ImageTk
|
- Read the image using the open() method in pillow library
Syntax:
Image.open("Enter Image File Path", mode='r', **attr)
Python3
image = Image.open("Image File Path")
|
- Resize an image using resize() method. It returns a resized copy of this image.
Syntax:
Image.resize((width,height) , resample=3, **attr)
Python3
resize_image = image.resize((width, height))
|
- Add Label and add resized image
Python3
img = ImageTk.PhotoImage(resize_image)
label1 = Label(image=img)
label1.image = img
label1.pack()
|
Below is the implementation:
Python3
from tkinter import *
from PIL import Image, ImageTk
root = Tk()
image = Image.open("Image File Path")
resize_image = image.resize((width, height))
img = ImageTk.PhotoImage(resize_image)
label1 = Label(image=img)
label1.image = img
label1.pack()
root.mainloop()
|
Output:-
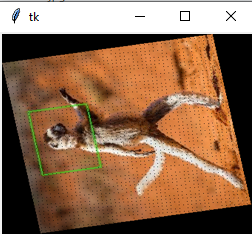
250×200
In the above example, enter the file name or path at the Image File Path and enter the value of width and height according to your need.
Share your thoughts in the comments
Please Login to comment...