How to Add Text to an Image in Google Docs – Quick Steps
Step 1: Insert the image
Step 2: Right click and Select the Cut Option from the list
Step 3: Select the Insert Option and Select Drawing then Select New Option
Step 4: Right Click and Paste the Image
Step 5: Select Text Box from the Tools
Step 6: Set the Text Box and type your text
Google Docs is a cloud-based online word-processing platform by Google that allows users to create, and edit documents from anywhere and on any device. It allows users to work on many file formats and provides a range of features to the users. With Google Docs it is now easy to work collaboratively so that many persons can work on the same file together. With Google Docs not only we can edit documents but also we can add features to images such as adding captions to an image.
How to Put Captions under Images in Google Docs using a Google Drawing
Step 1: Open the Google Document
When you log in, you’ll see templates and a ‘+’ sign. Click the ‘+’ and pick ‘Blank Document’ to begin a new one from scratch.
-660.png)
Create a blank document
Step 2: Go to Insert Tab and Select Image Option
A fresh blank document will now appear on your screen. Just below where it says “Untitled document,” you’ll find a list of choices. Opt for the “Insert” option to add an image to your document.
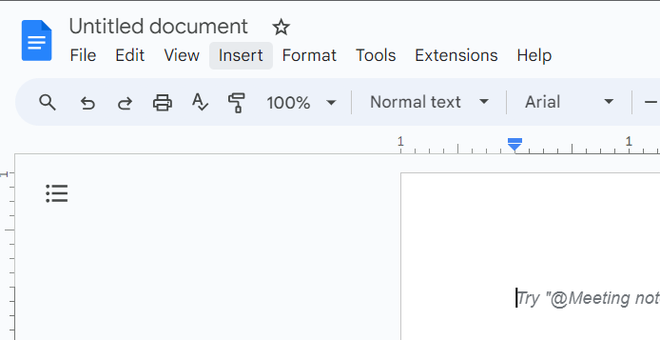
Click on the Insert option
Step 3: Select Upload from Computer or Choose Search the Web
Now click on the Image option and then you will see a list of options to insert an image into your document. (Here we’ve chosen an image from the web and then typed the name of the image, selected it, and clicked on the Insert button.)
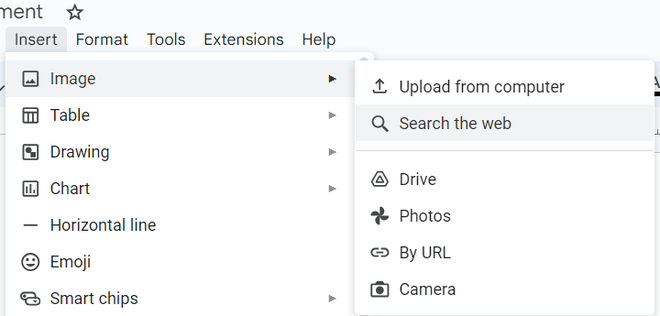
Choose required option
Step 4: Select the Image
Click on the image you want to insert.
Step 5: Right-click on the Image and Select the Cut Option
After the image has been inserted right-click on the image and select the cut option to cut the image which will also copy the image from the document so that we can reuse the image later. We will use this image later in below mentioned steps.
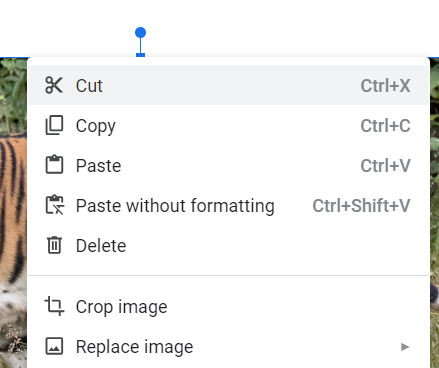
Click on cut
Step 6: Go to Insert, Click on Drawing and Select New
Navigate to the “Insert” option once more, and this time, select “Drawing.” We’ll begin by inserting the image into the document, and then you can choose how to upload it to add a caption. For now, let’s go with the “New” option to create a blank workspace for inserting the image.
.png)
Select Insert > Drawing > New
Step 7: Right Click and Paste the Image
Right Click on the Page wherever you want to paste the image and select the Option Paste from the list.
.png)
Select the Paste Option
Step 8: Select the Text Box from the Tools
Click on the Text Box option to add a caption to your image. The text box option will allow us to insert a caption in it first and then from the Text Box itself we will place the caption in wherever position we want to add it.
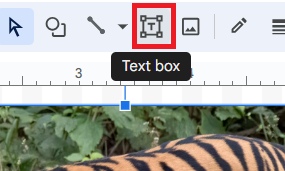
Select the Text Box
Step 9: Draw a Box and Type the Text
Now you need to draw the size of the Text Box with the help of your mouse and place the text box wherever you want to place the caption in your image then click enter and on the top right click on Save and Close button. You can insert the text box at any position you want according to your requirements.
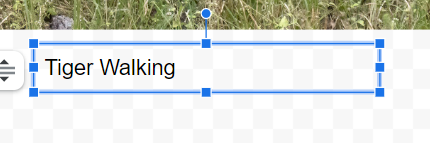
Set the text box
Step 10: Preview the Caption to the Image
Now the image will be inserted into your document with the caption and the final result will look like this :
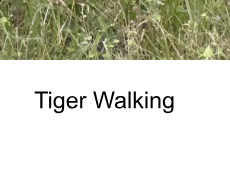
Caption successfully added
Step 11: Click Save and Close
The caption stays with the picture, and you can move it wherever you want. If you want to change the picture, just do the same thing: click “Insert,” then “Drawing,” then “New,” and finally “Edit.”
How to Add Text to Image Using Table in Google Docs
Step 1: Open the Google Docs
Open the Google Docs in which you want to insert the table and caption it.
Step 2: Go to the Insert Tab and Select the Table (1×2)
Select the Insert tab and then Select the Table with “1×2” table width ( that means one column and two rows).
.png)
Select Insert Option > Select Tbale > “1X2”
Step 3: Go to Insert Tab, Click on Image, and Select Search the Web
Place your image in the top row by either dragging and dropping it or inserting it. You can add the image by searching for it online or uploading it from your device. In the example below, we’re using a web search to find the image.
.png)
Select Insert tab > Select Image > Search the Web
Step 4: Search and Select the Image then Click on Insert
Search for the image you want to insert and select that image then click on the Insert button at the bottom right corner.
.png)
Select the image > Click on Insert
Step 5: Type a Caption
You can type your caption in the next row, you can also adjust the font and size as per your need.
.png)
Add caption
Step 6: Eliminate the Border
To eliminate the table borders, simply right-click on the table and choose “Table properties.” Adjust the table border to “0 pt” and then click “OK.”
.png)
Set the border width to 0pt
Step 7: Preview the Image with Caption
Your picture and caption will be united seamlessly, with no apparent lines between them. If you choose to shift the image, the caption will follow suit.
.png)
Caption added successfully
How to Add Caption to a Photo Using Inline Text in Google Docs
Follow the below steps to use in-line to caption your image in Google Docs:
Step 1: Insert the Image in your Google Docs
Insert the image in your document. Follow the above methods to learn how to insert the images.
.png)
Select Insert > Image >Search the web
Step 2: Click on the Image
Click on the Image, this will bring up some line options on the left side of the image.
.png)
Click on the Image
Step 3: Choose Inline Option
Select the left corner option (inline option )
.png)
Choose Inline Option
Step 4: Now Type your Caption and Preview Image with Caption
.png)
Caption added successfully
How to Add Caption to a Image Using an Add-On in Google Docs
An alternative approach for adding captions to your document’s images involves using a Google Docs add-on. One such add-on, known as Caption Maker, simplifies the process by enabling you to include captions for all your items simultaneously. This method is particularly convenient if you do not require unique text for each individual image.
Step 1: Open your Google Docs Document
Step 2: Go to Extensions, Select Add-ons, and Click on Get Add-ons
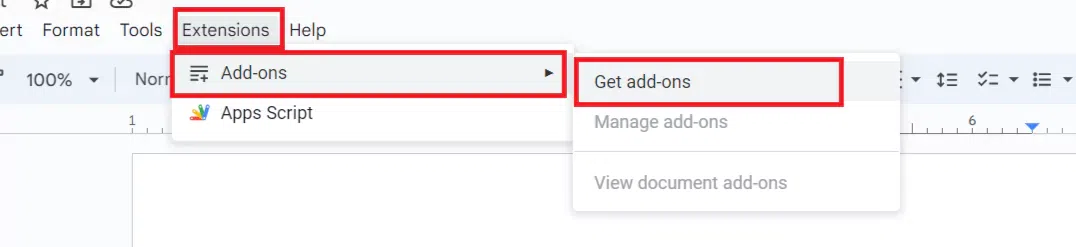
Go to Extensions, Select Add-ons and Click on Get Add-ons
Step 3: Search the Add on’s Name in the Search Box
.webp)
Enter the Add-One’s name in the search bar and click on it
Step 4: Click on Install
Now you need to install the Add-on
.webp)
Install the Add-On
Step 5: Add or Insert the Image in the Google Document
Step 6: Go to Extensions, Select Caption Maker and Click on Start
-(2).webp)
Go to Extension, Select Caption Maker, and Click on Start
Step 7: Add Caption to your Image
Write your caption in the format box.
Note: First you need to click on Show Option to Add caption to your image
.webp)
Add Caption to your image
Step 8: Customize your Caption and Click on Captionize
You can change the font properties as per your need and click on Captionize after making all the Changes
.webp)
Customize your caption and Click on Captionize
Step 9: Preview your Captioned Image
-(1).webp)
Preview the Caption
How to Add Caption to Images on Android and iOS
Step 1: Launch the Google Docs and Open the Document
Step 2: Click on Insert (+) Icon
You can insert the image from your device or search from the web
-Icon.webp)
Tap on Add Icon
Step 3: Select the Image and Click on Insert

Select the Image and Click on Insert
Step 4: Place the cursor, Insert the Caption, and Start Typing
You can also Insert a text box in your preferred location and type your caption.
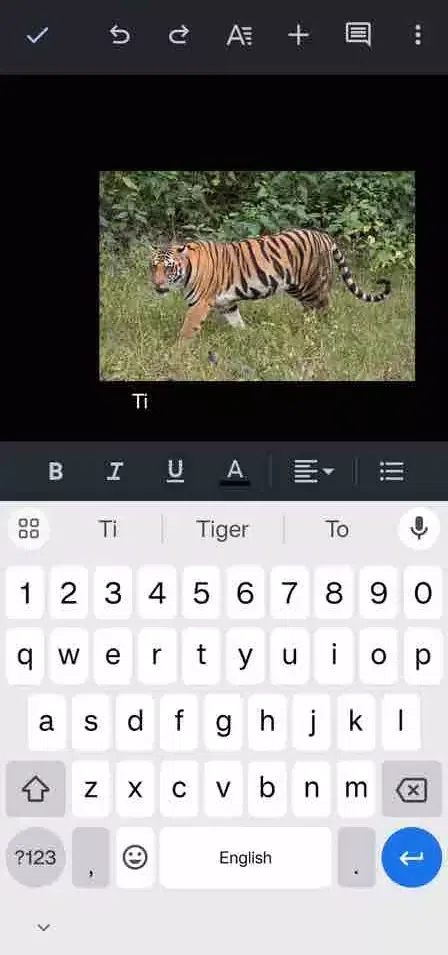
Click where you need to add the Caption and Start Typing
Step 5: Click on the Save (tick) Icon at the topmost corner of the Document
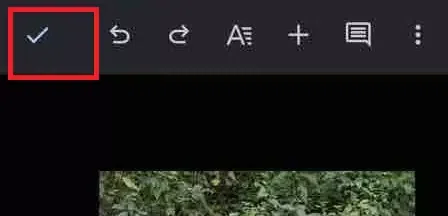
Save the Document
Step 6: Preview the Captioned Image
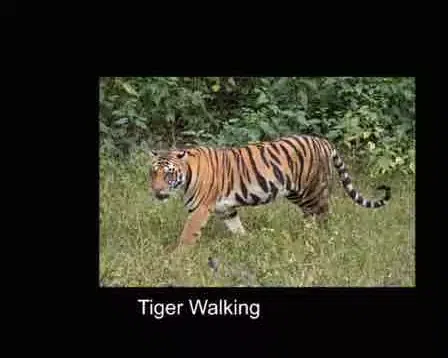
Captioned Image
Conclusion
In this article we have learnt about a basic introduction of Google Docs and about its benefits and features. In this article, we have used one of the features of Google Docs which is how to add a caption to an image. To add a caption to your image follow the steps mentioned above and it is an easy task that will not take much of your time.
FAQs
How Google Docs is different from Microsoft Word?
Both Google Docs and Microsoft Word are document editors but the difference is that one is from Google and other is from Microsoft.
Can I access Google Docs from any device?
Yes this is one of the main feature of Google Docs you can access it from anywhere anytime.
What are the requirements to use Google Docs?
To use Google Docs you need to have a stable internet connection and a well working web browser.
How to Add text Beside an Image in Google Docs?
Pick the picture you want to move. Click the picture, there are three ways to put it in the text. Choose “Wrap text.” When you move your mouse over the picture, it turns into arrows. Release the mouse, and the picture will go where you want it, and the text will wrap around it.
How to Add Text Next to an Image in Google Docs?
To add text onto an image in Google Docs, start by inserting the text. Then, insert the image and click on it. Afterward, choose the “Position Behind Text” option to place the image behind the text. Finally, drag the image to your preferred location behind the text.
Share your thoughts in the comments
Please Login to comment...