Google docs provides a suite of add-on for various purposes. Add-ons work in the same manner as an extension. If you try to download and save an image from google docs by right-clicking on it, but did not find the download option, then this article is for you. While it is true that at most places and websites, you can download an image by right clicking on it, this does not apply to images on google docs.
In this article, we will discuss how we can save images from this world famous word processor – Google Docs.
How to Download an Image from Google Docs (as an HTML file)
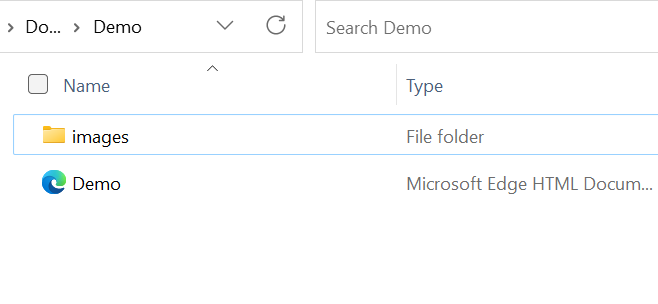
This is the best method one should use in order to download multiple images at once. Once you follow the below steps, the google document will be downloaded as a zip folder, wherein you will find a separate folder for images where all the images from the google document will be present.
Step 1: Open the Document
Open the google document from which you wish to save the images.
Step 2: Go to File
Go over to the File option in the ribbon and click on download. You will see a lot of options there. Choose ‘Web Page (.html, zipped)”.

Step 3: Go to Download Section
Once the download completes, head over to the download section in file explorer, where you will see a zipped folder with the same name as the name of your google docs.
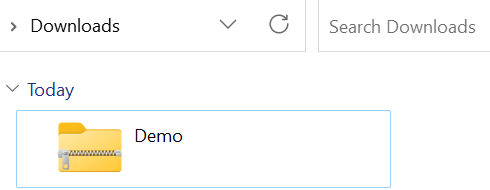
Step 4: Extract all
Right click the folder and select extract all. (Choose the desired place to save files).
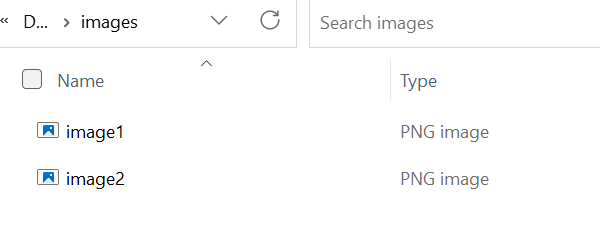
Step 5: Open the image
Now you can open the images folder where all the images from your google docs would be present.
Save an Image from Google Docs by Downloading it as a Microsoft Word file
This method is good if you want to save only a few pictures from a google document because here, all the images won’t be saved in one folder at once. You will have to save the images from the Microsoft word file manually. Here are the steps for the same –
Step 1: Open the Document
Open the google document from which you wish to save the images.
Step 2: Go to File
Go over to the File option in the ribbon and click on download. You will see a lot of options there. Choose “Microsoft Word(.docx)”.

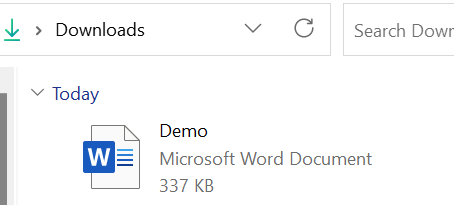
Step 3: Open the Word Document
Once the download completes, head over to the download section in the file explorer, and open the Microsoft word document. It should be present with the same name as that of the google document.
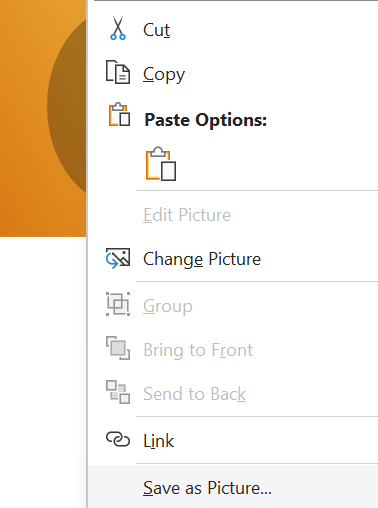
Step 4: Save as Picture
Now, right click on the image that you wish to save and click on the “Save as Picture” option.
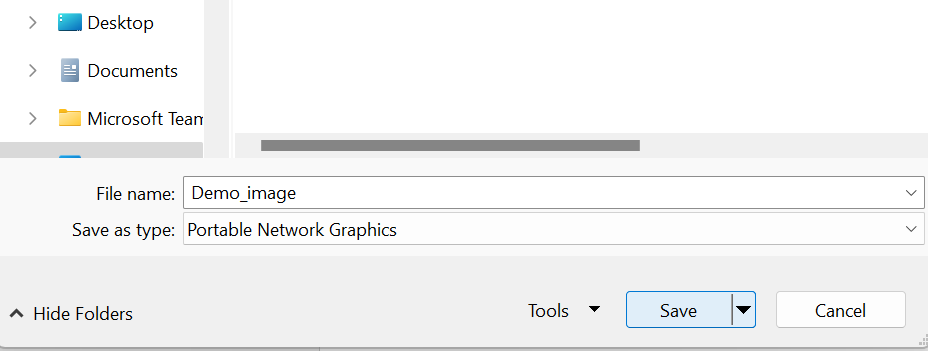
Step 5: Click on Save
In the dialog box that opens, click on save.
Save an Image from Google Docs by Publishing it to the Web
This is also quite easy to do but not recommended when you have to download a lot of images because you will have to manually download images from the published website. Here the steps for using this method –
Step 1: Open the Document
Open the google document from which you wish to save the images.
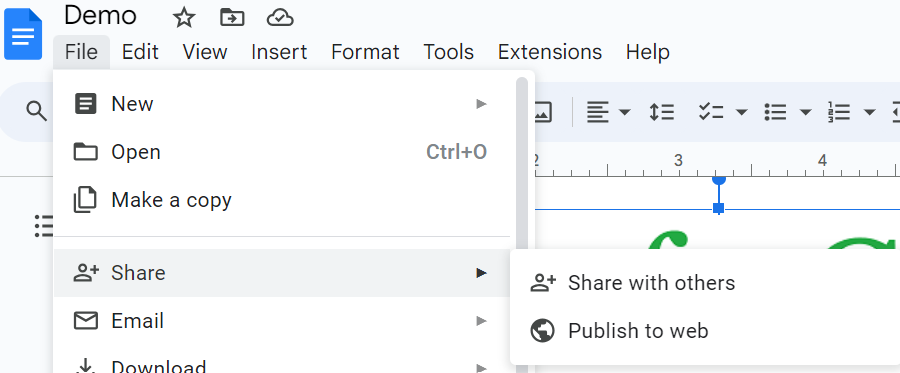
Step 2: Go to File
Go over to the File option in the ribbon and click on the Share drop-down. Click “Publish to web”.
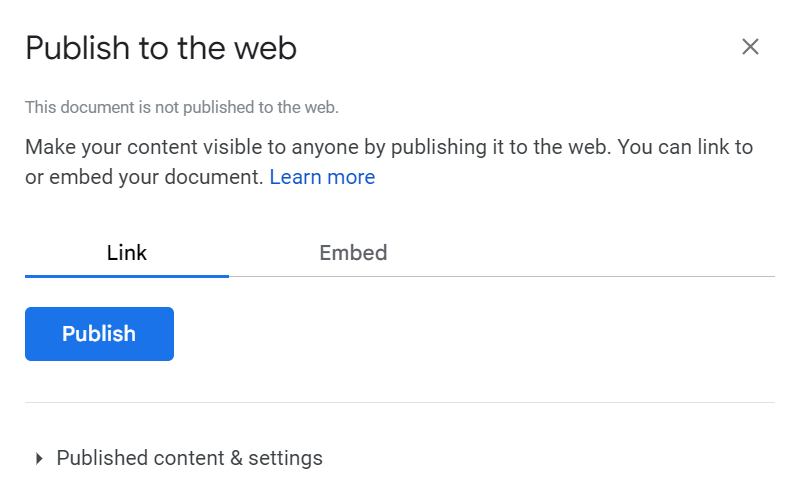
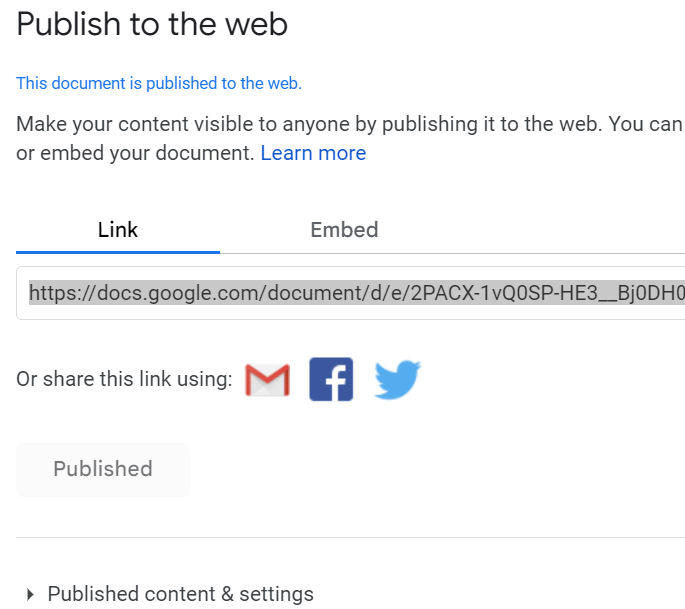
Step 3: Click on Publish
In the pop-up, click on the publish button. Another pop-up will ask you to confirm. Click OK.
Step 4: Copy and Paste
You shall now see a link. Copy it and paste it in a new tab and click enter.
Step 5: Save as image
From the published web page, right click on the image you wish to download and click on “save as image” option.

Use the snipping tool to save images from Google Docs as Screen Shots
The way you can take a screenshot in your phone, you can also capture your PC screen in the same way using the snipping tool. This method should be used only when you have to save a few images.
Step 1: Open the Document
Open the google document from which you want to save the picture and go over to the image you want to save.
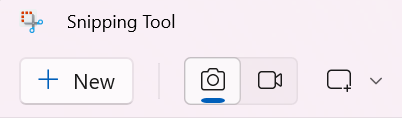
Step 2: Open Snipping Tool
Now, open the snipping tool. You can search for it in the search bar present in the taskbar.
Step 3: Click on New Button
In the snipping tool menu, click on the “New” button. Alternatively, you can also use the shortcut – “Windows key + Shift + S” on Windows laptops.
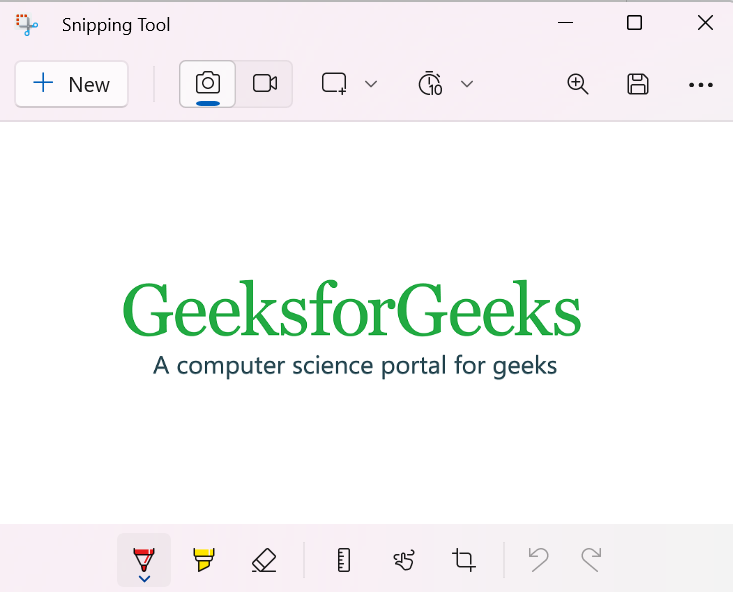
Step 4: Screenshot Image
Now, you can take the screenshot of the image by forming a rectangular cut over it.
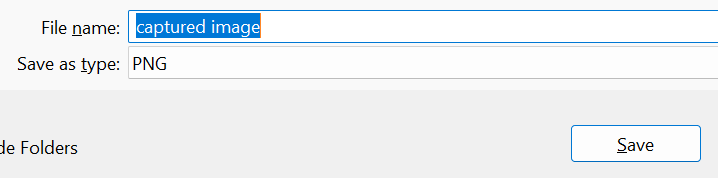
Step 5: Save the image
Once the image is captured, you will see another snipping tool window with the captured image in it. Now, click on “Ctrl + S” to save this image.
Save an Image from Google Docs by using Google Keep
For using Google keep, which is a note taking tool, you will need to use Google Chrome. This is a pretty simple method but recommended for less number of images only.
Step 1: Open Document in Chrome
Open the desired google document in Chrome.
Step 2: View More Options
Right click on the image that you wish to save and click on “View more options” -> “Save to Keep”.

Step 3: Save as image
On doing this, a side bar will open where you will see the desired image. In this side bar, right click on the image and click on “Save as image”.
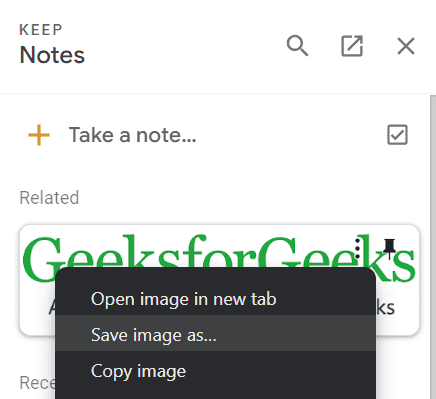
Step 4: Image is Saved
Save the image as desired.
Save an Image from Google Docs Using Add-on
For saving images from google docs, we can use the Image Extractor add-on. This is a good method when you have to download a lot of images. However, the free version can let you download only up to 4 images. For more, you will have to upgrade to premium.
Step 1: Open the Document
Open the required google document and go over to the Extensions option. Then click on Add-Ons -> Get add-ons.
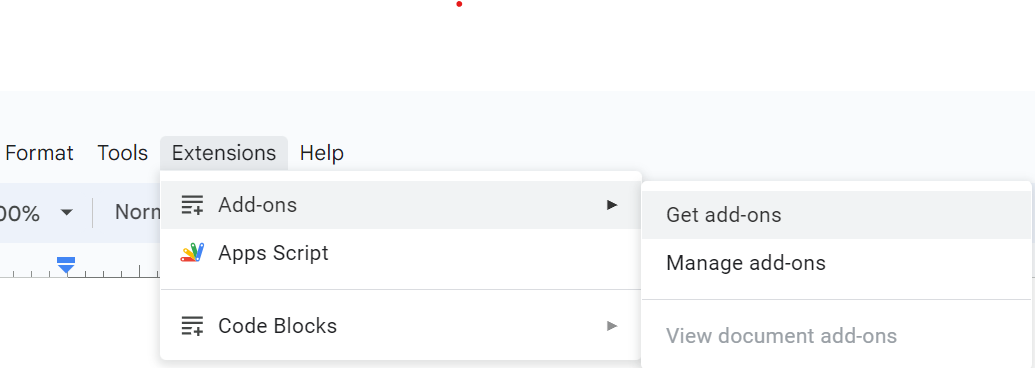
Get add-ons
Step 2: Search for Image
Search for the image extractor in the search bar and install the one named as ‘Extractor and Remover’.
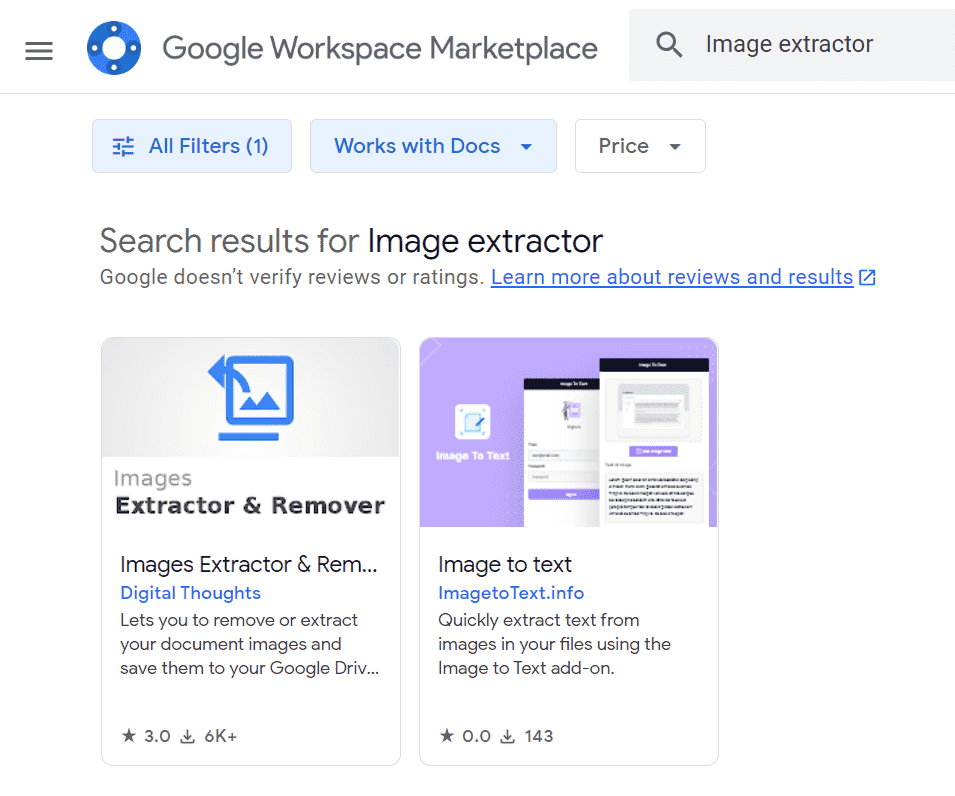
Install the add-on
Step 3: Install Add-on
Grant the required permissions and the add-on will be installed in seconds.
Step 4: Go to Extension Section
Now, again go over to the extensions section on the top. This time you will see the image add-on present there.
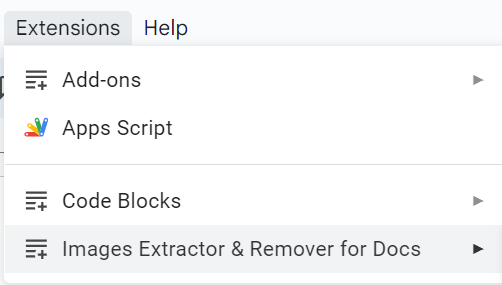
Add-on is present in the drop down
Step 5: Click on Add-on
Click on the add-on -> start option.

Click on the start button
Step 6: Extract Images to Drive
This will open a side bar where you can choose from the available options. Here, we will use the second last option, that is, “Extract images to drive”.
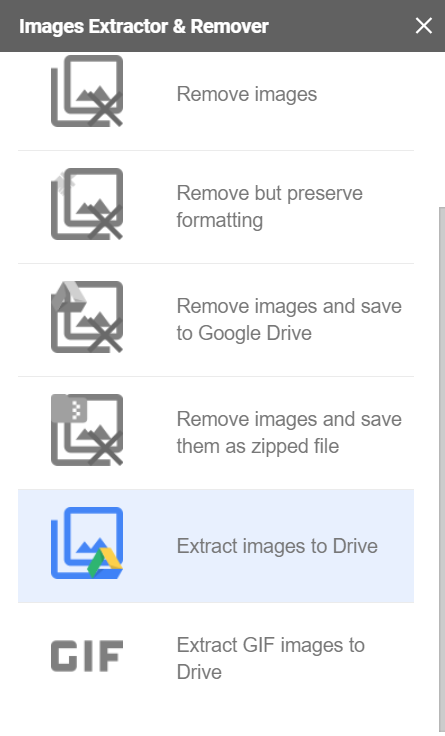
Extract to drive
Step 7: Pop-up Box
Once, you click on this, process will be executed and you will see the following pop-up once it is completed.

Images extracted
Step 8: Click on the View Files Button
Click on the view files button. You will see that a new folder with the same name as your google doc will be created in the google drive with the required images inside it.
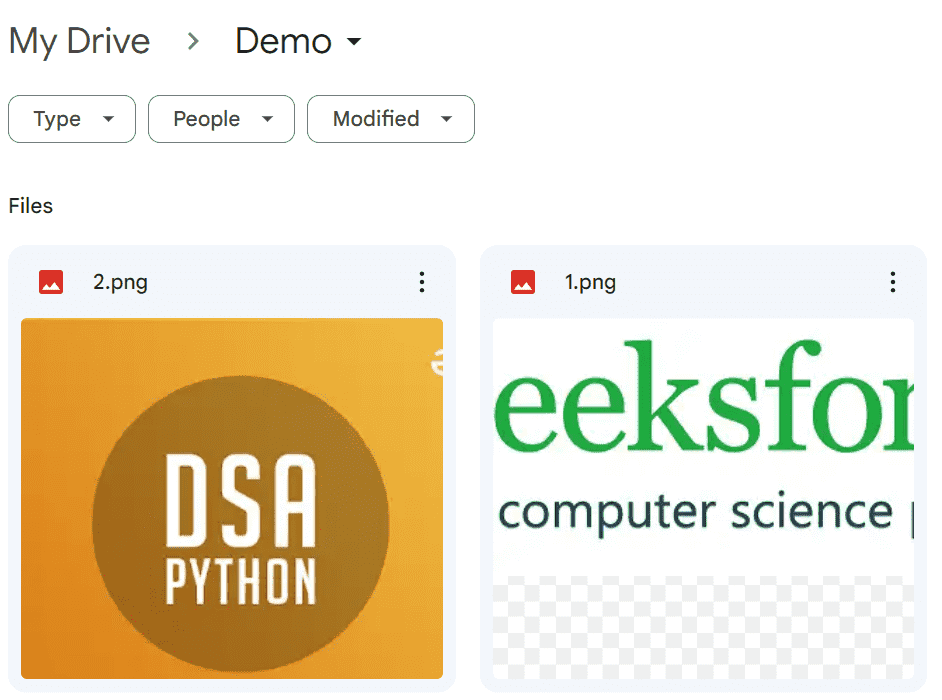
Saved images
Summary
In this article, we looked at the various ways of saving an image from google docs. For downloading a lot of images at once, you must use the method of HTML file or the Extractor add-on. But the downside of using the add-on is that it is not completely free and limits the number of images that can be saved.
For saving a few images, you can use the snipping tool or publishing to the web method. Downloading the file as word and using google keep are great alternatives too.
Share your thoughts in the comments
Please Login to comment...