Relocating a table within Google Docs is a valuable skill that simplifies the process of document formatting. It makes tasks like content rearrangement and layout refinements surprisingly easy.
Google Docs, a free online document editor offered by Google, provides an array of features for document creation, editing, collaboration, and storage. Users can initiate a document from scratch or opt for one of its templates. Within Google Docs, you have the flexibility to alter fonts, font colours, background shades, and font sizes, insert images, align text and images, incorporate symbols and drawings, create tables, customize table borders, style paragraphs, and much more. The platform is brimming with practical features that greatly benefit users and collaborators.
In this article, we’ll specifically focus on the process of moving a table within Google Docs.
What is a Table in Google Docs
When data is stored in a grid of cells that are arranged into rows and columns then we say data is stored in a Table. This means a table is an arrangement of rows and cells. The tables can be customized and edited using various features.
Google Docs has a feature to create a table by inserting a table. Also, the border colour, border width, spacing, and contents inside a table can be edited as per the choice of the user. Also, we can move the table around the document anywhere after creating it.
How to Move a Table in Google Docs
There are two ways to move a table in Google Docs. They are,
- By Dragging Table
- Using Cut and Paste
How to Drag and Move a Table in Google Docs
If your intention is to shift your table a relatively short distance, such as relocating it within the same page, the easiest approach is to drag it to the desired location and release it there.
Step 1: Open Google Docs and Open the Document
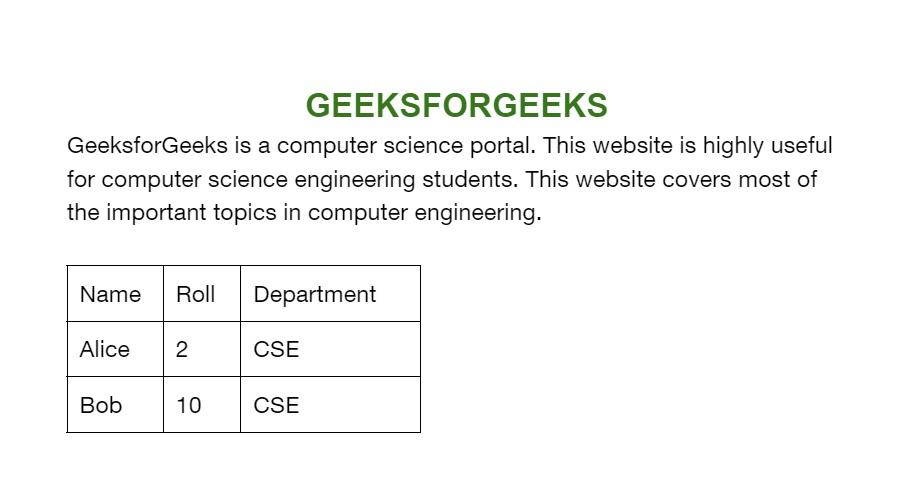
Open Google Docs in your browser and open a document with a table, or create a document with a table.
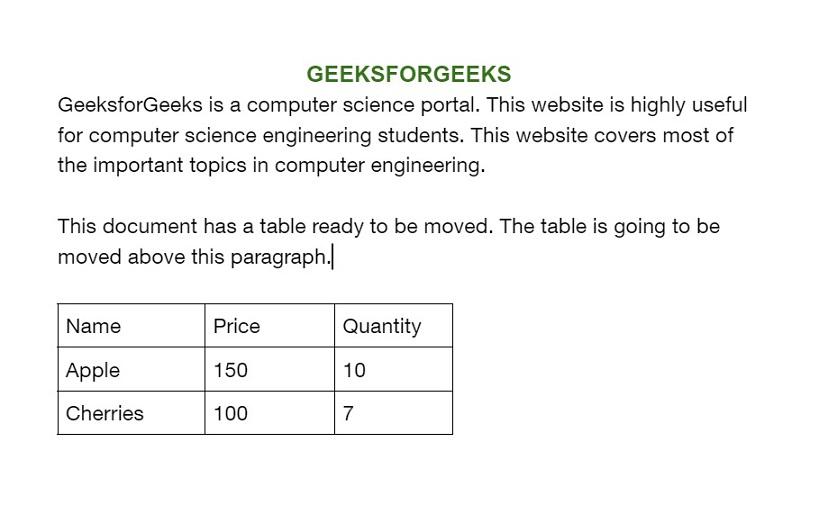
Document opened in Google Docs
Step 2: Highlight all Cells of the Table
Select and highlight all the cells of the table to move the table.
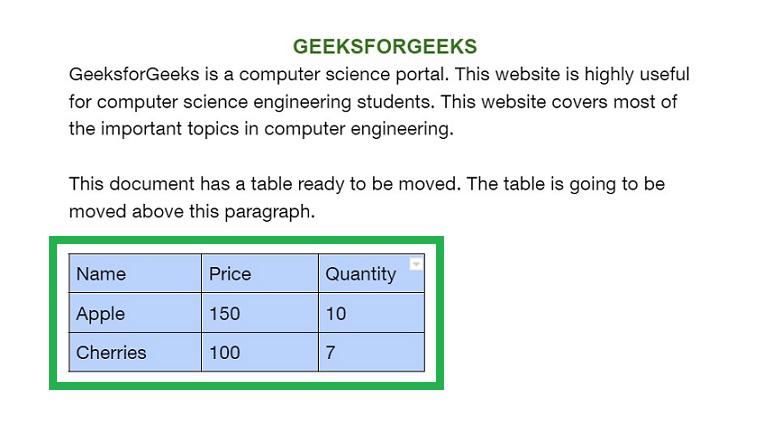
Highlight all the cells of the table
Step 3: Drag the Highlighted Table to the place where you want to Relocate
Click on any of the highlighted Table cells and drag it to the place in the document where you want to move. The whole table moves along. While dragging the table, the cursor also moves along. Stop dragging the table once the cursor reaches the place you wish to move.
dragging the highlighted table
Step 4: Preview the Table
Now the table is moved in the document to another place successfully.
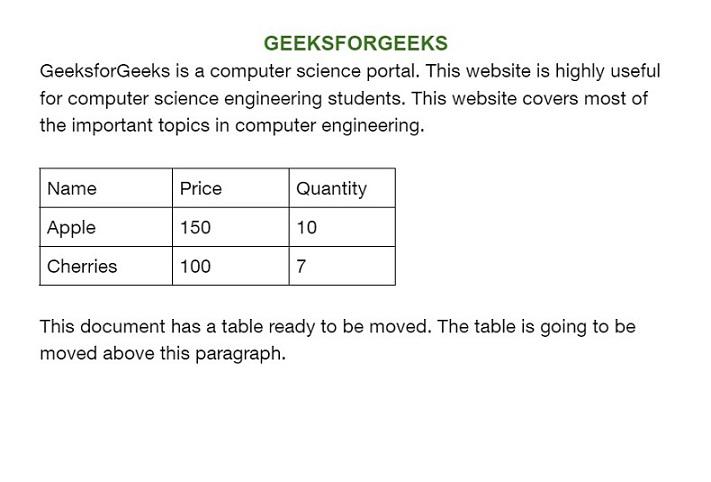
Table moved
How to Use Cut and Paste to Move a Table in Google Docs
Step 1: Open Google Docs and Open the Document
Open Google Docs in your browser and open a document with a table, or create a document with a table.
The document opened in Google Docs
Step 2: Highlight all Cells of the Table
Select and highlight all the cells of the table to move the table.
Highlight all cells of the table to move
Step 3: Right-click and Select Cut
Right-click on the highlighted table, and select the ‘Cut’ option from the menu displayed.

Select ‘cut’
Step 4: Place the Cursor on a Line and Select Paste
Now the table is cut from the document. Place the cursor on a line in the document to move the table, and right-click on it. From the displayed menu, select the ‘Paste’ option.
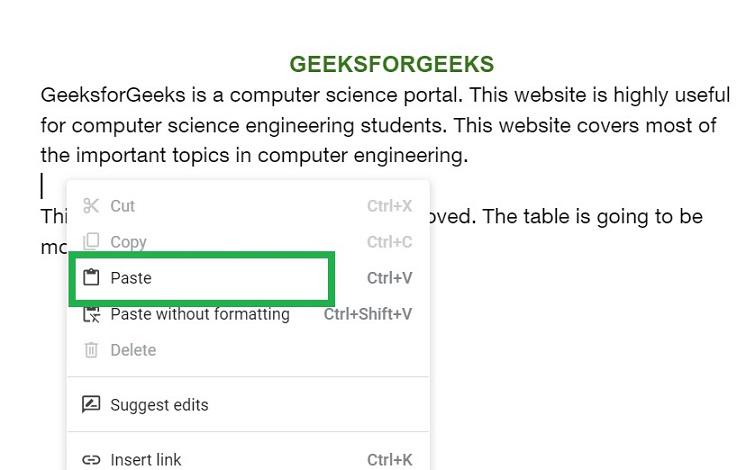
Placing the cursor on another line and right-click there to paste the table
Step 5: Preview the Successfully moved Table
The table is pasted in the place of the cursor. The table moved successfully in Google Docs.
Table moved
How to Resize Rows and Columns of a Table in Google Docs
Step 1: Open Google Docs and Open the Document

Document opened
Step 2: Select all cells of the Table
Select all the cells of the table in the document in Google Docs.

Selecting all cells of the table
Step 3: Go to Format, Select Table and Click on Table Properties
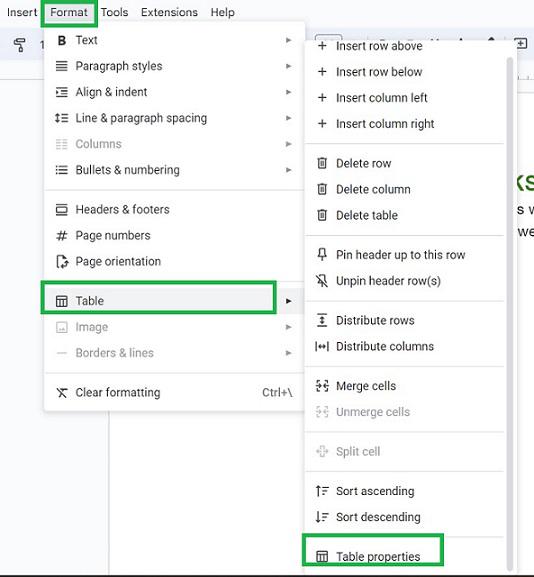
In the menu bar, select ‘Format Tab’, and a dropdown will appear. From the given options select ‘Table’. Another sub dropdown opens. Select ‘Table properties’ in it.
Step 4: Select a Cell in the Table Properties
A table properties panel is opened on the right side of Google Docs. Select ‘cell’ in it.
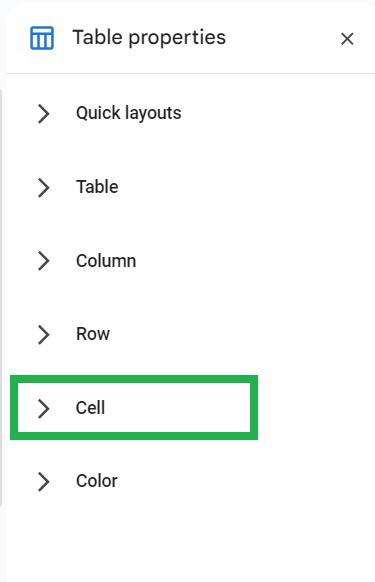
Select ‘cell’ in the table properties panel opened
Step 5: Change the Cell Padding of your choice
Change the value of the cell padding of your choice. By default, it is 0.06 inches. Here we are changing it to 0.1 inches.

change cell padding
Step 6: The Rows and Columns of the Table are Resized Successfully
Now the rows and columns of the table are changed to 0.1 inches of cell padding successfully.

Rows and columns resized
How to Align a Table in Google Docs
Step 1: Open Google Docs and Open the Document
Document opened
Step 2: Select all Cells of the Table
Select all the cells of the table which need to be realigned.

Select all cells of the table
Step 3: Go to Format, Select Table and Click on Table Properties
In the menu bar, select ‘Format’, and select ‘Table’ in the dropdown that appeared. Another sub dropdown opens. Select ‘Table properties’ in it.
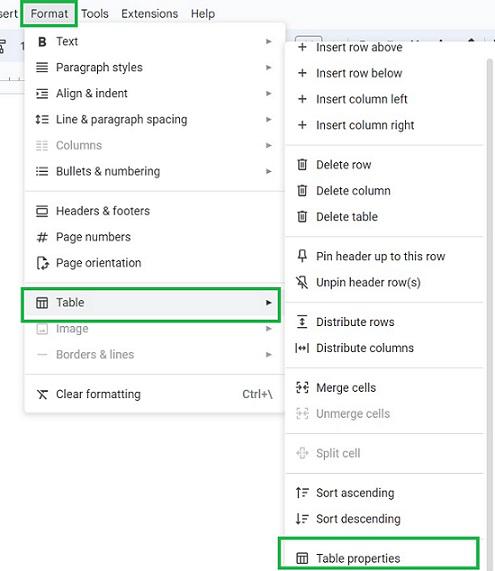
Select Table properties in the dropdown
Step 4: Select Table in the Table Properties Panel
A table properties panel is opened on the right side of the Google Docs. Select ‘Table’ in it.
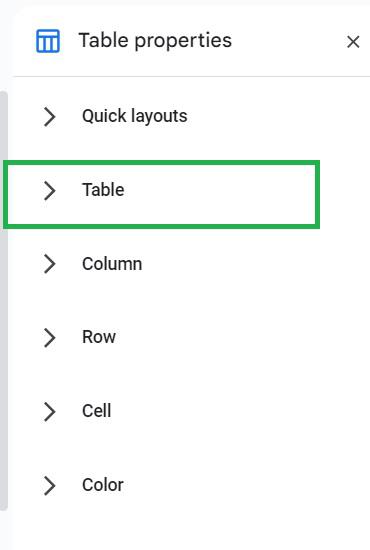
Select ‘Table’ in the table properties panel
Step 5: Select the Table Alignment
There are three alignments to choose from such as left alignment, centre, and right alignment. Select an alignment of your choice. Here we are choosing center alignment.
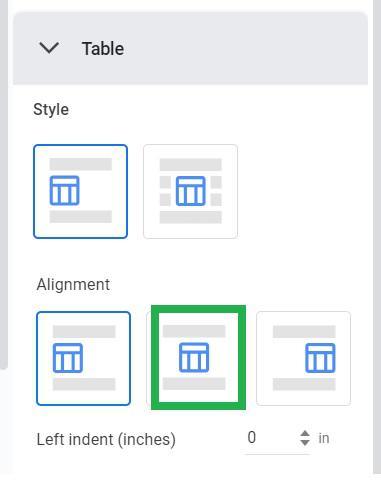
Selecting centre alignment
Step 6: Preview the Aligned Table
Now the table is centre aligned successfully in Google Docs.
Table aligned in Google docs
Conclusion
In this article, we have discussed the different ways to move a table around in a document in Google Docs. The two methods discussed are easy ways to move a table. Also, we have discussed how to resize rows and columns of a table, and how to align a table in Google Docs.
FAQ
How to move a table in Google Docs in iPad?
Open your Google Docs document on your iPad.
Tap on the table to select it. You’ll see small squares or handles appear around the edges of the table, indicating that it’s selected.
Once the table is selected, tap and hold it until it lifts slightly off the document.
Drag the table to the desired location within your document.
Release your finger to drop the table in its new position.
How many times can a table be moved to different lines in Google Docs?
A table in Google Docs can be moved to any lines in the document for any number of times. There is no limited time to move a table.
How do you move a table behind text in Google Docs?
- Select a cell and click on Format.
- Select Table > Table properties.
- Click on the Table alignment > Select an alignment > OK.
Will the contents inside the table gets changed or alignment gets lost on moving a table in Google Docs?
No, the contents inside the table and the alignment does not get changed on moving a table. Everything remains the same inside the table. Only the location of the table is changed on moving.
How do you move an object behind text in Google Slides?
- Open the slide.
- Click Arrange.
- Choose among the options: Order, Align, Distribute, Rotate, Group
Share your thoughts in the comments
Please Login to comment...