How To Create a Drop Cap In Google Docs
Last Updated :
29 Dec, 2023
Google Docs is an amazing word processor that lets you do a variety of things in a few simple clicks. Although it does not have a direct method of adding a Drop Cap like in Microsoft Word, there is an easy and quick workaround. So, let’s dive in without further ado!
What does the Drop Cap mean in Google Docs
Have you ever encountered a large capital letter at the start of a web page, news article, or novel that spans multiple rows? That’s a drop cap. A drop cap is the initial letter of a word within a paragraph or text block. It takes the form of an uppercase letter, larger than the surrounding text and can extend over two or more lines. While commonly found in books, drop caps also find their application in specific document types. Whether you’re crafting an essay or other creative content, incorporating this stylistic touch can add a subtle flair to your work.
How to Do a Drop Cap in Google Docs
Step 1: Open a document
Go to the Google Docs home page and open a new document by clicking on the plus icon.
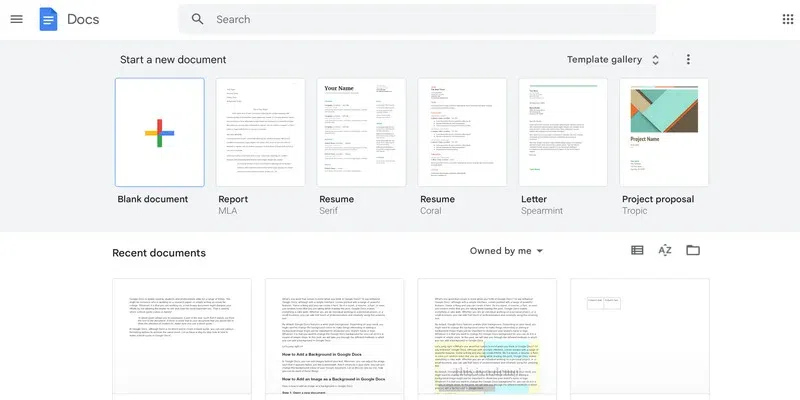
open a new document
Alternatively, you can use an existing document. Make sure to delete the first alphabet and place the cursor in the beginning before moving to the next steps as follows:
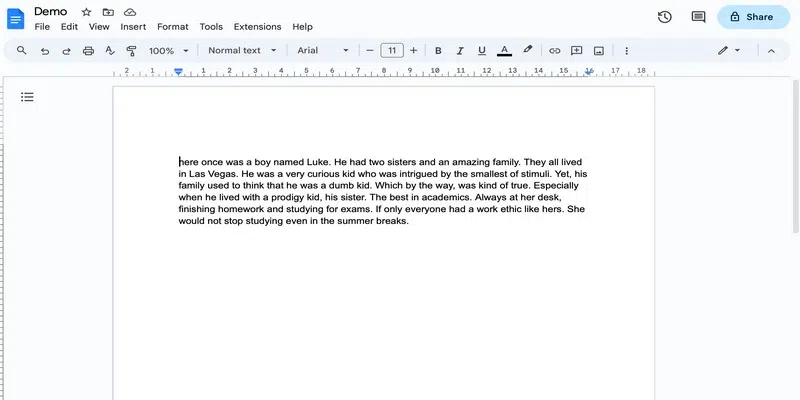
use an existing document
Step 2: Go to the Insert Tab and Start a new drawing
Go to the Insert tab and click on the Drawing drop-down. Then, start a new drawing by click on +New.

start a new drawing
Step 3: Insert text box
In the drawing canvas that opens, click on the Text Box icon.

insert text box
Step 4: Draw the text box
You should see a plus shaped cursor. Use it to draw a text box.
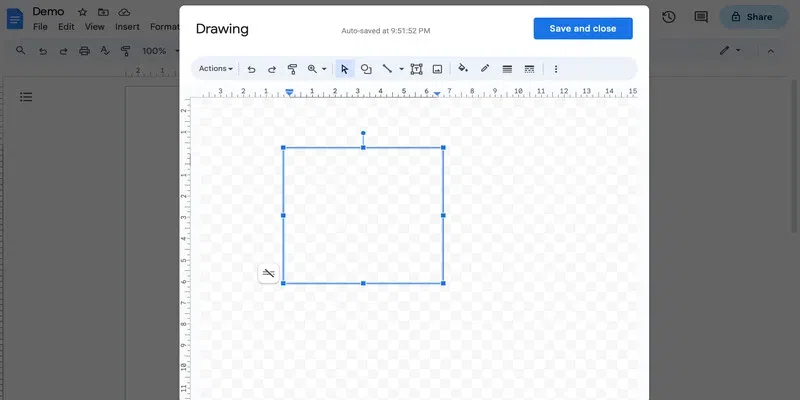
draw a text box
Step 5: Select Word Art
Go to the Actions drop-down in the drawing canvas menu and select Word Art.
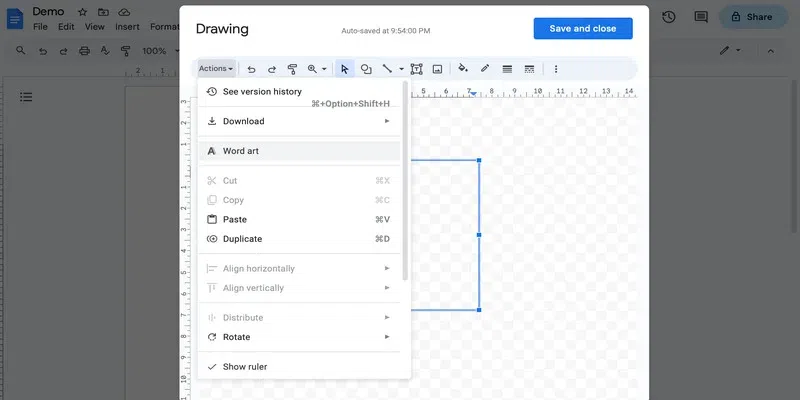
select word art
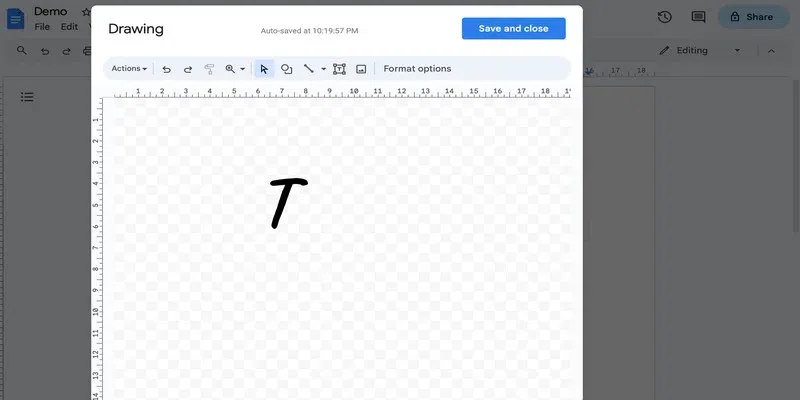
Step 6: Type the letter
You will see a small rectangular box pop-up in the canvas area. Type the desired alphabet in this box and hit enter.
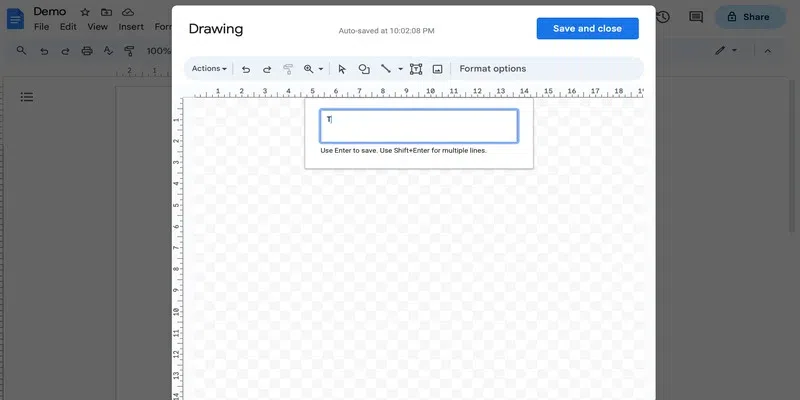
type the letter
Note that if you are not looking to customise the drop cap, then you can skip the below steps and save the drop cap.
How to Edit Drop Cap in Google Docs
Step 1: Change the font
By default, a very basic character would be inserted. To change that, go to the three dots in the canvas menu and select an interesting font from the font drop-down.
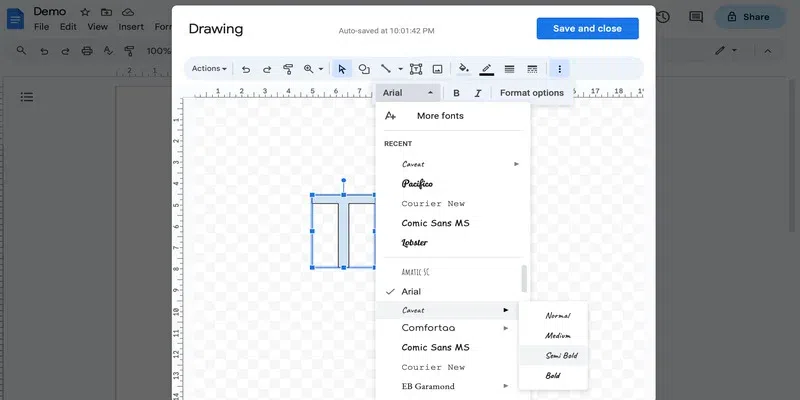
change the font
Step 2: Change the colour
You can also change the colour of the Drop cap to match the colour of the rest of your document. Click on fill colour icon from the canvas menu and select the desired colour.
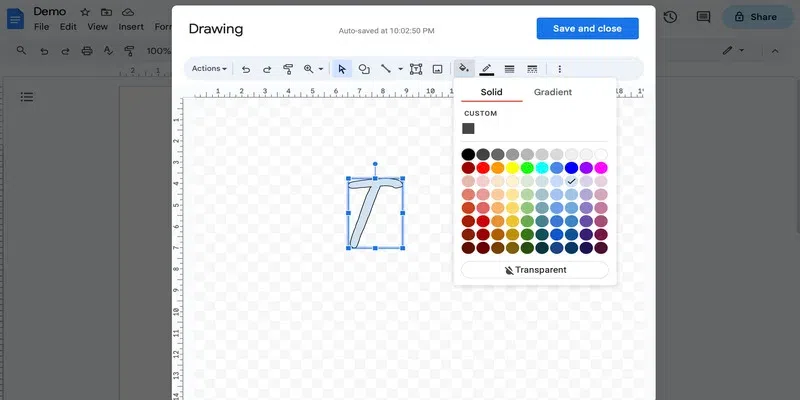
Change the colour
Step 3: Adjust the size
Use the corners of the text box to adjust the size as required.
adjust the size
Step 4: Save and close
Click on the Save and Close to save the changes and insert the drop cap in the document.
save and close
Step 5: Wrap Text
Once the drop cap is inserted, click on it and select the wrap text option. This will enable you to type around the drop cap.

wrap text
Now you are all set to start adding text to your document:
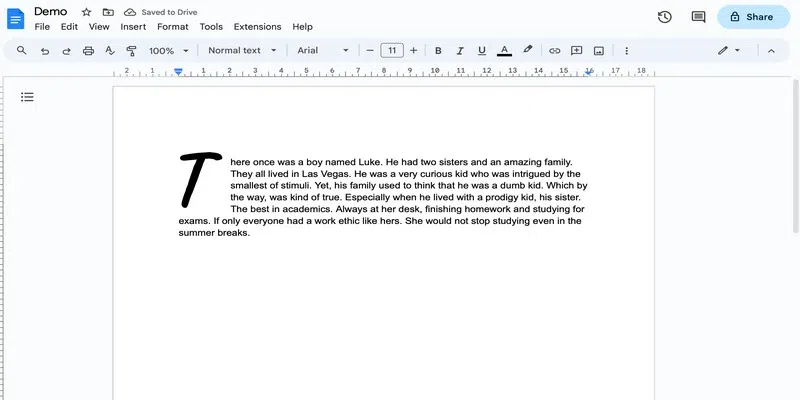
result
If you are unhappy with how the drop cap looks, you can re-edit it as many times as you want. Click on the drop-cap and select the edit option to make changes:
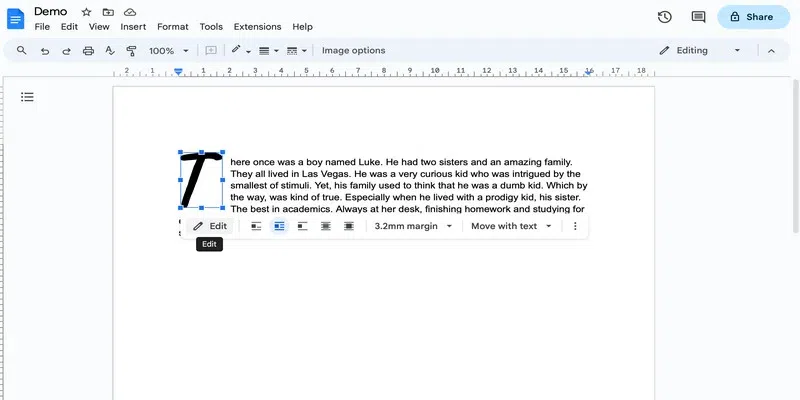
edit option
Summary
In this post we learned how we can add a drop cap in Google Docs. A drop cap is a great tool to add an aesthetic and dramatic appeal to writing. It is often used in newspapers, novels, stories and other kinds of writings. You cannot add a drop cap in Google Docs using a built-in tool but using the drawing tool to achieve this is just as easy. Thanks to this amazing word processor, you can change the colour, size and font of the drop cap as desired. Not just this, you can even italicise or bold the text and change its border style. The possibilities are endless!
FAQs
1. As I type the text after the drop cap, the drop cap shifts position. How to avoid that?
To make sure that the drop cap does not move on typing, click on the drop cap and choose Fix position on page from the Move with Text drop-down.
2. How to reduce the space between the drop cap and the text?
Click on the drop-cap, select the desired spacing from the margin dropdown. Note that by default, the margin is set to 3.2mm.
3. How to add a border to the drop cap?
Select the drop-cap -> Edit -> Select the drop cap in the canvas -> Border colour option -> Choose the desired colour.
4. How to change the border thickness of the drop cap?
Select the drop-cap -> Edit -> Select the drop cap in the canvas -> Border weight option -> Choose border weight.
5. Are there more fonts available to add to a word art?
Yes, you can find more fonts as follows: Select the drop-cap -> Edit -> Select the drop cap in the canvas -> Three dots -> Font dropdown -> More fonts -> Choose font -> Click ok. Now, you must see the newly added font in the font drop-down of the drawing canvas.
Share your thoughts in the comments
Please Login to comment...