Transforming your documents into professional masterpieces just got easier with Google Docs. Learn how to seamlessly incorporate watermarks, whether it’s a subtle text overlay or a striking image, using the powerful features within the Insert menu. Explore the nuances of text formatting and transparency to tailor your watermark exactly to your liking. Elevate your document’s visual appeal and protection with our step-by-step guide.
What is Watermark in Google Docs?
A watermark is a way of providing authenticity and originality to a document by adding any text or image behind the contents of the document in low opacity. Watermarks are usually added to government documents, legal documents, official transcripts, currency, passport pages, postage stamps, official letters, and more to avoid counterfeiting and fake documents. Any document with an official watermark provides a strong validity that this document is from the original and not fake.
Digital documents can also have watermarks. Google Docs comes with a built-in feature to insert watermarks into documents in an easy way. In this article, we will discuss how to add a watermark to a document in Google Docs.
Ways to Add Watermark in Google Docs
Watermarks can be added in two different ways using Google Docs. They are,
Using the Image as a watermark,
Using Text as a watermark
How to Add Image as Watermark in Google Docs
Step 1: Open Google Docs in your browser and Open the document
Step 2: Go to ‘Insert’ and Select ‘Watermark’
In the menu bar, click ‘Insert’, and a dropdown opens. Click ‘Watermark’ in the dropdown opened.
 Click ‘Insert’ -> ‘Watermark’
Step 3: Click the ‘Image’ tab in the side panel opened
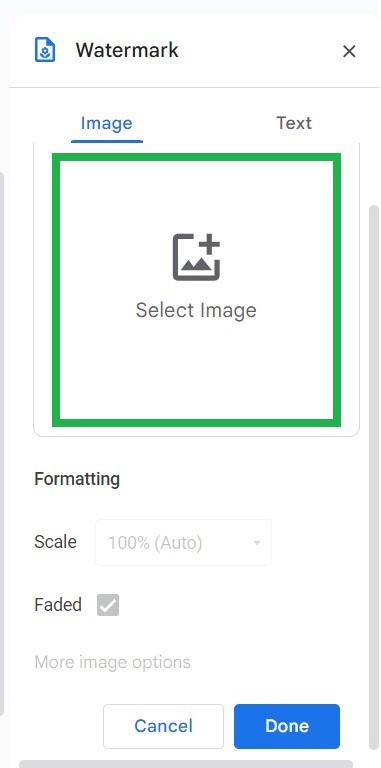
A side panel opens up. Make sure the ‘image’ tab is opened in it.
Step 4: Click on the ‘Select image’ Icon
Click on the ‘Select image’ icon to choose the image from different sources to add as a watermark in your document.
 Click ‘Select image’
Step 5: Click ‘Google Images’ to search for images from the Internet to Add as a Watermark
Here we can choose images to add as watermarks by uploading from your computer, from Google Drive, by providing the URL of the image, or by searching through ‘Google Images’.
Here we are adding images from the Internet. So we are choosing the ‘Google Images’ tab.
Step 6: Click on the Search Icon and Search for the Image
A search bar appears above the ‘Google Images’ tab to provide a search term to search for such images on the Internet.
Type the words to search for the image you want to add as a watermark. Then click the search icon in the search bar.
Here we are searching for a ‘computer’ image in Google Images.
 Type the image to search in the search bar and click on the search icon
Step 7: Select the image and Click on Insert
The search results for the images are displayed now.
 Select the image and click the ‘Insert’ button at the bottom rightmost corner
Step 8: Select the ‘Scale’ dropdown button to change the Size of the Image
To change the size of the image watermark, select Scale in the side panel opened.
Step 9: Choose the scale in the scale dropdown opened in the Side panel
The size of the watermark can be increased or decreased by choosing any size from the dropdown open of ‘Scale’. Here we are choosing ‘50%’. So, the size of the image reduces.
 Select 50% in the dropdown
Step 10: Untick the ‘Faded’ checkbox and Click Done
To change the opacity of the watermark to be seen fully, untick the checkbox next to ‘Faded’.
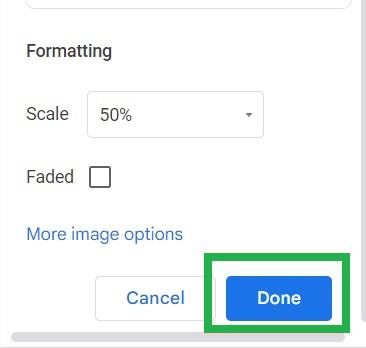 Click Done in the side panel
Step 11: Preview the Document with a Watermark
Now all the pages of the document in Google Docs have this watermark automatically.
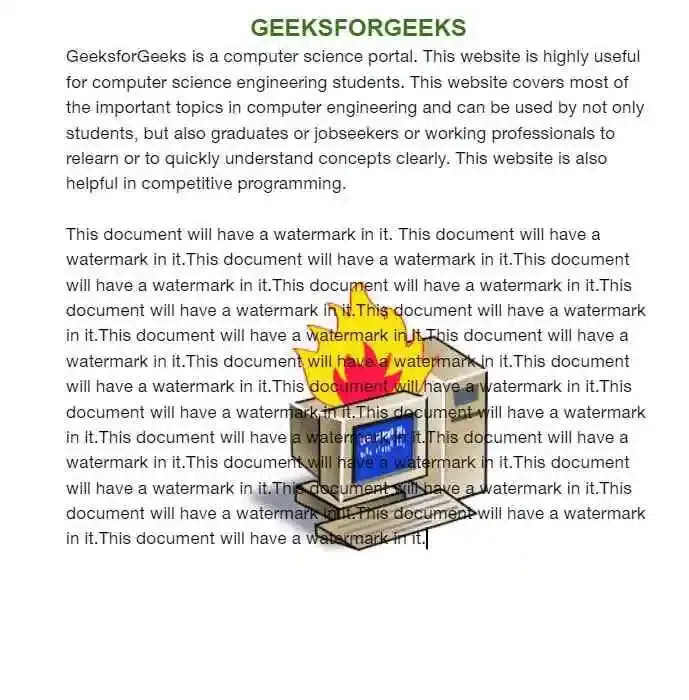 Image watermark added to the document
How to Add Text as Watermark in Google Docs
Step 1: Open Google Docs in your browser and open the document
Open Google Docs in the browser on your desktop or laptop. Open the document to which the watermark has to be inserted.
Step 2: Go to the ‘Insert’ Tab and Select ‘Watermark’
In the menu bar, click ‘Insert’, and a dropdown opens. Click ‘Watermark’ in the dropdown opened.
Click Insert -> Watermark
Step 3: Click the ‘Text’ Tab in the side panel
The side panel opens up. Make sure the ‘text’ tab is opened in it.
 Click the Text tab in the side panel
Step 4: Type the text to add as a watermark in the ‘Insert text’ box
In the ‘insert text’ box, type the text you want to insert as a watermark in the document.
 Type in the insert text box
Here we have typed ‘GFG’ in the text box.
 Text typed is inserted as a watermark in the document
Formatting the text watermark can be done in the list of options available in the side menu. Click the ‘Formatting’ dropdown to choose the font of your choice.
 Click ‘Formatting’ in the side panel to change the font of the watermark
Step 5: Move the slider in the side panel to change the transparency of the text watermark
 Move the slider to change the transparency of the text watermark
Step 6: To change the angle of the watermark, choose in the side panel
The slanting angle of the text in the document can be changed. By default, it is diagonal. To make the watermark horizontal way, choose ‘horizontal’.
 Click ‘Horizontal’ to change the angle of the watermark
Step 7: Click on the Color (A) Icon to Change the Color of the Watermark
Change the text watermark color by choosing any color by clicking this icon
 Click the icon to change the color of the text watermark
Here we have chosen green color.
 Chosen green color
The watermark color has changed in the document now.
 The watermark color changed in the document
Step 8: Choose the placement of the text watermark
We can choose ‘Behind text’ or ‘In front of text’. By default, the watermark is behind the text. To bring it front of the document content, click ‘Front of text’.
 Choose the placement of the watermark in the document
Step 9: Click the ‘Done’ button in the side panel to complete the watermarking process
 Click the ‘Done’ button
Step 10: Preview the Document with a Watermark
Now all the pages of the document have got this text watermark successfully.
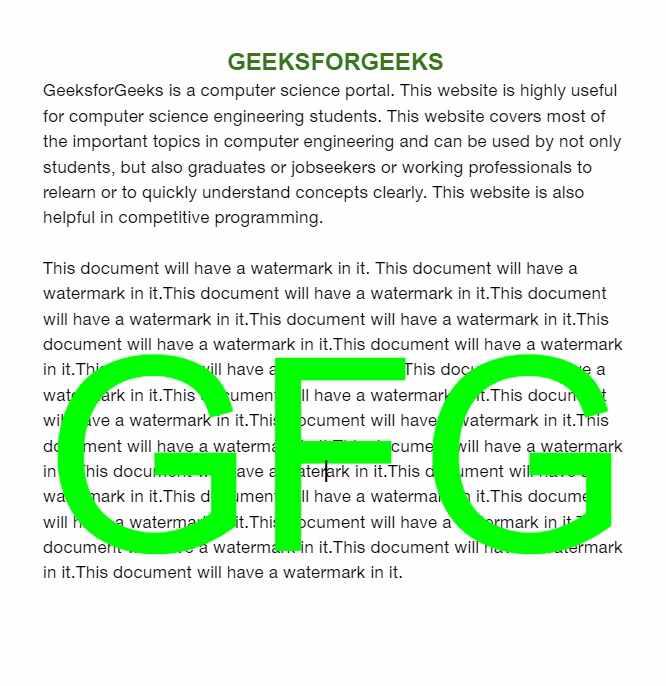 Text watermark inserted in the document with chosen formatting options
How to Create and Insert a Watermark Using Google Docs Drawing
Step 1: Open Google Docs in your browser and open the document
Open Google Docs in the browser on your desktop or laptop. Open the document to which the watermark has to be inserted.
Step 2: Go to the Insert tab, Select Drawing, and Choose New
In the menu bar of Google Docs, click ‘Insert’. A dropdown opens, click ‘Drawing’ in it. Another sub dropdown opens. Click ‘New’ on it.
 Click ‘New’ in the dropdown
Step 3: Go to the Shapes Icon, Select Shapes, and Choose the Shape you desire
The drawing window pops up. Can add shapes and text to this drawing window. Click the ‘Shape’ icon in the toolbar of the drawing window to insert a shape into the drawing. A drop-down appears. Click ‘Shapes’ in it. Another sub-drop-down opens with many shapes. Click on any shape you want to add to the drawing. Here we are choosing an ‘oval’ shape to insert in the drawing.
 Select any shape to insert in the drawing
Step 4: Draw an Oval in the Drawing
After drawing the oval, the oval shape gets added to the drawing.
 Draw an oval
Step 5: Click on the Text box (T) Icon
In the toolbar of the drawing window, click the text box icon with the letter ‘T’ to insert text in the drawing.
 Click the text icon
Step 6: Draw a text box on the Shape and Type the Text you want
Draw a text box on the oval shape, and type the text to add on the oval shape.
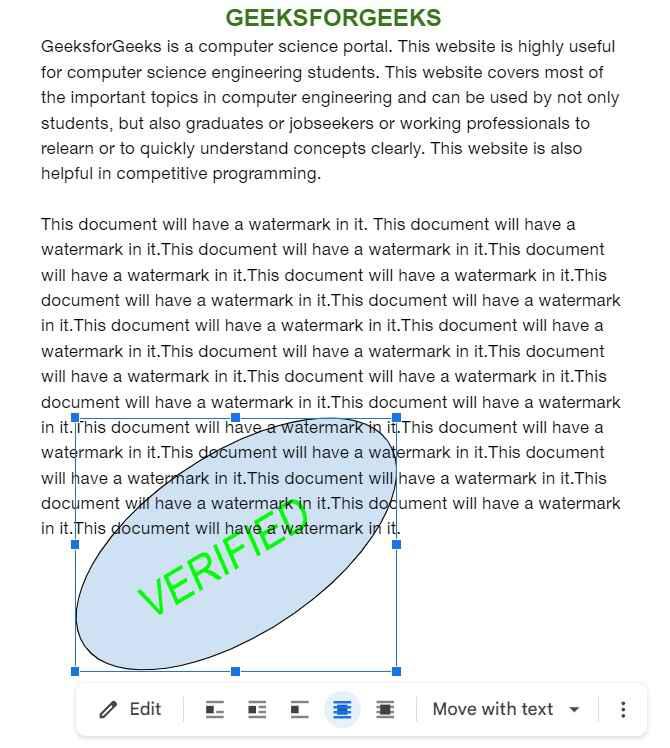
Here we have typed ‘VERIFIED’.
 Type the text inside the text box
Step 7: Highlight the text in the textbox and Click on the three vertical dots
To make formatting on the text in the text box, highlight the text in the text box and click the three vertical dots in the toolbar. A new set of toolbars appears below the default toolbar with options for formatting the text.
 Click the three vertical dots at the top rightmost corner
Step 8: Increase Text Size with the Plus Symbol
To increase the size of the text in the text box, click on the plus sign till the size you want to set.
 Click the plus sign to increase the font size of the text in the text box
Here we have increased the text size to 29. The size of the text has increased.
 The font size of text increased in the text box
Step 9: Change Text Color Using the Toolbar
To change the color of the text, click the ‘Text color’ icon. A list of colors appears as a dropdown. Choose any color among them.
 Select any color as text color
Here we have selected the green color, and the color of the text in the text box has changed.
 The color of the text inside the text box changed to green
Step 10: (Optional) Change the Angle of shape
To change the angle of the shape and text box to make it look like a watermark, click on the shape or text, click the dot appearing on top of it, and drag it to a slanting angle.
 Change the angle of the shape and text box to slanting
The angle of the shape and text box has changed.
 Angle changed
Step 11: Click the ‘Save and close’ button in the drawing window
After making all the changes you want, click the ‘Save and close’ button at the top rightmost corner of the drawing window.
 Click the ‘Save and close’ button
The drawing gets added to the document now.
Step 12: Click on the image and select ‘Behind the text’ from the below options
Click on the image in the document, and click the icon ‘Behind the text’ to move the image to the back of the page content.
 Click on the image and click the ‘Behind the text’ icon
The image moved back of the page content now.
 The drawing moved behind the text
Step 13: Resize and Center Image
Change the size of the image by dragging the corner points of the image, and move the image to the center of the page by dragging it.
.webp) Change the position of the image to the center of the page
Change the position of the image to the center of the page
Step 14: Preview Document
 Watermark added from Drawing tool
How to Create and Insert a Watermark Using the Google Drawings Site
Step 1: Open the Google Drawing site in your web browser, and Open a new drawing page
Open https://docs.google.com/drawings in your web browser. This opens the ‘Google Drawing’ webpage with a new blank drawing page.
Step 2: Go to ‘Insert’ and Click on ‘Word art’
Here we can insert text or shapes or draw anything as in the drawing tool of Google Docs. Let us insert a text as a watermark in Google Drawings.
In the menu bar of Google Drawings, click ‘Insert’. A dropdown opens. Click ‘Word art’ in it.
 Click ‘Insert’ -> ‘Word art’
Step 3: Type the text in the text bar and press ‘Enter’
A text box appears on the top. Type the text you want to add as a watermark and press ‘Enter’.
Here we have typed ‘GFG’, and press the ‘Enter’ key.
 Type the text to add as a watermark
Now the word art is added to the drawing.
 Word art inserted to the drawing
Step 4: Go to Fill Color Icon and Choose the Color of the Watermark
Change the color of the word art by clicking the ‘Fill color’ icon at the toolbar, and choosing any color from it.
 Choose any color
Here we have set as green color.
 The color of word art changed to the chosen green color
Step 5: Click the ‘Format options’ button in the toolbar
Click the ‘Format options’ button at the rightmost corner of the toolbar to make more formatting to the word art. A side panel opens from the right side of the page.
 Click the ‘Format options’ button in the toolbar
Step 6: Click ‘Size & rotation’ in the side panel to change the size and angle of this word art
Click ‘Size & rotation’ in the side panel to change the size of this word art. The word art can also be flipped or rotated to some angle of your choice.
 Change the angle of the word art
The angle of the word art has changed now.
 The angle of word art has changed
Step 7: Set the name for this drawing file
This drawing file gets saved to Google Drive automatically. By default, the name is ‘Untitled document’. Click on it, and type any name of your choice.
Here we are saving it as ‘myWatermark’.
 Type the name of your choice to save for this drawing
Step 8: Open Google Docs in your web browser, and open the document to add a watermark
Now open Google Docs in your web browser, and open the document in which the watermark is to be added.
Step 9: Go to the ‘Insert’ Tab, Select Drawing, and Choose From Device
In the menu bar, click ‘Insert’ -> ‘Drawing’ -> ‘From Drive’. This fetches the drawings saved in Google Drive.
 Click ‘Insert’->’Drawing’->’From Drive’
Step 10: Select the drawing and click the ‘Select’ button
A panel opens up with all your latest drawings created using ‘Google Drawings’. Click on the recent drawing you created, and click the ‘Select’ button at the bottom of the panel.
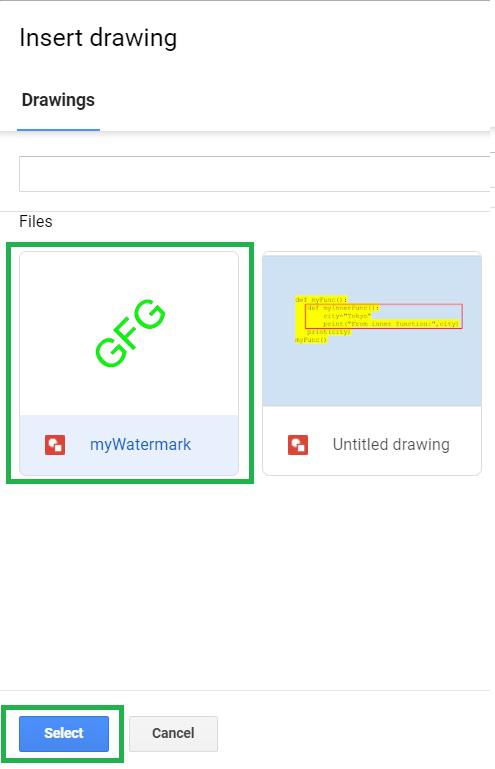 Select the drawing and click ‘Select’
Step 11: Click the ‘Insert’ button in the popup displaying
Another popup appears. Click the ‘Insert’ button in it. The drawing from Google Drawings gets added to the document.
 Click on ‘insert’ button
Step 12: Click the ‘Behind the text’ icon under the drawing
A list of image options appears under it. Click the ‘Behind the text’ icon under the drawing to move the drawing back to the page content.
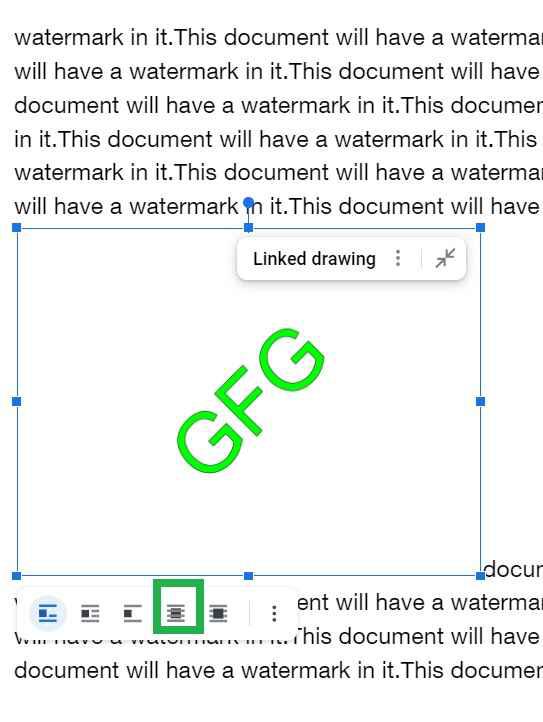 Click ‘Behind the text’
Now the drawing is moved behind the text of the page.
Step 13: Drag the drawing to the center of the page to appear as a watermark
We can adjust the position of the drawing to the center of the page to make it appear as a watermark.
Step 14: Preview Document
Drawings created from Google Drawings are added as a watermark successfully in Google Docs.
.webp) Watermark added successfully
Watermark added successfully
Conclusion
In this article, we have discussed watermarks and types of watermarks to insert in Google Docs. Also, we have discussed the step-by-step approach to insert watermarks as images and text in the document in Google Docs. We have discussed the detailed approach to inserting watermarks from Google Drawings and from the drawing tool in Google Docs.
FAQs -How To Add Watermark In Google Docs
Is there a direct way available in Google Docs to insert a watermark?
Yes, nowadays in the latest version of Google Docs, it have a easy way to insert watermarks in the document.
Do we have to add watermarks individually to all pages of a document in Google Docs?
No, once we have inserted watermark to one page of the document, all the pages of the document have got watermarks.
Share your thoughts in the comments
Please Login to comment...