Ever wanted to enhance your Google Docs with cool images? Well, good news – it’s a piece of cake! In this quick guide, I’ll show you the ropes on how to effortlessly drop in some visuals. No tech wizardry is required, easy steps to make your docs look snazzy. So, grab a seat, and let’s give your documents a makeover
Inserting Pictures in Google Docs
A document need not be boring with only text in it. You can make your document more interesting and visually appealing by adding pictures to it. A document in Google Docs also can have images in it along with text. Inserting images into documents in Google Docs is highly useful for making newsletters, catalogs, presentations, story books, project works, and more. Inserting images in Google Docs is a fairly easy process. Also, Google Docs does not restrict its users to only using the images uploaded from devices. Users can also insert images to Google Docs from the web, or by simply mentioning the URL of an image, from their Google Drive or Google Photos collections also. Google Docs provides wide options for adding images to its document.
How to Add Pictures on Google Docs
Inserting pictures in Google Docs using desktop or laptop devices is different from inserting pictures in Google Docs on mobile phones using the app. For desktop or laptop users, they can visit Google Docs using a web browser. There are two different ways to insert images using web browsers on desktop devices.
Ways to Adding Pictures in Google Docs in Desktop Devices
There are usually two different ways to insert pictures in Google Docs using desktop or laptop devices. They are,
- Using the Menu bar,
- Using the ‘Insert Image’ icon in the Toolbar
How to Add Pictures in Google Docs on Desktop
Step 1: Visit Google Docs on your desktop or laptop device using a web browser
Visit https://docs.google.com/document/u/0/ in a web browser on your desktop or laptop device. Open the document in which pictures are to be inserted.
Step 2: Place the cursor in any place in the document to insert the picture
Place the cursor in the document where you want to add the picture.
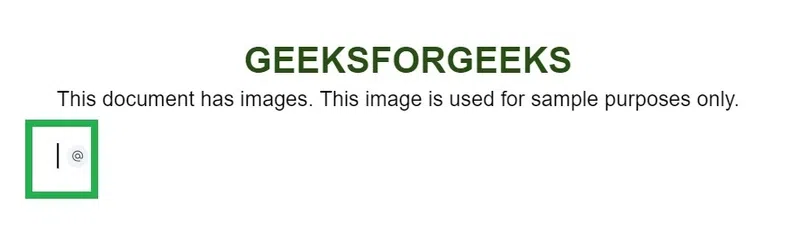
Place the cursor in the document
Step 3: On the Google Docs menu, go to ‘Insert,’ then choose ‘Image,’ and click on ‘Upload from computer.’
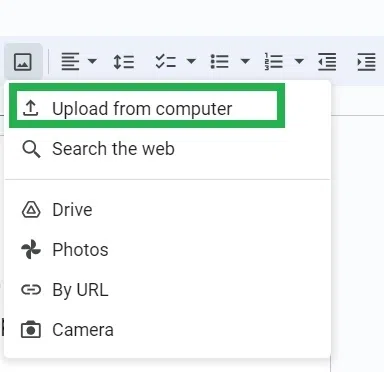
In the menu bar of Google Docs, click on ‘Insert’. A dropdown opens. Click on ‘Image’. Another dropdown opens showing the different sources you can get the images from. Click on ‘Upload from computer’ to upload picture from your computer.
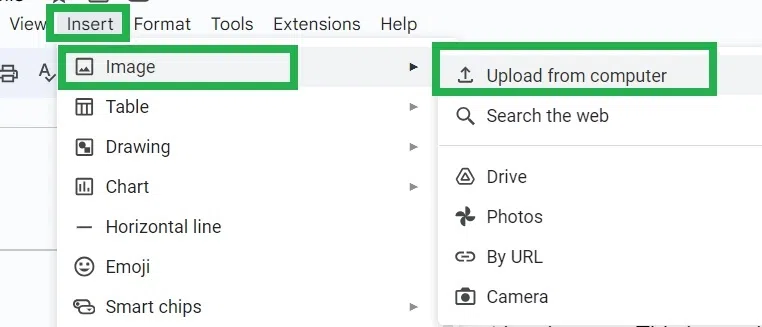
Click ‘Insert’ -> ‘Image’ -> ‘Upload from computer’
Step 4: Select the image to add in the document from computer
A window opens. Choose the picture from your computer from any folder by selecting on it.

Click on the picture in your computer’s folder to insert
Step 5: Click the ‘Open’ button in the window
Click on the ‘Open’ button which is at the bottom corner of the window.

Click on the ‘Open’ button
Step 6: The selected image is added to the document
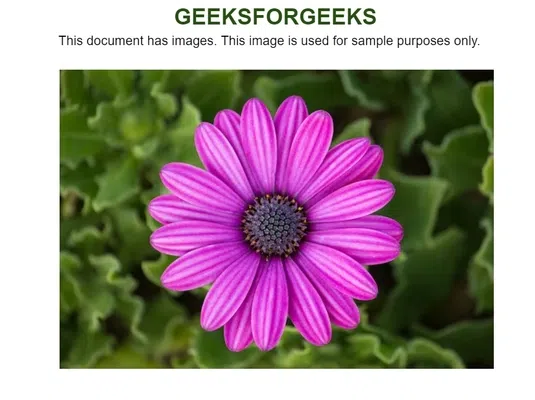
The selected image is added to the document in Google Docs.
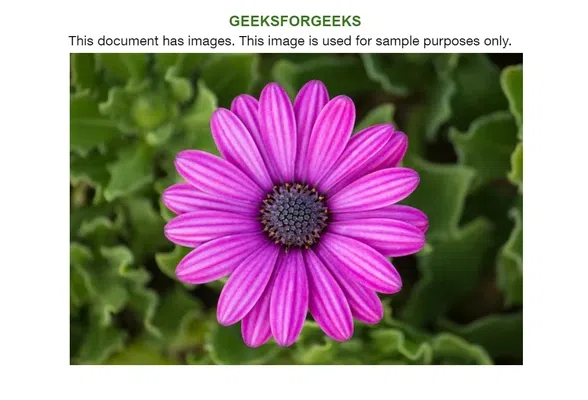
The selected image is added to the document
How to Add Pictures in Google Docs on Desktop using Tool Bar
Step 1: Visit Google Docs on your desktop or laptop device using a web browser
Visit https://docs.google.com/document/u/0/ in a web browser on your desktop or laptop device. Open the document in which pictures are to be inserted.
Step 2: Place the cursor in any place in the document to insert the picture
Place the cursor in the document where you want to add the picture.

Place the cursor in a place to add an image
Step 3: Click on the ‘Insert image’ icon in the toolbar
In the toolbar of Google Docs, click on the ‘Insert image’ icon.

Click on the ‘Insert image’ icon in the toolbar of Google Docs
Step 4: Click on ‘Upload from computer’ in the dropdown
A dropdown opens. Click on ‘Upload from computer’ in the dropdown to upload a picture from your computer to Google Docs.
Click on ‘Upload from computer’ in the dropdown
Step 5: Select the image to add to the document from the computer
A window opens. Choose the picture from your computer from any folder by selecting it.
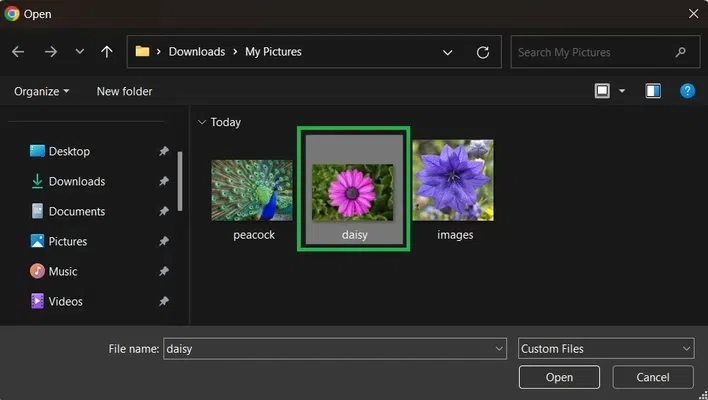
Select the image to add by clicking on it once
Step 6: Click the ‘Open’ button in the window
Click on the ‘Open’ button which is at the bottom corner of the window.
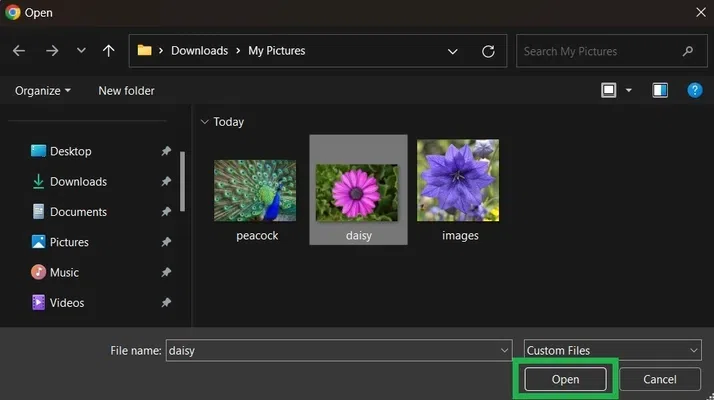
Click on the ‘Open’ button in the popup
Step 7: The selected image is added to the document
The selected image is added to the document in Google Docs.
The selected image is added to the document
How to Add Pictures in Google Docs by Searching the Web
Step 1: Visit Google Docs on your desktop or laptop device using a web browser
Visit https://docs.google.com/document/u/0/ in a web browser on your desktop or laptop device. Open the document in which pictures are to be inserted.
Step 2: Place the cursor in any place in the document to insert the picture
Place the cursor in the document where you want to add the picture.

Place the cursor in the document to add an image
Step 3: Click on the ‘Insert image’ icon in the toolbar
In the toolbar of Google Docs, click on the ‘Insert image’ icon.

Click on the ‘Insert image’ icon in the toolbar
Step 4: Click on ‘Search the web’ in the dropdown
A dropdown opens. Click on ‘Search the web’ in the dropdown to add an image from the web.
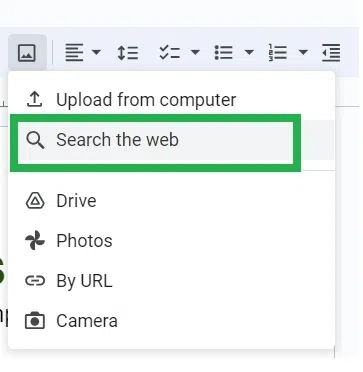
Click on ‘Search the web’ in the dropdown opened
Step 5: Type the name of the picture you want to search and add to the document
A panel with ‘Google Image’ opens from the right side. Type the name related to the picture you want to add in the document to search in the web.
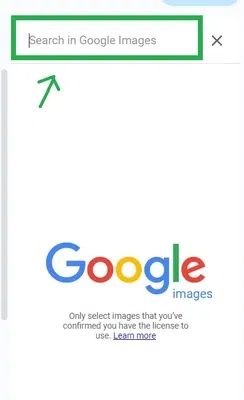
Type the name of the picture to search in web
Here we are searching for “daisy flower” in the Google images search.

Typing ‘daisy flower’ as a search term in the search bar
Step 6: Select any one search term from the list of recommendations showing
Select anyone from the list of recommendations shown below the search bar as you type.
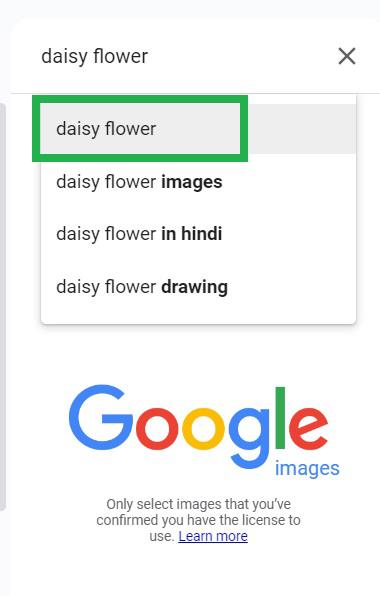
Click on any one search recommendations
Step 7: Click on the pictures you want to add to the search results
The search results are now displayed.
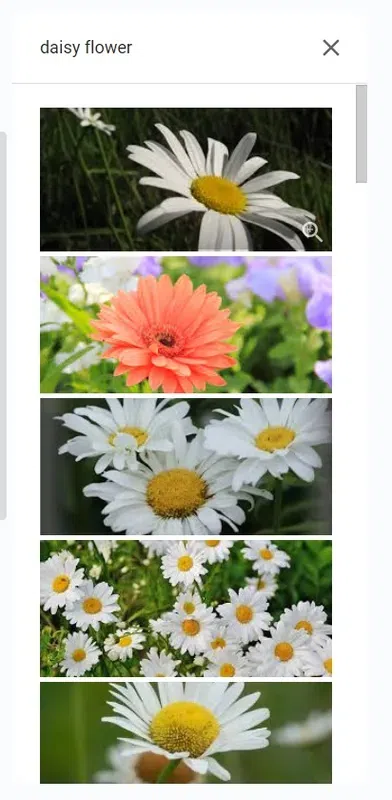
Search results displaying for ‘daisy flower’
You can select 1 or more pictures from here. Select any picture you want by clicking on it once.
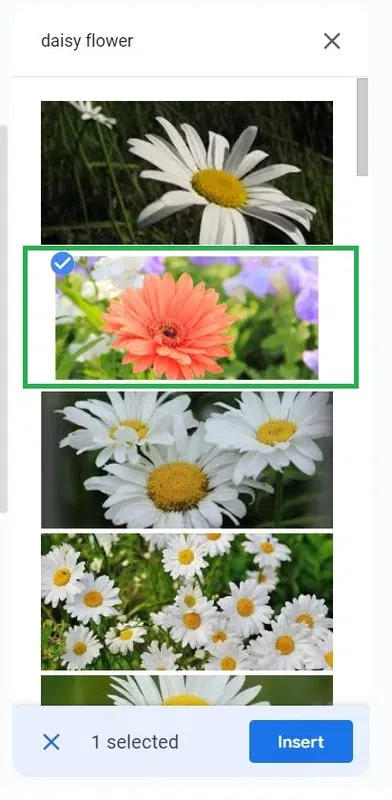
Selected 1 picture by clicking on it
Step 8: Click on the ‘Insert’ button at the rightmost bottom of the panel
Click on the ‘Insert’ button which is at the bottom of the panel.
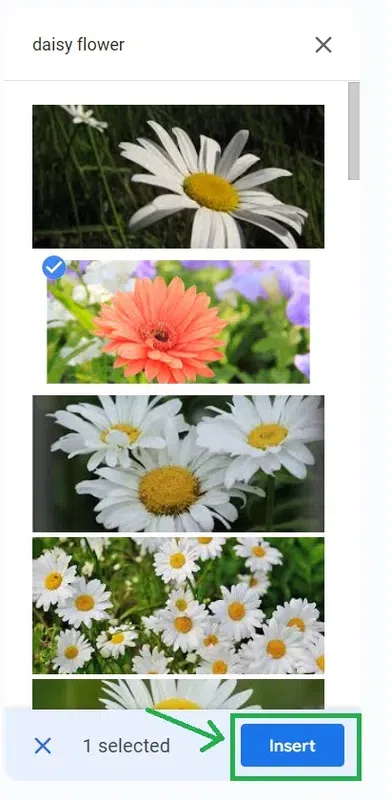
Click on ‘Insert’ button in the panel
Step 9: The picture is added to the document in Google Docs successfully
The picture gets added to the document now.
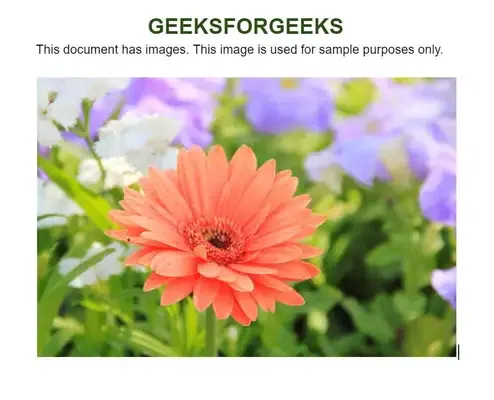
The selected picture from the web is added to the document in Google Docs
How to Add Pictures in Google Docs Using URL
Step 1: Visit Google Docs on your desktop or laptop device using a web browser
Visit https://docs.google.com/document/u/0/ in a web browser on your desktop or laptop device. Open the document in which pictures are to be inserted.
Step 2: Place the cursor in any place in the document to insert the picture
Place the cursor in the document where you want to add the picture.

Place the cursor in the document to add a picture
Step 3: Click on the ‘Insert image’ icon in the toolbar
In the toolbar of Google Docs, click on the ‘Insert image’ icon.

Click on the ‘Insert image’ icon in the toolbar of Google Docs
Step 4: Click on ‘By URL’ in the dropdown
A dropdown opens. Click on ‘By URL’ in the dropdown to add an image from the web by simply entering its specific URL.
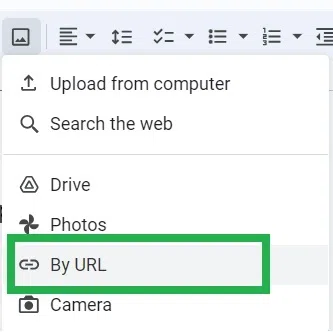
Click on ‘By URL’ in the dropdown
Step 5: Paste the URL of the image from the Internet in the popup window
A popup opens up with an empty input area for the URL of the image from the Internet.
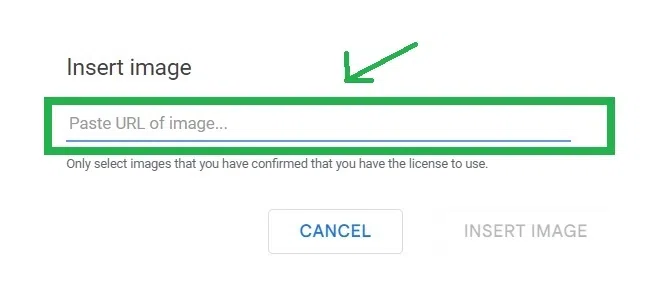
Popup to enter the URL of the image from the web
Paste the URL of the image in the popup window.
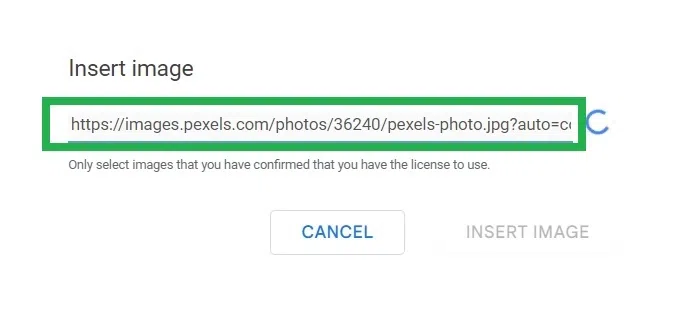
A URL of an image is pasted in it
Step 6: Click on the ‘Insert image’ button in the popup window
The thumbnail of the picture in the pasted URL gets loaded and displayed to confirm it. Click on the ‘Insert image’ in the popup window to add the picture to the document.
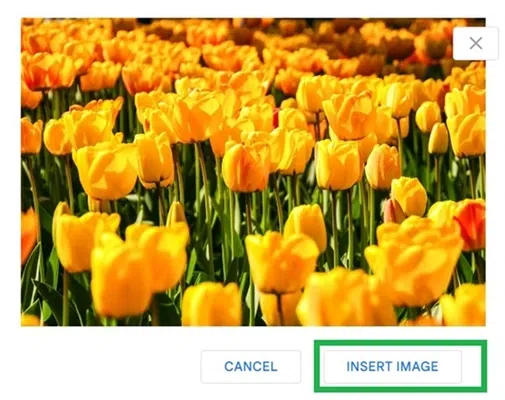
Click on the ‘Insert image’ button in the popup
Step 7: The picture is added to the document in Google Docs successfully
The picture gets added to the document now.

The picture of the URL entered is now added to the document in Google Docs
How to Add Pictures in Google Docs in iOS device
Step 1: Open the document in the Google Docs app on iOS device
Launch the Google Docs app on your iOS device. Open the document in which you want to add a picture.
Step 2: Tap anywhere in the document to add a picture there
Tap on any place in the document where you want to add the picture.

Tap anywhere in the document to place the cursor
Step 3: Tap on the ‘Edit’ button at the bottom rightmost corner of the app
Tap on the ‘Edit’ button which is at the bottom rightmost corner of the app.
Tap on the pencil icon
Step 4: Tap on the ‘+’ icon appearing on the upper side of the app
Tap on the plus icon ‘+’ at the upper side of the app.

Tap on the ‘+’ icon at the top side of the app
Step 5: Tap on ‘Image’ in the group
A drop-up opens. Tap on ‘Image’ in it.
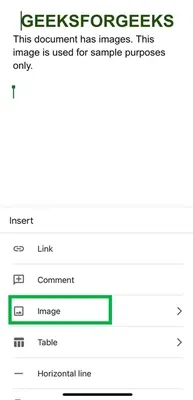
Tap on ‘Image’ in the drop-up
Step 6: Tap on ‘From Photos’ in the sub group
Another sub group opens up. Tap on ‘From Photos’.
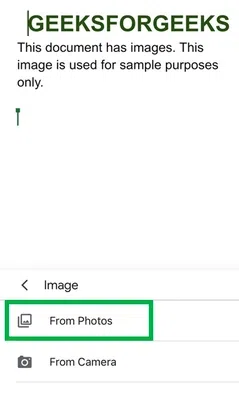
Tap on ‘From Photos’ in the sub drop-up opened
Step 7: Select the pictures you want to add to the document by tapping on them once
A screen opens up displaying all the photos in your iOS device gallery.
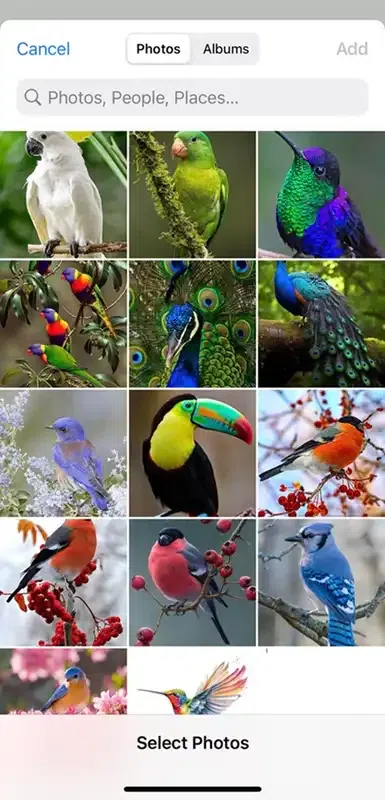
Photos from your iOS device’s gallery is showing
Tap on the picture you want to add. Once a picture is selected for adding to the document by tapping, a blue tick appears on that photo.
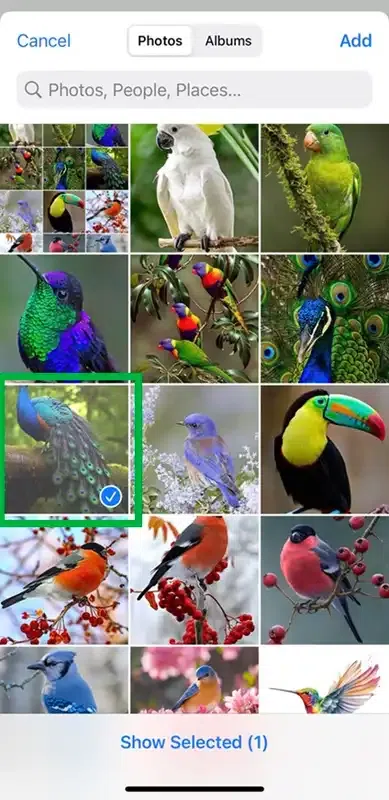
Tap on the picture you want in the gallery to add to the document
Step 8: Tap on the ‘Add’ button at the top rightmost corner
Tap on the ‘Add’ button at the top rightmost corner of the screen.
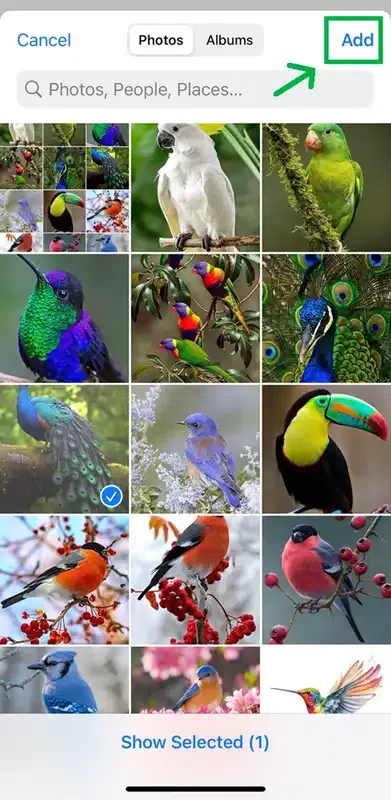
Tap on ‘Add’ button at the top rightmost corner of app
Step 9: Tap on the tick icon at the top leftmost corner of the app
The selected picture gets added to the document now. Tap on the tick icon at the top leftmost corner in the app.
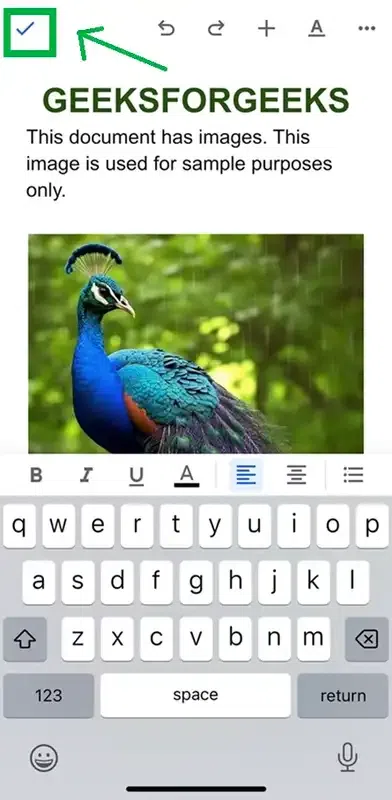
Tap on the tick symbol at the top leftmost corner
Step 10: Preview the added picture to the document
The selected image is added to the document in the Google Docs app on iOS device.
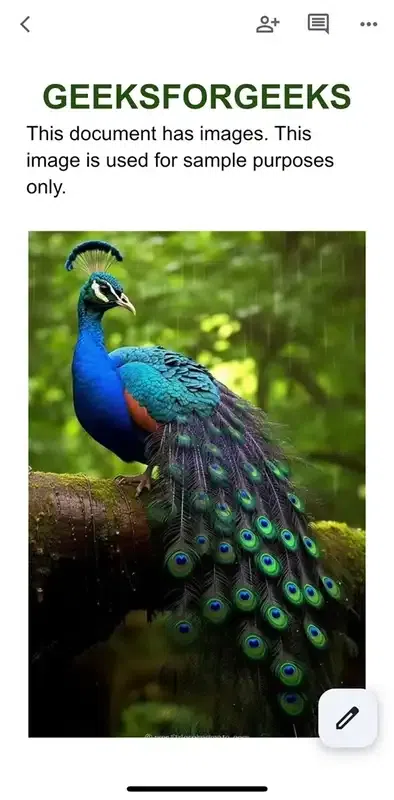
Selected image from the device gallery is added to the document in the iOS device
How to Add Pictures in Google Docs on Android
Step 1: Open the document in the Google Docs app on Android device
Launch the Google Docs app on your Android device. Open the document in which you want to add a picture.
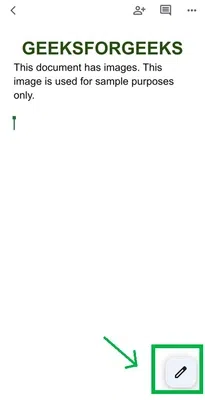
Step 2: Tap on the Edit (pencil) icon at the bottom corner
Tap on the pencil icon which is at the bottom rightmost corner of the app. It is the ‘Edit’ icon.
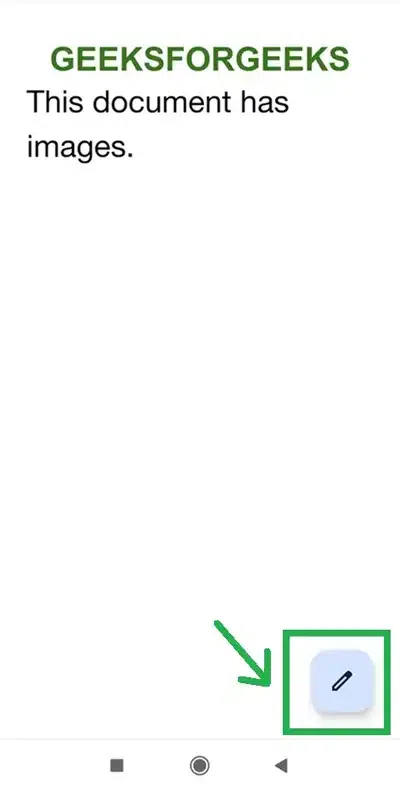
Tap on the pencil icon
Step 3: Tap anywhere in the document to place the cursor to add a picture there
The document has been changed to editing mode now. Tap on any place in the document where you want to add the picture. The cursor gets placed there.
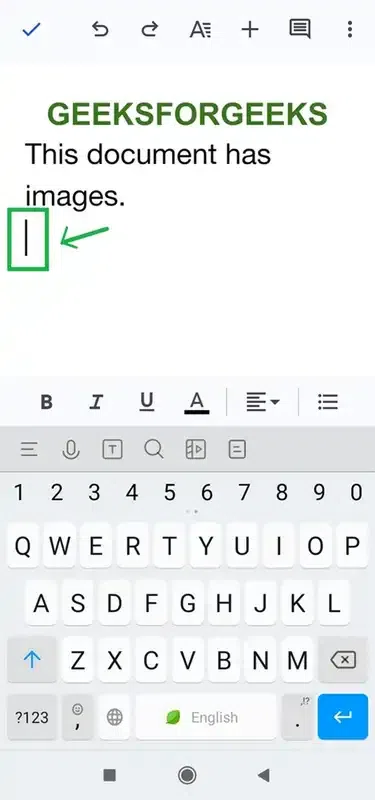
Tap on any line in the document to place the cursor
Step 4: Tap on the plus icon ‘+’ at the top side of the app
Tap on the plus icon ‘+’ which is at the top side of the app to open the options.
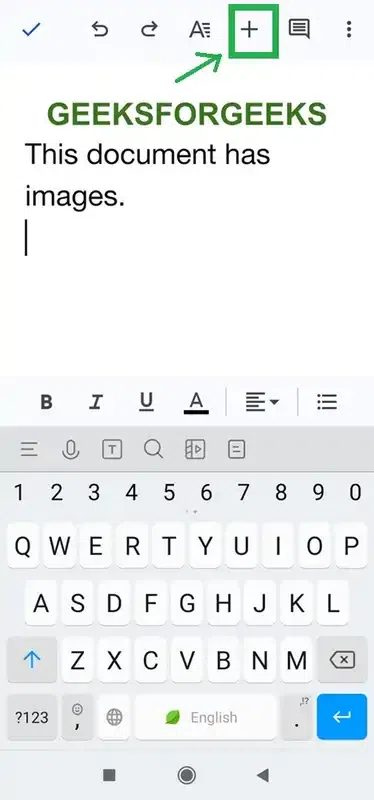
Tap on the plus icon at the top side of the app
Step 5: Tap on ‘Image’ in the menu
A drop-up menu opens from the bottom of the app. Tap on ‘Image’ in the menu.

Tap on ‘Image’ in the drop-up menu
Step 6: Tap on ‘From Photos’ in the sub-menu
Another sub-menu opens up. Tap on ‘From photos’ in it.
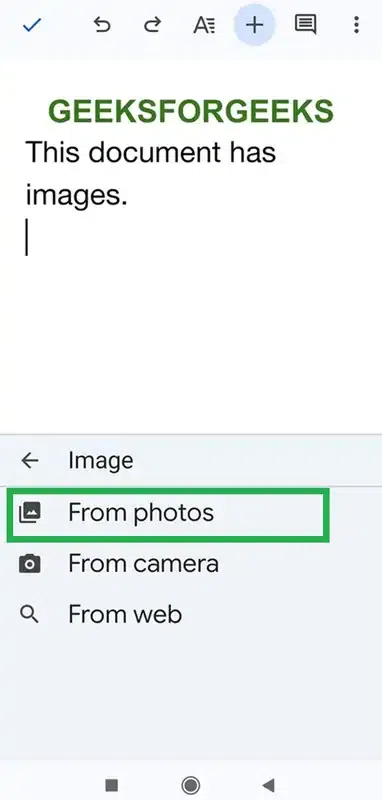
Tap on ‘From Photos’ in the sub-drop-up menu
Step 7: Tap on the picture you want to add to the document in Google Docs
On a new screen, the gallery of your Android device is opened. Select the picture you want to add to the document from your Android device by tapping on it.
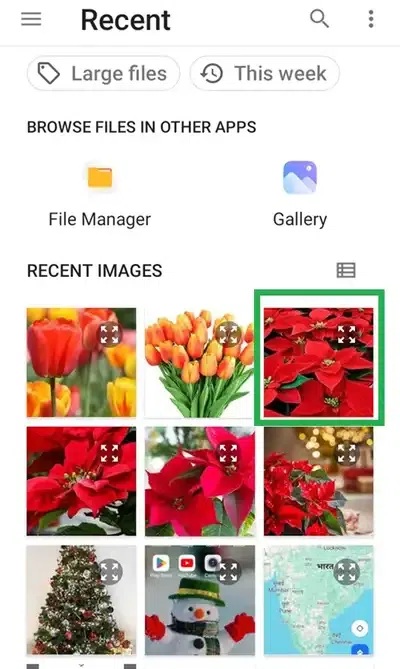
Select any picture you want to add in the document by tapping on it
Step 8: Tap on the tick symbol button at the top leftmost corner of the app
Tap on the button with the tick symbol to close the editing mode of the document.
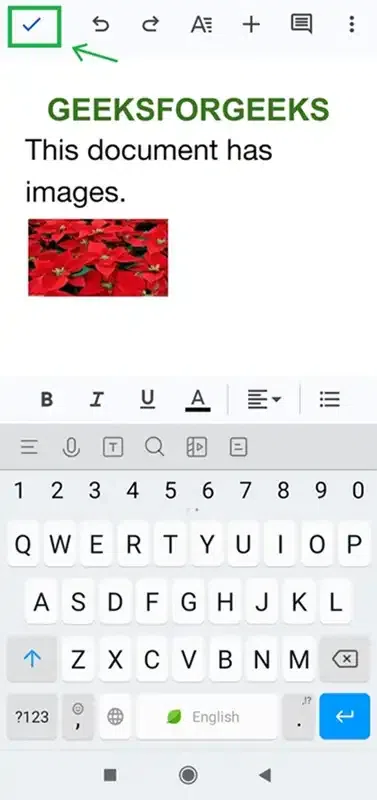
Tap on the tick symbol button
Step 8: The selected picture gets added to the document successfully
The selected picture is added to the document using an Android device.

The selected picture is added to the document in Google Docs app
Conclusion
In this article, we have discussed how to insert images into the document in Google Docs in different ways. Also, we have discussed each way to add images in a detailed approach on computers and also in Android and iOS devices.
FAQs
Is it possible to resize the image added to the document?
Yes, after inserting the image to the document, the image can be resized by stretching its corner.
Is it possible to add more than 1 picture at a time in Google Docs?
Yes, while using Google Docs using the computer, user can press the ‘Ctrl’ button in keyboard and select the pictures you want to add, and click ‘Open’. Also in the iOS app of Google Docs, we can add more than 1 picture at a time.
How to delete the added image in the document?
Simply click on the image added to the document, and press the ‘Delete’ key in the keyboard to delete the added image.
Share your thoughts in the comments
Please Login to comment...