Google Docs is a great tool for collaboration. It is mostly used to share content and brainstorm ideas. And what better way to make your document more attractive than adding illustrations and shapes to it? You might not see a complex title bar in Google Docs with a lot of tools on it but that does not mean that this powerful word processor is not loaded with an array of features starting from tracking changes to adding images, shapes, and symbols. All this is just a few clicks away.
In this article, we will discuss some easy ways to insert different shapes in a Google Document.
How to Add Shapes in Google Docs
It is possible that while working with Google Docs, you might need to insert some shapes in your document. These shapes can range from the usual 2-dimensional shapes like square, rectangles, triangle, and circle to symbols like an arrow or copyright sign. You might even need to insert shapes like those of cubes, cuboids, and prisms.
While the 2-D shapes and symbols can be inserted from the word processor itself, the addition of 3-Dimensional shapes might require you to go a little extra. But worry not, we have covered all the different methods of adding shapes in Google Docs in the following section.
Add Shapes in Google Docs Using the Drawing Option
This method is useful if you want to create 2-D shapes that are big enough. All the basic shapes can be drawn using this method. Moreover, they can formatted to change the color and outlines as desired.
Step 1: Open the Document
Open a new document or an existing document in which you want to insert shapes on Google Docs.
.png)
Opening Document
Step 2: Go to Insert, Click on Drawing and Select New
In your document go over to the Insert option and click on Drawing. After selecting Drawing, choose the + New option.
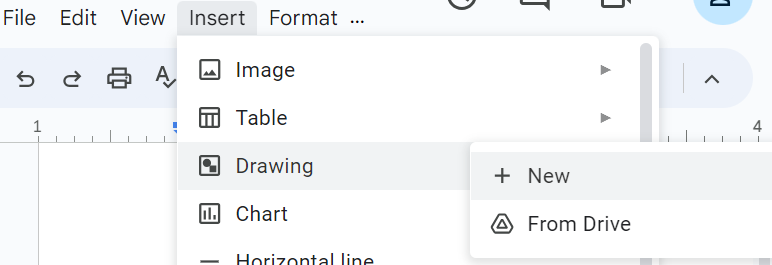
Drawing Option
Step 3: Select Shape
After clicking on new, you will be taken to the new editing/ dialog box. There will be various options for adding shapes. Here, you can choose from various options like shape, line, and text box, etc.
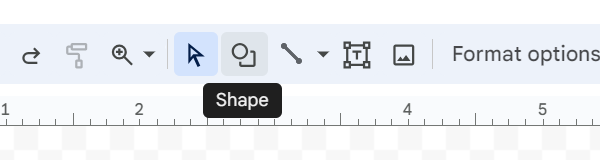
Shape option
Step 4: Select the Desired Shape
After clicking on shapes, you will see a drop-down menu consisting of various shapes. In the drop-down, select the shape you want to insert in your document. For now, go over to the Shape option and select the desired shape.
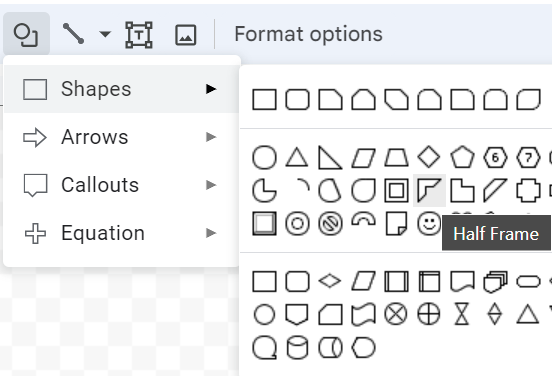
Choose the desired shape
Step 5: Drawing the Shape
The tooltip will now change to a + sign and you can draw the shape of the desired size by dragging the + sign.
Draw the shape as desired
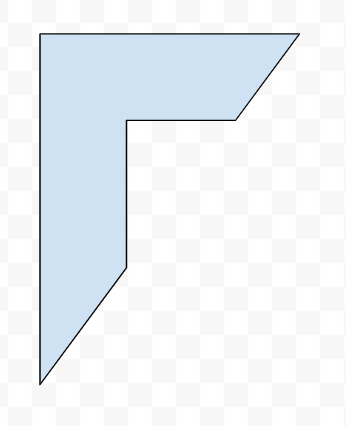
Step 6: Edit Shape and Save
Once the image is of the desired size, you can further color the image and change its border styles from the options available in the ribbon. Once you are satisfied with the shape, click on save and close and the shape will be present on the Google doc.
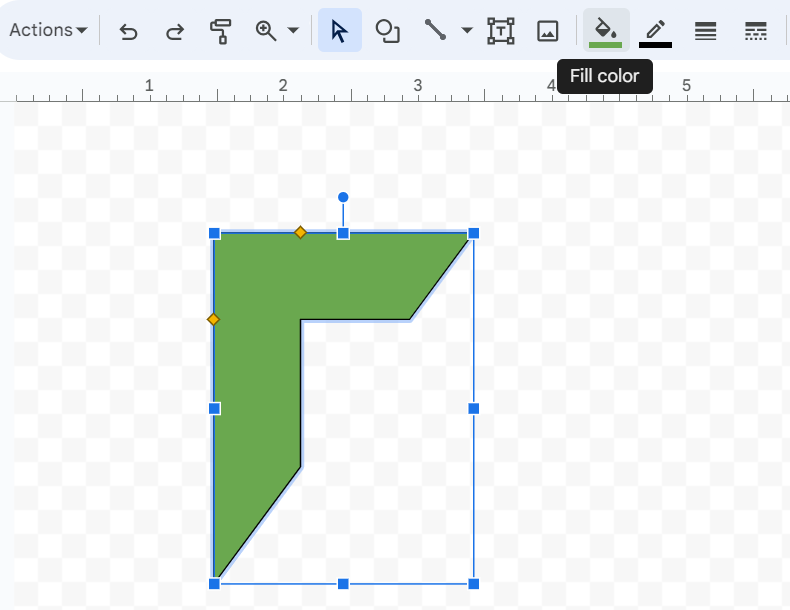
Change the color and format the shape

Final shape
Add Shapes in Google Docs Using Special Characters
Step 1: Go to Insert and Click on Special Characters
Click on the Special Characters option under the Insert tab.
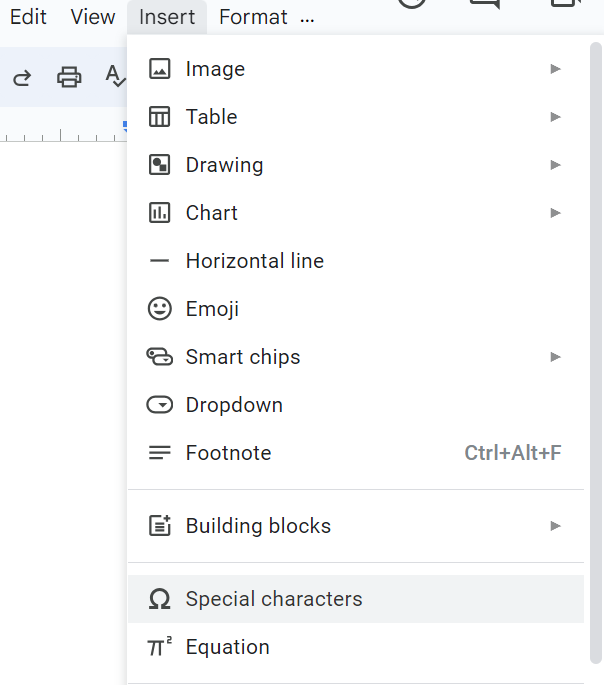
Special characters option
Step 2: Select the Character
You will see a new section open in the left corner consisting of various symbols. Once you click on any character, that character will be inserted in the Google document.
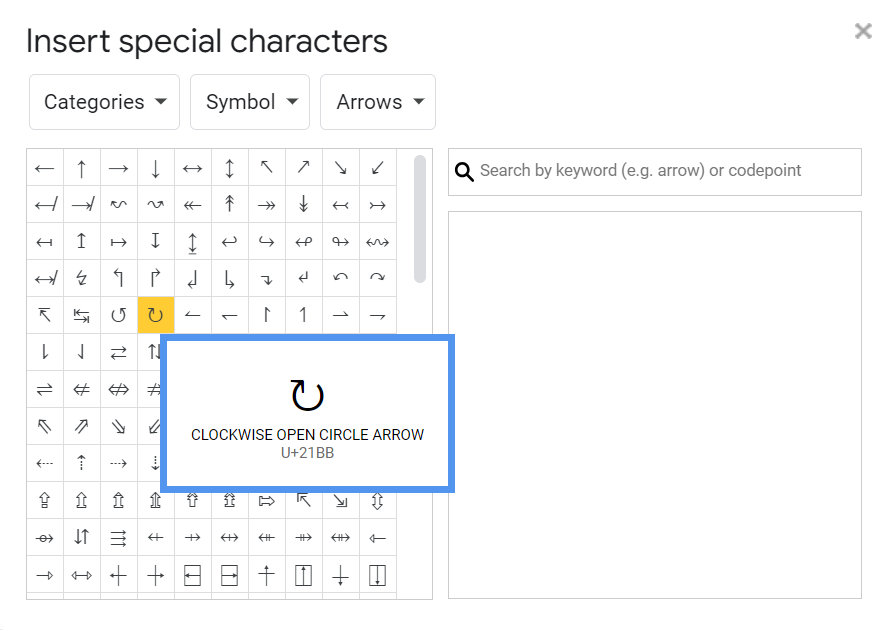
Choose the desired character
Alternatively, you can also draw the desired character in the empty side panel and characters similar to that would be displayed.
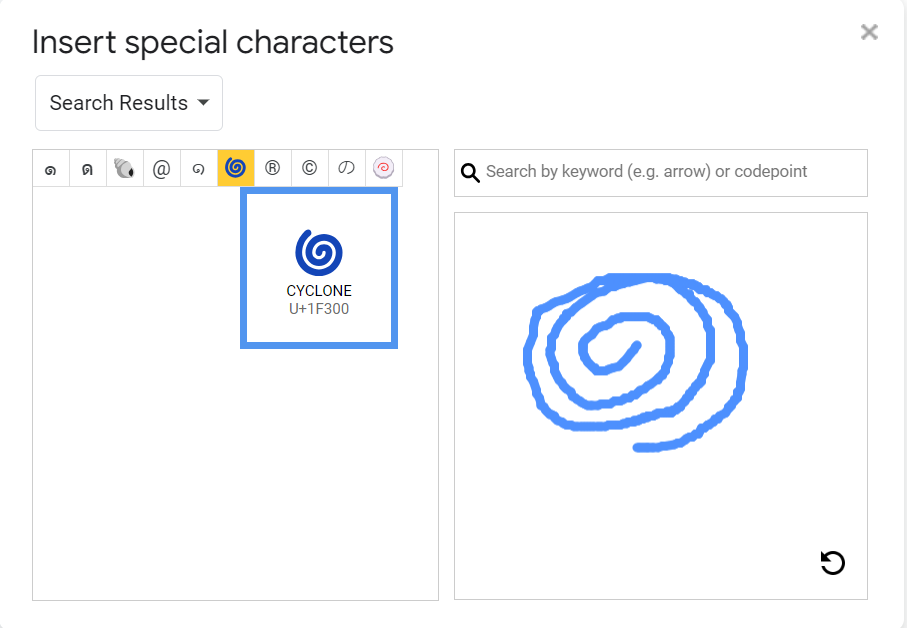
Draw the character
The result would look like this-
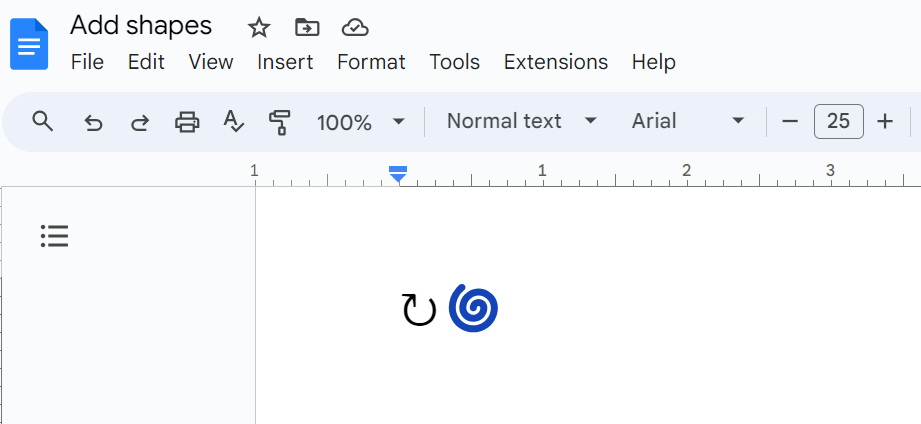
Inserted characters
Add Shapes in Google Docs Using the Web Image Search Option
In this method, we get to search for the shape on Google Docs via Google. This is especially useful if you want to add 3-dimensional images like a cube or cuboid since these shapes are not usually present in word processors already but can be inserted from the web.
Step 1: Open Document and Select Image and Search the Web
Go to the Insert tab and go over to the Image option among the given options in the displayed dropdown. Select Search the Web from the drop-down displayed.
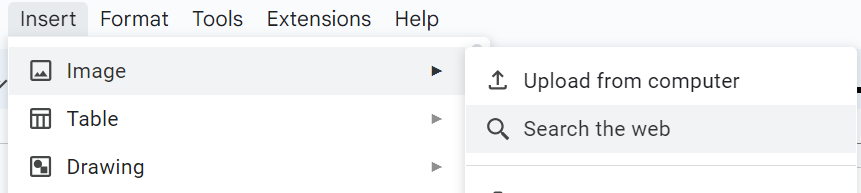
Search the web button
Step 2: Select the Shape from the Displayed Panel
You will see a panel appear at the right where you can search for any shape. Choose the desired image and click on Insert. The shape will be added to the Google doc.
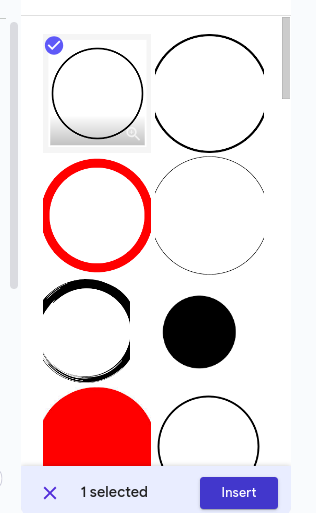
Select the Shape
Add Shapes in Google Docs Using Images
This is just an extension of the above method. This time, we will first download the shape as an image onto our system and then upload it to the Google doc, unlike the previous method where we were directly inserting the shape from Google using the search the web option.
Step 1: Search Shape
Go to Google and search for the desired shape.
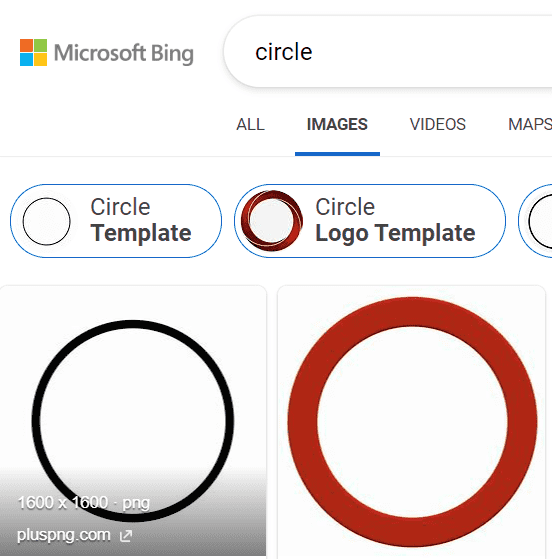
Search for the shape
Step 2: Download the Shape
Download the shape as a .jpeg or .png image by right-clicking and choosing the save as image option.
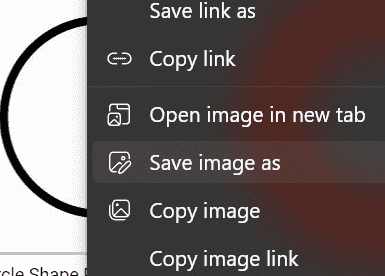
save the image by right-clicking on it
Step 3: Go to Insert and Select Upload from Computer
Now head over to the Google Docs where you want to insert the shape. Under the insert tab, go to Image and choose. Upload from the computer option from the drop-down.
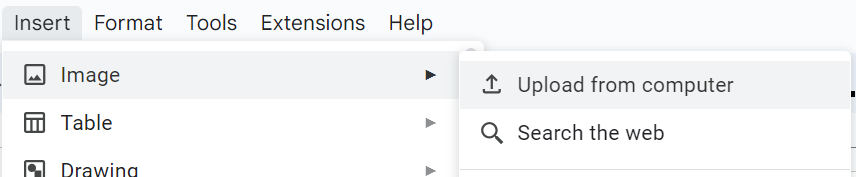
upload from computer option
Step 4: Choose the Shape
A pop-up will open from which you can choose the shape you saved in the second step. Click open.
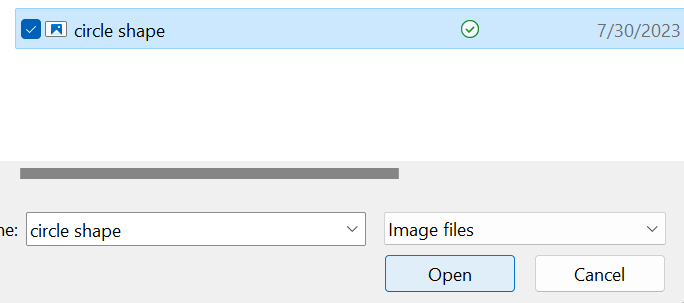
choose the shape
Conclusion
In this article, we discussed the various ways in which we can add shapes in Google Docs. The simplest method is to use the Drawing option since most of the basic shapes are available there. Also, this method allows you to change the size and other formatting of the shape in the most easy manner.
Other alternatives that can be used in case you do not find the desired shape in the drawing option are special characters, web image search, and uploading images method.
FAQs
Where is the shapes icon in Google Docs?
You can find the shapec icon in drawing box displayed when you select the drawing option from the drop down menu of Insert Tab. You can edit the shape by selecting it and then right clicking on it.
How do I insert shapes in word?
You can easily insert shapes in Microsoft word by going to Insert tab and then selecting the shape of your choice as you can easily acees shapes from the toolbar.
How do you make a box on Google Docs?
1. Select “Insert” tab.
2. Click on Drawing” in the drop-down menu.
3. Choose “New” from the side menu.
4. Select the text box icon and Click and drag your cursor to create the text box you want.
5. Add your text to the box.
6. Click, hold and drag the blue dots on the text box to adjust its size.
7. Press “Save and close” .
Share your thoughts in the comments
Please Login to comment...