Adding columns to your Google Sheets document is similar to expanding the canvas of your data masterpiece. In the realm of data management and analysis, having sufficient space for your information to breathe and thrive is essential. Whether you’re dealing with financial statements, tracking project progress, or curating vast databases, the need for additional columns is a common occurrence.
When you are working on a spreadsheet or data you might come across the need to add columns in between data. This is where the utility to add the columns comes in handy. Here you add a column of cells parallel to an already existing column. When you add a column in a Spreadsheet, the column is added between the indexes that already exist.
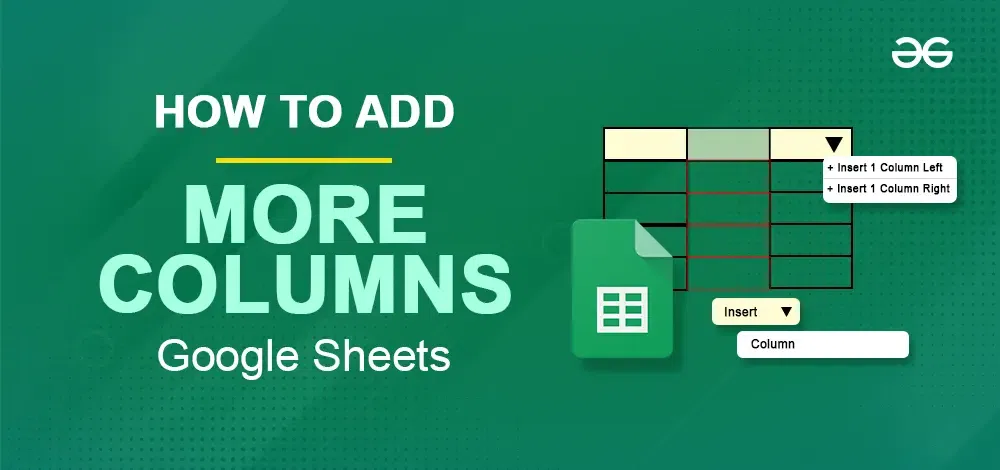
How to Add Columns in Google Sheets
Adding columns in Google Sheets is very simple and always comes in handy. This is a two-step process to add columns in Google Sheets. Now to add multiple columns in Google Sheets, we have to add single columns multiple times. Here there are two ways we can use to add more columns in Google Sheets which are:
- Adding From the Column Header Menu
- Adding through the Insert option
The Step-by-Step Guide to implement these Approaches will follow but before that, you have to follow these steps to set up the Google Sheets to work in it.
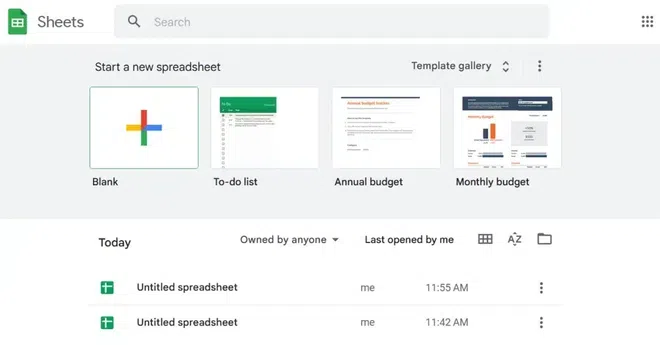
Step 1: Open Google Sheets
The first and obvious step is to open Google Sheets on your browser.

Open Google Sheets
Step 2. Select the Spreadsheet
After opening Google Sheets, you have to sign in with your Google Account. Then select the spreadsheet that you want to edit and add columns to. You can edit a blank spreadsheet or an already existing one.
Select The Spreadsheet
How to Add Columns Using the Column Header Menu
This approach is a literal Two-step process and it is very simple to execute this. Also, this process might be the most used one for doing this particular purpose. The steps to implement this approach are given below:
Step 1: Select the Column
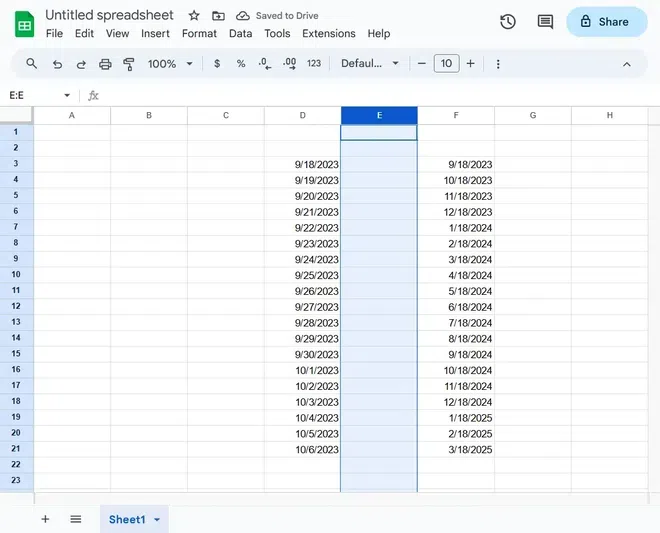
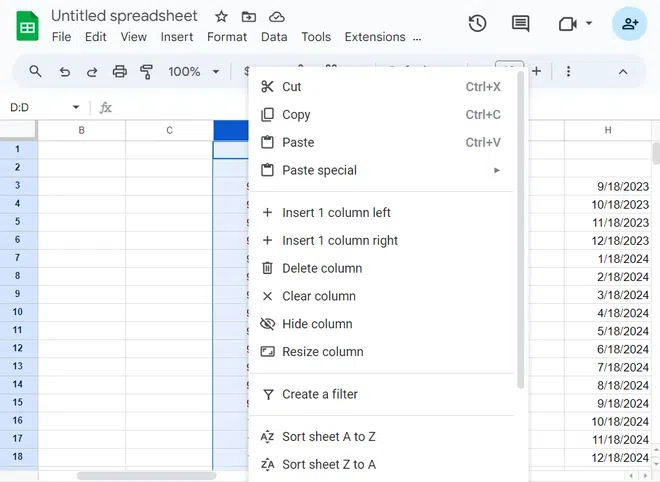
The column after or before which a column needs to be added must be selected first. But here you can Left-click on the column’s header and the column will be selected and at the same time, the utility menu will open up.
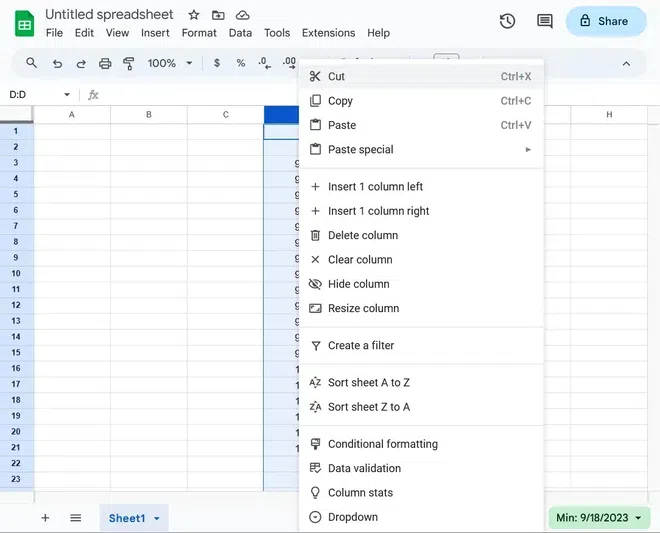
Helper Options of Column where you want to add
Step 2: Select from Menu
After the Column now by click on the menu options. There are two options to Insert the column to the left of the selected column or its right.
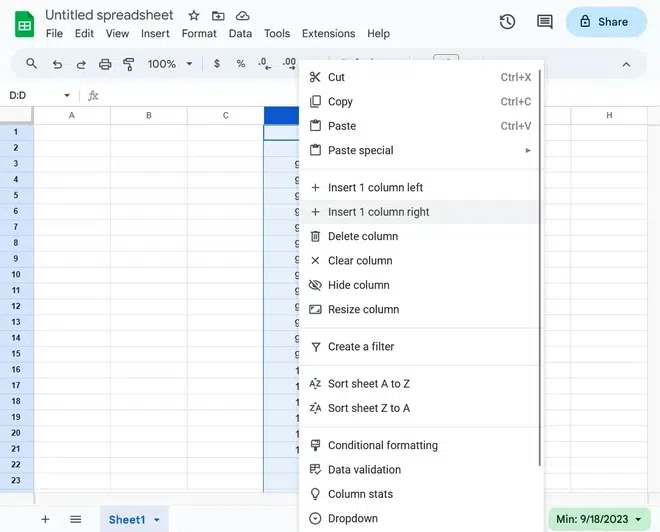
Insert the Column
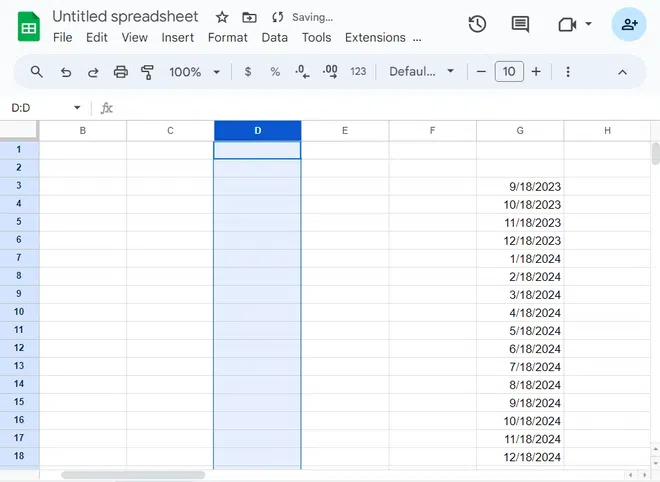
Step 3: Preview the Inserted Column
A column has been added to the right of the Selected Column
How to Add a Column in Google Sheets Using the Insert option
This is a bit more lengthy process than the previous approach but it is similarly very simple and handy. In this process, we use the menu options of the top navigation bar. The steps to implement this approach are given below:
Step 1: Select the Column
The first one is to select the column before or after which you want to add another column. To select a particular column, just click on the header of the column.
Select the Column
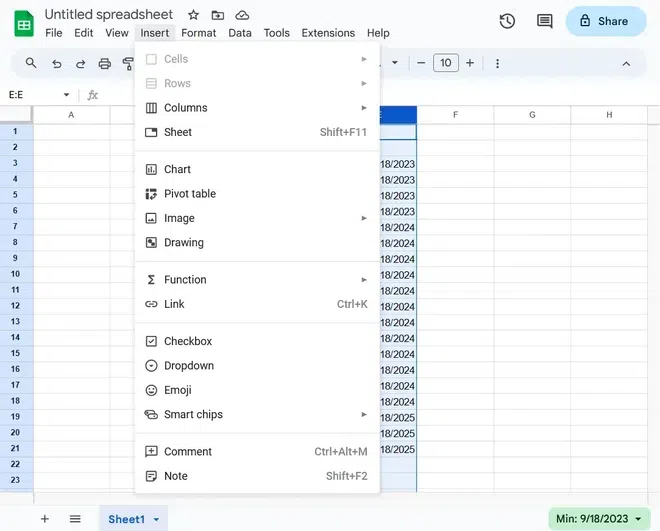
Step 2: Click on the Insert Menu
On the top navigation bar, locate the Insert Menu and click on it. Upon clicking it a Dropdown Menu will expand showing several options.
Click on the Insert Menu
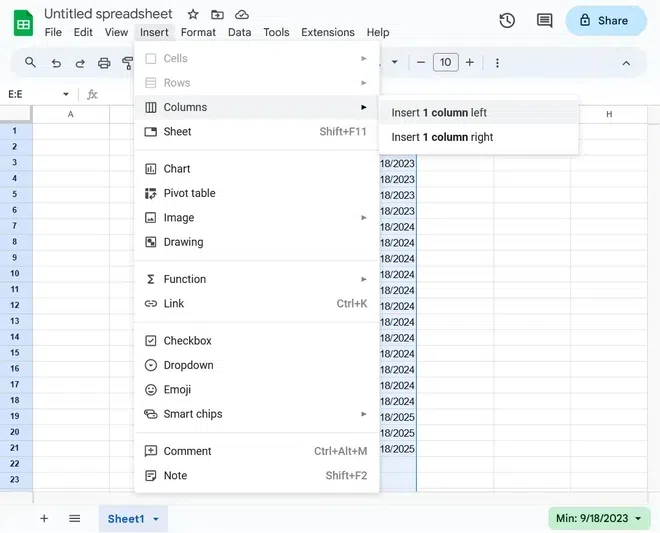
Step 3: Choose the Columns Options and Select your Preferred Selection
When the Insert menu’s dropdown list is open, click on the “Columns” option and a side menu will open up. Now from that menu, you can select to insert a column either on the left or right of the selected column.
Open Column’s Options
Step 4: Preview Inserted Column

A column has been added to the right of the Selected Column
How to Add Multiple Columns in Google Sheets
The process of adding Multiple Columns is similar to what adding a single column is in Google Sheets. The only difference is the column selection. To do it follow the basic steps given below, but before that, there is a basic
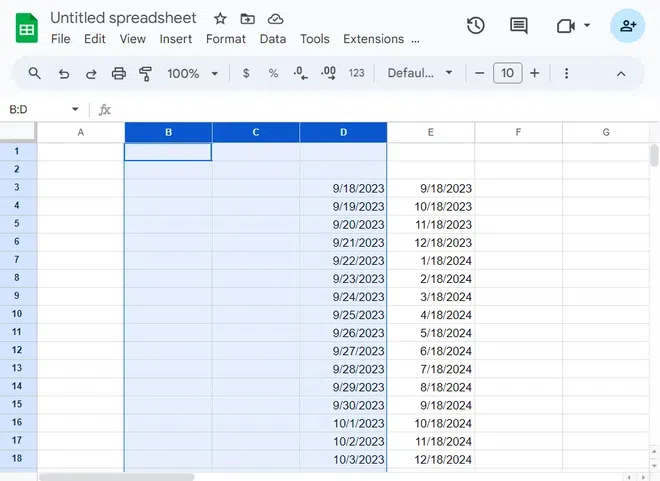
Step 1: Select Columns
First, select the number of columns that you want to add.
For example, if you want to add two columns select two columns. You can select multiple columns, by selecting one column first. Then hold the “Shift” key and press the “→” arrow key to select other adjacent columns as many as you want to add.
Select Columns
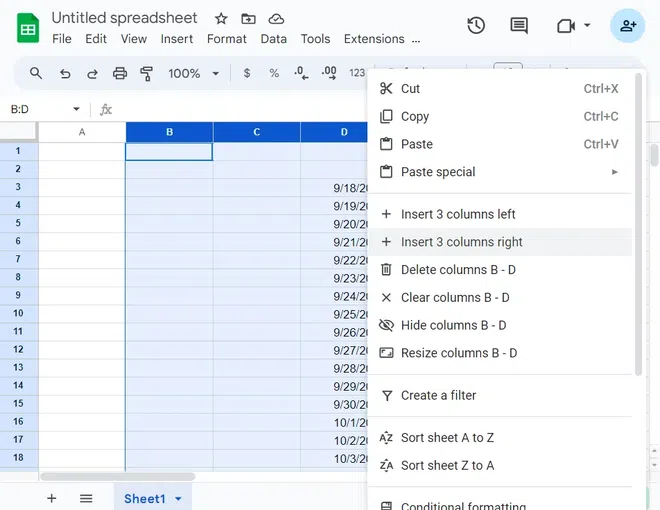
Step 2: Click on Column Header and Select Insert 3 Columns Right
Now click on the header section of any column of the selected columns. This will open up the Helper options. Now click on the Insert Column option from the menu.
Helper Options of Column where you want to add
Step 3: Preview the Inserted Columns
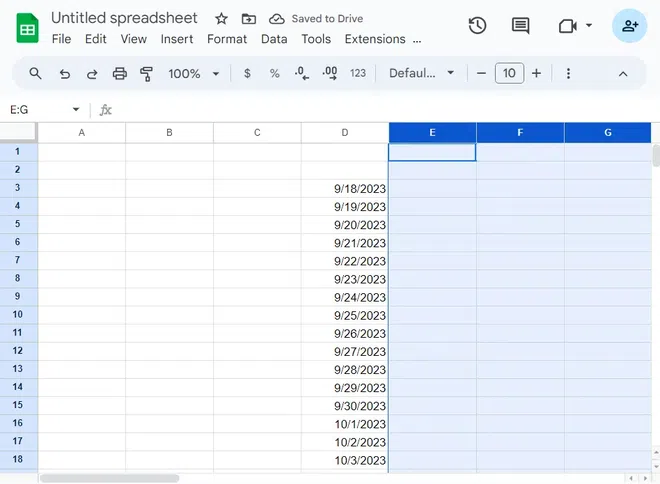
Insert the Columns
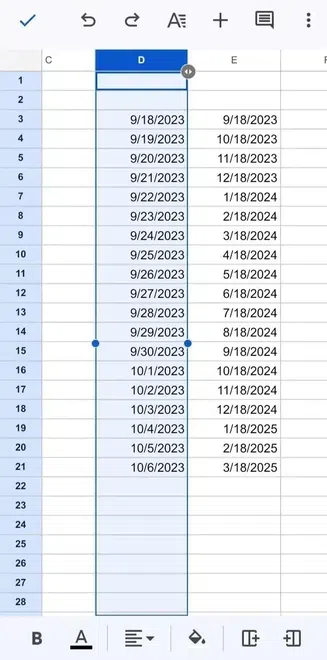
How to Add Columns in Google Sheets on Android
Like on PC Google Sheets is completely functional and useful on Android so all these utilities work quite well on Android. The process is almost the same as the Adding columns on a PC and as simple as the previous one. Here the column is added using the Insert menu. First, you have to download the Google Sheets app on your Android and sign in with your Google Account. After that follow the step-by-step guide that is listed below to add columns.
Step 1: Open the Spreadsheet
After the Google Sheets App is opened, you have to sign in to your Google Account. Open the Spreadsheet where you want to Add columns.
Open the Spreadsheet
Step 2: Select the Column
The first one is to select the column before or after which you want to add another column. To select a particular column, just click on the header of the column.
Select the Column
Step 3: Click on the Insert (+) Icon
After you have selected the column after or before which you want to insert the column. Click on the Insert icon “+” at the top right corner of the window. This will open up the Insert menu at the bottom.
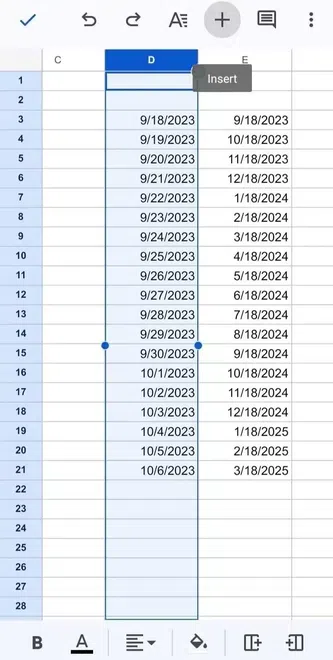
Click on the “+” icon
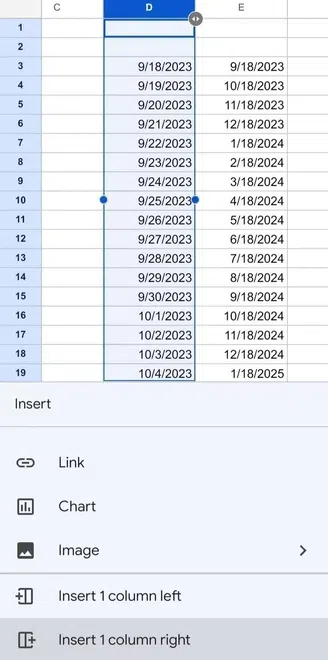
Step 4. Insert the Column
From the Insert Menu at the bottom click on the Insert 1 column right/Insert 1 column left as your preference and requirement. Here I’ve inserted a new column after the selected column by clicking on Insert 1 column right.
Insert the Column
Step 5: Preview Inserted Column
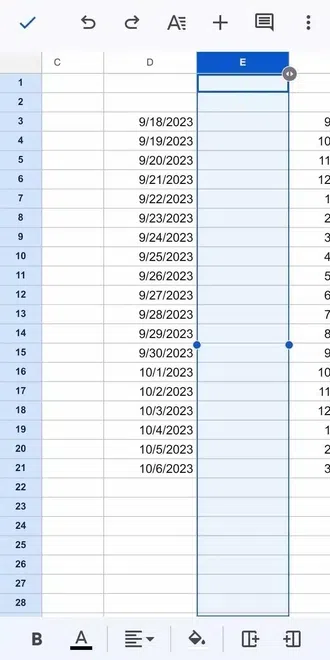
Insert the Column
How to Remove a Column in Google Sheet
Deleting or removing a column is the easiest and simplest of all. Right-click the column header and choose “Delete column” to delete the column. Take care since doing so will permanently remove the column and all of its contents. It is shown in the steps. below
Step 1: Open the Helper options of the Column
The column that you want to delete must be selected first. But here you can Left-click on the column’s header and the column will be selected and at the same time, the utility menu will open up.
Open the Helper options of the Column
Step 2: Delete the Column
From the helper options in the menu click on the “Delete Column” option and the column will be removed.
Delete the column
Conclusion
Adding a column in Google Sheets is one of the most essential utilities that are required to be mastered by anyone. In this tutorial, various techniques to insert column in Google Sheets has been Demonstrated. You can choose to place a column before or after the one you’ve chosen using the place menu. You may insert columns using the context menu that displays by doing a right-click on a column to complete this task even more quickly.
Frequently Asked Questions(FAQs)
How many columns can I add to my Google Sheets at once?
Answer: There is a maximum amount of cells you may utilise in Google Sheets. Up to 10 million cells or 18,278 columns (column ZZZ) can be used in your spreadsheet.
Can I add columns in Google Sheets using a keyboard shortcut?
Answer: Yes, you can add column by using Keyboard Shortcut. First select the column after On your keyboard, use “CTRL + Shift + Alt + =” to create columns
Do my spreadsheet’s rows increase if I add a column?
Answer: No. In a table or spreadsheet, a row is a series of data items organised horizontally. A column, on the other hand, is a spreadsheet’s vertical row of cells. Rows are read from left to right. Columns, however, are set up top to bottom
Share your thoughts in the comments
Please Login to comment...