Google Cloud Platform is one of the leading providers of cloud computing in the industry. GCP provides multiple services, like infrastructure as a service (IaaS), platform as a service (PaaS), and many more. Using the Google Cloud Platform, businesses can get rid of managing physical servers and instead use internet facilities to scale up their businesses on a global level. GCP also helps developers by providing API services to integrate applications to use Google’s cloud services. GCP offers services like computing, storage, databases, big data, machine learning, and more. But before anyone can use Google Cloud services, it is important to create a project in the Google Cloud Console. A GCP project works as a container for the resources allocated and services used for a particular type of task in a user account. In this article, we will learn about projects in the Google Cloud Platform and see how we can create a project in GCP.
What is Google Cloud Platform (GCP)?
Google Cloud Platform (GCP) is a cloud computing provider that is run by tech giant Google. GCP was launched in 2008 and has gained popularity since its release. GCP runs on the same technologies that Google uses for its in-house applications like Gmail, Google Maps, etc. Google Cloud Platform provides infrastructure as a service (IaaS), platform as a service (PaaS), and serverless computing environments to its users. The popular services provided by GCP are virtual machines, databases, storage, an app engine, machine learning solutions, and more. Google Cloud Platform also offers a free trial to new users to learn about cloud technologies.
What is a GCP project?
A Google Cloud Platform (GCP) project is a basic unit to use Google Cloud services. You can think of the GCP project as a box and cloud services as balls. To use a ball ( service), you have to put the ball into the box (GCP Project). The GCP project is the basic requirement to use the Google Workspace API and add-ons or apps. Using the project, users can enable or create Google Cloud services, including APIs, computing resources, storage systems, and more. The project also enables users to enable billing for Google Cloud facilities, add other users to the project, and grant or revoke permission on the Google Cloud Platform.
Steps to create a GCP project
Step 1: Login to GCP
To create a project on the Google Cloud Platform, the first thing we need to do is log into the Google Cloud Console. On your web browser, search for Google Cloud Console or visit console.cloud.google.com. Here you will be asked to select the Google account using which you want to access Google Cloud services.
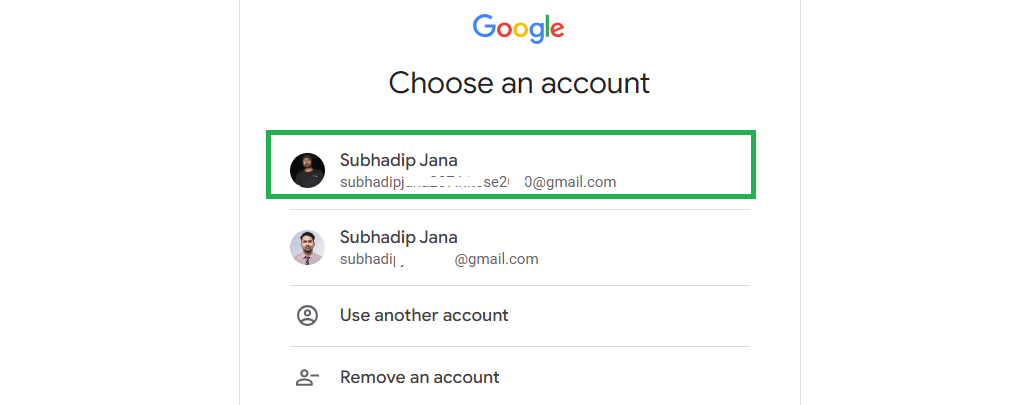
Select the account which has a valid Google Cloud Platform subscription or else you can go for free trial under which you get $300 worth of credit in your GCP account.
Step 2: Select Project
Once you are logged into the Google Cloud Platform, you will the GCP Console’s homepage.
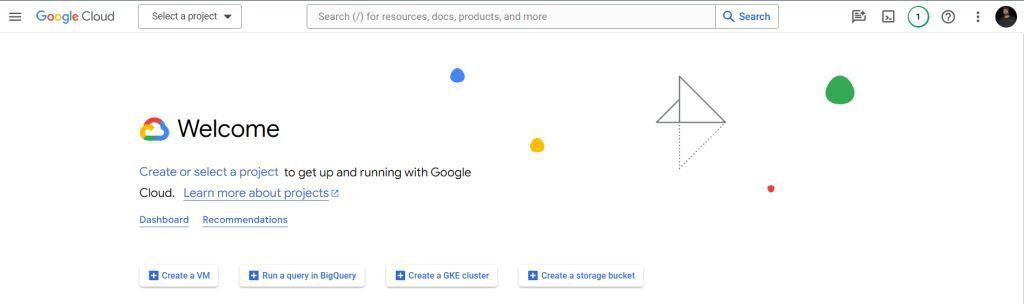
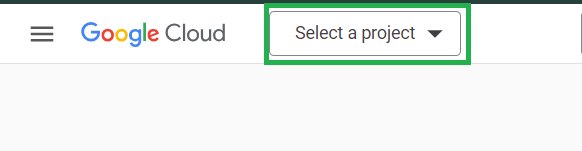
Click on Select a Project on the top left corner.
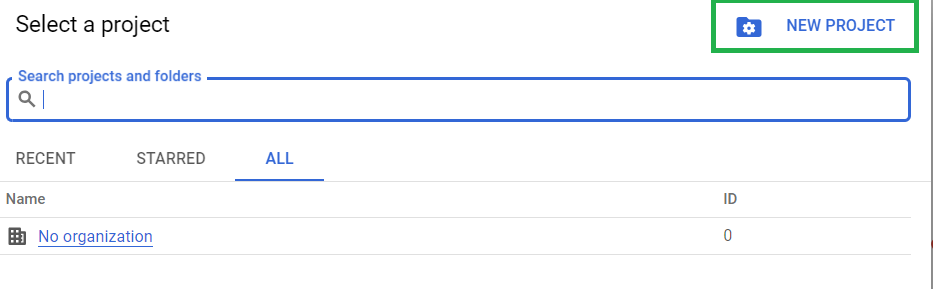
This will open all project listed for your account. If you are part of any organization then you can see projects assigned to you under organization section. Now to create a new project click on NEW PROJECT.
Step 3: Fill Project Details
Once you select New Project a new page will open up asking for project details
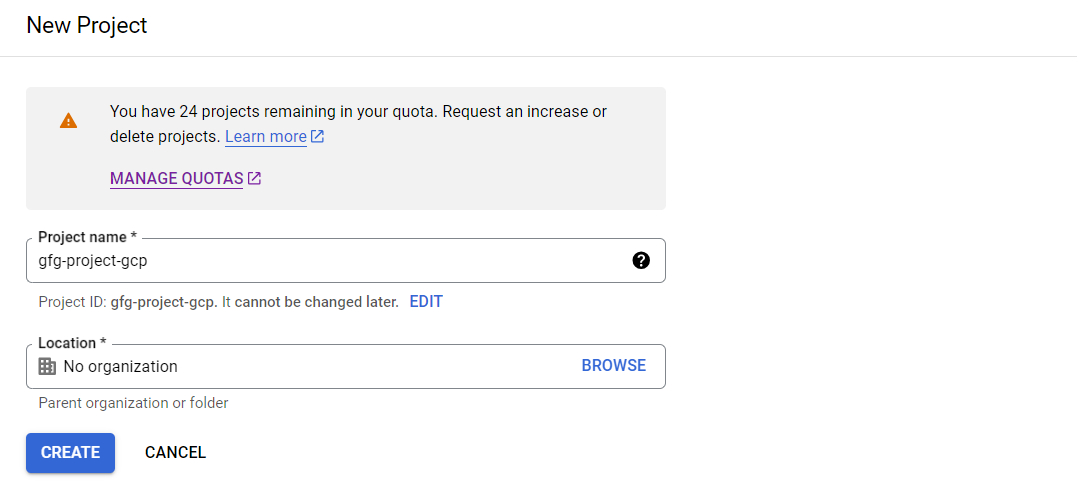
Project Name: Project Name is the name to be displayed for your Google Cloud Platform project. This is also be your project ID and it cannot be changed later. Take good amount of care while giving a name to your gcp project.
Location: If you are going to work with a team of people on the same project on Google Cloud then give a name for your organization, otherwise you can leave this field empty.
In the top of these fields you can see the number of project you can create, this quota is given by Google Cloud Platform depending on your account type and subscription plan. You can click on Mange Quotas and fill up the form to increase project quota.
Once you are done, click on Create.
Step 4: Access your project
Wait for few seconds, and your gcp project will be created. Again click on Select a Project and you will see the newly created project here.
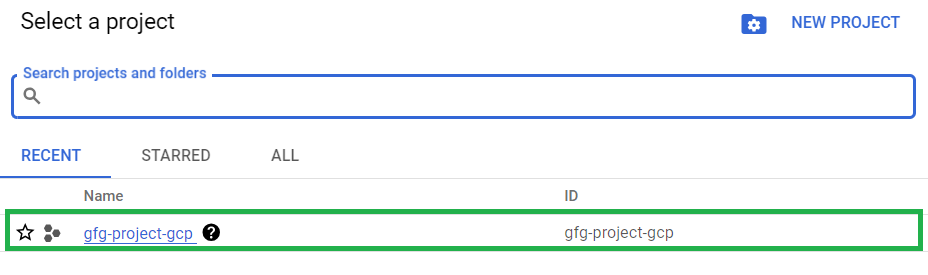
Click on the project and you will be re-directed to the GCP console homepage and now you can access the services you want in Google Cloud Project.
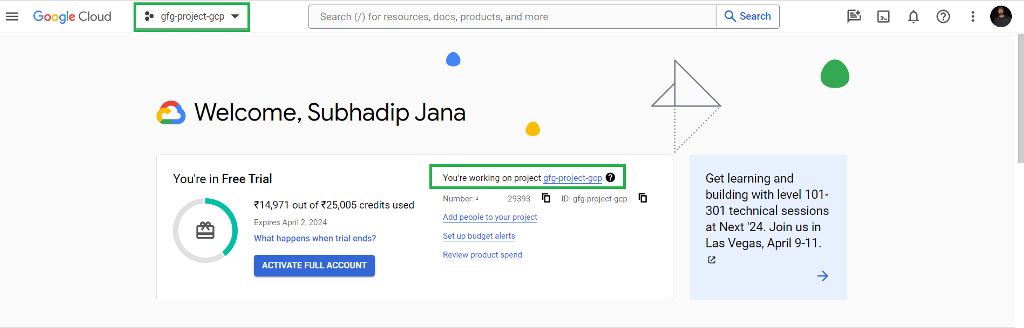
You can see that now you Project name is showing in place of select a project and all details about the GCP account is displayed on the screen.
Identity and Access Management (IAM)
To access Identity and Access Management in your Google Cloud Project, click on the left sidebar available on the homepage. Then Click on IAM & Admin and select IAM.
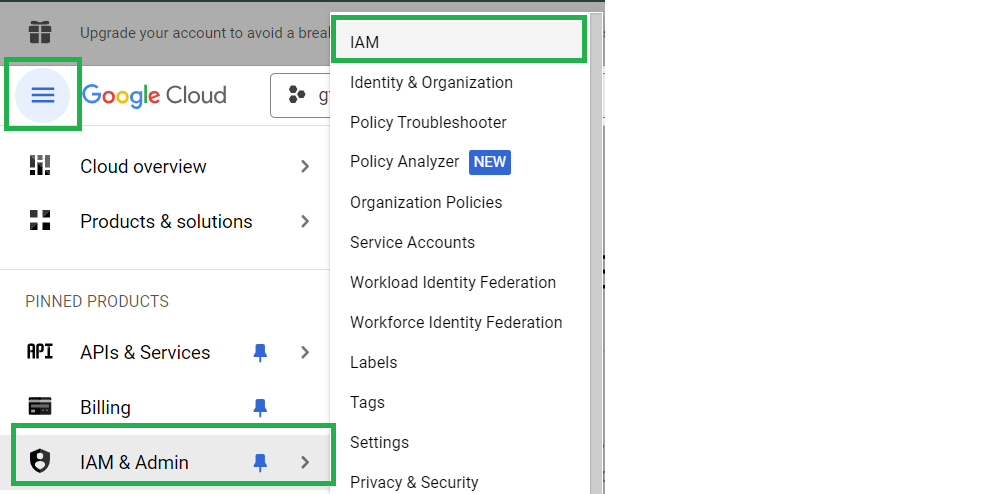
This will open the IAM page similar to the following,
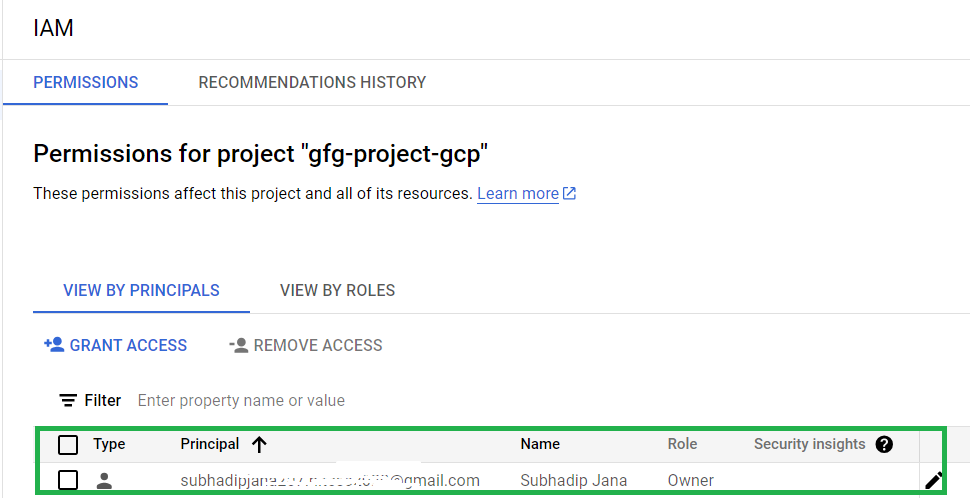
Here you can see the Roles assigned for your project. The account using which we have created the project that is assigned the of Owner by default. Now you can change the Roles and assign new roles to the people associated with you in the project. You can Grant Access and Remove Access as per your requirements as you move forward in your project.
Enable Billing
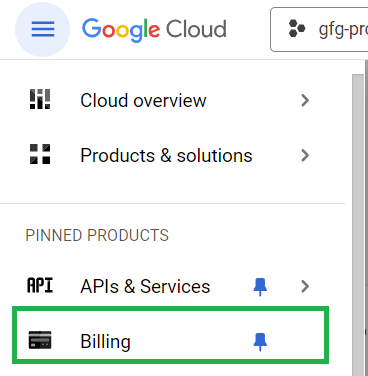
You can use few services in Google Cloud Project without billing those fall under free tier. To use all features and services of Google Cloud Services you need to enable billing for your GCP project. Click on the left sidebar and select Billing.
On the billing page you get a overview of the services used under your project and the bill is to paid for those services. As we haven’t configured the billing account we will get a option to select billing account.
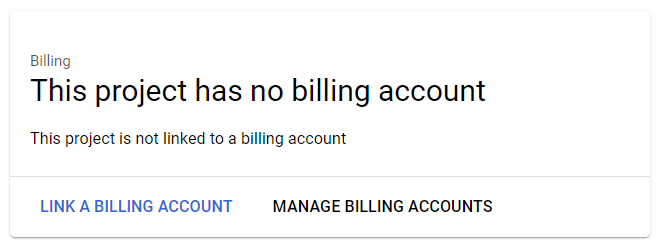
Click on Link a Billing Account. Now you will get option to select the billing account for the project.
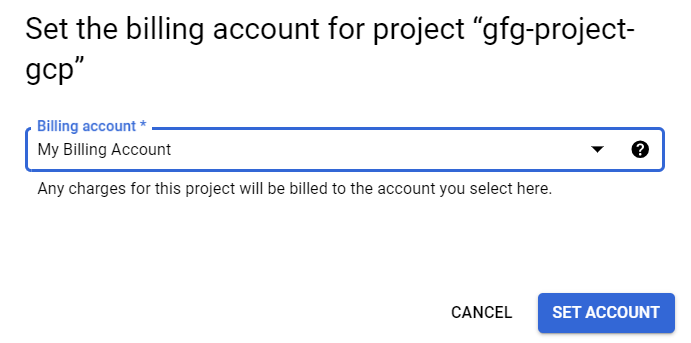
Select My Billing Account and click on Set Account. Once the billing account is configured, you will be taken to the billing overview page. Here you can see the cost of services used in the ongoing month, and visualizations related to billing. Once you start using services, you can come back here and check the billing overview.
Conclusion
Now you can go ahead and create GCP Projects and create a personal project or create a group project by adding multiple users in the project. Use the Steps discussed in the article to properly create projects and use cloud services. Enable billing and use IAM services to manage people in the project. You can use any service which is in the Google Cloud Console if you have a valid subscription plan.
FAQs on How to create a GCP project
How can I create a new project in GCP?
To create a new Project in Google Cloud Platform, follow the below given steps
- Log into GCP Console with valid credentials
- Click on Select a Project
- Fill Project details ( Project Name, Organization (if any))
- Click on Create
Can I create a VM instance in GCP project?
Yes, Once you have created a project in GCP and enabled billing, you can create or use any Google Cloud service including VM instances in Google Cloud Project.
How to add a member in Google Cloud Project ?
To add a new member in Google Cloud Platform project, Go to IAM section and click on Grant Access and add the user you want to add.
Can I delete a GCP Project?
Yes, You can delete a GCP Project if you want by selecting Shut Down option in Project settings. However, It is recommended to delete project whose resources are not in use.
How can I enable Google Cloud free trial ?
To enable free trial of Google Cloud, Go to Google Cloud console and login with your email id. You should get a option for free trial, select and complete the payment setup with card details. You will get a free trial of Google Cloud Project with $300 as credit for free.
Share your thoughts in the comments
Please Login to comment...