7 Methods to Fix the WHEA Uncorrectable Error on Windows 10/11
Last Updated :
19 Jan, 2024
Most individuals think that an Operating System is all about the Software Components and there is a very low contribution of Hardware in OS. However, for the Windows Operating System, this seems untrue. The crash problem in Windows which is termed as Blue Screen of Death can even caused due to Malfunctioning Windows Hardware.
Though, Windows comes up with a vast rollover system that restricts any error in the Operating System. But there are many issues especially the Hardware Issues of Windows termed as Uncorrectable Errors Stuck in OS. The WHEA Error on Windows is a similar one. It is the error that comes from numerous Hardware Problems in Windows.
In this article, we will discuss a few important methods required to Solve WHEA Uncorrectable Windows Error in no time.
Quick Preview of Steps to Fix WHEA Windows Error:
- Check all the Hardware Components by replacing them at their locations like RAM, Memory, etc.
- Execute a simple command to fix all the File System Issues and Hardware Issues in the Command Prompt.
- Check Windows 10 Update History to get the Update Records.
- Check the RAM Strength of the Device.
- Reset the Overclocking of the Device from Power Settings.
- Update the BIOS to fix Hardware Details.
- Reset the Windows to the Initial Stage.
Quick Highlights over WHEA Windows Error:
- WHEA Error is related to Hardware Malfunction which is termed as Uncorrectable.
- The WHEA Error comes up with the Error Code 0x0000124.
- The error can occur due to issues in the Hardware like CPU, GPU, RAM, etc.
- Due to the Overclocking of the System, Increased Voltage and Current can be a problem.
- Corrupted Driver have always been a common cause of the WHEA Issue.
How to Fix WHEA Uncorrectable Error on Windows?
To Remove Uncorrectable WHEA Windows Error, the following methods should be executed. Let us start by replacing the Hardware Components after removing them.
Method 1: Resolve WHEA Uncorrectable Error by Checking Hardware Components
One of the simplest ways to resolve WHEA Windows Error is to check the Hardware Components of the device. Open up your CPU Cabinet & locate the Hardware Components like RAM, GPU, Memory Slot etc. You have to perform a simple operation. Check out each component from the device and wait for a few minutes.
Now, again replace the item to its particular position. It will restart the component on the device. If the component gets loosed on the CPU Cabinet, the issue will also be resolved. Restart the device to check whether the WHEA Windows Issue is resolved or not.
Congratulation! You have fixed Windows WHEA Uncorrectable Error without performing any major operation.
Method 2: Resolve WHEA Uncorrectable Error by Checking Disk Health
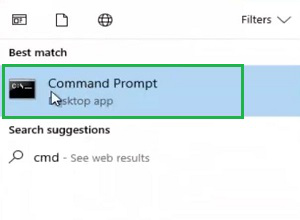
Step 1: Open the Command Prompt by searching it in the Search Bar. Now, execute it in the Administrative Format.
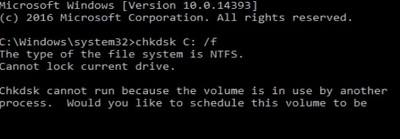
Step 2: Execute the following command. It will check the Disk and Drivers Health on the device. And fix it quickly if there is any issue persists.
Command: chkdsk C: /f
Hence, you have successfully resolved the WHEA Windows Uncorrectable Issue on your Windows 10 OS.
Method 3: Resolve WHEA Uncorrectable Error by Checking Windows Update History
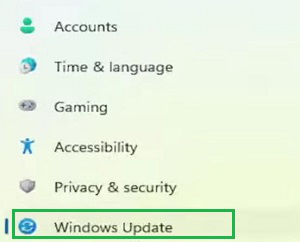
Step 1: Open Settings & click on the Windows Update option.
Step 2: You will find the Update History option. Go for it & check whether all the updates are installed correctly or not.
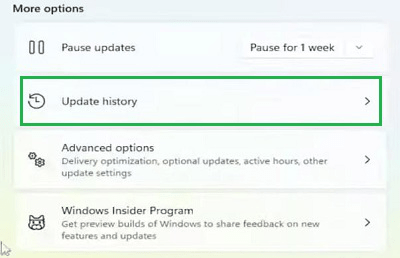
So, install all the Falty Windows Update and get rid of the WHEA Windows 10 Error using the Windows Update History.
Method 4: Resolve WHEA Uncorrectable Error by Checking RAM Health
Note: To execute this step, you need to have any third-party application installed on your device. There are a lot of third-party applications are present that will have a look at your computer hardware free of cost.
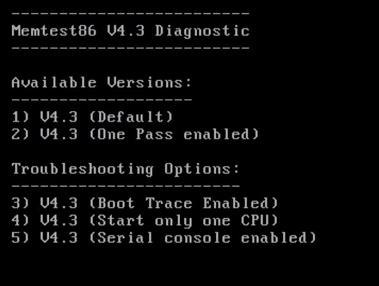
Step 1: While Starting Up your device, press the F2 Key multiple times to enter into the BIOS Settings. And if you have a third-party application, it will be under that section. Wait until it redirects you to the Diagnostic Page.
Step 2: In that window, you will see all the Reports of Hardware. It will also show the performance of the CPU along with RAM.
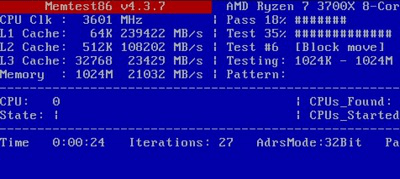
Hence, you have got the report of the RAM Execution Status of your device which depicts the reason for the WHEA Error of Windows.
Method 5: Resolve WHEA Uncorrectable Error by Resetting CPU Overclocking
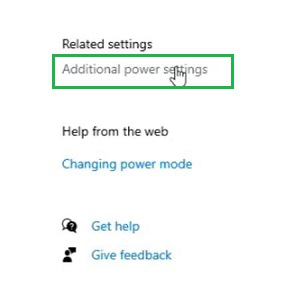
Step 1: Search for Power Settings & go for the Additional Power Settings Option.
Step 2: Under High Performance, click on Change Plan Settings.
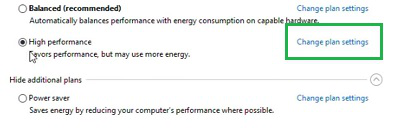
Step 3: Reduced the Minimum Processor State to 99 or less by expanding the Processor Power Management. Now, Click OK.
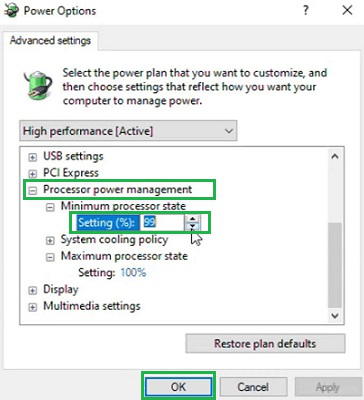
Congratulation! You have successfully reset the CPU Overclocking using the Power Management Settings.
Method 6: Resolve WHEA Uncorrectable Error by Updating BIOS
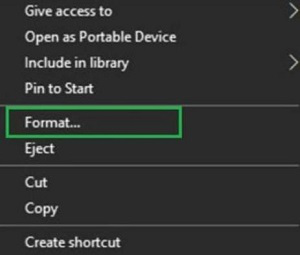
Step 1: Insert one USB Drive into your device. Right-click on it to Format the USB Driver. It will erase every data of the USB Driver. Now, put the latest version of BIOS in USB as per the Motherboard of your device.
Step 2: Restart the computer and while restarting insert the USB Driver there. Click on the Q-Flash option present there.

Step 3: Go for the Update BIOS From Driver option.
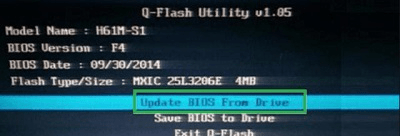
Hence, we have successfully updated the BIOS Driver to remove the WHEA Windows Problem.
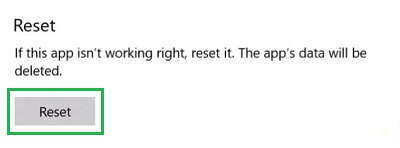
Method 7: Resolve WHEA Uncorrectable Error by Reseting Windows 10
Step 1: Find the Settings option & right-click on the App Settings option.
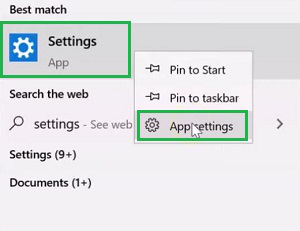
Step 2: Scroll down to find out Reset option. Click on the Reset to complete the process.
So, these are the simple methods you have to use to Come Out from the WHEA Problem of Windows. You have to follow each method to get a permanent recovery from the issue. Otherwise, you will find out that the Uncorrectable WHEA Challenge is getting back after some time. As it falls under the Blue Screen of Death Issue of Windows.
Also Read
FAQs: How to Fix the WHEA Uncorrectable Error on Windows 10/11
How to Fix the WHEA Uncorrectable Error on Windows?
To Fix the WHEA Uncorrectable Error on Windows, the following guidelines should be used effectively.
- Open Command Prompt in Administrative Format.
- Execute the Command chkdsk C: /f
- Wait until the process gets completed.
- Restart the device to complete resolve.
What is the cause of WHEA_UNCORRECTABLE_ERROR?
The WHEA_UNCORRECTABLE_ERROR is an error related to Hardware Issues. When the Windows hardware starts malfunctioning the error could erupt out. The reasons behind the WHEA_UNCORRECTABLE_ERROR are the following:
- Damaged Hardware: If the CPU, RAM, GPU are damaged in the CPU cabinet, the device will prompt the error.
- Electricity Issue: If the Overclocking of the device is faulty, the voltage and current will cause the error.
- Outdated Drivers: If the driver of the device is not getting the required updates, it can flash the issue.
Can reinstalling Windows fix WHEA_UNCORRECTABLE_ERROR?
Yes! Reinstallation of Windows will fix the WHEA_UNCORRECTABLE_ERROR. However, it should be the last idea to use. There are many methods present that you have to perform before going for reinstallation as it will be more simple to remove the issue.
Share your thoughts in the comments
Please Login to comment...