Image Translation using OpenCV | Python
Last Updated :
04 Jan, 2023
Translation refers to the rectilinear shift of an object i.e. an image from one location to another. If we know the amount of shift in horizontal and the vertical direction, say (tx, ty) then we can make a transformation matrix e.g.

where tx denotes the shift along the x-axis and ty denotes shift along the y-axis i.e. the number of pixels by which we need to shift about in that direction.
Now, we can use the
cv2.wrapAffine() function to implement these translations. This function requires a 2×3 array. The numpy array should be of float type.
Below is the Python code for Image Translation:
import cv2
import numpy as np
image = cv2.imread('C:\\gfg\\tomatoes.jpg')
height, width = image.shape[:2]
quarter_height, quarter_width = height / 4, width / 4
T = np.float32([[1, 0, quarter_width], [0, 1, quarter_height]])
img_translation = cv2.warpAffine(image, T, (width, height))
cv2.imshow("Originalimage", image)
cv2.imshow('Translation', img_translation)
cv2.waitKey()
cv2.destroyAllWindows()
|
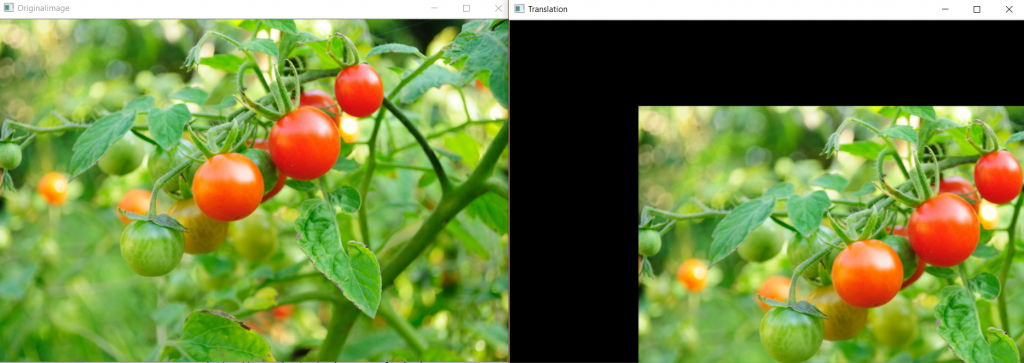
Output:
 Advantages/application of image translation are:
- Hiding a part of the image
- Cropping an image
- Shifting an image
- Animating an image using image translations in loop.
Share your thoughts in the comments
Please Login to comment...