Introduction to OpenCV
Last Updated :
03 Apr, 2024
OpenCV is one of the most popular computer vision libraries. If you want to start your journey in the field of computer vision, then a thorough understanding of the concepts of OpenCV is of paramount importance.
In this article, to understand the basic functionalities of Python OpenCV module, we will cover the most basic and important concepts of OpenCV intuitively:
- Reading an image
- Extracting the RGB values of a pixel
- Extracting the Region of Interest (ROI)
- Resizing the Image
- Rotating the Image
- Drawing a Rectangle
- Displaying text
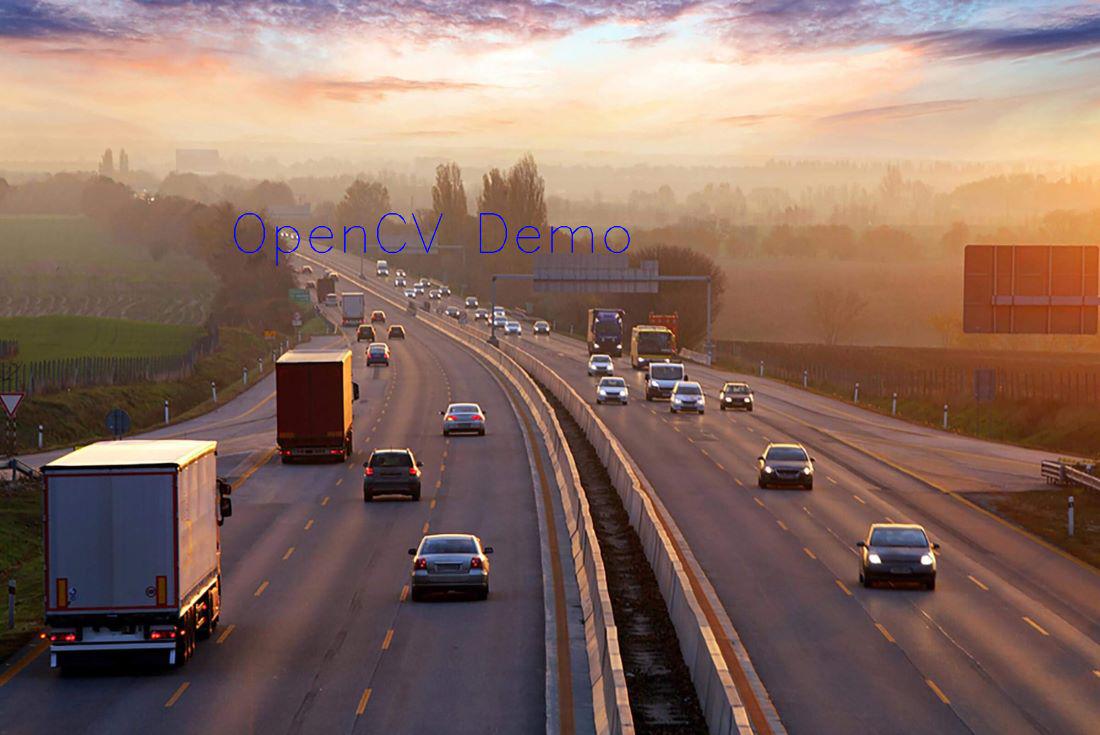
This is the original image that we will manipulate throughout the course of this article.
.jpg)
Let’s start with the simple task of reading an image using OpenCV.
For the implementation, we need to install the OpenCV library using the following command:
pip install opencv-python
Reading an Image
First of all, we will import cv2 module and then read the input image using cv2’s imread() method. Then extract the height and width of the image.
Python
# Importing the OpenCV library
import cv2
# Reading the image using imread() function
image = cv2.imread('image.jpg')

# Extracting the height and width of an image
h, w = image.shape[:2]
# Displaying the height and width
print("Height = {}, Width = {}".format(h, w))
Output:
Height = 1603, Width = 2400
Extracting the RGB Values of a Pixel
Now we will focus on extracting the RGB values of an individual pixel. OpenCV arranges the channels in BGR order. So the 0th value will correspond to the Blue pixel and not the Red.
Python
# Extracting RGB values.
# Here we have randomly chosen a pixel
# by passing in 100, 100 for height and width.
(B, G, R) = image[100, 100]

# Displaying the pixel values
print("R = {}, G = {}, B = {}".format(R, G, B))

# We can also pass the channel to extract
# the value for a specific channel
B = image[100, 100, 0]
print("B = {}".format(B))
Output:
R = 211, G = 172, B = 165B = 165
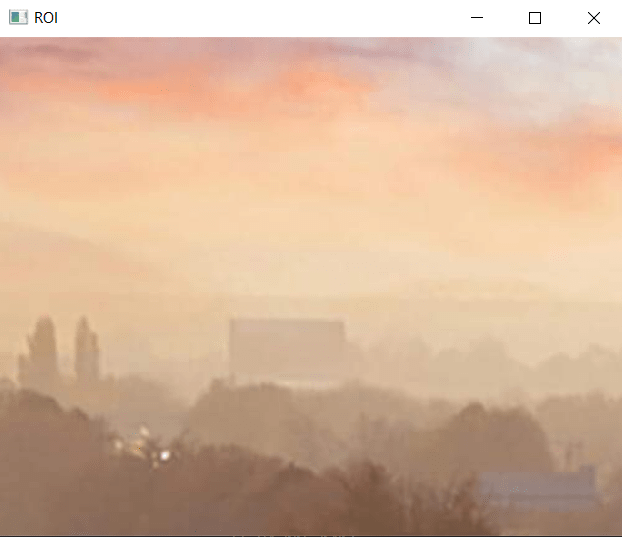
Extracting the Region of Interest (ROI)
Sometimes we want to extract a particular part or region of an image. This can be done by slicing the pixels of the image.
Python
# We will calculate the region of interest
# by slicing the pixels of the image
roi = image[100 : 500, 200 : 700]
cv2.imshow("ROI", roi)
cv2.waitKey(0)
Output:
Resizing the Image
We can also resize an image in Python using resize() function of the cv2 module and pass the input image and resize pixel value.
Python
# resize() function takes 2 parameters,
# the image and the dimensions
resize = cv2.resize(image, (500, 500))
cv2.imshow("Resized Image", resize)
cv2.waitKey(0)
Output:
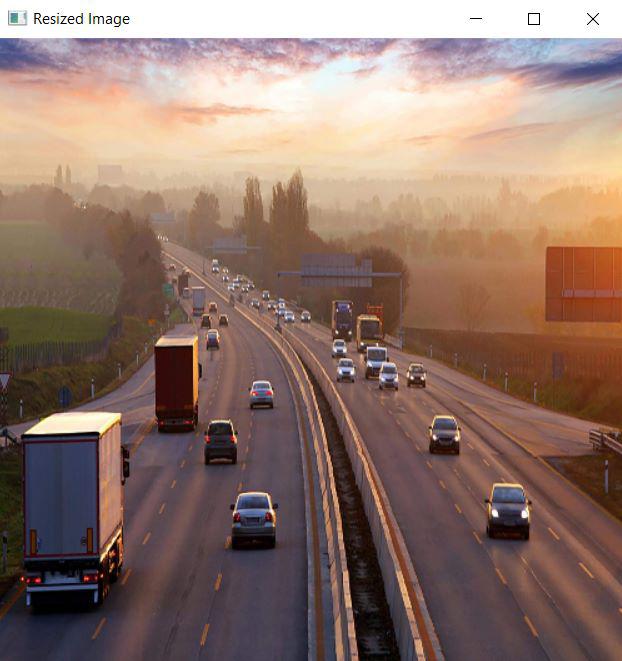
The problem with this approach is that the aspect ratio of the image is not maintained. So we need to do some extra work in order to maintain a proper aspect ratio.
Python
# Calculating the ratio
ratio = 800 / w

# Creating a tuple containing width and height
dim = (800, int(h * ratio))

# Resizing the image
resize_aspect = cv2.resize(image, dim)
cv2.imshow("Resized Image", resize_aspect)
cv2.waitKey(0)
Output:
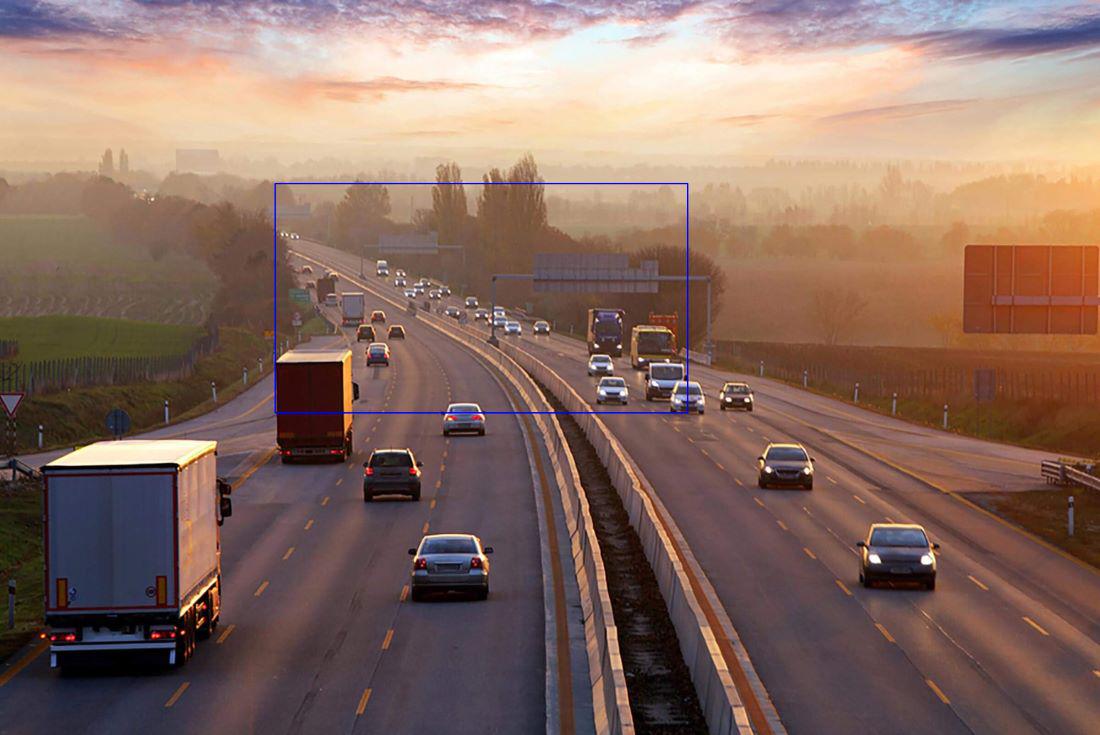
Drawing a Rectangle
We can draw a rectangle on the image using rectangle() method. It takes in 5 arguments:
- Image
- Top-left corner co-ordinates
- Bottom-right corner co-ordinates
- Color (in BGR format)
- Line width
Python
# We are copying the original image,
# as it is an in-place operation.
output = image.copy()

# Using the rectangle() function to create a rectangle.
rectangle = cv2.rectangle(output, (1500, 900),
                        (600, 400), (255, 0, 0), 2)
Output:
Displaying text
It is also an in-place operation that can be done using the putText() method of OpenCV module. It takes in 7 arguments:
- Image
- Text to be displayed
- Bottom-left corner co-ordinates, from where the text should start
- Font
- Font size
- Color (BGR format)
- Line width
Python
# Copying the original image
output = image.copy()

# Adding the text using putText() function
text = cv2.putText(output, 'OpenCV Demo', (500, 550),
                cv2.FONT_HERSHEY_SIMPLEX, 4, (255, 0, 0), 2)
Output:
Share your thoughts in the comments
Please Login to comment...