How to Add Vertical Scrollbar to React-Bootstrap Table Body ?
Last Updated :
19 Oct, 2023
React Bootstrap is a popular library that combines the power of React with the styling capabilities of Bootstrap, allowing developers to create elegant and responsive user interfaces effortlessly. When working with tabular data in a web application.
In this article, we will walk through the steps to add a vertical scrollbar to the body of a react-bootstrap table. This feature is especially useful when dealing with large datasets or tables with varying row heights. By incorporating a vertical scrollbar, users can efficiently navigate through the content, enhancing the overall user experience.
Prerequisites:
Creating React App and Installing Module:
Step 1: Create a React application using the following command
npx create-react-app <<name of Application>>
Step 2: Navigate to the Bootstrap project folder using the following command
cd <<Name of application>>
Step 3: Now install React-bootstrap and bootstrap
npm install react-bootstrap bootstrap
Step 4: Add Bootstrap CSS to index.js
import 'bootstrap/dist/css/bootstrap.min.css';
Project Structure:
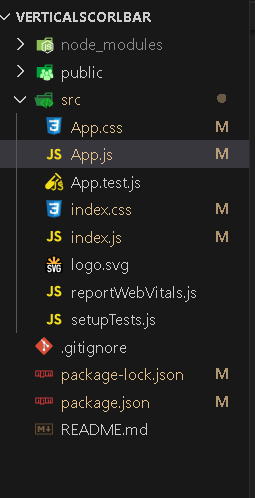
Project Structure
The updated dependencies in package.json will look like this:
{
  "name": "verticalscorlbar",
  "version": "0.1.0",
  "private": true,
  "dependencies": {
    "@testing-library/jest-dom": "^5.17.0",
    "@testing-library/react": "^13.4.0",
    "@testing-library/user-event": "^13.5.0",
    "bootstrap": "^5.3.2",
    "react": "^18.2.0",
    "react-bootstrap": "^2.9.0",
    "react-dom": "^18.2.0",
    "react-scripts": "5.0.1",
    "web-vitals": "^2.1.4"
  }
}
Example: Now write down the following code in App.js file. Here App is our default component where we have written our code.
Javascript
import React from "react";
import { Table } from "react-bootstrap";
const MyTable = () => {
const rows = [
{ id: 1, name: "John", age: 30 },
{ id: 2, name: "Alice", age: 25 },
{ id: 3, name: "Bob", age: 35 },
{ id: 4, name: "Eve", age: 28 },
{ id: 5, name: "Grace", age: 32 },
{ id: 6, name: "Michael", age: 40 },
{ id: 7, name: "Olivia", age: 22 },
{ id: 8, name: "Michael", age: 40 },
{ id: 9, name: "Olivia", age: 22 },
{ id: 10, name: "Michael", age: 40 },
{ id: 11, name: "Olivia", age: 22 }
];
return (
<div style={{ maxHeight: "300px",
overflowY: "auto" }}>
{
}
<Table striped bordered hover>
{}
<thead style={{ position: "sticky",
top: "0" }}>
<tr>
<th>#</th>
<th>Name</th>
<th>Age</th>
</tr>
</thead>
{}
<tbody>
{
}
{rows.map((row) => (
<tr key={row.id}>
<td>{row.id}</td>
<td>{row.name}</td>
<td>{row.age}</td>
</tr>
))}
</tbody>
</Table>
</div>
);
};
export default MyTable;
|
Steps to Run Application:
Step 1: Run the Application using following command from root directory of Application:
npm start
Step 2: Now open browser and type the following URL
http://localhost:3000/
Output:
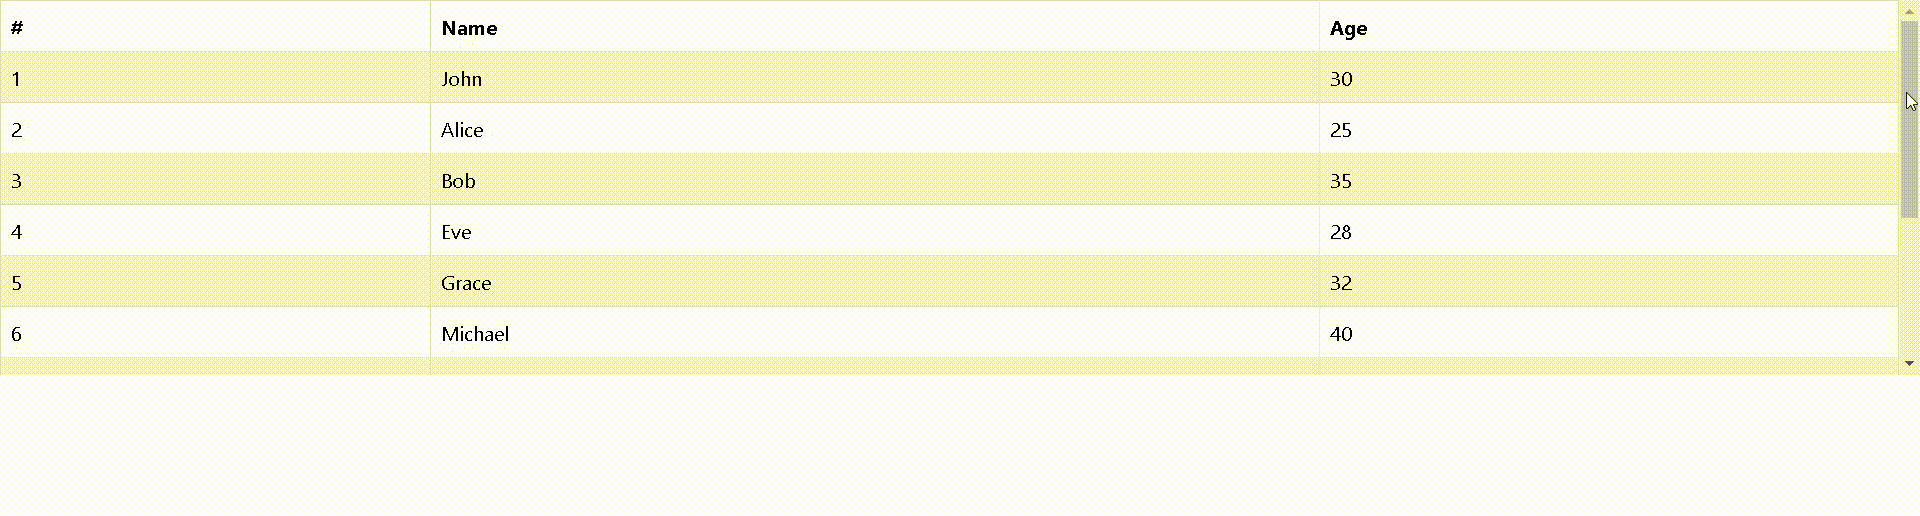
React bootstrap table with vertical scrollbar
Share your thoughts in the comments
Please Login to comment...