WordPress Writing Setting
Last Updated :
12 Mar, 2024
WordPress is an open-source Content Management System that is based on PHP and MySql which is used to create a dynamic website. Matt Mullenweg developed WordPress and Written in PHP language. As per recent data, WordPress was used by 45.8% of all websites on the internet.
WordPress is one of the most popular interfaces that allow users to customize and manage their website from its back-end content management system. It is used to organize the whole process of creating, storing, and optimally showcasing web content. WordPress was initially developed as an improvement tool that enhances the regular typography of day-to-day writing.
In this article, we are going to discuss how we can go through WordPress Writing Setting. Let’s get started!
What is WordPress Writing Setting?
WordPress allows users different settings and the Writing Setting is one of them. It helps us to manage settings related to your site’s content. This controls the writing experience and provides users with many options for customizing the WordPress sites.
Features of Writing Setting:
- Adding and editing posts, Pages, and Posts.
- Remote Publishing
- Post via e-mail
- Update Services
How to Configure Your WordPress Writing Settings: Step By Step Guide
Let’s see the steps to go through WordPress Writing Setting Easily and Quickly :
Step 1:
First go to the WordPress login panel and try to login into the WordPress Dashboard by providing the username and password. To access the login panel You can add ‘/wp-login.php’ at the end of your website URL.

WordPress Login Panel
After login into your own WordPress, you will be able to see a dashboard in a similar way to this:
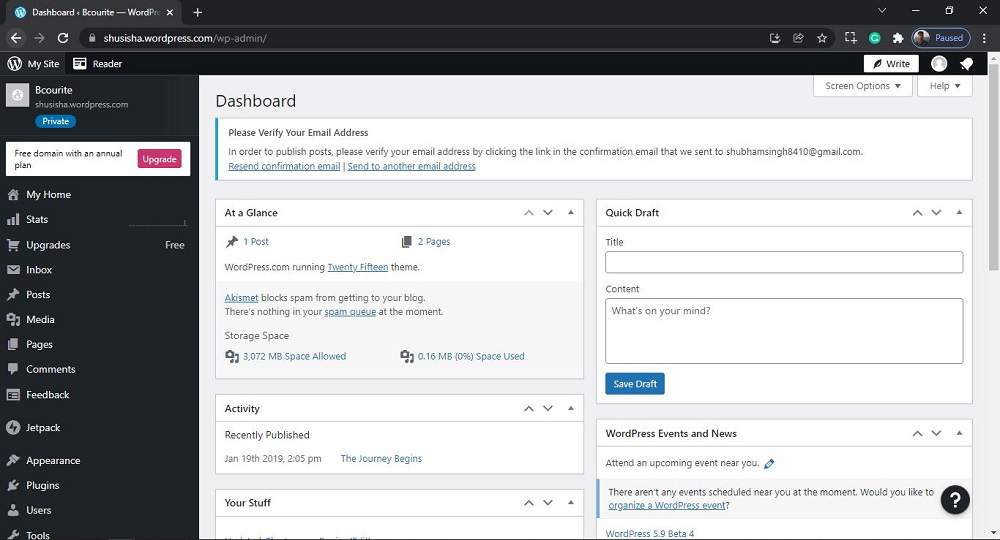
WordPress Dashboard
Step 2: We have to search and open the Writing section. For that:
From the menu option on the left side of the WordPress page. Go to the Settings >> Writing.

Opening the Writing Section
After clicking on Writing, you will see a similar Page like this:
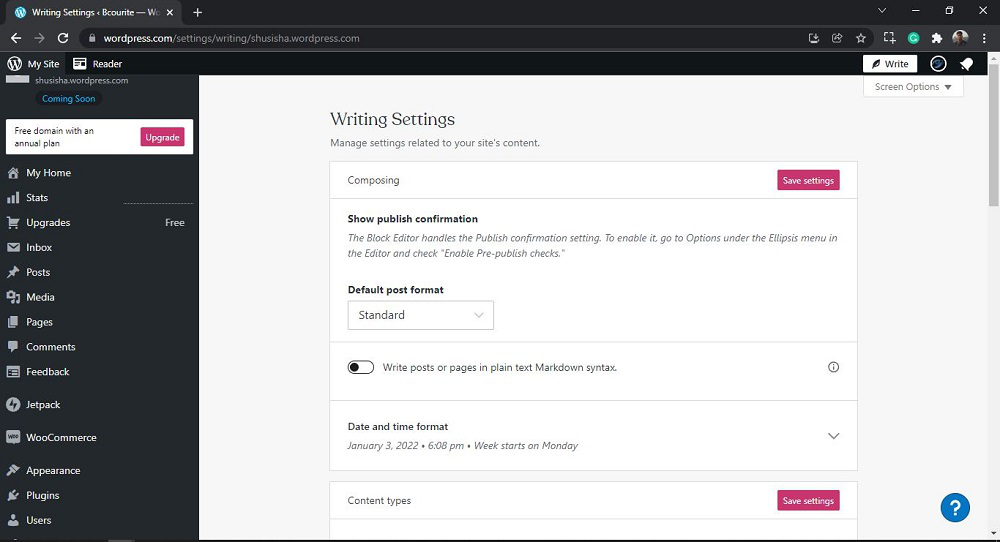
Writing Section
Step 3: There are many sections in the Writing Setting. Each section is briefly discussed and here are the following sections details:
Composing: Here you show publish confirmation using The Block Editor. This editor handles the Publish confirmation setting. To enable it, go to Options under the Ellipsis menu in the Editor and check “Enable Pre-publish checks”.
Content types: Here you can manage Blog posts, Testimonials, and Portfolio projects.
- Blog posts: It manages the number of posts to show per page.
- Testimonials: Using this we can add, organize, and display testimonials. If the theme doesn’t support testimonials yet, you can display them using the shortcode (testimonials).
- Portfolio projects: Using this we can add, organize, and display portfolio projects. If the theme doesn’t support portfolio projects yet, you can display them using the shortcode (portfolio).
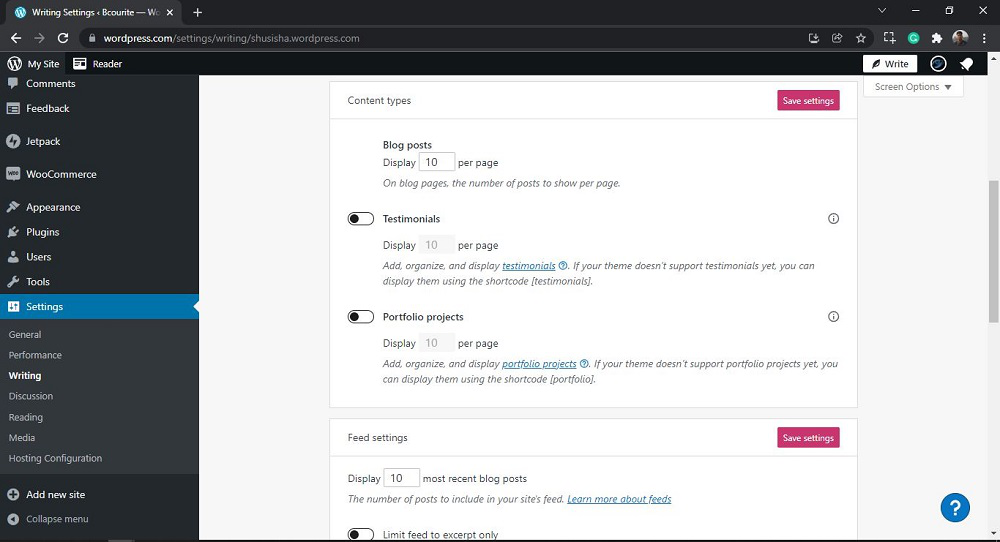
Feed settings: Here you can manage the number of posts to include in the site’s feed.
- Limit feed to excerpt only: Using this we can include only an excerpt of your content. It allows users to visit the site to view their posts/pages’ full content.
Podcasting: This writing setting is used to set site visibility, currently it is set to Private.

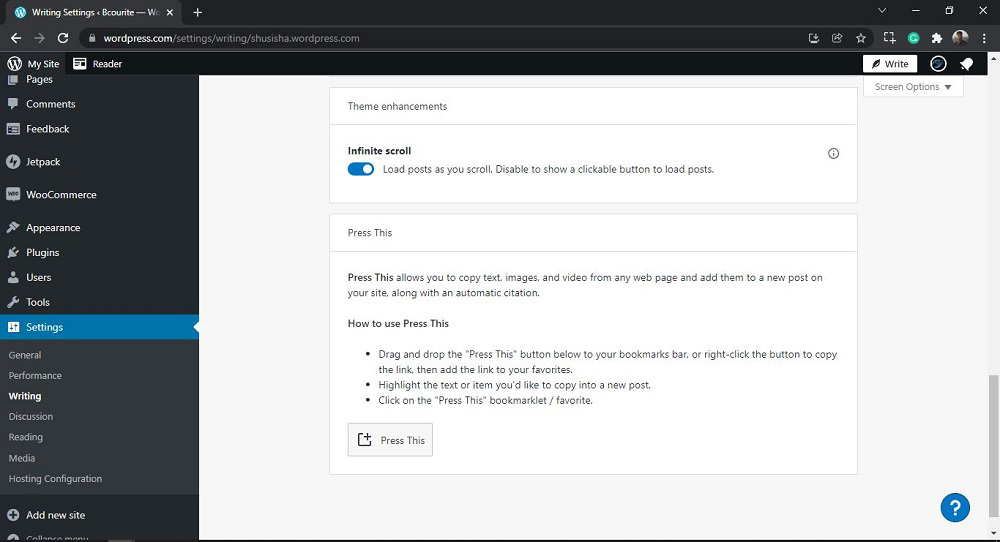
Theme enhancements:
- Infinite scroll: This allows you to load posts as you scroll. In order to show a clickable button to load posts, you need to disable the button.
Press This: Press This is one of the writing settings and it allows you to copy text, images, and video from any web page and add them to a new post on your site, along with an automatic citation. This topic will be discussed with screenshots in a different article.
That’s it, you have now successfully learned how to go through the Writing Settings in the WordPress website.
Conclusion
WordPress writing setting plays a crucial role in tailoring your website’s content management experience. By understanding and configuring these settings, you can enhance your editorial workflow, improve SEO, and create a seamless reading experience for your audience.
Remember to optimize your permalinks, choose the right default post category, and set up post formats if needed. Additionally, consider enabling distraction-free writing mode for a focused writing environment.
Whether you’re a blogger, journalist, or business owner, mastering the WordPress Writing Setting will empower you to create compelling and engaging content that resonates with your readers. Happy writing!
People Also View:
WordPress Writing Setting – FAQs
What is WordPress Writing Setting?
WordPress Writing Setting allow you to configure various aspects related to content creation and publishing on your website. These settings impact how you write, format, and manage your posts.
Where can I find the Writing Setting in WordPress?
Log in to your WordPress admin dashboard.
Navigate to Settings > Writing.
What does the “Default Post Category” setting do?
The “Default Post Category” determines which category new posts will be assigned to by default.
Choose a relevant category that aligns with your content.
What are “Post Formats,” and how do they affect my content?
Post formats define how different types of content (such as standard posts, image galleries, quotes, etc.) are displayed on your site.
You can set a default post format for new posts. Consider using formats that enhance your content’s visual appeal.
What is the “Post via Email” option?
The “Post via Email” feature allows you to publish content by sending an email to a specific address associated with your WordPress site.
Configure this option to streamline your content creation process.
What are “Update Services”?
Update Services notify external services (such as search engines and blog directories) when you publish or update a post.
By default, WordPress notifies popular update services automatically.
Share your thoughts in the comments
Please Login to comment...