WordPress Plugin Setting
Last Updated :
21 Mar, 2022
WordPress plugins are one of the most important parts of WordPress it is just like the apps in mobile phones which add extra functionality to your mobile phone like WordPress plugins add new and more features to your WordPress website. plugins help you to create your WordPress website more dynamic and increase the functionality of the website.
Plugins make it simple to modify, customize and enhance the WordPress website easily. It also extends and expands the functionality of WordPress. WordPress plugins are used to make the work easier and reduce the time in making the website and hence increasing the performance of the website.
How to Add plugins to WordPress: Let’s see how we can add plugins to our WordPress website step by step:
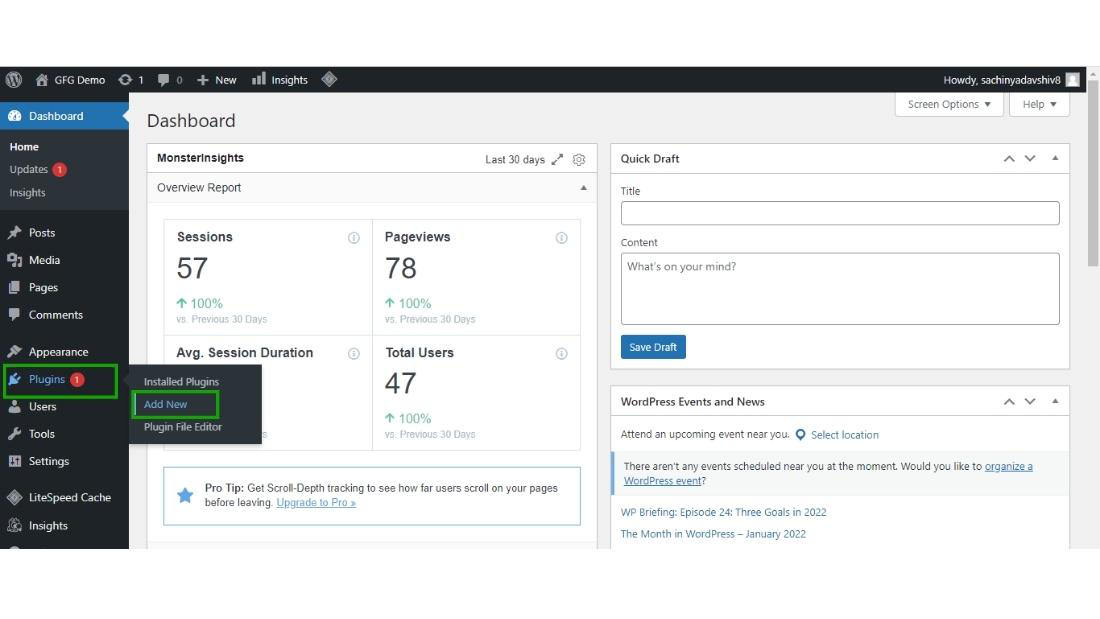
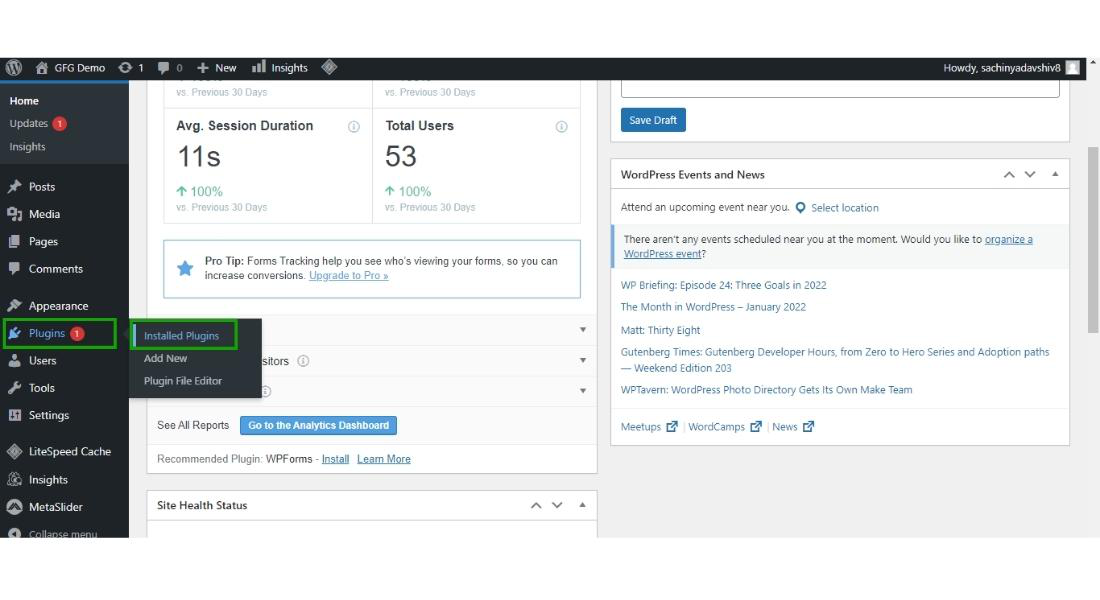
Step 1: Firstly hover over the plugins in the dashboard of WordPress and then click on “Add New”.
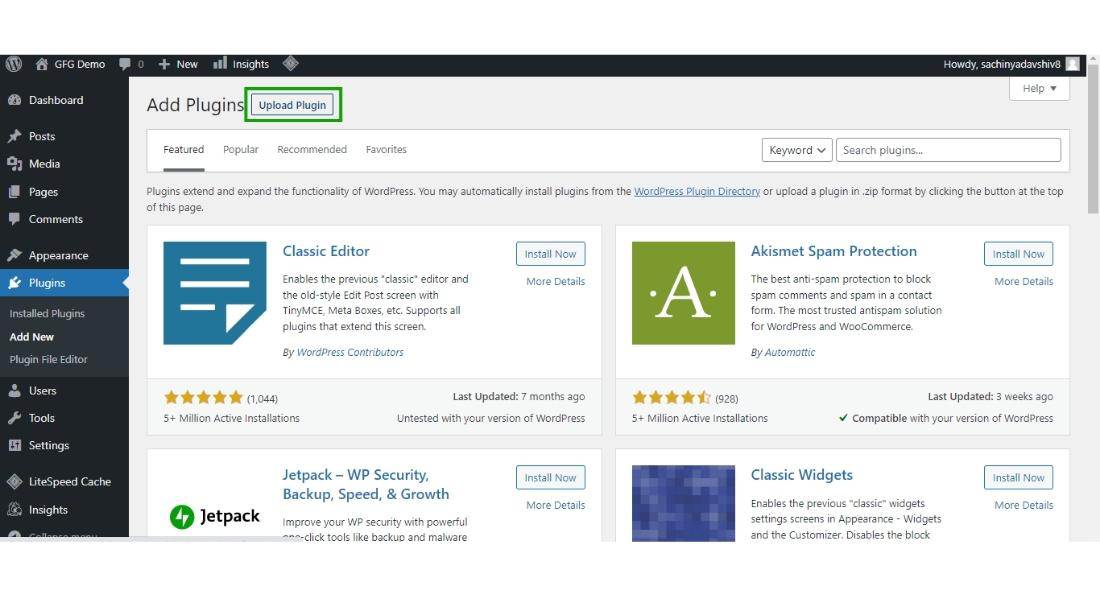
Step 2: Now you can upload the plugin in the .zip format by clicking on the “Upload Plugin” button or you can search the plugin from the WordPress directory and install them. here we are going to see how we can install the plugin from the WordPress directory.
Search the plugin in the search box and then click on “Install Now”.
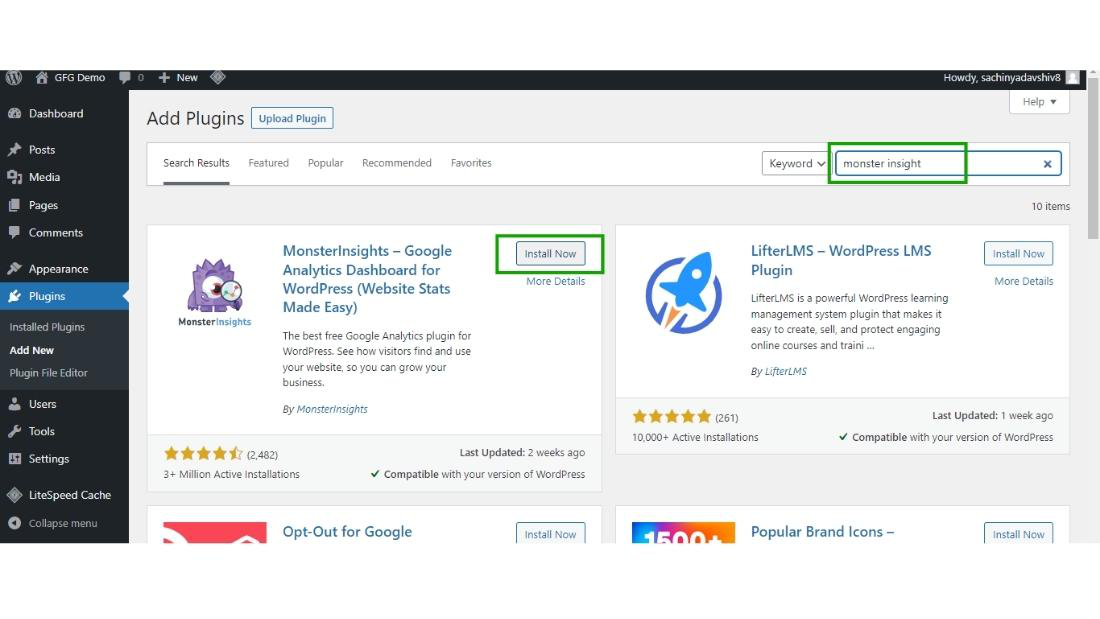
Here for the demo purpose, I’m going to install the “MonsterInsight” plugin but the process for installing any plugins is the same.
Step 3: After installing the plugin click on the “Activate” button to activate the plugin.
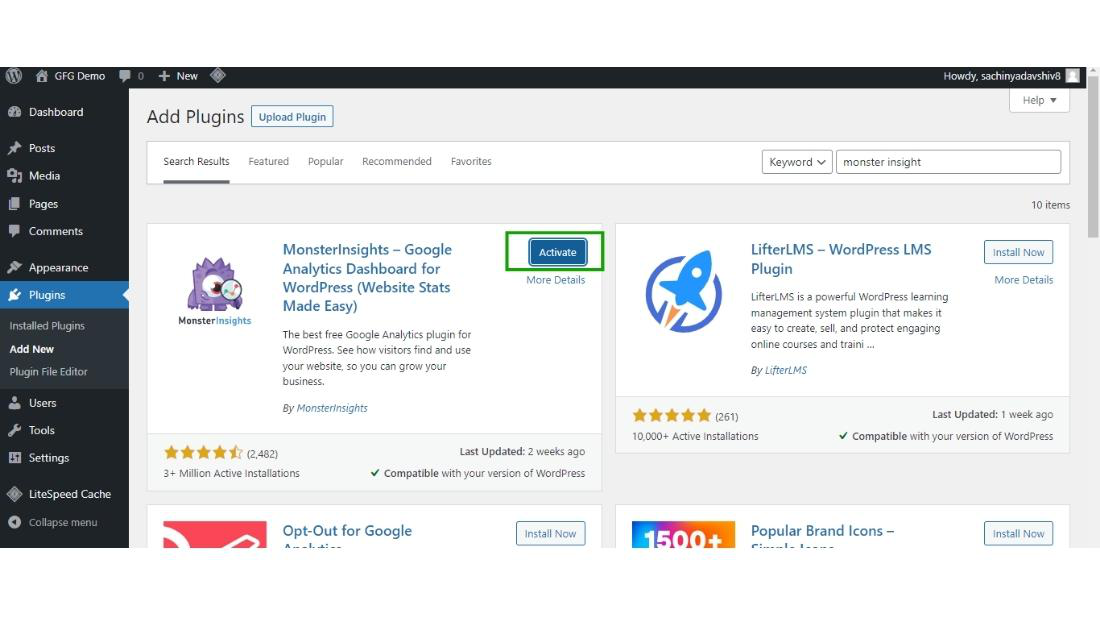
Now your plugin gets successfully Installed and Activated on your WordPress website.
Step 4: Now the plugin will start appearing in the dashboard of your WordPress.
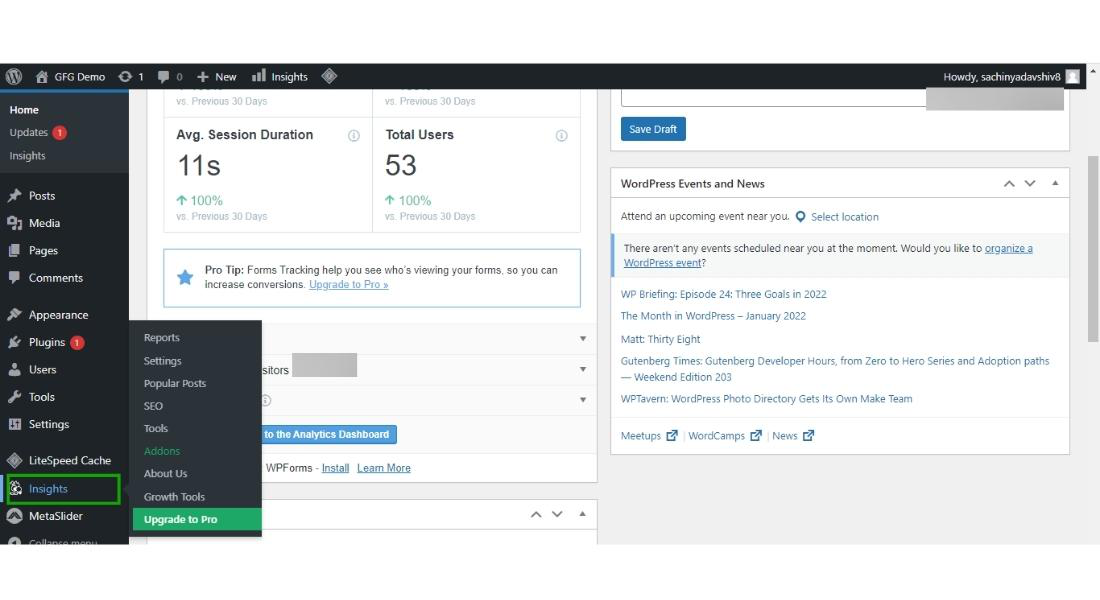
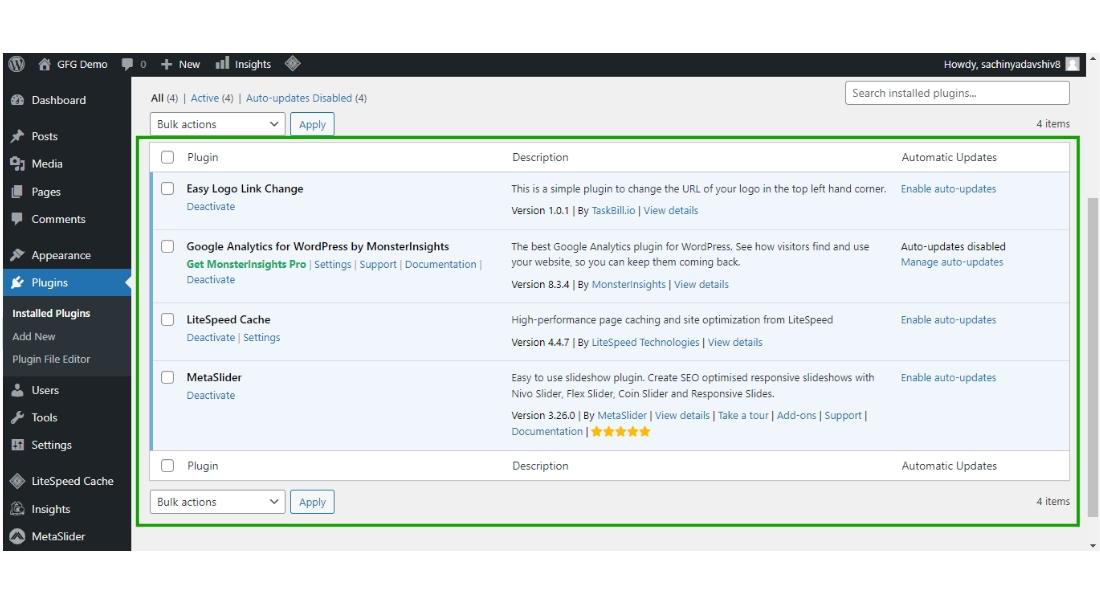
It will also appear in the Installed plugin sections.
All the Installed will appear here in the dashboard of the installed plugins.
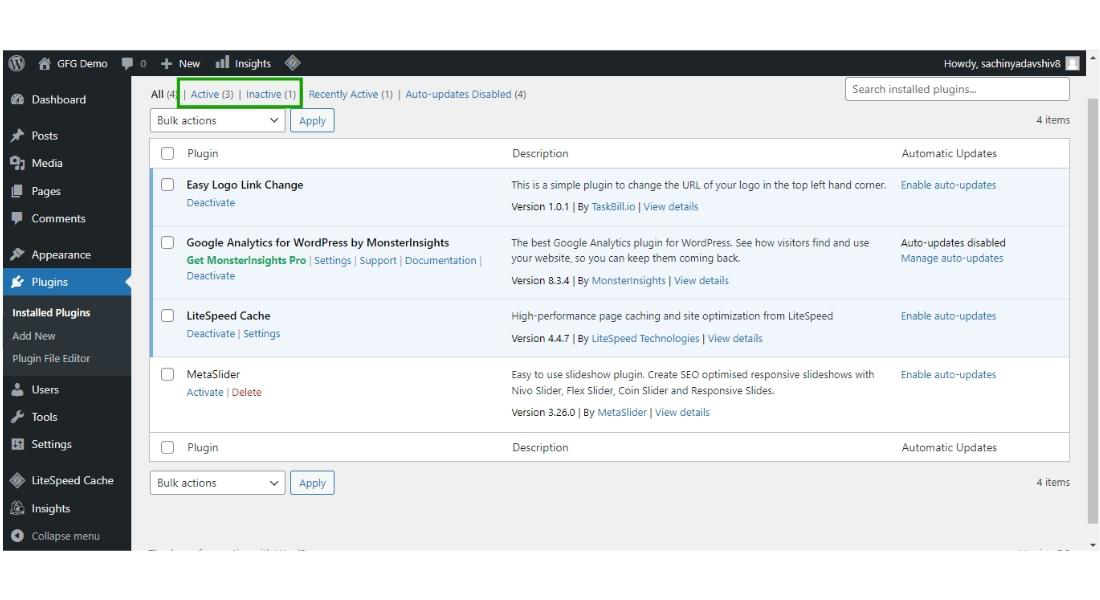
Step 5: You can also check the active plugins from the active button link on the top and also the inactive plugins from the top inactive link.
How to upload the plugin: Above we have seen how we can install the plugins from the WordPress directory, Let’s see how we can upload the plugin from our computer which we downloaded from another website or has to get made from the developer.
Step 1: Hover over the plugin and then click on “Add New”.
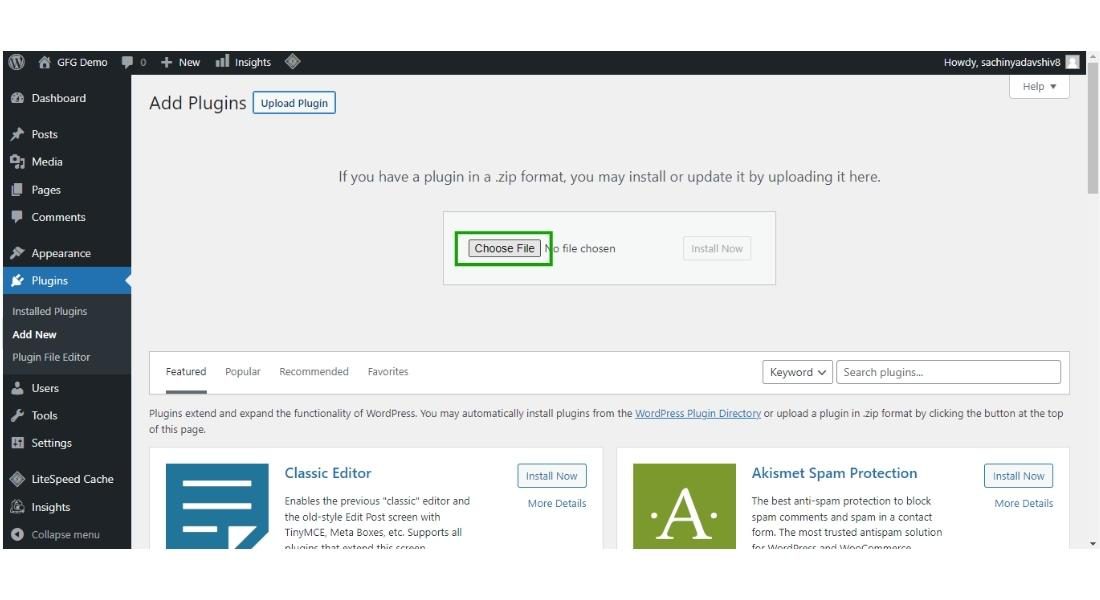
Step 2: Now click on the “Upload Plugin” button to upload the plugin, note that the plugin should be in the .zip format.
Now click on choose file to choose the file from your computer.
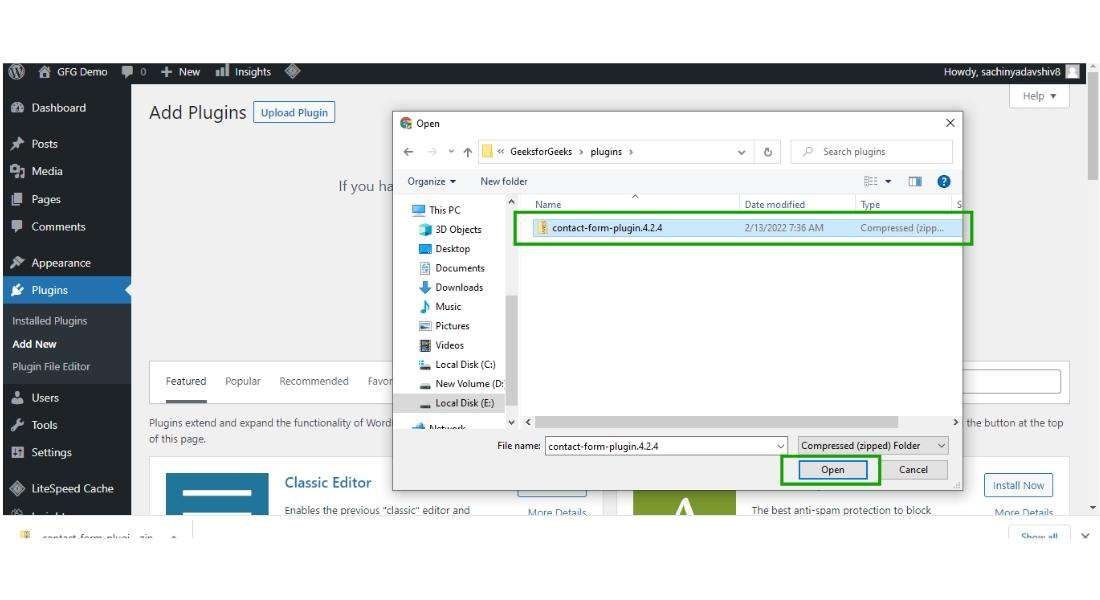
Step 3: Choose the plugin in the .zip format which you want to install on your WordPress from your computer and then click on “Open”. here I have chosen the contact form plugin but you are independent to choose any plugin according to your requirement.
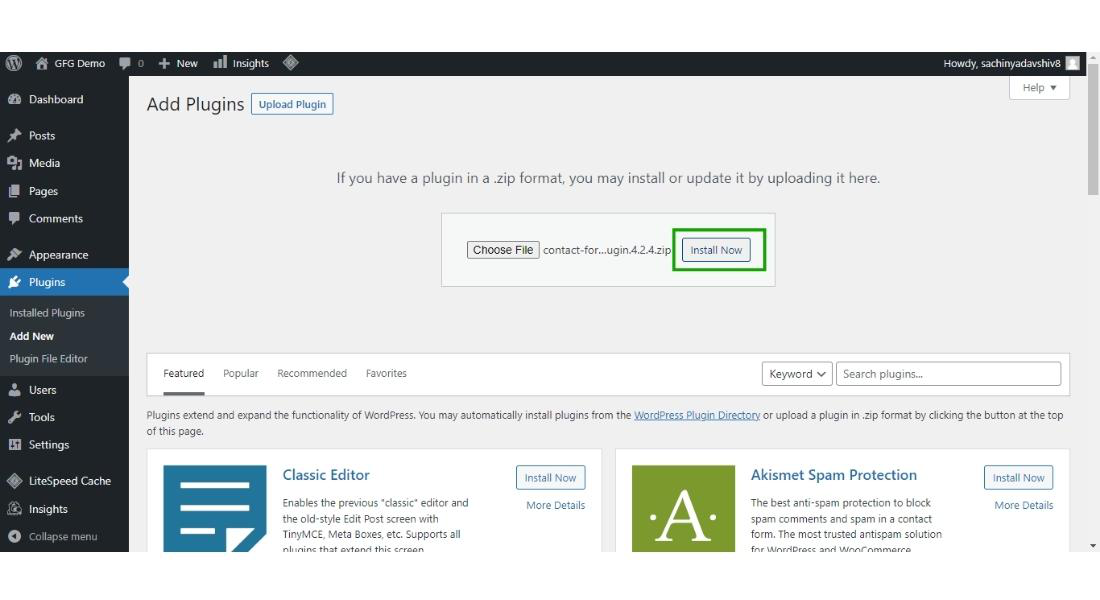
Step 4: Now click on the “Install Now” button to install the plugin on your WordPress website.
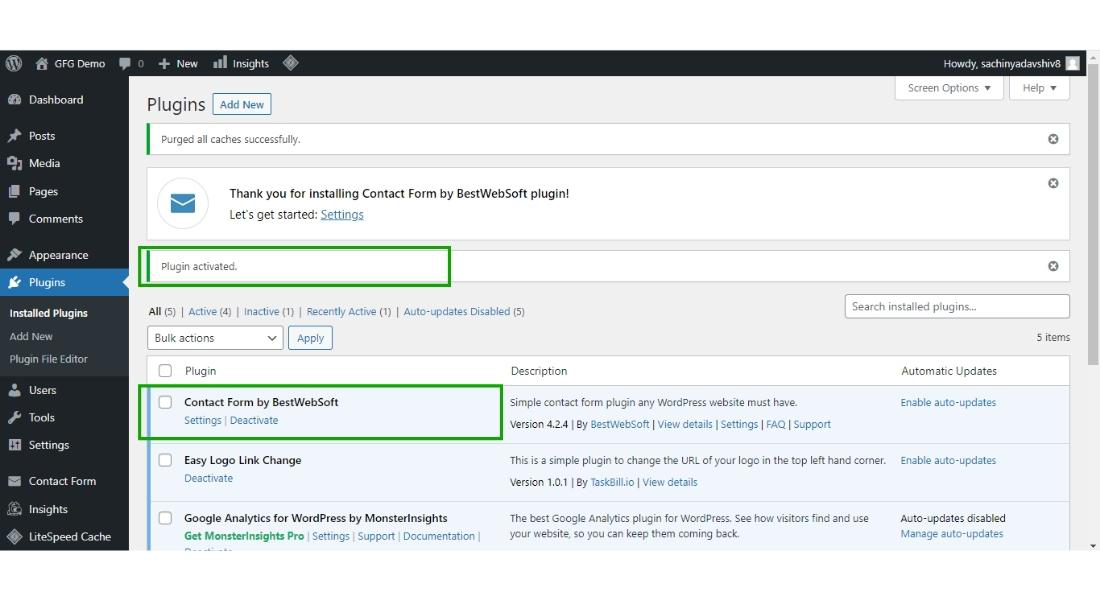
Step 5: After the installation of the plugin click on the “Activate Plugin” to activate the plugin.

Step 6: After activating the plugin your plugin is now ready to use and starts appearing in the Installed plugin section of the WordPress dashboard.
This is how you can upload the plugin to your WordPress website.
How to Deactivate & Delete the plugin: Sometimes what happens after using the plugin, there is no use of that plugin in your WordPress website so we want to remove the plugin. So to remove the plugin what we have to do is simply deactivate the plugin and then delete the plugin.
let’s see how we can deactivate and delete the plugin step by step:
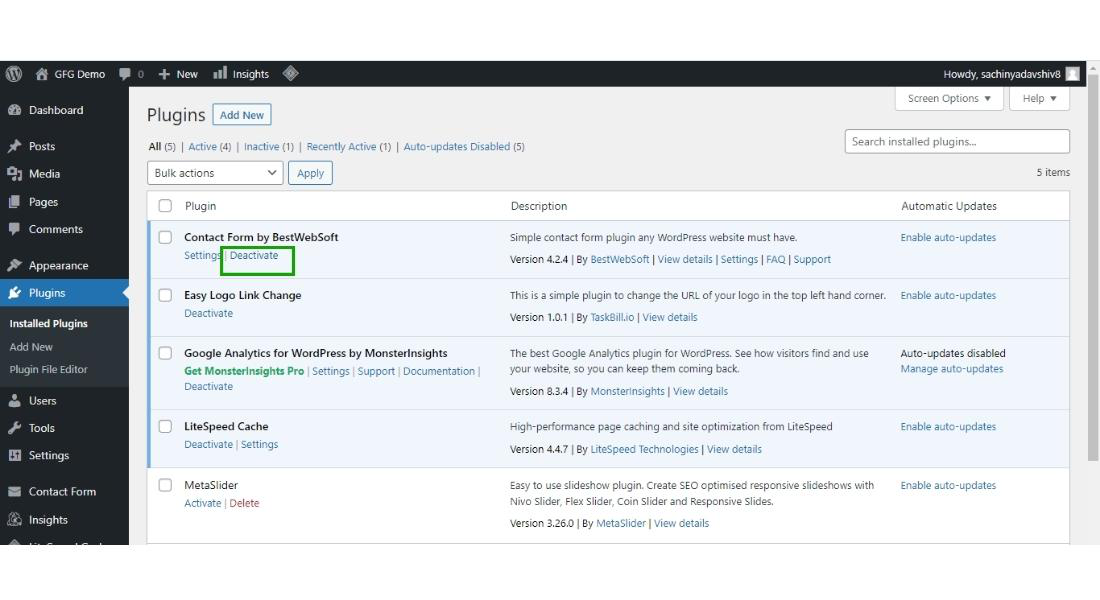
Step 1: Hover over the plugin section and then click on the installed plugin.
Step 2: Then click on deactivate link to deactivate the plugin.
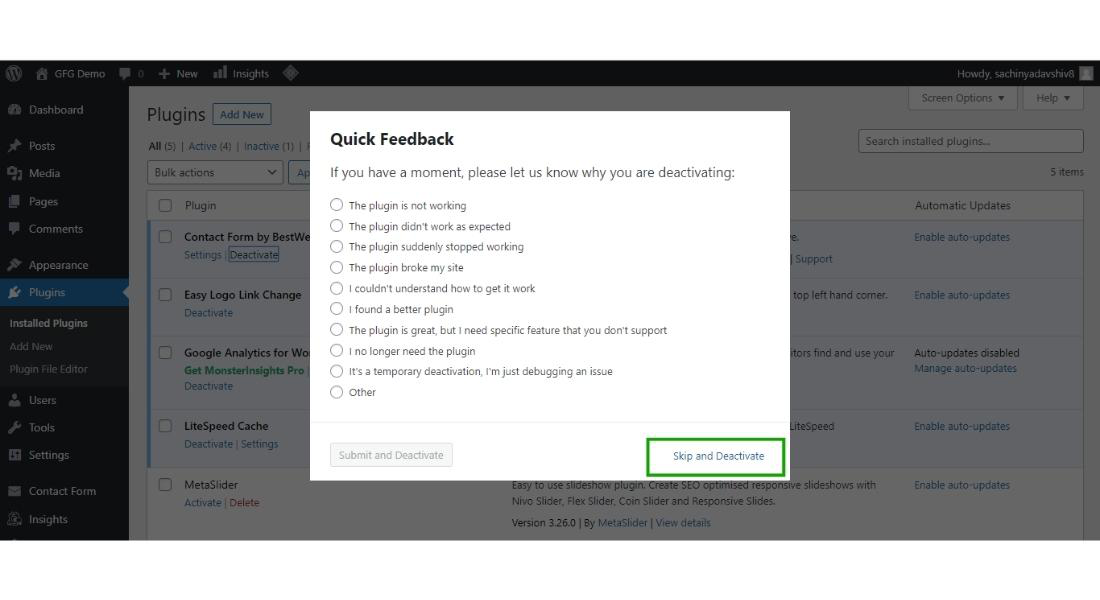
After clicking on deactivate, the pop-up will appear asking for the reason to deactivate the plugin you can simply click on skip and deactivate the plugin.
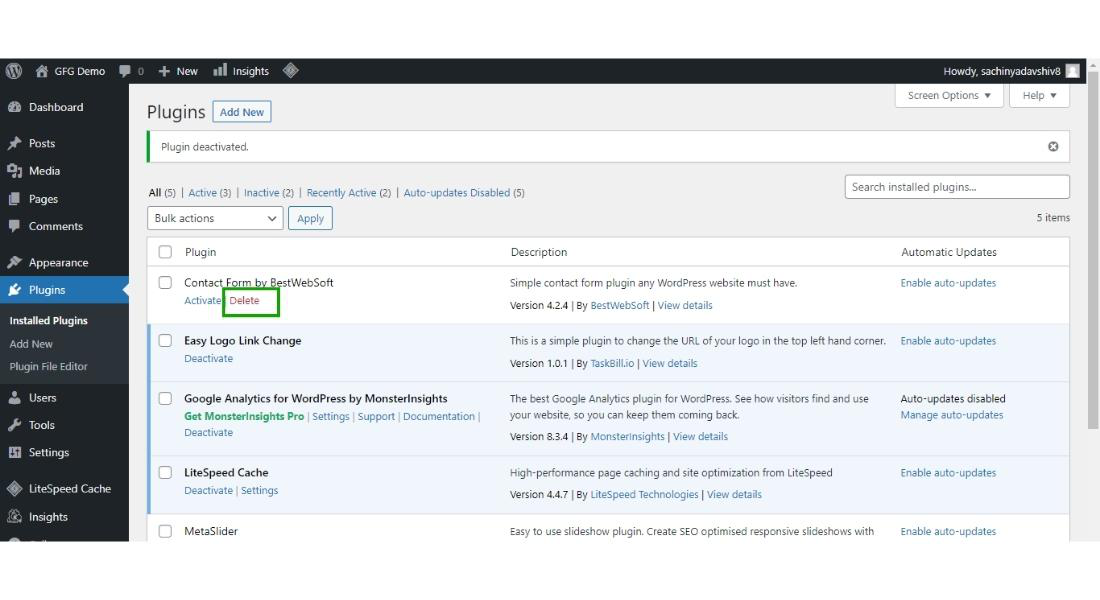
Step 3: After deactivating the plugin click the “Delete” to completely delete the plugin.
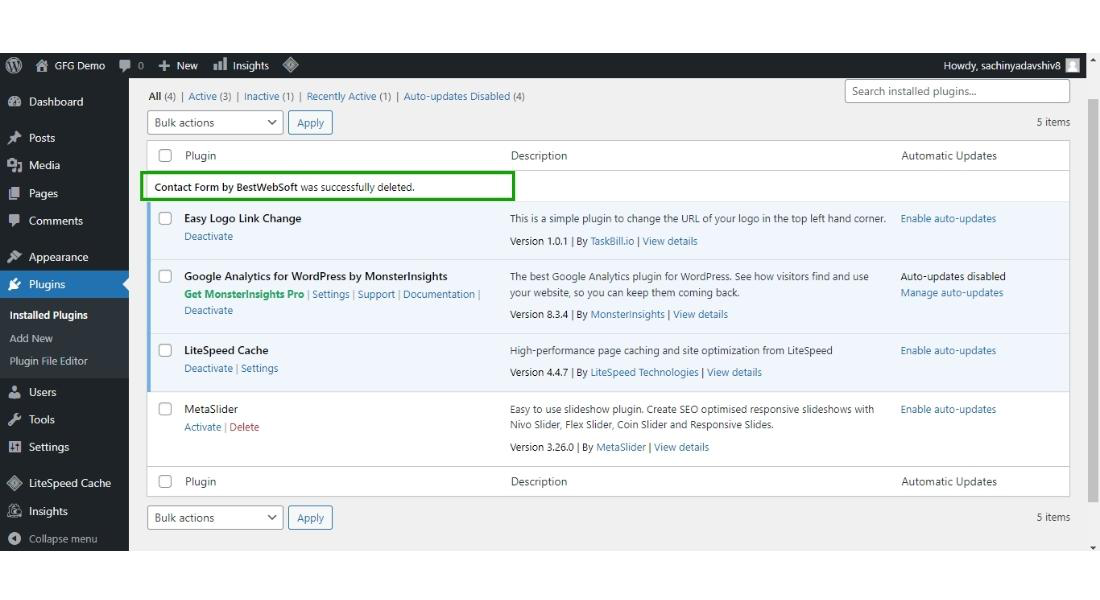
Now your plugin has successfully get deleted from your WordPress website.
Like Article
Suggest improvement
Share your thoughts in the comments
Please Login to comment...