Tally marks are a great tool to track count in a visual, yet formal manner. And as easy as the concept of tally marks is, it is even easier to use them on pen and paper. However, if you are looking forward to doing tally marks in Google Docs, you might be having a hard time figuring out how to go about it effectively.
If that is the case, then you are at the right place because this post will take you through the best and easiest methods of doing tally marks in Google Docs. But first, the basics!

What are tally marks?
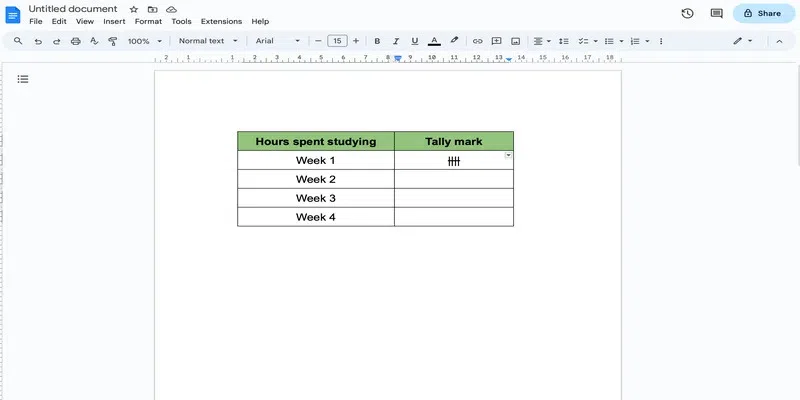
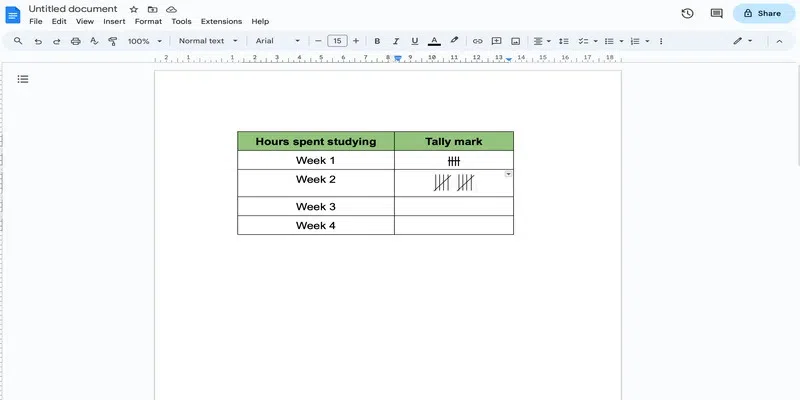
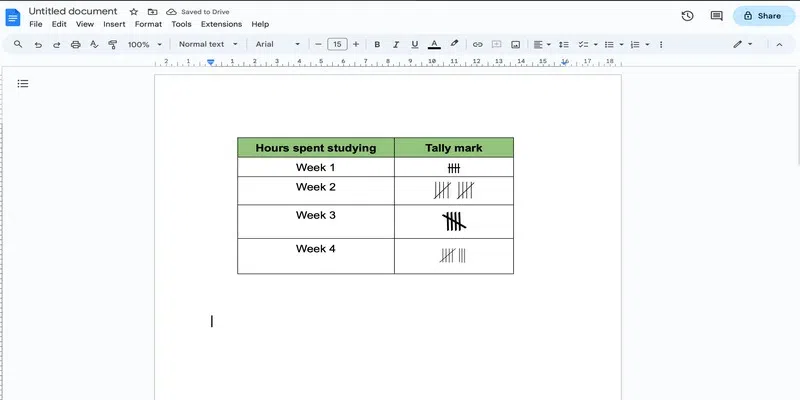
Tally marks, a part of the unary number system, make a great tool for counting and tracking numbers in a fast and visual way. They are usually used in a frequency table, as shown below. The symbol of a tally mark consists of four vertical lines, each for one number up to four, with a fifth line diagonally crossing them all. This method of representation makes them a versatile tool for tracking data with a running count.
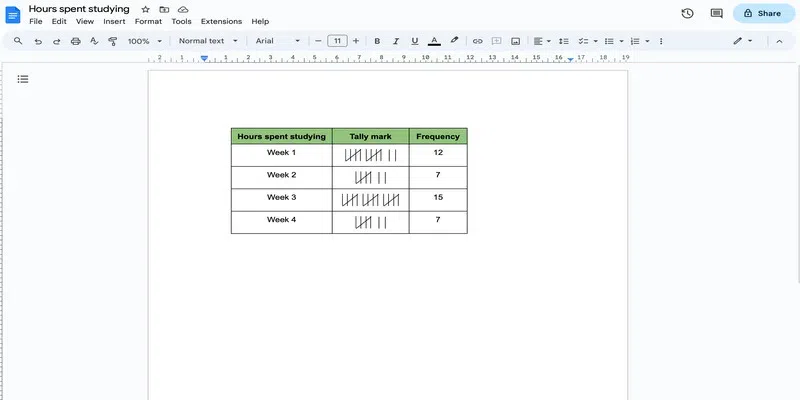
tally mark table
How To Do Tally Marks In Google Docs
Let us now look at the different methods of doing tally marks in Google Docs.
Note: There is no direct method of using a tally mark in Google Docs. However, by making the right use of various tools that Google Docs provides, we can achieve the desired results.
Also, we will be using a sample table throughout this post, but you can get similar results even if you want to use tally marks outside of a table (like in a paragraph or a sentence).
Tally Marks In Google Docs Using the Pipette Key
Step 1: Use the pipette key to Insert Vertical Bars
Press shift and click on the key with the backslash. This inserts one vertical line. Repeat this for getting any number up to four. In this example, we are adding four such vertical lines.
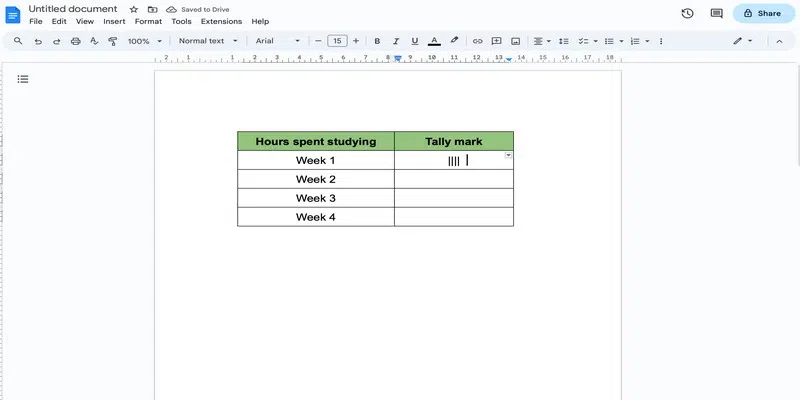
make vertical bars
Step 2: Select the Vertical Lines
Select the vertical lines you created.
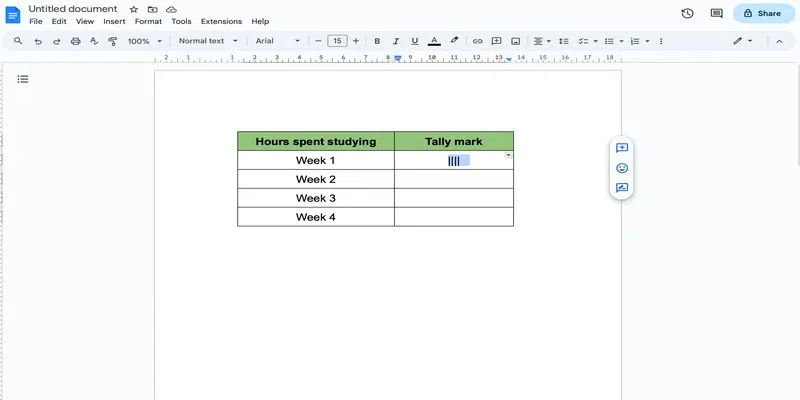
select vertical lines
Step 3: Use Strikethrough to Insert the Fifth Horizontal Bar
For inserting the fifth horizontal/diagonal bar, go to the format tab and click on the text option in the dropdown. Select Strikethrough in the further displayed dropdown.
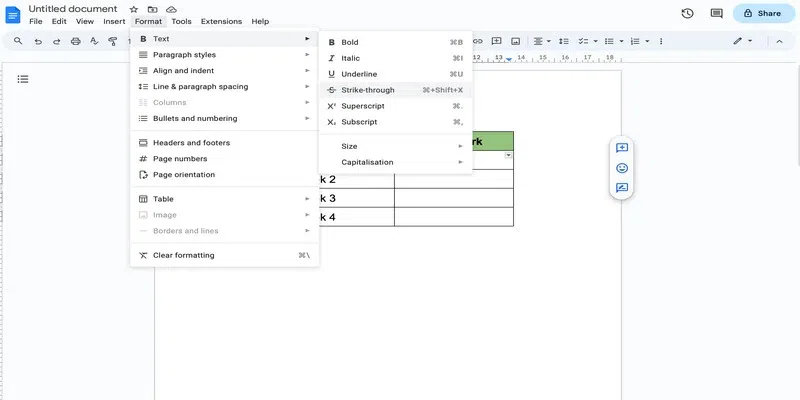
strikethrough
This is the simplest method of doing tally marks in Google Docs, the only downside being, the line crossing out the vertical lines can only be horizontal and not exactly diagonal.
resultant tally mark
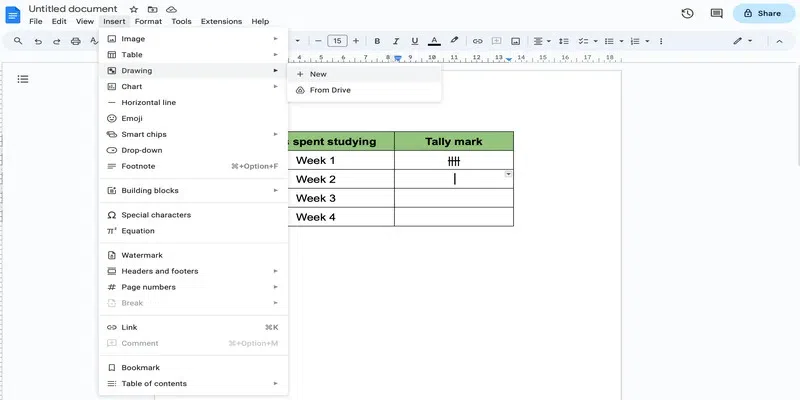
Use the Drawing tool to do Tally Marks in Google Docs
This method takes a bit more time but gives you the perfect tally marks.
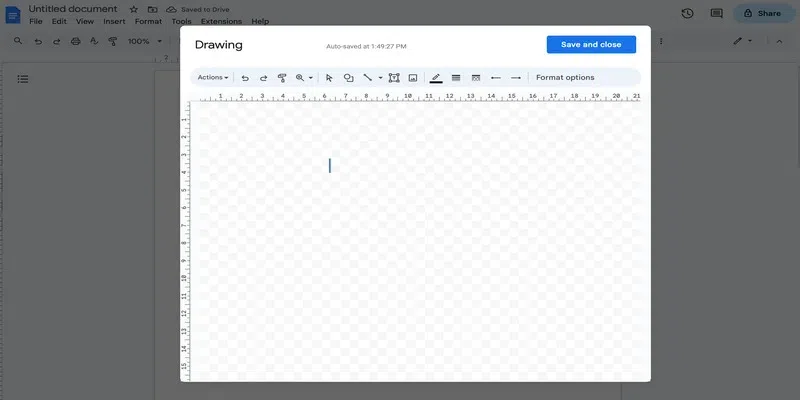
Step 1: Open a new drawing
Go to the insert tab and select the drawing option from the displayed dropdown. Click on the ‘+ New’ option.
open a new drawing
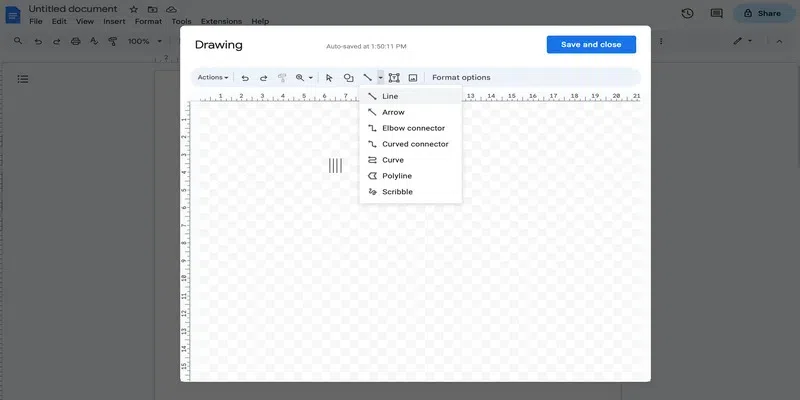
Step 2: Select the Line Tool
In the canvas dialog box that opens, choose the line tool from the line drop-down. This will change the cursor into a plus sign.

select the line tool
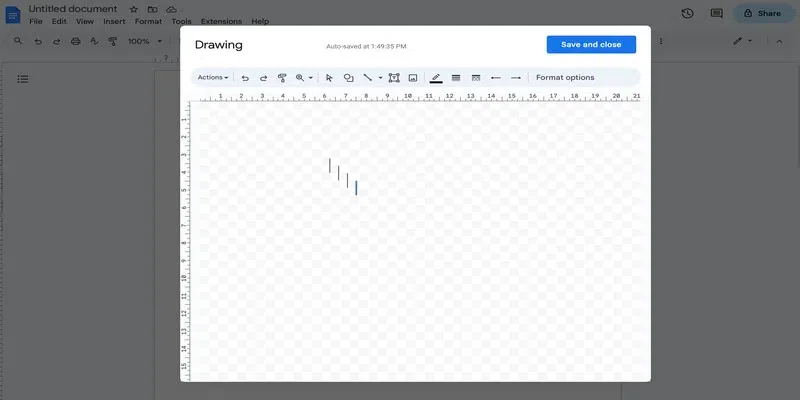
Step 3: Draw a Vertical Line
Draw a vertical line using the cursor. You can keep the size as desired.
draw a vertical line
Step 4: Copy Vertical Lines
If you have to make a tally mark for any number up to four, you can simply copy the line you made in Step 3 and paste it the required number of times. For this example, we will paste 4 such lines.
copy vertical lines
Step 5: Place the vertical lines
Drag and drop the copied lines to place them next to each other.

place vertical lines next to each other
Step 6: Select the line tool
Now, again choose the line tool from the line drop down in the canvas ribbon.
select the line tool again
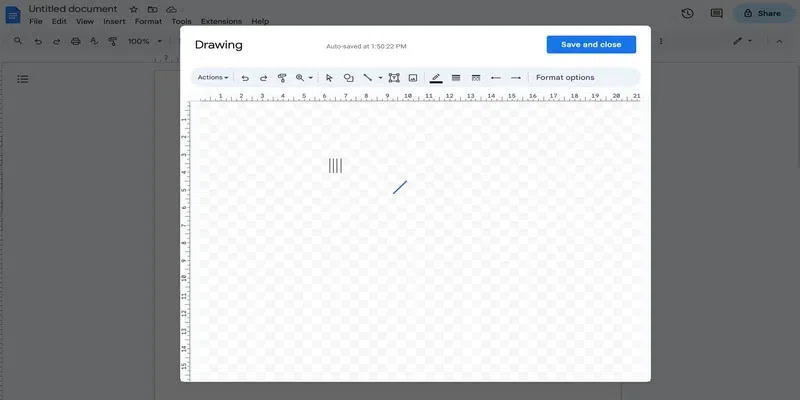
Step 7: Draw a Diagonal Line
Use the cursor to draw a diagonal line. Make sure the size is such that it covers the vertical bars properly.
draw a diagonal line
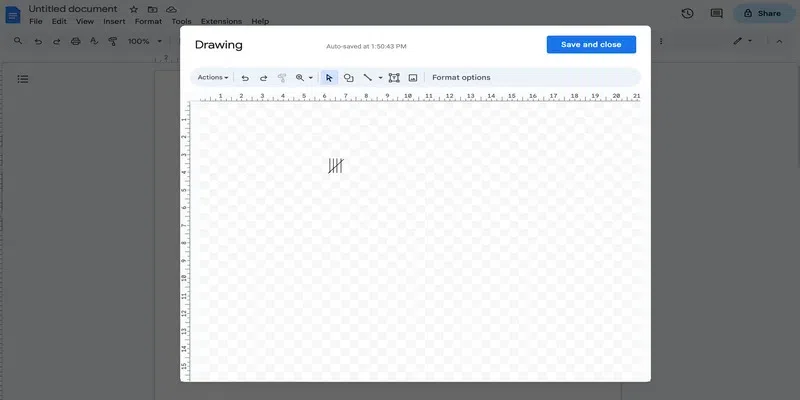
Step 8: Drag the Diagonal Line over on Top of the Vertical Lines
Drag and drop the diagonal line on top of the vertical lines to get the tally mark equivalent to five.
drag the diagonal line over vertical lines
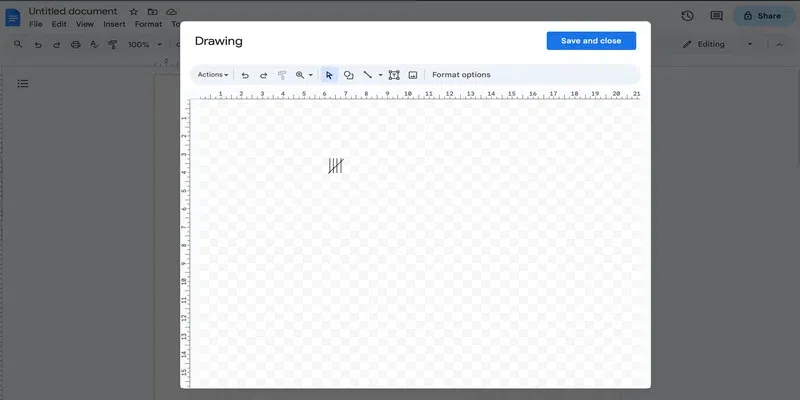
Step 9: Save and close
Click on the save and close option on the top to insert the resultant tally mark in Google Docs.
save and close
This is what the result looks like-

resultant tally mark
Copy and Paste Tally Marks (Optional)
If you wish to copy this tally mark further, then simply follow these steps-
Step 1: Select and Copy the Tally Mark
Simply click on the tally mark to select it and click ctrl+C (on Windows) or cmd+C (on Mac).
copy tally mark
Step 2: Paste the Tally Mark
Now simply click ctrl+V (on Windows) or cmd+V (on Mac) to paste the tally mark.
paste the tally mark
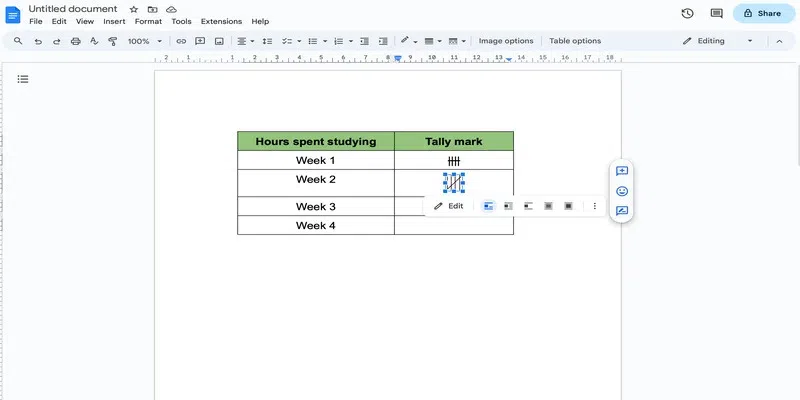
Tally Marks In Google Docs Using the Image Tool
You can add a tally mark in Google Docs as an image as well. Follow these steps to add a tally marks as an image-
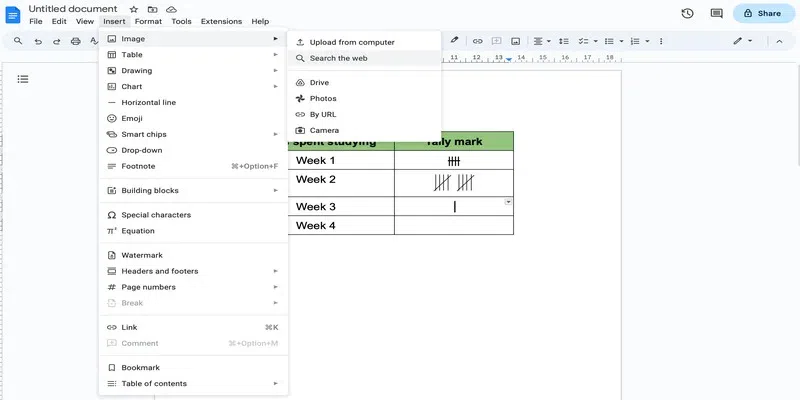
Step 1: Go to Insert and Select Search the Web Option
Go over to the insert tab and click on Image Drop Down from the appeared dropdown. A further dropdown will be displayed. Select the Search the Web option.
search the web
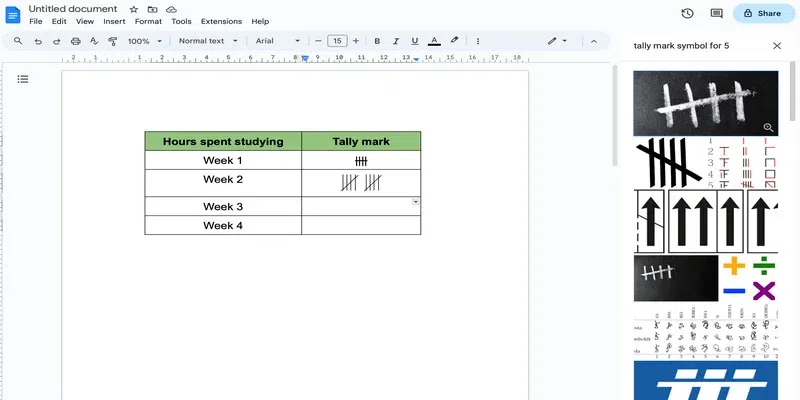
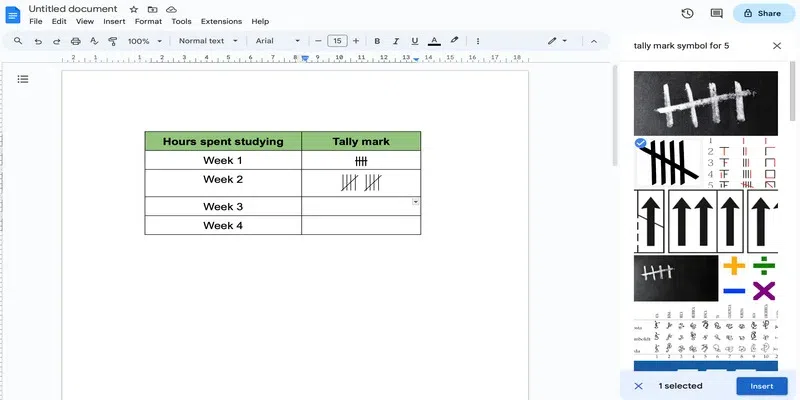
Step 2: Search for the Tally Marks
In the side panel that opens on the right, search for the tally mark in the search bar and hit enter. In this example, we are searching for the tally mark corresponding to 5.
search for the tally mark
Step 3: Select and Insert the Image
Choose the required image and click on the Insert button.
select the image and insert
Step 4: Adjust the Size
Naturally, the size of the inserted tally mark would be random. So, simply pinch the image from the edges to get the required size.
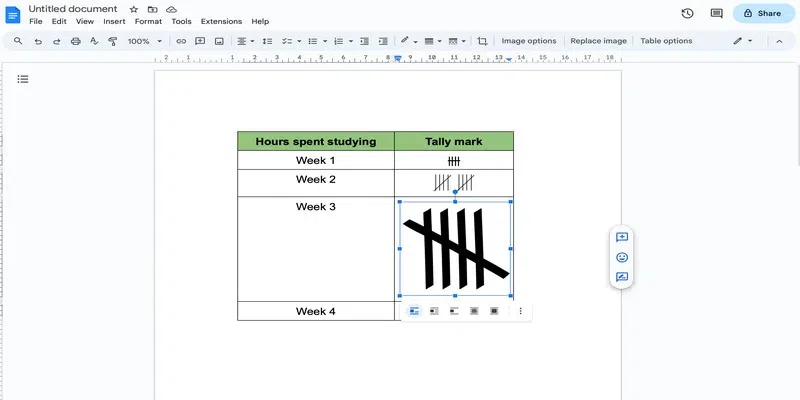
resize image
Here is what the resultant tally mark looks like-
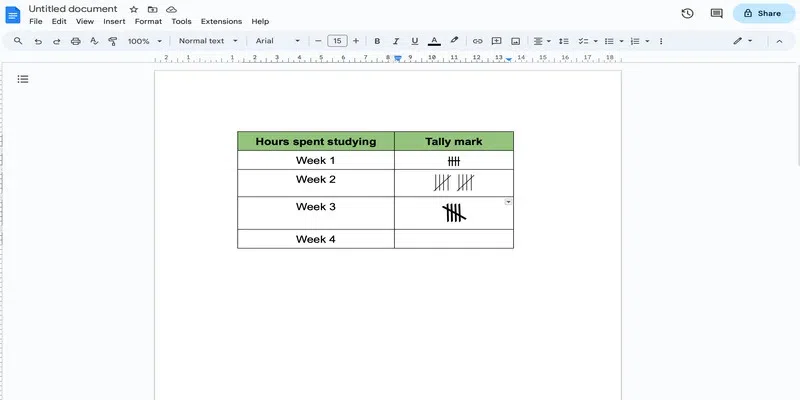
resultant tally mark
This method is quite easy to follow but finding the right image for a tally mark might be a challenge. In that case, you can add your own image, which are, for example, taken from a book.
Tally Marks In Google Docs by Uploading the Image
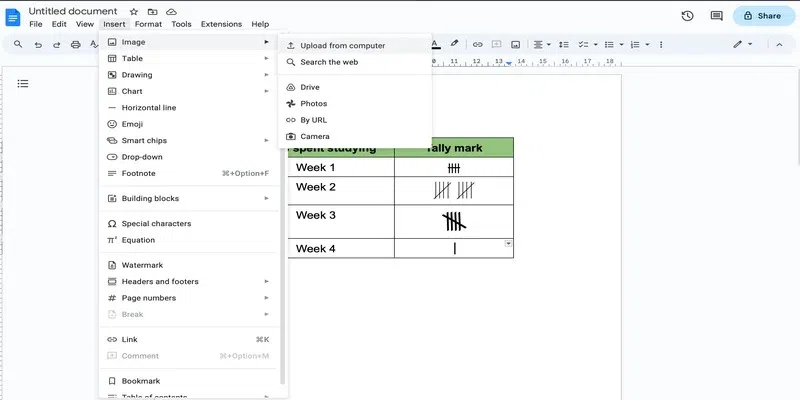
Step 1: Go to Insert and Select Upload from the Computer
Go over to the Insert tab and Click on Image from the drop-down. In the further opened dropdown select the option of Upload from the Docscomputer.
upload from computer
Step 2: Select the Image
From the file explorer dialog box that opens, select the desired image and click on the upload button.
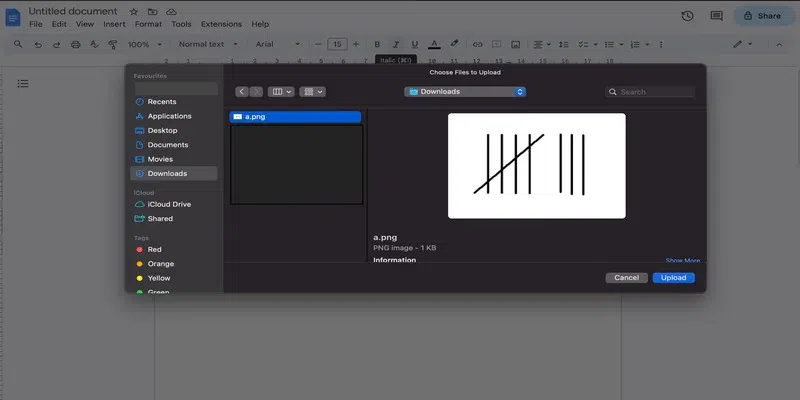
select the image
Step 3: Adjust the size
Re-adjust the size of the image as desired by dragging the image from the corners.

resize the image
This is what the resultant tally mark looks like-
resultant tally mark
Summary
In this post, we looked at the different methods of adding tally marks in Google Docs. Google Docs is a great tool and is widely used by people for a variety of purposes. Although it does not provide a direct method of adding tally marks, it provides several tools to achieve the same result. To further improve your knowledge of Google Docs, you might want to look at this article next – How to add shapes in Google Docs.
FAQs
Does Google docs provide a built-in tool to do tally marks?
No, there is no such tool available; However, there are multiple workarounds to achieve the same result.
Can I customise tally marks in Google docs?
Yes, you can perform the basic customisations like colour, size and font size.
Can I copy a tally mark from web onto Google docs?
Yes, you can copy a tally mark from the web and directly paste it in Google docs.
Share your thoughts in the comments
Please Login to comment...