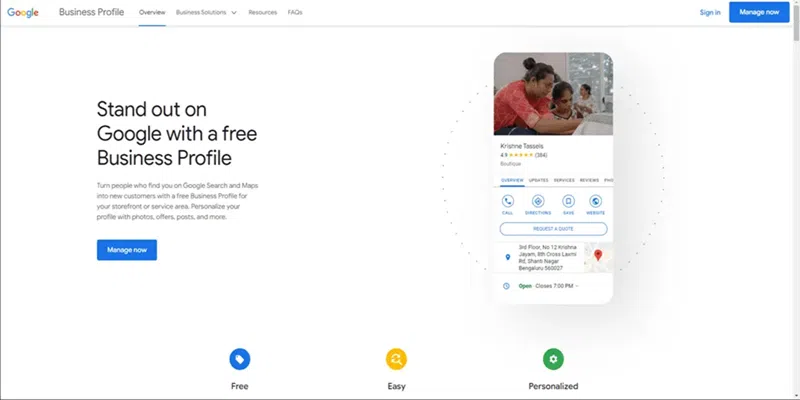
What Is Google Business?
Google My Business is a no-cost tool that empowers businesses to oversee their online visibility on various Google platforms, including Search and Maps. Through a Google My Business account, businesses can create a comprehensive Business Profile containing crucial details like operating hours, website link, contact number, and location. Additionally, businesses can engage with customers by responding to reviews, sharing photos, and addressing queries. The platform also provides insights into how customers discover and interact with the Business Profile. Leveraging Google My Business is a strategic approach for businesses to elevate their Google visibility and attract new customers.
What is a Business Listing in Google Business?
Business Listing is an online profile that contains the credentials of a Business like its location, services, availability, contact information, Business hours, etc. It is essential to run your Business and have rapid growth with an online presence.
To improve a company’s online visibility, credibility, and customer interaction, business listings are essential.
How to Create & Verify Your Google Business Account
Step 1: Sign In To Google
Sign In to Google with your Google account. You can also sign up to create a new account.
Step 2: Go To The Google Business Profile Page
Go to Google Business and Click on SignIn
Google Business Home Page
Step 3: Register Your Business On Google Business Profile
Enter your Business name:
You’ll be prompted to enter your business name. Make sure to enter it exactly as it appears in real life. Click on Continue
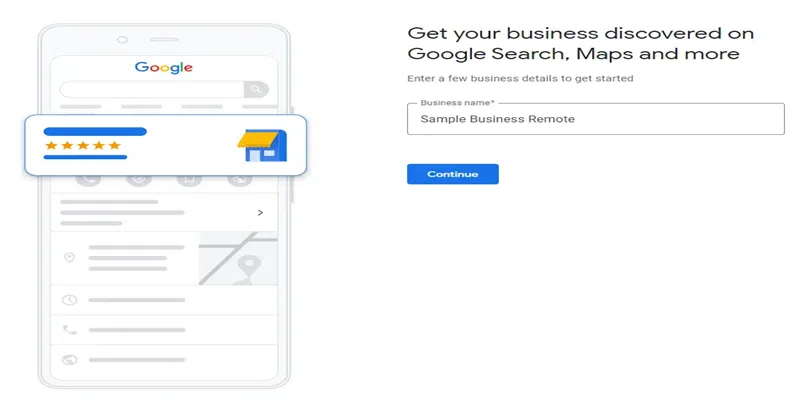
Enter your Business Name
Choose your Business type:
Choose the type that suits your business best then click on Next
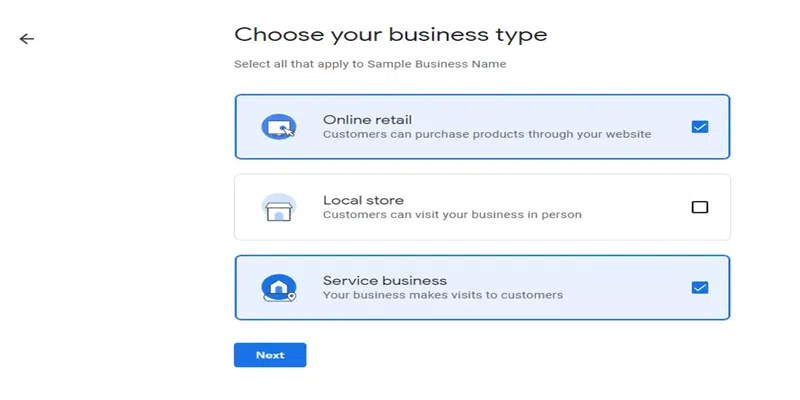
Select Business Type
Choose your Business category:
Enter your Business category which defines best your business. You can change it later too.
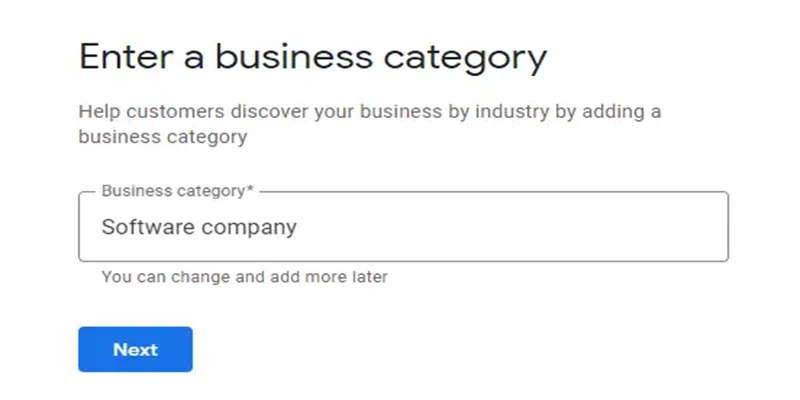
Enter Business Category
Enter your Website:
You can enter your business website. If you don’t have a website, Google can help you create one for free.

Enter your Business Website
Enter your Business Location:
You can enter the service location of your business so that you can get a higher reach in your areas. It is not mandatory but it is good practice to enter details.
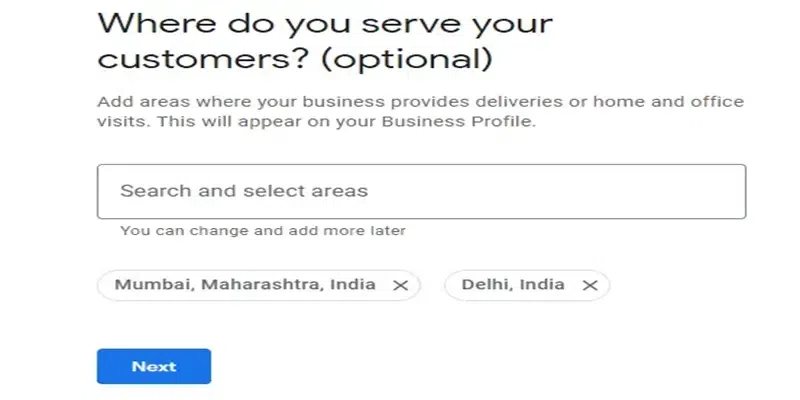
Enter your service location
Enter your Mobile Number:
You can also enter your Business phone number so that consumers can reach you easily.
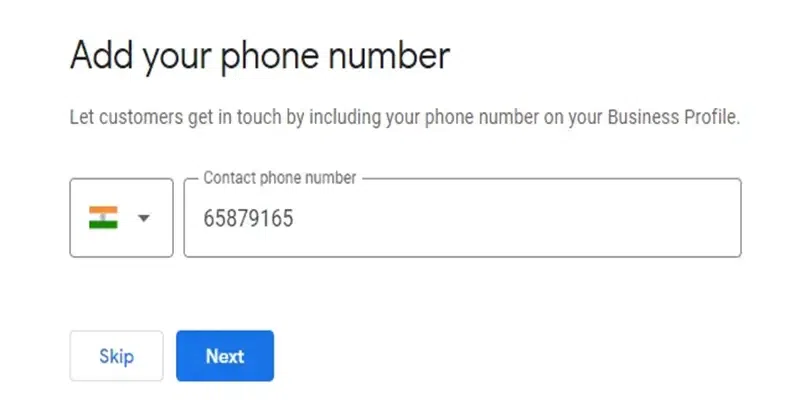
Enter Mobile Number
Select optional services:
Select the news and survey services if you want to (it’s optional). Then click on Continue.
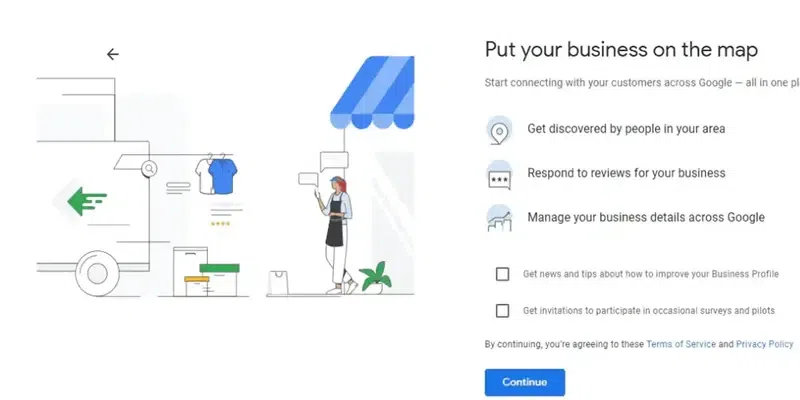
Optional Services
Step 4: Get Verified
Finally, you’ll need to verify your business. Google needs to verify your Business ownership so you should follow the following procedure:
How to verify your business on Google
- Make sure you have a Google Account for your business
To create a Business profile you should have a Google account, you should create one first if you do not already have one.
- Make sure you have a Business Profile
You should have a Business profile registered with Google if not you should create one first.
- Sign up for a Google My Business account
To create business account you should visit the Google Business homepage and create an account by clicking on SignUp.
- Request to claim your Business Profile
There are two methods to claim your Business Profile.
Claim request method 1: You can claim your Business Profile directly from the Google My Business page.
Step 1: Enter your mailing address
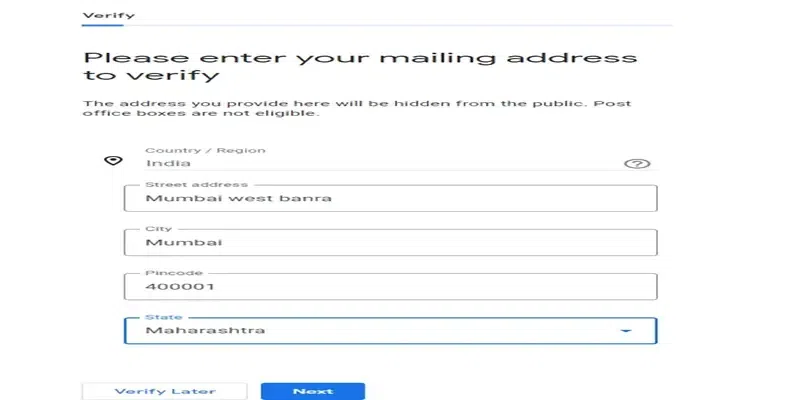
Enter Mailing address
Step 2: You are verified
Click on Next then the “You’re now verified” message appears which means your mailing address is verified.
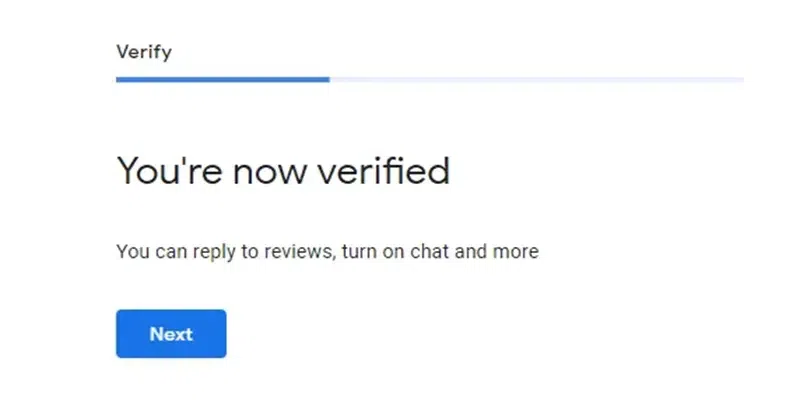
Verified Message
Step 3: Add Business Hours
Add working days along with the opening and closing times of your business.
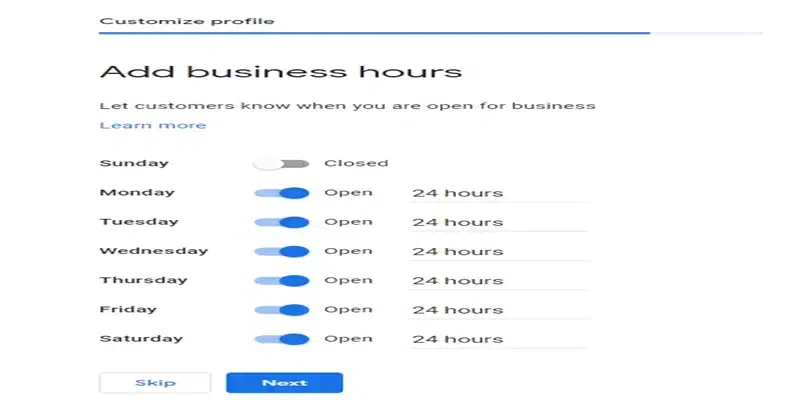
Add Business Hours
Step 4: Add messaging
Accept the customer messages for your business profile if you wish to.
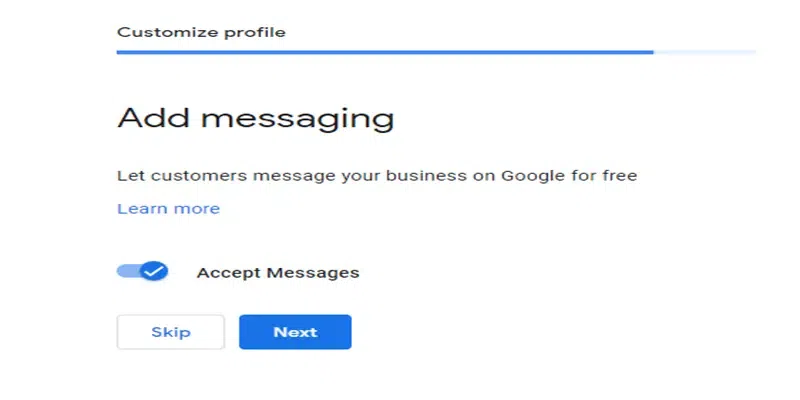
Add messaging
Step 5: Add Business Description
Add your business description
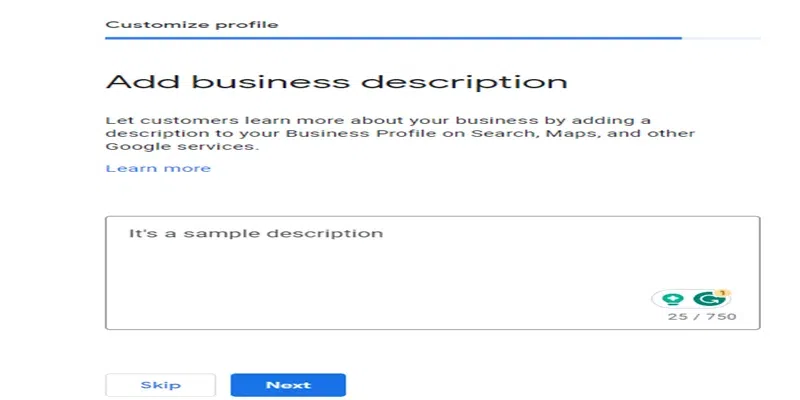
Add Business Description
Step 6: Add photos
Add some relevant photos of your business.
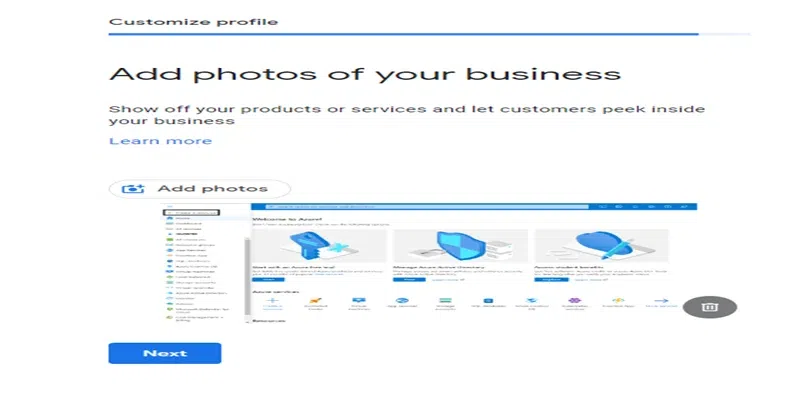
Add photos
Step 7: Claim benefits
Claim your welcome bonus credits given by Google which you can use for advertisements and promotions.
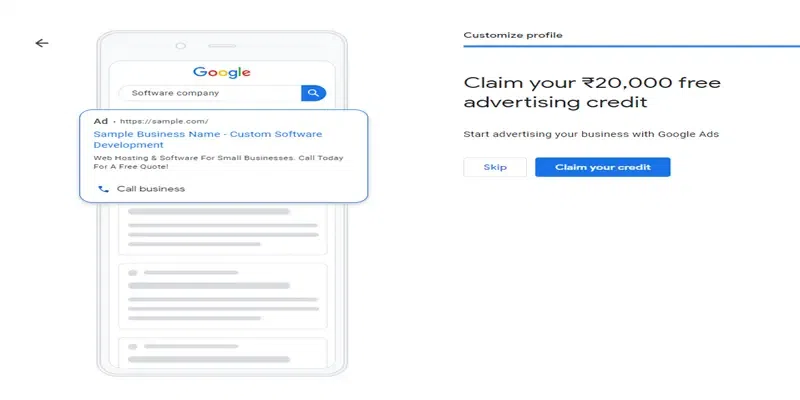
Claim benefits
Step 8: The business profile claimed successfully
Then a message appears that says “Your edits will be visible once you’re verified” This means we are done with creating our account and Google will take some time to verify your account.
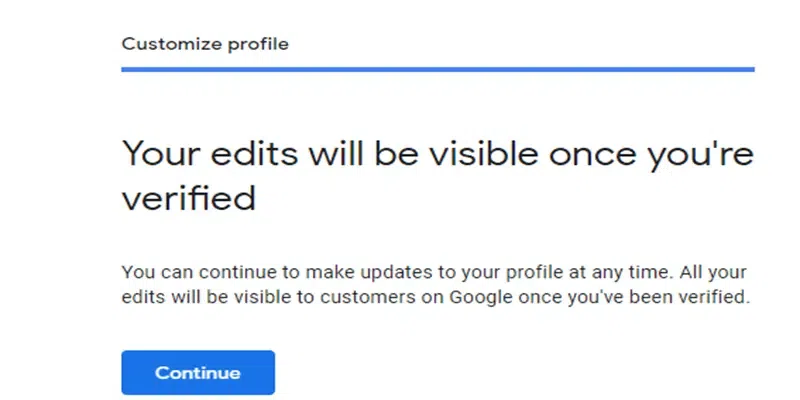
Final Message
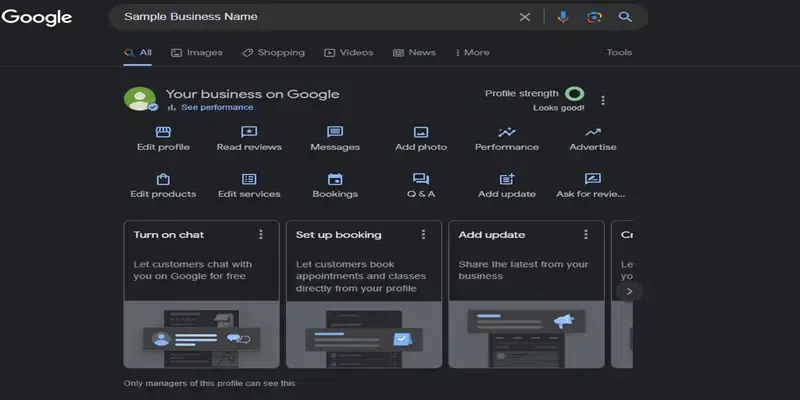
Your Business Profile
Claim request method 2: Google Maps You can also claim your Business Profile through Google Maps.
Step 1: Open Google Maps on your computer
You can do this by typing “Google Maps” into your web browser and clicking on the first result.
Open Google Maps
Step 2: Enter the business name in the search bar
Type the name of your business into the search bar at the top of the Google Maps page. A list of businesses that match your search will appear. Click on your business name in this list.
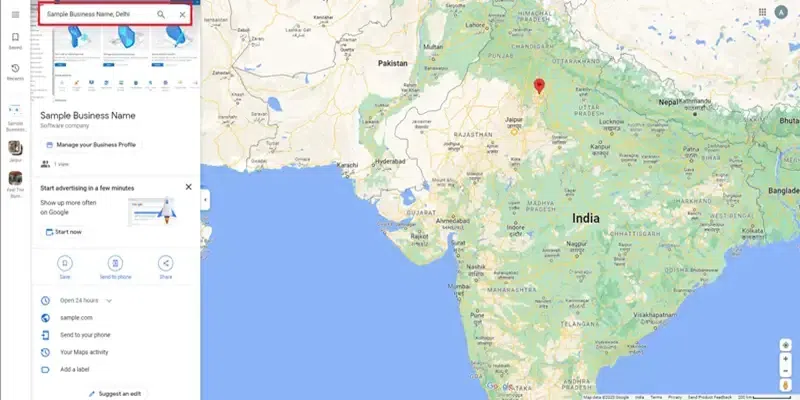
Enter the business name in the search bar
Step 3: Click “Manage Business Profile”:
This will start the process of claiming your Business Profile.
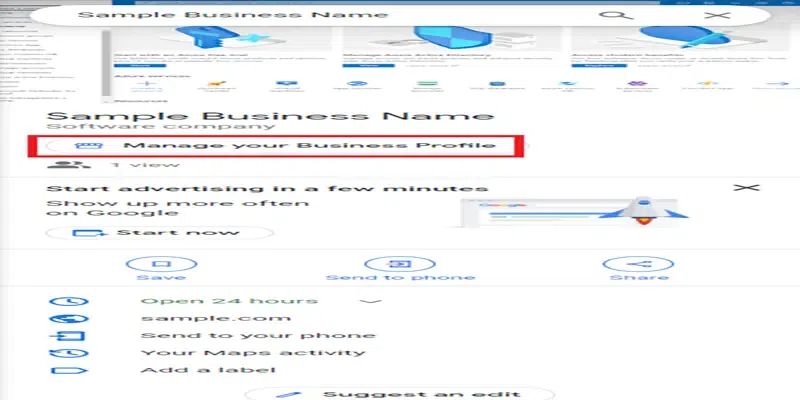
Manage your profile
Step 4: Choose a different business (optional)
If you own or manage another business, you can click “I own or manage another business” to select it.
Step 5: Select a verification option and follow the on-screen steps
Google will need to verify that you’re the legitimate owner of the business. This is usually done by sending a verification code to your business address.
Why create a Google My Business account?
Making a Google My Business account is advantageous for various reasons:
- It lets your company stand out on Google Search and Maps, converting consumers who find you there into new clients.
- It allows you to customize your profile with photographs, offers, posts, and other features.
- It allows you to effortlessly connect with customers by keeping them up to date with postings, offers, direct messaging, and other features.
- It gives a platform for you to promote your products and services.
- It provides information about how clients find your company, what keywords they use to find you, and more.
- It’s the only way to claim ownership of your Business Profile, gain management rights to it, and gain access to extra free services to boost your exposure on Google.
What you need to claim and verify your business on Google
You will need the following items to claim and validate your business on Google:
- A basic Google Account for your company.
- A company profile.
- Correct information about your company, such as its name, category, and address.
- A phone number that may receive calls or texts, as well as a business email address or mailing address.
- To request that your Business Profile be claimed.
- To establish ownership of your company.
Optimize Your Business Listing
Here are some tips for optimizing your Google My Business listing:
- Claim your Business Profile.
- Complete every component of your Google My Business account.
- Maintain accurate contact information.
- Choose primary and secondary categories.
- Mark off the attributes that apply.
- Create a detailed “from the business” description.
- Weekly Google posts are published.
- Every week, fresh photos are uploaded.
- Respond to the questions.
- Gather and reply to reviews.
- Add your items and/or services.
- Set up messaging.
- Maintain your Business Profile.
- To boost the discoverability of your listing, use targeted keywords in your business description and incorporate relevant industry terminology.
- Add links to your social media profiles and encourage customers to give reviews and ratings for your company.
Conclusion
Registering your business on Google is a simple yet powerful way to increase your online visibility and reach more customers. By following the steps outlined in this article, you can easily register your business on Google for free and start reaping the benefits of having an online presence.
FAQs
How to add your domain to Google Business?
To use an existing domain for your business website made via Google Business Profile, you can follow these steps:
1. Sign in to your hosting company account and choose a “Redirect” option or similar.
2. Redirect your domain to the URL for your new site provided during the Google Business Profile site creation process.
3. For more information, visit the website of your hosting provider. Some common providers include GoDaddy, eNom, and Network Solutions.
Can you list your online business on Google?
Yes, you can list your online business on Google. Here are the steps:
1. Go to Google Maps and sign in.
2. Enter your address in the search bar.
3. On the left, in the Business Profile, click “Add your business”.
4. Follow the on-screen instructions to finish signing up for your Business Profile.
Do you need a website for Google My Business?
While it’s not mandatory to have a website for Google My Business, it’s highly recommended. A website can enhance your online presence and provide more detailed information about your business. Google My Business does offer a simple, free website builder that uses information from your Business Profile. However, having a separate, comprehensive website can give you a competitive advantage, meet customer expectations, and provide a platform for more in-depth information and e-commerce.
How to claim a Google business listing?
To claim your business listing on Google, follow these steps:
1. Open Google Maps on your computer.
2. Enter the business name in the search bar.
3. Click the business name and choose the correct one.
4. Click “Claim this business” > “Manage now”.
5. To choose a different business, click “I own or manage another business”.
6. Select a verification option, and follow the on-screen steps.
Share your thoughts in the comments
Please Login to comment...