How to Create Plain Labels in Google Docs – Quick Steps
- Open Google Docs.
- Go to “Insert” > “Drawing” > “+ New.”
- Create your label and click “Save and Close.”
- Click on the label, then “Actions” > “Download.”
- Insert the downloaded image into your document.
- Resize and position the label as needed.
- Add text if desired using the text box tool.
- Save your document. Enjoy your custom plain labels!
Welcome to the world of hassle-free label-making in Google Docs! If you’ve ever wished for a quick and easy way to organize, categorize, or simply jazz up your documents, labels are your new best friend. No need for complicated steps or tech jargon – we’re keeping it straightforward and user-friendly.
Labels in Google Docs are like the sticky notes of the digital world, adding a pop of organization and style to your content. Whether you’re sending out invitations, creating file markers, or just want to make your document more visually appealing, we’ve got you covered. A highly used word processor, known for its easy-to-use interface and a wide range of tools. Not only can you create text documents on Google Docs, but you can also work with images, tables, and other elements. In this post, we will see one such unique use case – How to make labels in Google Docs.
How to Make Labels in Google Docs Using Tables
You get the picture. We will insert a full-page table in Google Docs and fill all the cells with the desired label. Could it get any simpler?
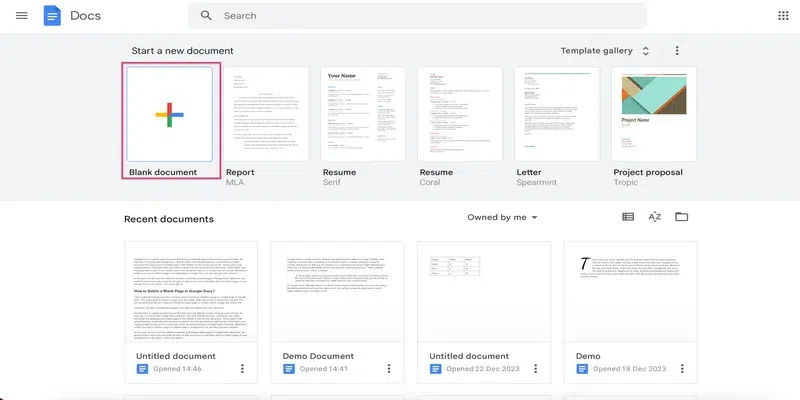
Step 1: Create a new Google Doc
Go to the Google Docs home page and click on the plus icon to create a new Google Docs file.
create a new document
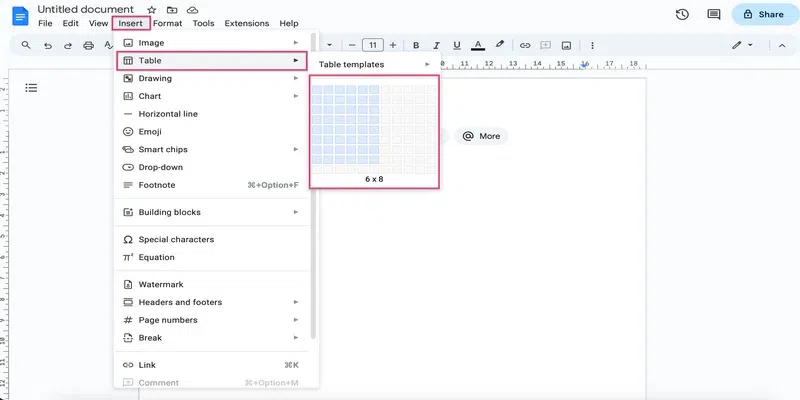
Step 2: Insert table
Go to the Insert tab and click on the Table dropdown. Select the rows and columns to insert the table.
insert table
The cell size changes with the content, so don’t stress about rows and columns. Add more later if there’s space on the page.
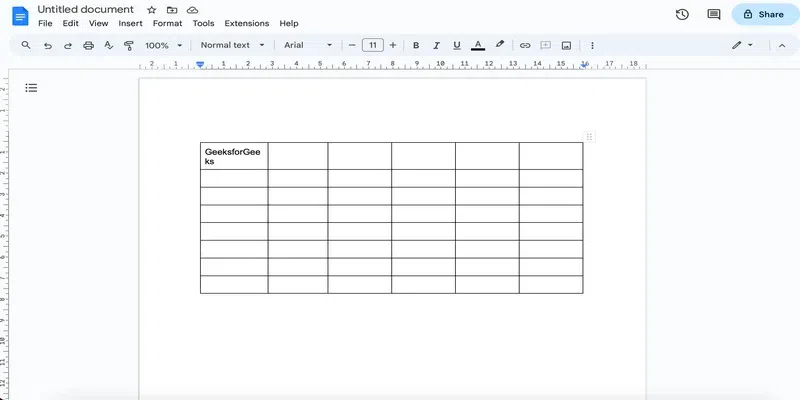
Step 3: Add text
Simply go inside a cell and add the desired text. You can see that the width of the column is less than the width of the text.
add content
So, we can simply drag the table border to the right:
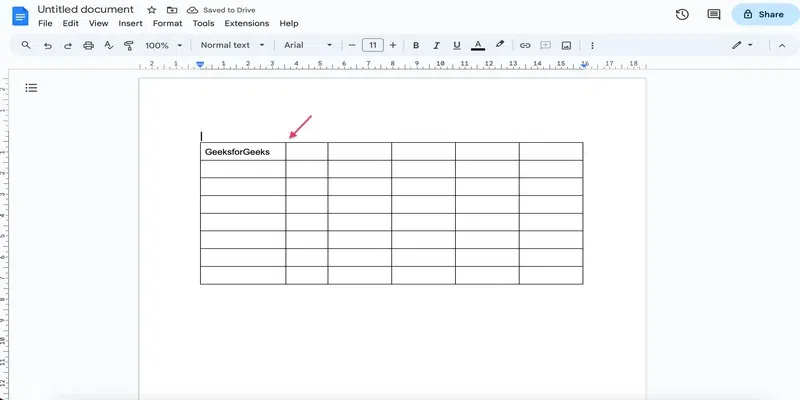
drag table-border
The next section includes designing the labels. You can use all or a few of these steps depending on how you want your labels to look:
How to Change Background Colour in Google Docs
Step 1: Go to table properties
Place the cursor in the cell and go to table options.
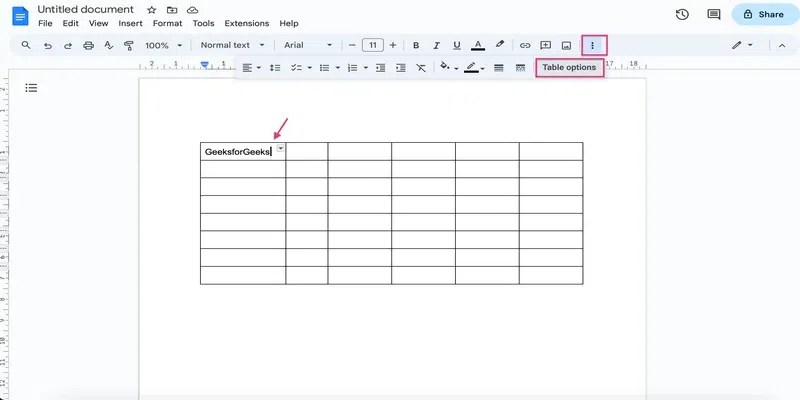
table properties
Step 2: Go to the colour drop-down
In the side pane that opens, click on the colour drop-down.
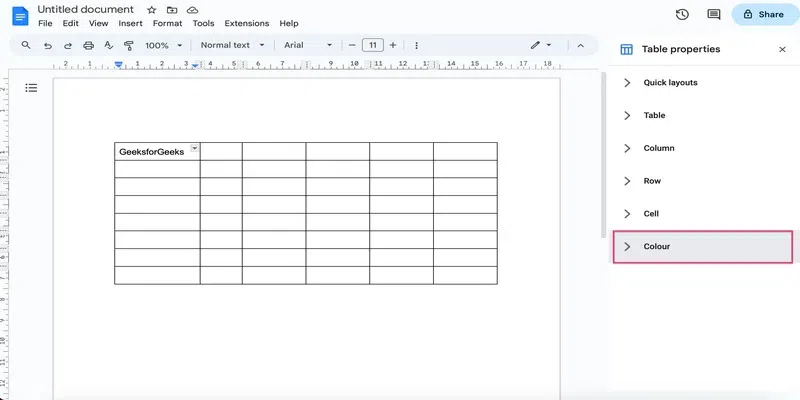
colour dropdown
Step 3: Change the background colour
Go to the cell background colour drop-down and choose the desired colour.
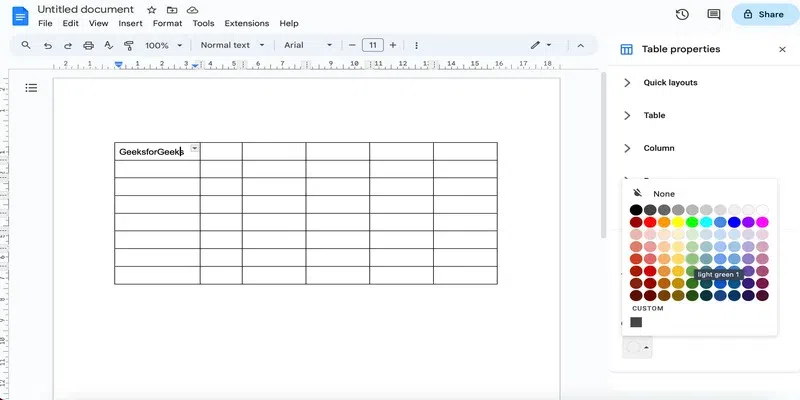
choose colour
How to Format Text in Google Docs
Step 1: Change the text colour
Select the text and choose a text colour from the Text Colour option from the tab.
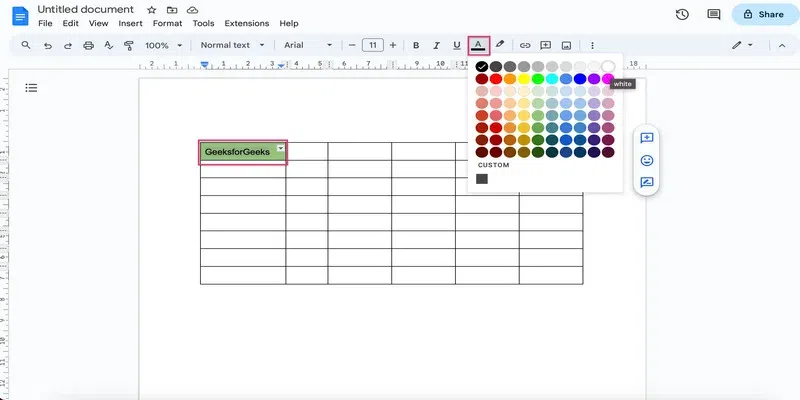
change text colour
Step 2: Choose a font style
Select the text and choose a font style from the font drop-down.
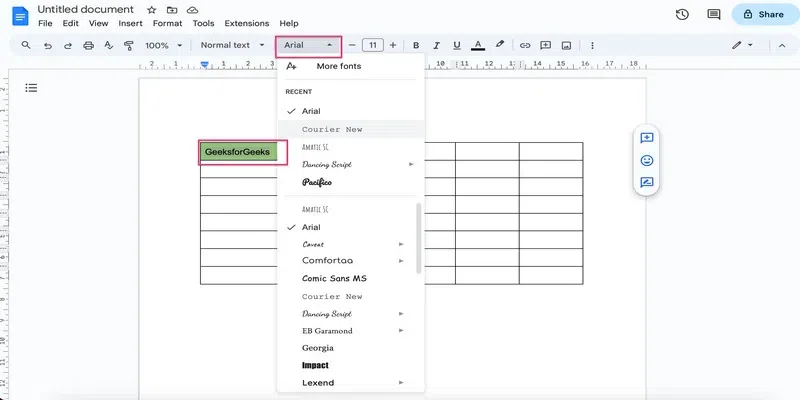
choose a font
Step 3: Change text size
Select the text and choose a font size from the font size drop-down.

choose font size
Step 4: Change alignment
You can also change the alignment of the text as desired. For now, let’s choose the centre-align option.
Select the text and go to the alignment drop-down from the three dots to change the alignment;
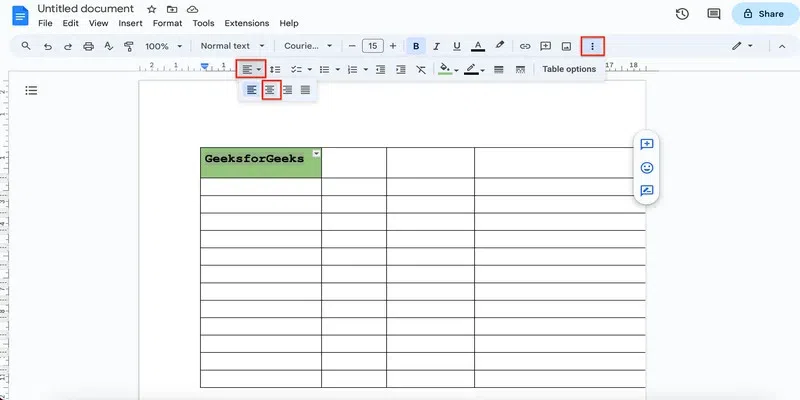
change the alignment
We have covered a few basic steps that you can follow to format the text. You can further highlight, italicise, bold or underline the text. Really, the sky is the limit!
How to Add Images in Google Docs
Step 1: Go to the upload image option
Place your cursor at the place where you want to insert the image and go to the image drop-down. Select upload from the computer.
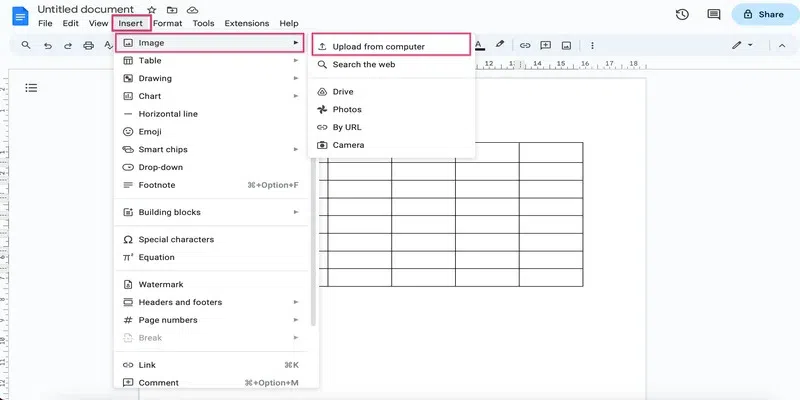
image drop-down
Note that if you do not have the image present on the computer, you can also search the web. But make sure that the images are free from copyright.
Step 2: Add the image
Select the image from the file explorer and click on upload.
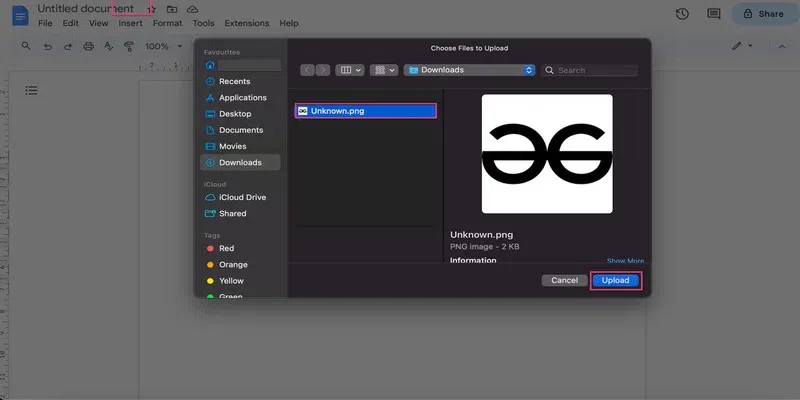
upload image
You can resize the image to get the desired result by simply dragging the corners:
resize the image
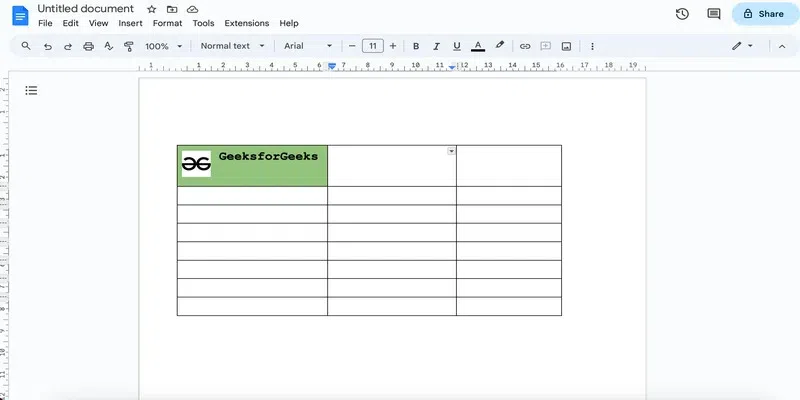
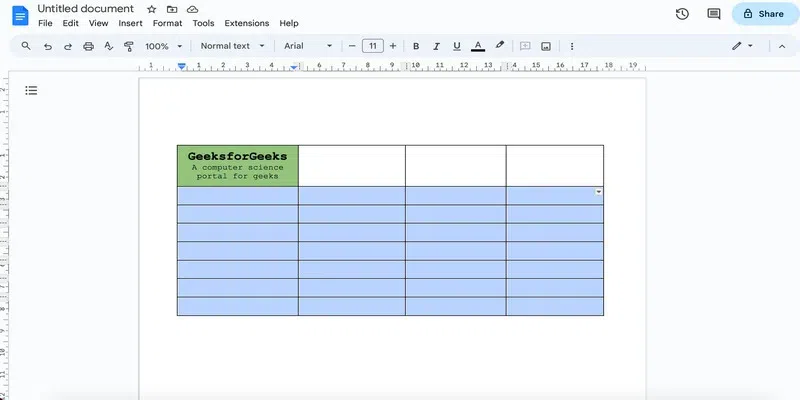
You can also add the by-line of your logo and re-adjust the size and table borders until you get the desired result like this:
add the by-line
Note that although we can add an image in a label, we will have to copy the image separately for all the cells of the table. So, we will remove the image for now. Also, at this point, you will get an idea about the size of the label. Thus, you can add or remove rows and columns as desired. Moreover, you can adjust the table borders as well, until you are satisfied with the result.
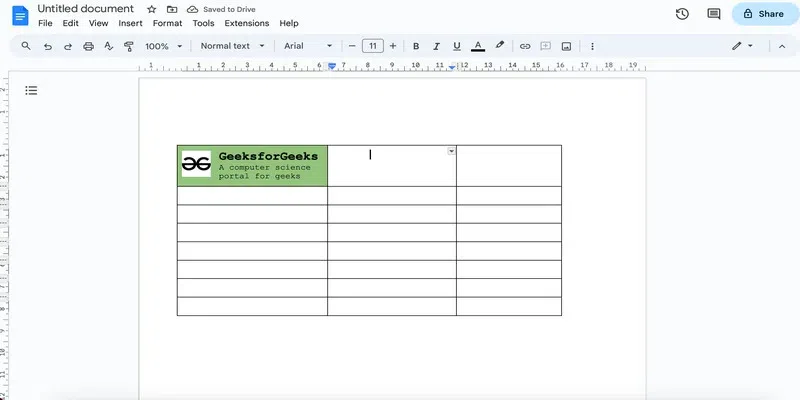
Here is what the final label looks like:
result
How to Copy to all Cells in Google Docs
Let’s look at the steps to copy it in all the cells.
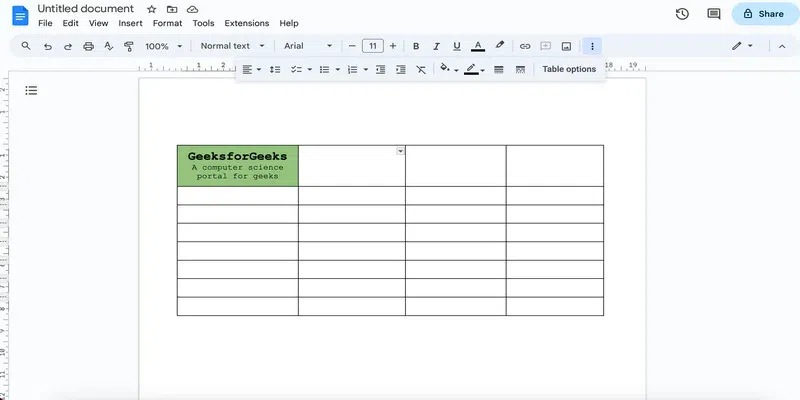
Step 1: Copy the label
Select the entire label and copy it using the Ctrl + C shortcut. You can use Shift with the arrow keys to select the cell contents.
copy the label
Step 2: Paste the label
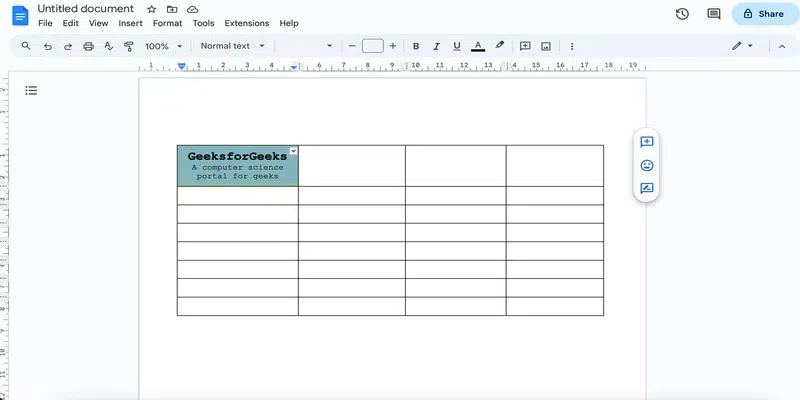
Select as many cells as you can at once and use Ctrl + V to paste the content along with other formatting.
select cells
Repeat the same for the remaining cells and adjust the borders to fit the content:
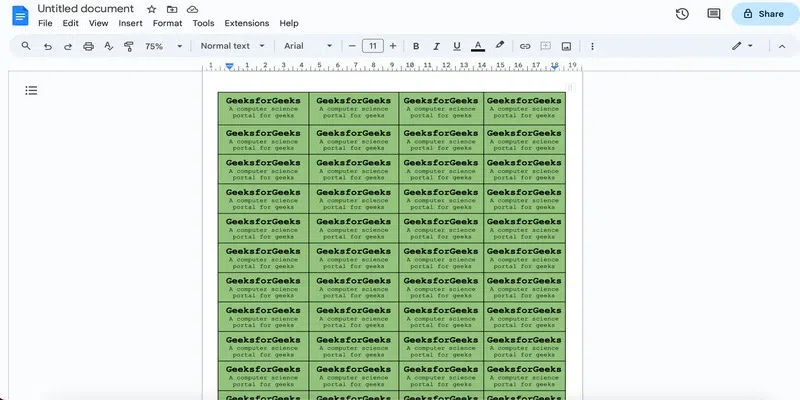
paste and adjust
You can further customise the page and table settings to get an even better result. Here are a few tricks you can follow:
How to Adjust Page Margins in Google Docs
If you are unable to fit the columns or rows as desired, then you can change the page margins.
Step 1: Go to page setup
Click on the File tab and go to the Page setup option.
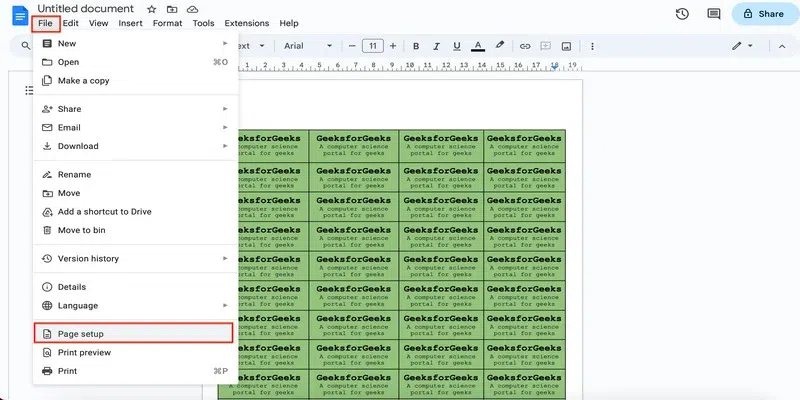
page setup
Step 2: Change margins
You can now reduce the margins as desired and click OK. Make sure you leave space for printing and do not push the content over to the edge of the page so that it gets cut out.
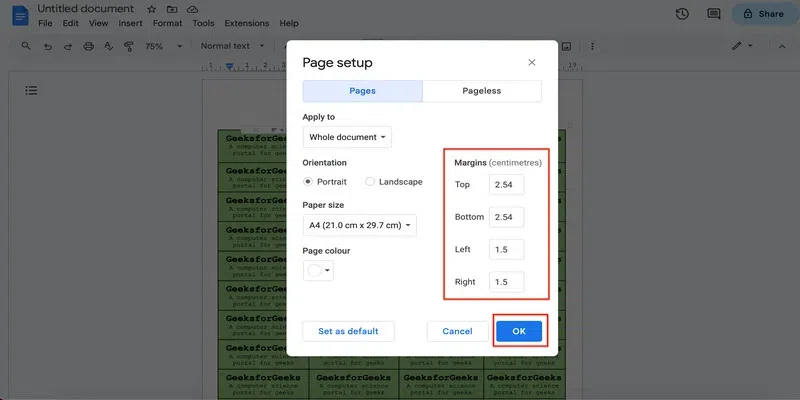
change margins
How to Change Table Border Settings In Google Docs
You can also adjust how thick or thin you want the label border to be. You can also skip having the border altogether.
Step 1: Go to Table options
Click anywhere inside the table and go to table options from the three dots in the menu.
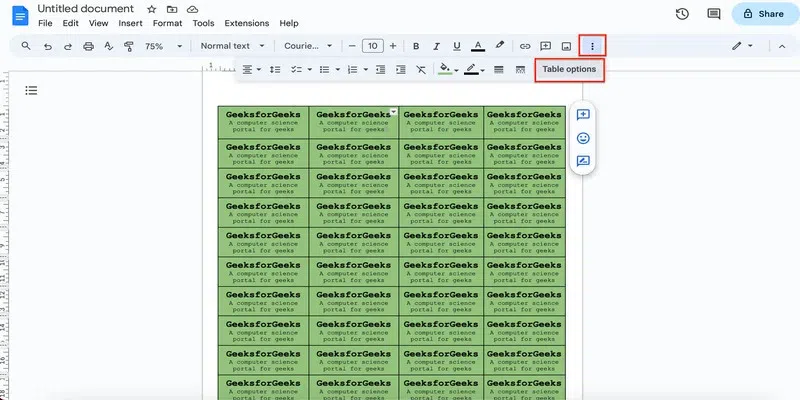
table options
Step 2: Change settings
Click on the colour drop-down and you can change the thickness and colour of the border from here.
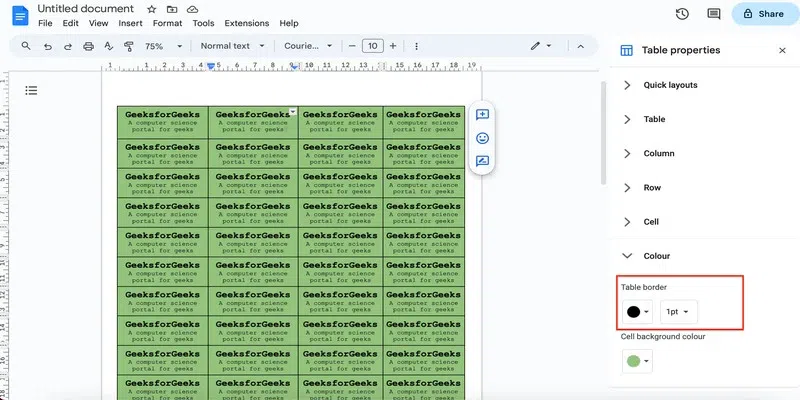
border settings
How to Change Cell Settings In Google Docs
Step 1: Go to Table options
Click anywhere inside the table and go to table options from the three dots in the menu.
table options
Step 2: Change settings
From the cell dropdown, you can now change the text alignment in the cell and the cell padding.
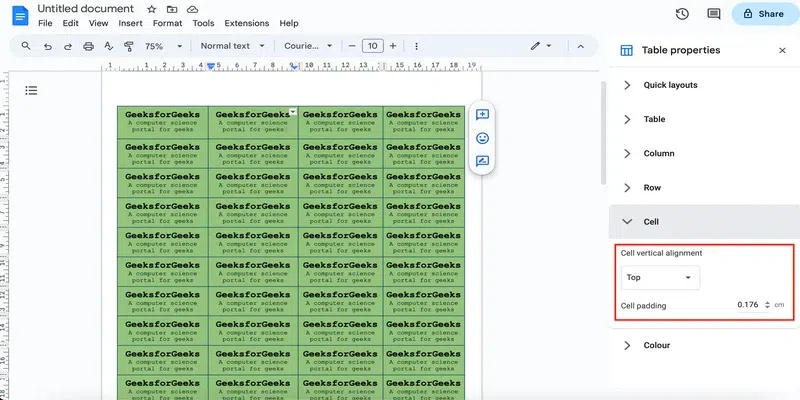
cell settings
Let us now see how we can make labels in Google Docs using a third-party add-on.
How to Make Labels in Google Docs Using Third-Party Add-Ons
Step 1: Go to the Google Workspace marketplace
Follow this link to go to the Google Workspace marketplace.
https://workspace.google.com/marketplace
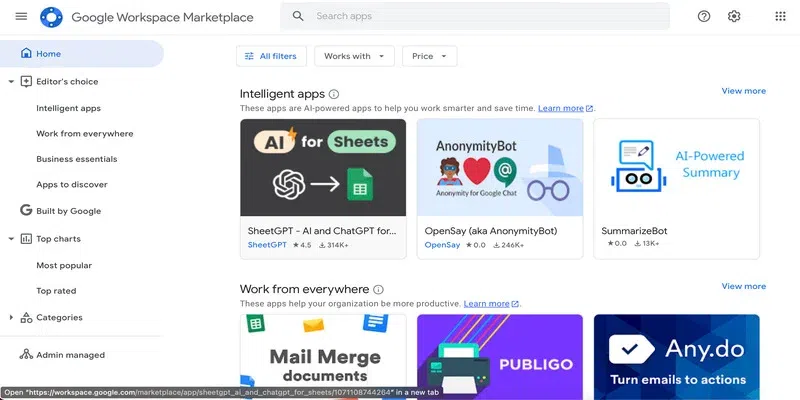
Google Workspace home page
Step 2: Search for the label add-on
Type create and print labels in the search box and hit enter. Open the first option.
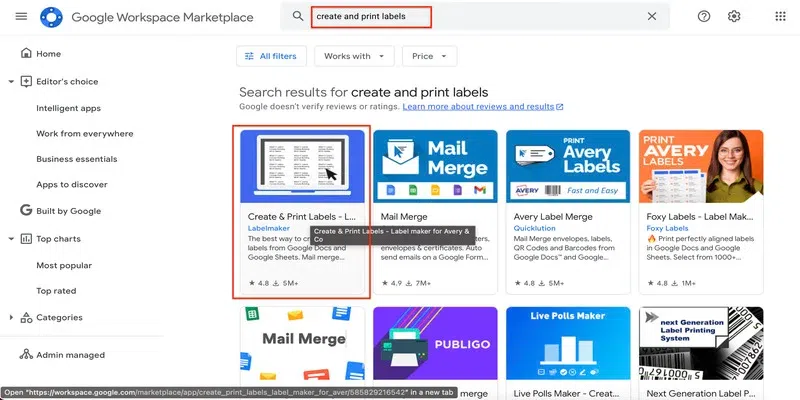
search for the label maker
Note that you can use any add-on. But for now, let’s go with this one.
Step 3: Install the label maker
Click on the install button and give the permissions required to install the add-on.
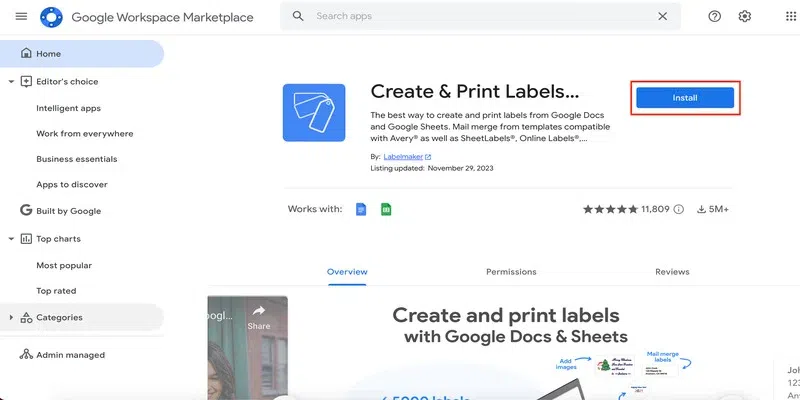
install the label maker
Step 4: Open a new document
Go to Google Docs and create a new document.
create a new doc
Step 5: Go to the Create Labels option
Go to the Extensions tab. You wish to see the newly added extension. Click on it and select the Create Labels option.
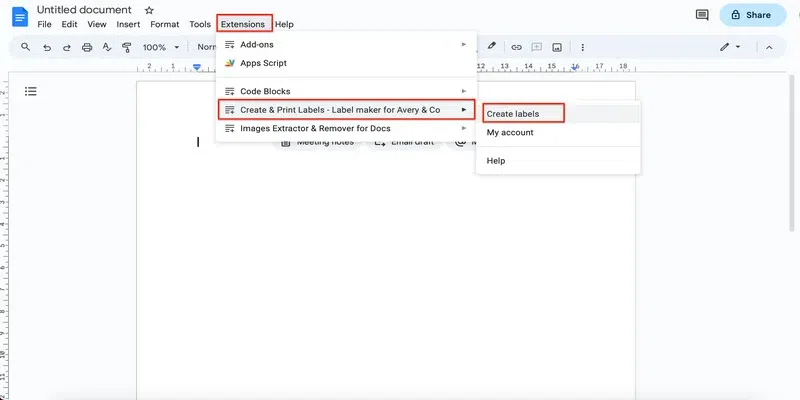
create labels option
Step 6: Select the template option
Go to the Select template option in the side pane.
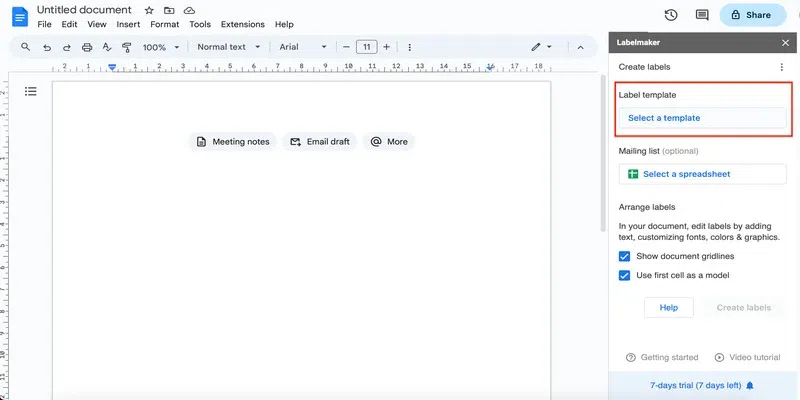
select the template
Step 7: Select a template
Select the desired template and click on use.

select the template
Step 8: Design the label
Now you can design your label. The basic steps to format and design a label are the same as we covered in the previous section.
Here is what we have created:
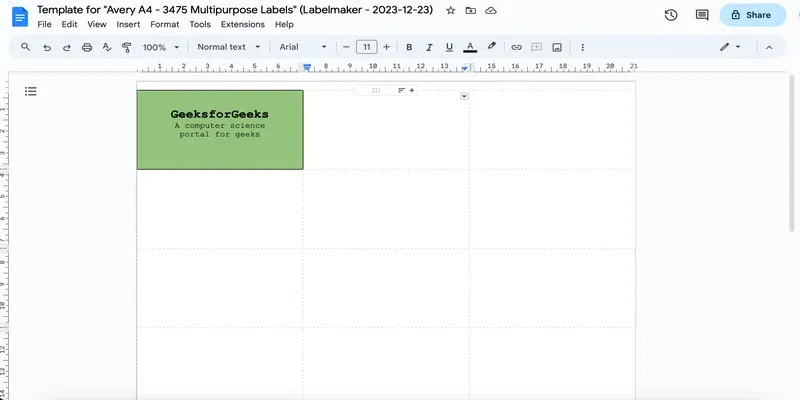
design the label
Step 9: Go to Extensions and Select the Create labels option again
Go to the Extensions tab and click on the label maker extension. Then select the Create Labels option.
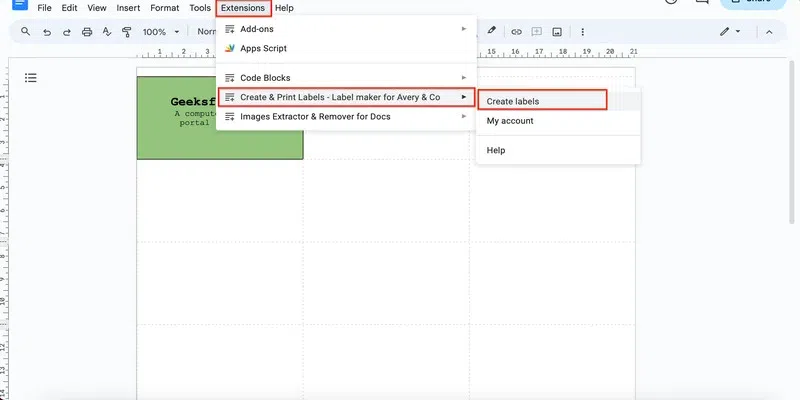
create labels option
Step 10: Create labels
In the side pane that opens, you can see that the previous template is already selected. Just make sure that the ‘Use the first cell as model’ option is checked and click on Create labels.
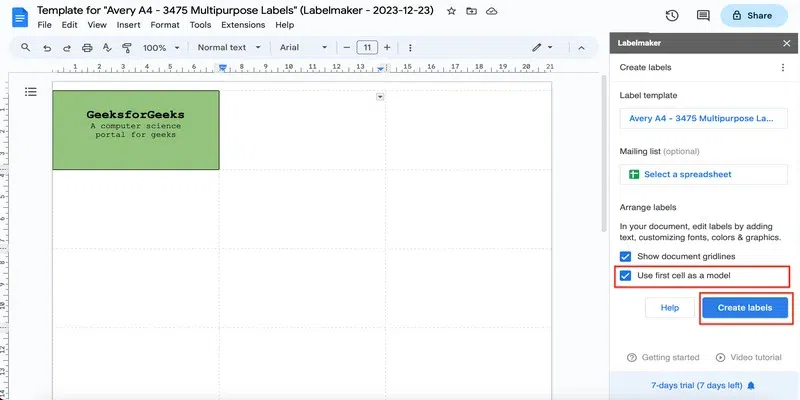
click on Create label
Step 11: Open document
You will see a button in the side pane itself to open the document with the labels. Click on it.
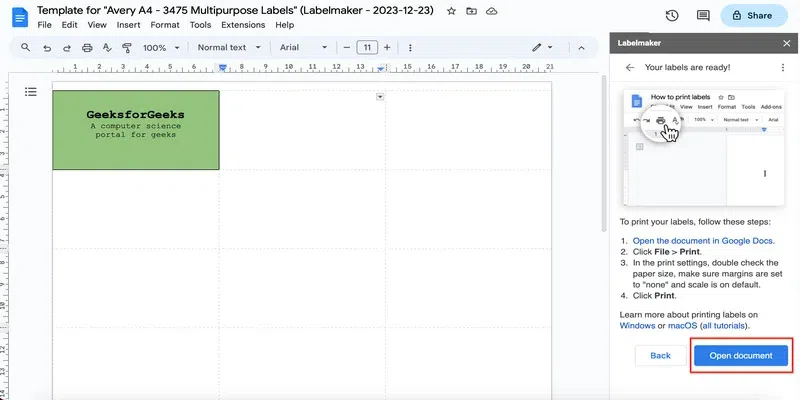
open document
Here you have the labels that you can easily print and use now:
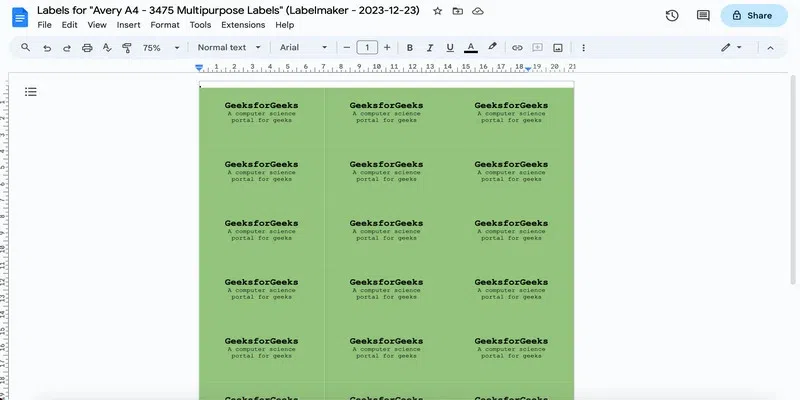
result
Summary
In this post, we saw how we can create labels in Google Docs using tables as well as using other third-party add-ons. We can design a logo in Google Docs as we desire and later replicate it in all the cells of the table. This way we have an entire page full of labels that we can later on print easily. Google Docs is a great tool to carry out such creative tasks. Check out how to do tally marks in Google Docs next.
FAQs
How to make labels in Google Docs?
You can use a table or a third party add-on like label maker to make a label in Google docs. You simply have to design the label in one of the cells and then copy it over to other cells.
How to make and print labels in Google Docs?
Use a third party add on to replicate a label that you designed. You can use label maker or foxy. When you are satisfied with the output, simply print the page.
How to make multiple labels in Google Docs at once?
You can use a table or a third party add-on like label maker to make a label in Google docs. You simply have to design the label in one of the cells and then copy it over to other cells.
Share your thoughts in the comments
Please Login to comment...