How to Install MySQL on Ubuntu?
Last Updated :
03 May, 2024
Installing MySQL in Windows and MacOS is a very straightforward way. Still, it becomes a challenging task when it comes to Installing MySQL in Ubuntu. However, with a few simple sequential steps, it will become a breeze for you.
MySQL is an open-source Relational Database Management System widely used for database management purposes. This article will focus on How to Install MySQL on Ubuntu.
How to Install MySQL on Ubuntu?
Downloading MySQL in Ubuntu involves several steps, by following these steps with proper caution we can easily Get MySQL in any Ubuntu System, the steps are as follows:
Step 1: Update the Package Repository
This is the first step. In this step we update the Package Repository because in Ubuntu we have to perform this step manually so that the Latest Repositories are loaded for installation and updation, to do this we will open the terminal and write the following command:
sudo apt update
This will give us the following output:
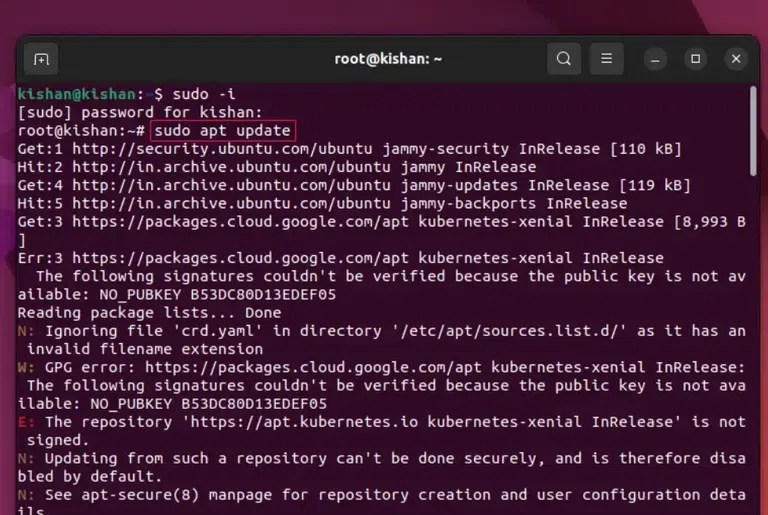
sudo apt update.
Step 2: Install the MySQL Package
Now we will have to perform the important step, in this step, we write the following Linux Command that will download and Install the MySQL Package into our system:
sudo apt install mysql-server
This will give us the following output:
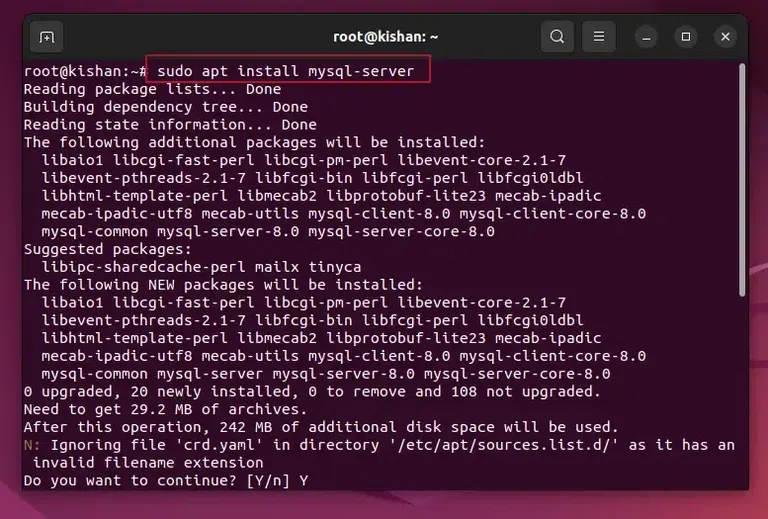
sudo apt install MySQL-server.
After the above command runs successfully, you can run the below command to check if the MySQL is installed or not:
mysqld –version
This will give us the following output:
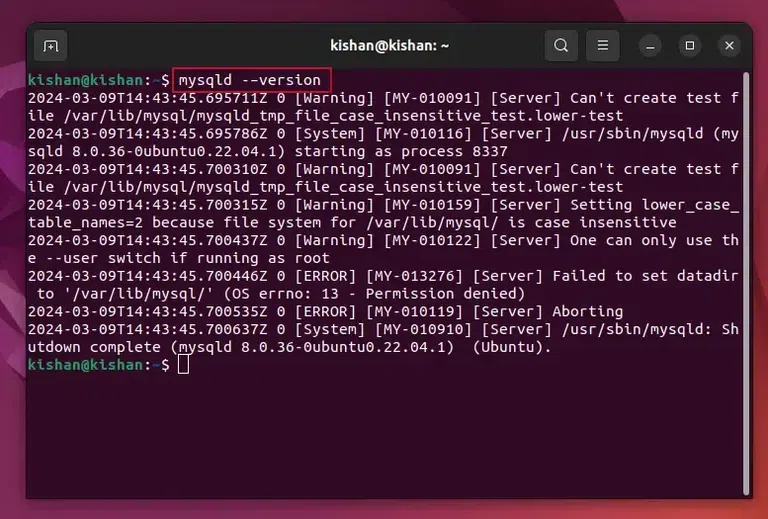
mysqld –version.
Step 3: Secure the MySQL
Now once we have verified whether we have Installed MySQL or not, we will need to secure MySQL, we will have first to run the following Ubuntu Command:
sudo mysql_secure_installation
This will give us the following output:
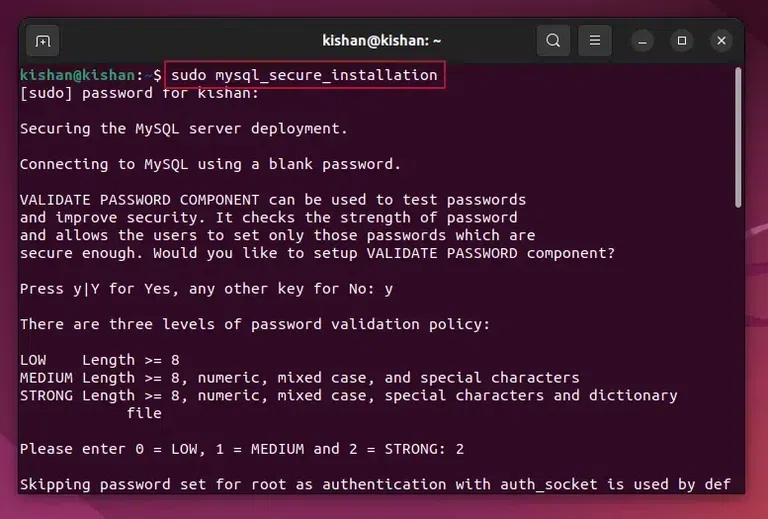
sudo mysql_secure_installation.
Step 4: Secure the MySQL – Password Validation
After running the above command, you will see an interface similar to below, when this appears type “Y” to proceed.
Now the user can choose the security level (0 = lowest, 1 = medium, 2 = strong).
Note: After this, if you have already set password for root user, it will ask for that password (like in my case) otherwise it will ask you to create new password for root user.
Step 5: Secure the MySQL – Removal of Anonymous Users
After this it will ask you whether you want to remove the anonymous users or not, if you don’t know what this does, it will simply clear any anonymous users to improve security, so again type “Y“.
This will give us the following output:
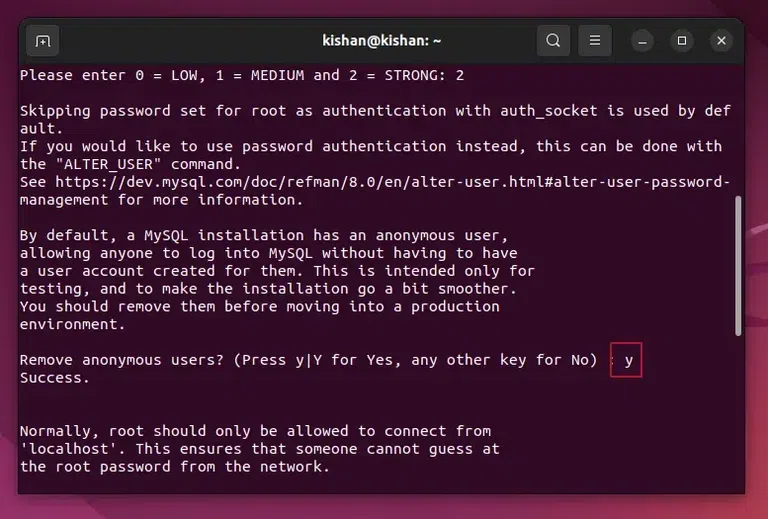
Removal of Anonymous Users.
Step 6: Secure the MySQL – Disable the Root Login Remotely
Now for enhancing the security of the MySQL further, we will have to disable the root login remotely option, for this simply type “Y” when it prompts you to disable the login remotely feature.
Step 7: Secure the MySQL – Removal of Test Database
In this step, you can either type “Y” or “N” depending on whether you want to delete or remove the test Database, if you do not need any test database then type “Y”:
This will give us the following output:
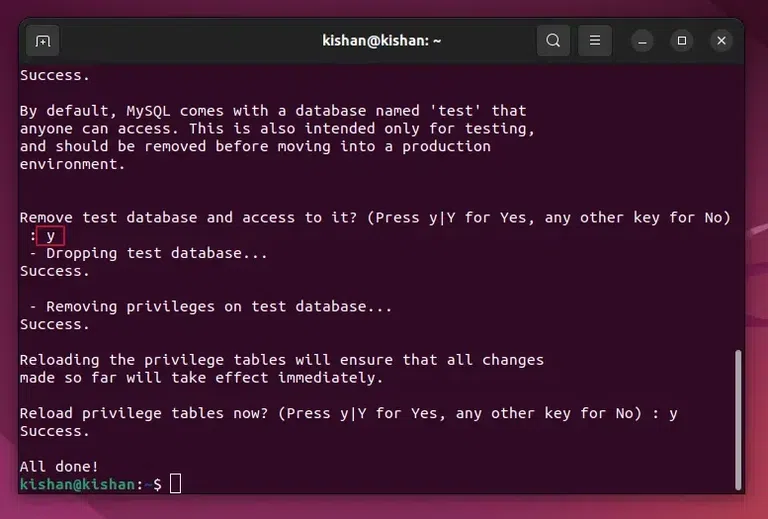
Removal of Test Database.
Step 8: Checking if MySQL Service is Running or Not
Now once all of the above security steps are completed, we will need to check whether the MySQL service is running or not, we can run the following command:
sudo systemctl status mysql
This will give the following output:
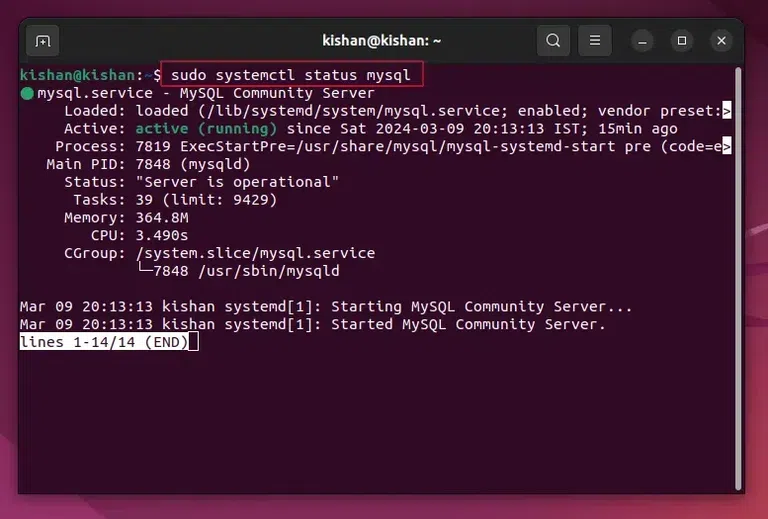
sudo systemctl status mysql.
Step 9: Login Into the MySQL Server
After checking whether the MySQL server is running or not, we can log in to MySQL whenever we want by running the following command:
sudo mysql -u root
This will give us the following output once we have logged in:
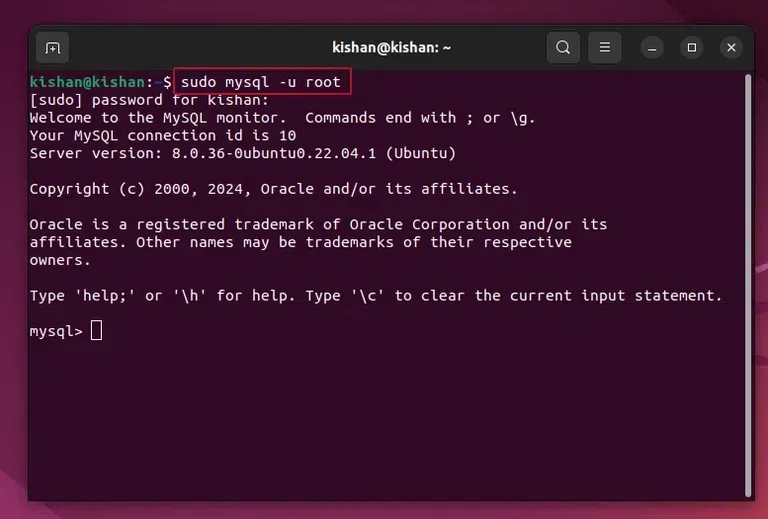
sudo mysql -u root.
Conclusion
In conclusion, we learned How to Install MySQL in Ubuntu Terminal. This article discusses the method step by step required to Download & Install MySQL in Ubuntu. So make sure you follow each step one by one and you will be able to Install MySQL into your system easily as well.
Also Read
How to Install MySQL on Ubuntu – FAQs
How to Install MySQL on Ubuntu?
To install MySQL on Ubuntu, the following commands need to be executed on the terminal.
- Execute the command to update the packages sudo apt update
- Now, install MySQL with the command sudo apt install mysql-server
What is MySQL?
MySQL is an open-source relational database management system widely used for database management purposes, it offers several advantages such as being open-source and highly scalable, which is why it becomes an important topic to know how we can install MySQL in Ubuntu.
How to log into MySQL on Ubuntu?
Once you have installed MySQL on Ubuntu & set all other information like Password & Username, there is a proper command present as the sudo mysql -u root. If you have used this command in the Ubuntu Terminal, MySQL will start working. It is just like logging into MySQL.
Share your thoughts in the comments
Please Login to comment...