How to Control Screen Brightness in Ubuntu 22.04
Last Updated :
28 Feb, 2024
Managing screen brightness on Ubuntu 22.04 is important for user comfort and eye safety. This article explores the installation of Brightness Controller, a desktop application that not only allows primary and secondary brightness adjustments but also includes color temperature control for a personalized viewing experience. Follow the steps below to easily control and customize your screen brightness in Ubuntu 22.04.
What is Brightness Controller?
Brightness Controller is a desktop application designed to control and adjust screen brightness on Linux-based systems, including Ubuntu. It provides users with the ability to manage both primary and secondary brightness levels. Additionally, the application offers color temperature control, allowing users to customize the display based on their preferences for a more comfortable viewing experience.
Features of Brightness Controller:
- Primary and Secondary Brightness Control: The application allows users to adjust both primary and secondary brightness levels, providing more granular control over the display.
- Color Temperature Control: Brightness Controller includes color temperature control, enabling users to modify the color tones of the display based on their preferences. This feature is beneficial for reducing eye strain and enhancing visual comfort.
- User-Friendly Interface: The application typically comes with an intuitive and user-friendly interface, making it easy for users to navigate and customize brightness settings without extensive technical knowledge.
- Eye Safety: By allowing users to control brightness and color temperature, Brightness Controller aims to promote eye safety during prolonged computer use, especially in varying lighting conditions.
How to install Brightness Controller in Ubuntu?
To control the screen brightness in Ubuntu, we first need to install the Brightness Controller application. So, follow the below steps to install Brightness Controller in Ubuntu.
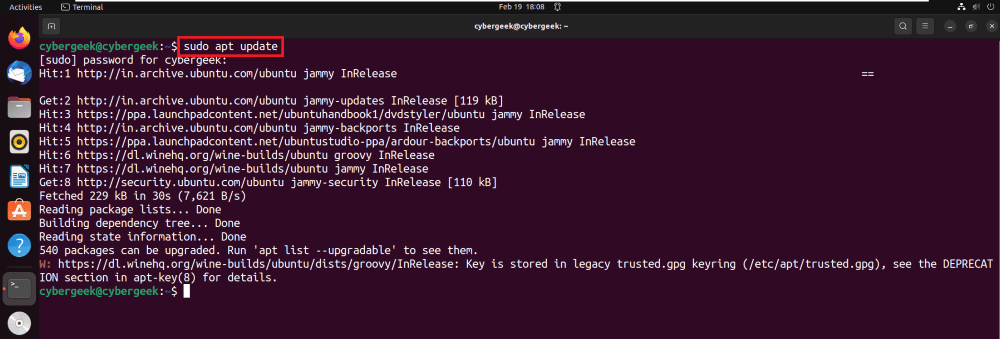
Step 1: Update the Packages
Open the terminal and update the package information using the command sudo apt update. This command ensures that your system has the latest package information before proceeding with the installation of Brightness Controller.
sudo apt update
Updating System
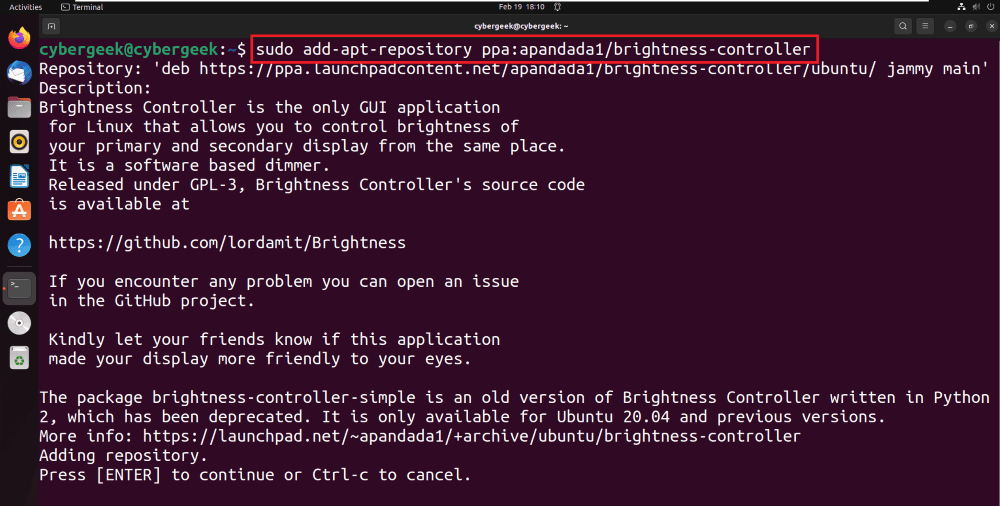
Step 2: Adding PPA Repository
Add the Brightness Controller PPA repository to your system by executing the command sudo add-apt-repository ppa:apandada1/brightness-controller in the terminal. This step enables you to access and install the Brightness Controller application from the specified repository.
sudo add-apt-repository ppa:apandada1/brightness-controller
Adding PPA Repository
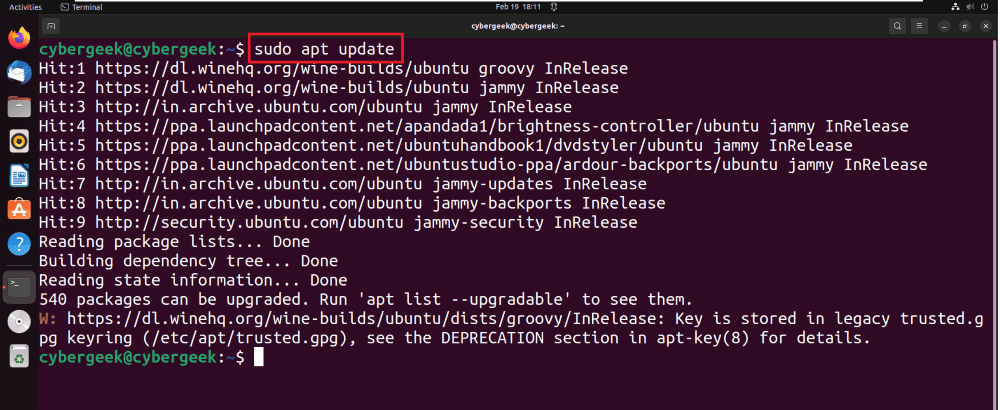
Step 3: Update the Packages List
Update the package list again with the command sudo apt update after adding the Brightness Controller PPA repository. This ensures that your system is aware of the new repository and its available packages for installation.
sudo apt update
Update the Packages List
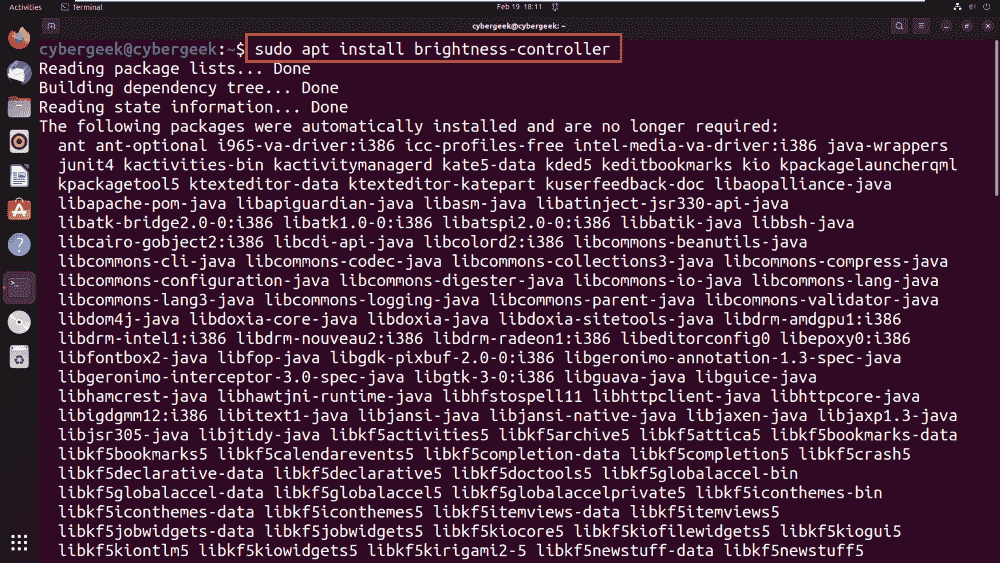
Step 4: Installing Brightness Controller
Install Brightness Controller by running the command sudo apt install brightness-controller in the terminal. This will download and install the application on your Ubuntu system, making it ready for use in controlling screen brightness.
sudo apt install brightness-controller
Installing Brightness Controller
How to control screen brightness in Ubuntu?
In this section, we will see the complete process to control screen brighness in Ubuntu.
Step 1: Launch the Application
Launch the Brightness Controller application. You can typically find it in the application menu or use the terminal command brightness-controller to start the application.
brightness-controller
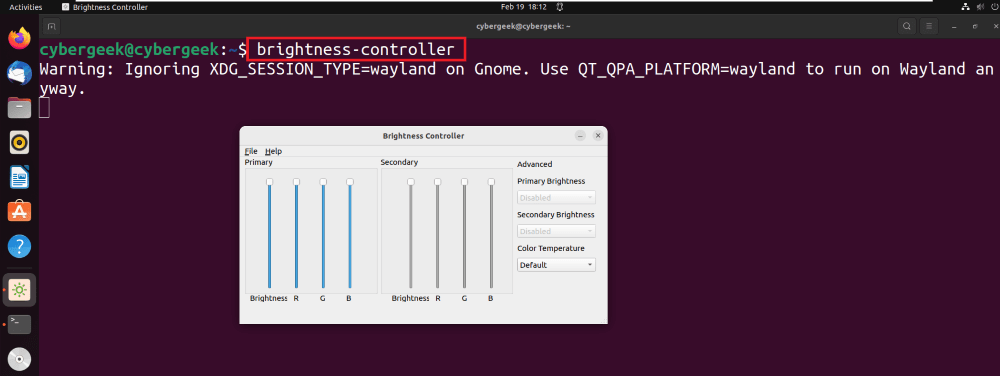
Launch the Application
Step 2: Set System Brightness Level
Within the Brightness Controller application, adjust the system brightness level using the provided sliders or controls. You can modify both primary and secondary brightness settings according to your preferences, allowing for fine-tuned control over the screen brightness. Experiment with the adjustments until you find a comfortable brightness level for your viewing environment.
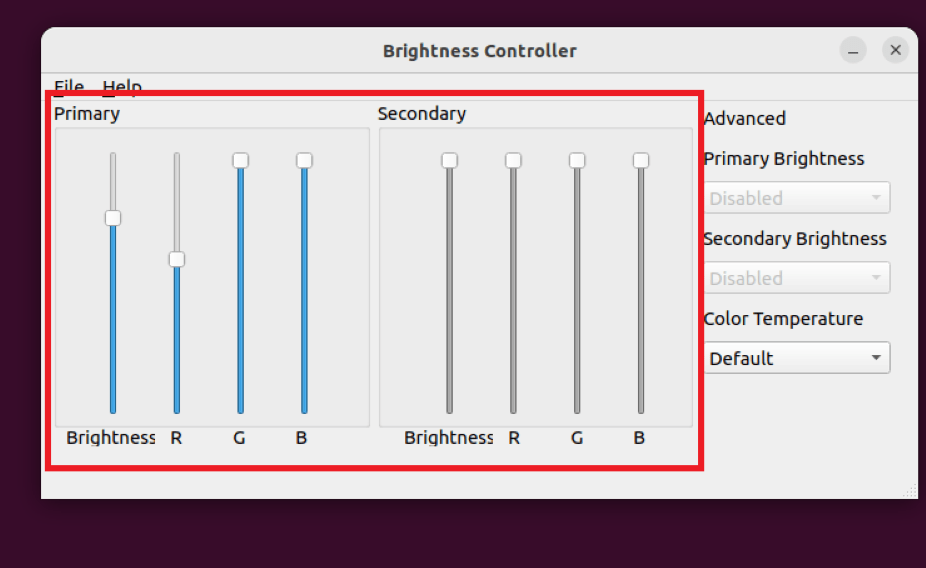
Set System Brightness Level
Step 3: Set Color Temperature
To further customize your screen, use the Color Temperature controls within the Brightness Controller application. This feature allows you to set the color tones of your display to reduce eye strain and enhance visual comfort. Adjust the color temperature settings based on your preferences, taking into consideration factors such as ambient lighting and personal preference for an optimal viewing experience.
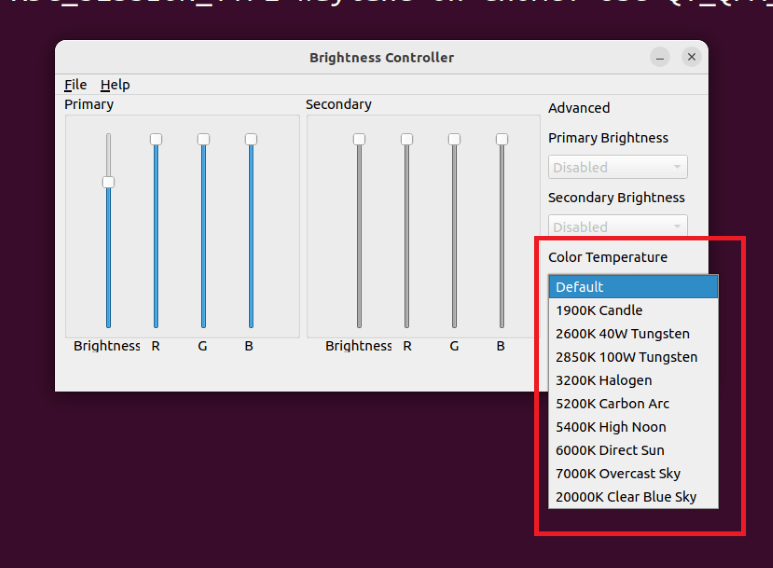
Set Color Temperature
Conclusion
In conclusion, controlling screen brightness in Ubuntu becomes seamless with the installation of the Brightness Controller application. By following the provided steps, users can easily launch the application, adjust primary and secondary brightness levels, and fine-tune color temperature settings for enhanced visual comfort. This user-friendly tool adds a valuable layer of customization, promoting eye safety and creating a more personalized computing experience on Ubuntu.
Share your thoughts in the comments
Please Login to comment...