Nagios is a free and open-source monitoring program that was created to keep track of various networking software, their sources, and Linux-based devices. We can keep an eye on any crucial actions and occurrences of software faults using Nagios by providing automatic notifications to the administrators and preventing additional harm. Nagios also keeps track of network information (using TCP port, SMTP, POP3, HTTP, NNTP, PING, etc.). In this article, we will be installing the Nagios tool on Ubuntu operating system.
Installation of Nagios on Ubuntu
Follow the below steps, to install the Nagios application on the Ubuntu system.
Step 1: Firstly, update the repositories and download the latest packages.
sudo apt update &&sudo apt-get upgrade
Step 2: Install the required packages by executing the below command.
sudo apt install -y build-essential apache2 php openssl perl make
php-gd libgd-dev libapache2-mod-php libperl-dev libssl-dev daemon
wget apache2-utils unzip
Step 3: Create a new user account naming nagios on our Ubuntu system.
sudo useradd nagios
sudo groupadd nagcmd
sudo usermod -a -G nagcmd nagios
sudo usermod -a -G nagcmd www-data
Step 4: Navigate to the /tmp directory by using the cd command.
cd /tmp
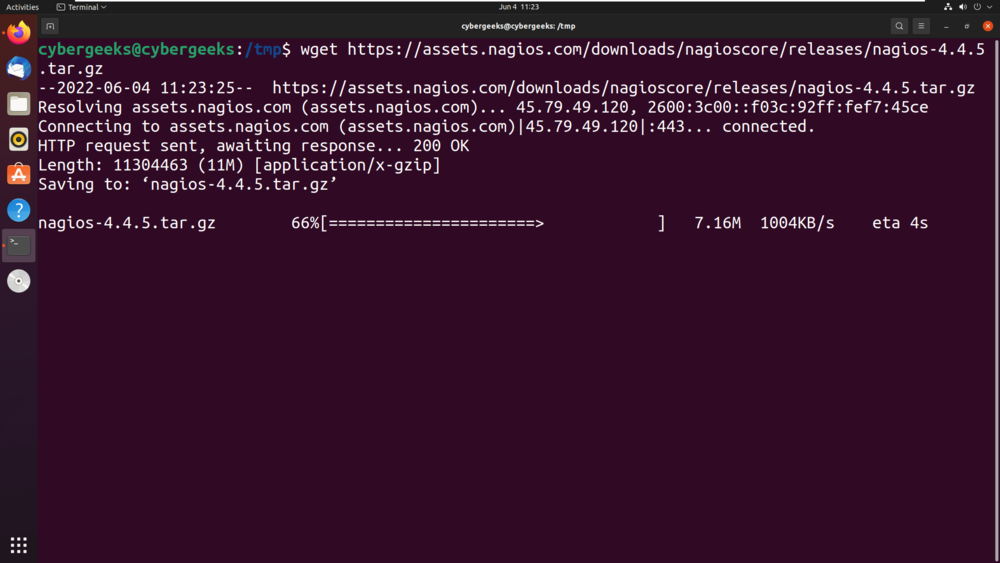
Step 5: Download the Nagios package by using the wget command.
wget https://assets.nagios.com/downloads/nagioscore/releases/nagios-4.4.5.tar.gz
Nagios
Step 6: Unzip the package by using the tar command.
tar -zxvf /tmp/nagios-4.4.5.tar.gz
Step 7: Navigate to the Nagios directory using the below command.
cd /tmp/nagios-4.4.5/
Step 8: Compile the nagios by using the below command.
sudo ./configure –with-nagios-group=nagios
–with-command-group=nagcmd –with-httpd_conf=/etc/apache2/sites-enabled/
Step 9: Build the application by using the make command.
sudo make all
Step 10: Install the build package by using the make install command.
the
Step 11: Install the init by using the below command.
sudo make install-init
Step 12: Install the config utility by using the below command.
sudo make install-config
Step 13: Install the command-mode utility by using the below command.
sudo make install-commandmode
Step 14: Open the contacts.cfg file to update the email address.
sudo gedit /usr/local/nagios/etc/objects/contacts.cfg
Step 15: Change the email address in the contacts.cfg file.
Step 16: Now install the webconf by executing the below command.
sudo make install-webconf
Step 17: Execute the command for the interactive shell to create a user account.
sudo htpasswd -c /usr/local/nagios/etc/htpasswd.users
Step 18: To select cgi module, execute the below command.
sudo a2enmod cgi
Step 19: Start the apache2 server by using systemctl command.
sudo systemctl restart apache2
Step 20: Navigate to the /tmp directory.
cd /tmp
Step 21: Download the Nagios plugins by executing the below command.
wget https://nagios-plugins.org/download/nagios-plugins-2.3.3.tar.gz
Step 22: Unzip the plugin tar file by using the below command.
tar -zxvf /tmp/nagios-plugins-2.3.3.tar.gz
Step 23: Navigate to the nagios-plugins-2.3.3/ directory.
cd /tmp/nagios-plugins-2.3.3/
Step 24: Now, compile the plugins using the following command.
sudo ./configure –with-nagios-user=nagios –with-nagios-group=nagios
Step 25: Now build the plugins by using the make command.
sudo make
Step 26: Install the plugins by using the below command.
sudo make install
Step 27: To verify the configuration was properly seen through, use the following command.
sudo /usr/local/nagios/bin/nagios -v
Step 28: Enable the Nagios application using the below command.
sudo systemctl enable nagios
Step 29: Start the Nagios application using the below command.
sudo systemctl start Nagios
Step 30: Go to the web interface of Nagios and enter the username and password.
Step 31: We have successfully logged in to the Nagios Core web interface.
Share your thoughts in the comments
Please Login to comment...