Installing Jellyfin Media Server can be a complex task for beginners. However, with the right guidance, you can quickly set up and start using Jellyfin Media Server on Ubuntu 22.04 LTS. In this article we will discuss step by step process of installing Jellyfin Media Server on Ubuntu 22.04 LTS.
What is Jellyfin Media Server?
Jellyfin Media Server is a free and open-source media server software that allows you to organize, manage, and stream your digital media files to any device.
It has following features.
- Free and open-source : Jellyfin is completely free to use and modify, and its source code is available on GitHub. This means you can always be sure that your data is safe and secure.
- Cross-platform : Jellyfin Media Server can be run on a variety of operating systems, including Windows, macOS, Linux, and Docker.
- Mobile apps : Jellyfin has mobile apps available for Android, iOS, and Windows Phone. This means that you can stream your media to your phone or tablet from anywhere in the world.
- Plugins : There are a variety of plugins available for Jellyfin that add new features and functionality. For example, there are plugins for adding support for new media formats, streaming services etc. and more.
Installing Jellyfin Media Server on Ubuntu 22.04
Step 1 : Installing dependencies
Jellyfin Media Server requires FFmpeg dependencies. (they provide core functionalities that enable Jellyfin to handle various media formats, transcode for different devices, leverage hardware acceleration and support various plugin features.)
We will also need to install curl and gnupg to our system using apt install command.
sudo apt install curl gnupg software-properties-common -y
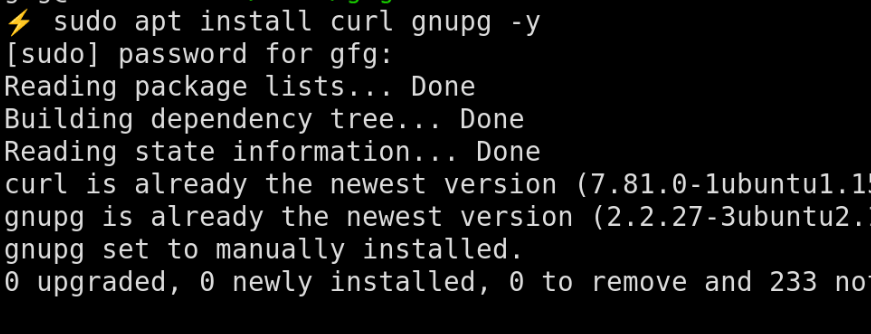
curl and gnupg installation using APT
On Ubuntu, FFmpeg dependencies are available in Universe repository. To enable Universe repository we will use apt-add-repository command.
sudo add-apt-repository universe -y
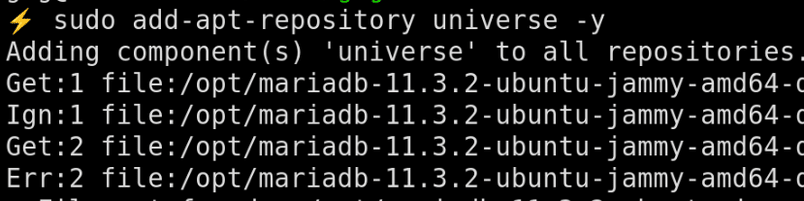
Adding universe repository to source list
Step 2 : Add GPG Key
We will need to make new directory to store GPG key. We will create it using mkdir command.
sudo mkdir -p /etc/apt/keyrings
Now we will download GPG signing key to this newly created directory using curl command.
curl -fsSL https://repo.jellyfin.org/jellyfin_team.gpg.key | sudo gpg --dearmor -o /etc/apt/keyrings/jellyfin.gpg
Step 3 : Add Jellyfin Repository
Now we will add this repository configuration to our sources list using following.
export VERSION_OS="$( awk -F'=' '/^ID=/{ print $NF }' /etc/os-release )"
export VERSION_CODENAME="$( awk -F'=' '/^VERSION_CODENAME=/{ print $NF }' /etc/os-release )"
export DPKG_ARCHITECTURE="$( dpkg --print-architecture )"
cat <<EOF | sudo tee /etc/apt/sources.list.d/jellyfin.sources
Types: deb
URIs: https://repo.jellyfin.org/${VERSION_OS}
Suites: ${VERSION_CODENAME}
Components: main
Architectures: ${DPKG_ARCHITECTURE}
Signed-By: /etc/apt/keyrings/jellyfin.gpg
EOF
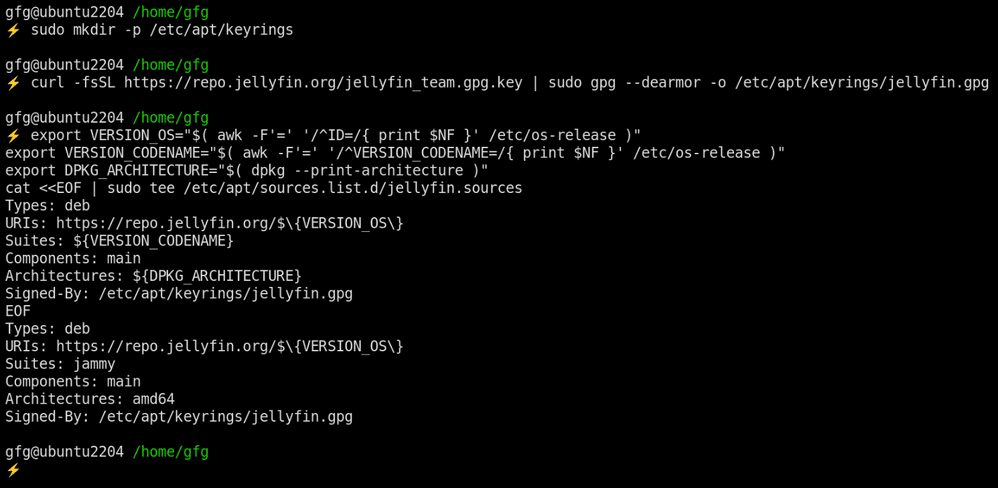
Adding Jellyfin repository
Step 4 : Update Ubuntu 22.04 LTS
To make sure we are having all up to date packages repositories we will update Ubuntu using apt update and apt upgrade command.
sudo apt update && sudo apt upgrade
Step 5 : Install jellyfin on Ubuntu 22.04 LTS
Once update is completed, install Jellyfin using apt install command.
command : sudo apt install jellyfin -y
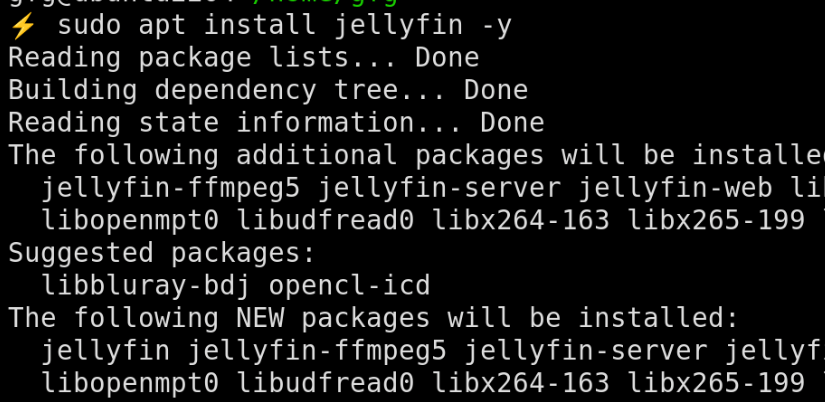
installing jellyfin
Step 6 : Enable Services and Start Jellyfin Server
We will use systemctl enable and systemctl start for specific programs to control how services automatically start and run at boot.
- systemctl enable : Sets a program to automatically start at boot, ensuring it’s running when needed.
- systemctl start : Manually starts a program immediately, even if it’s not set to start automatically.
To start services for Jellyfin Media Server we use following command.
sudo systemctl start jellyfin.service
sudo systemctl enable jellyfin.service
Step 7 : Allow media server through a firewall
We will need to allow traffic through Jellyfin’s default port 8096 through firewall in order to communication to work. To do this we will use UFW utility. We will use ufw allow command to allow traffic through 8096 port.
sudo ufw allow 8096/tcp
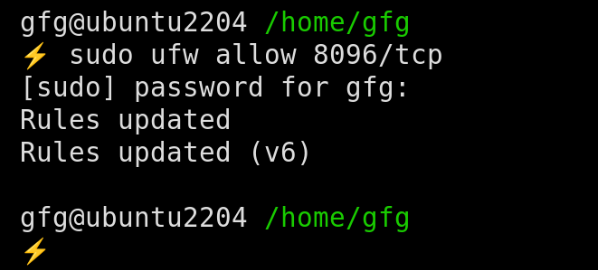
Allowing Jellyfin Media Server through firewall
Step 8 : Configure Jellyfin media server
To access Jellyfin Media Server, go to your browser and open this link
URL : http://localhost:8096
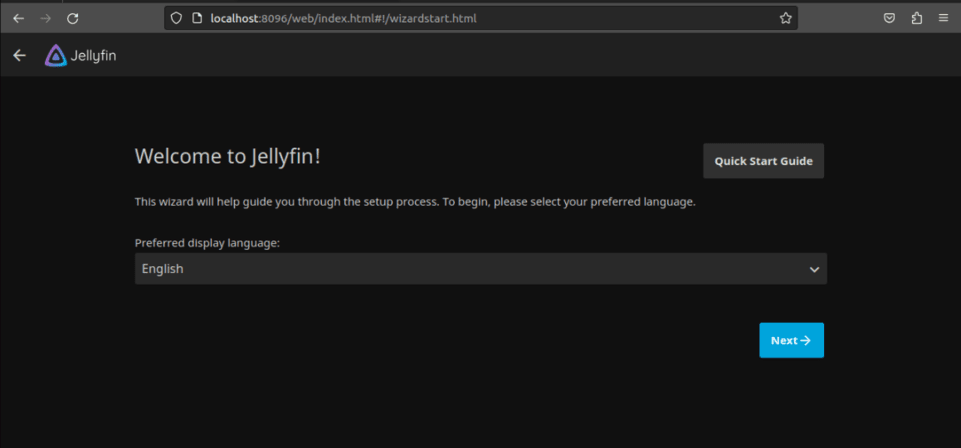
Jellyfin welcome screen
Now, enter user name and password for new user and click next.
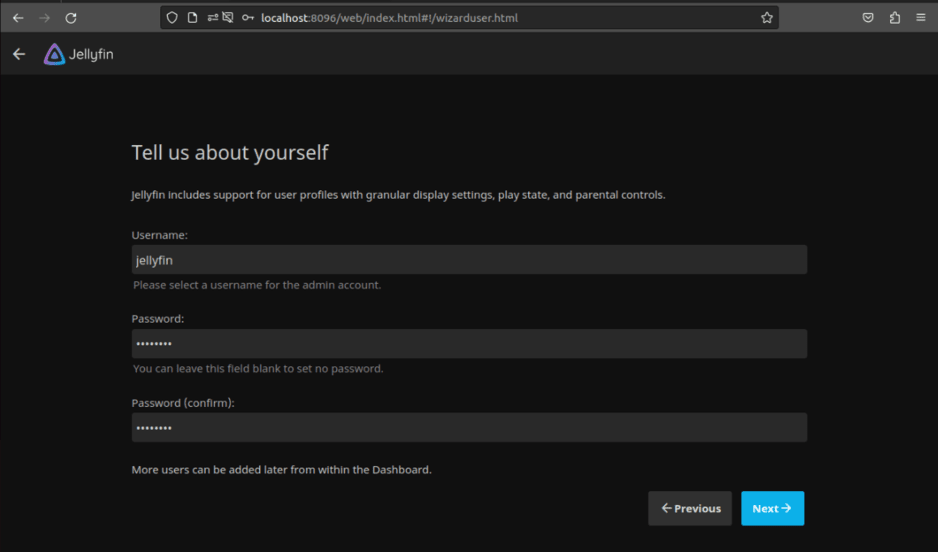
Creating new user
Now, it will ask for preferred language and country for metadata. Choose and click Next.
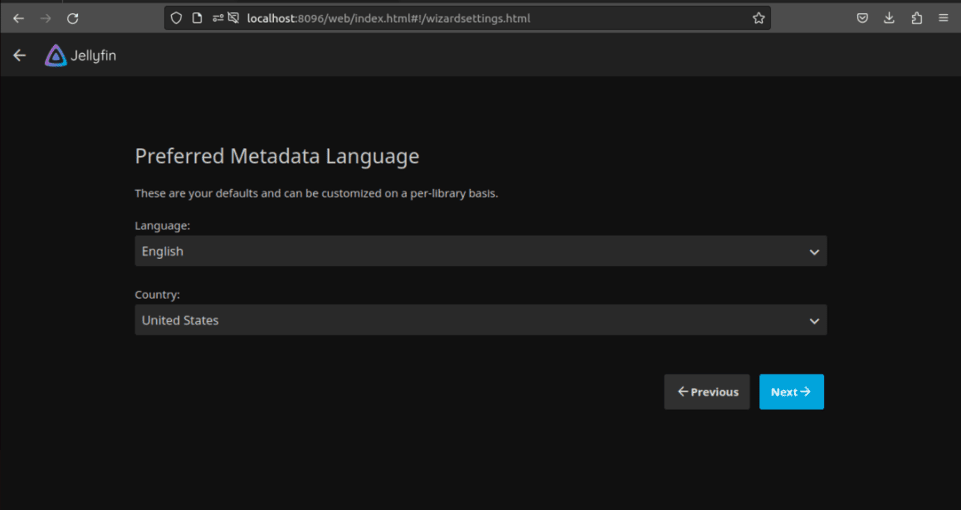
Preferred Metadata Language
After that Setup your remote access options and click Next.
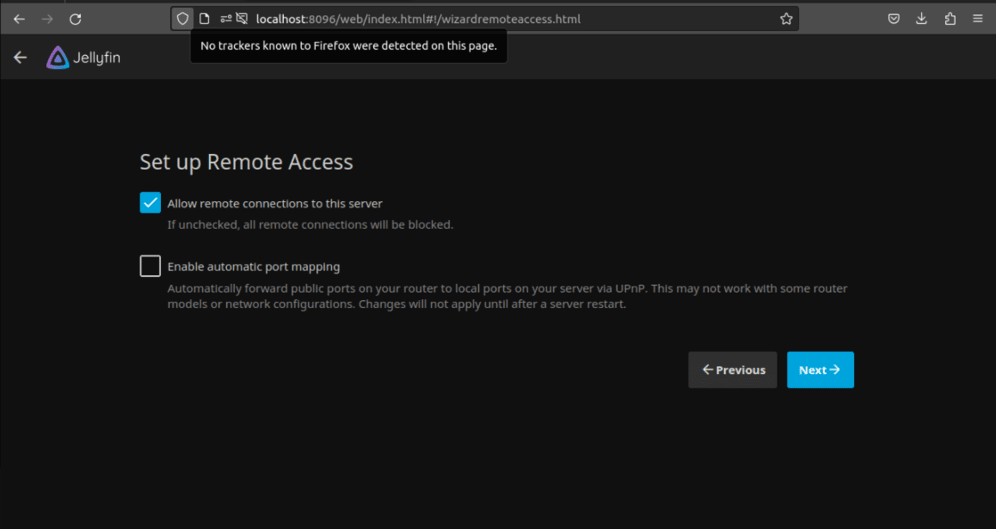
Set up remote access
After this step, it will ask to add media. We will skip that part for now. Click Next.

Setup Media Libries
Now setup is completed. We can login with newly created user.
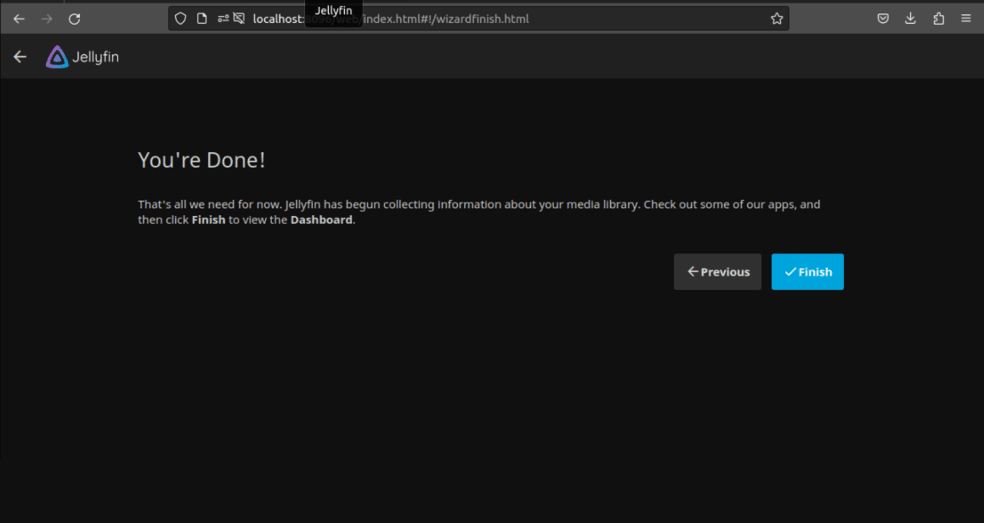
Setup Complete Screen
Step 9 : Log in to Jellyfin Server
Once setup is completed, we can login with our username and password.
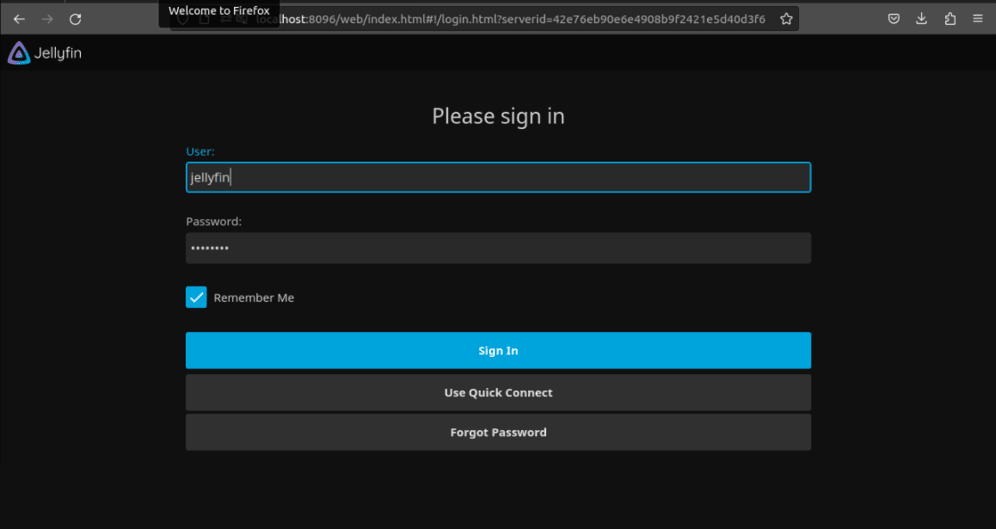
Sign in screen
Step 10 : Add Library
To add your library into jellyfin server, go to profile.
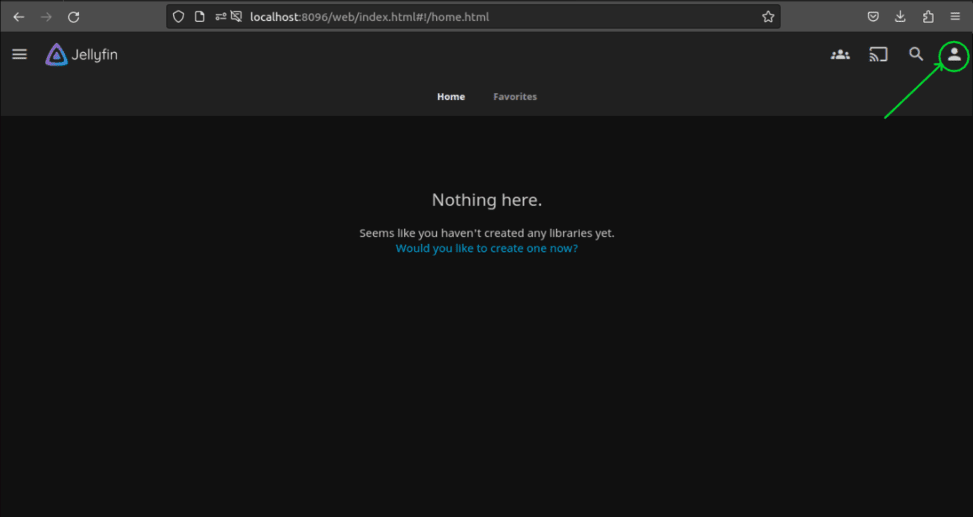
Profile Page
Now, click on dashboard.
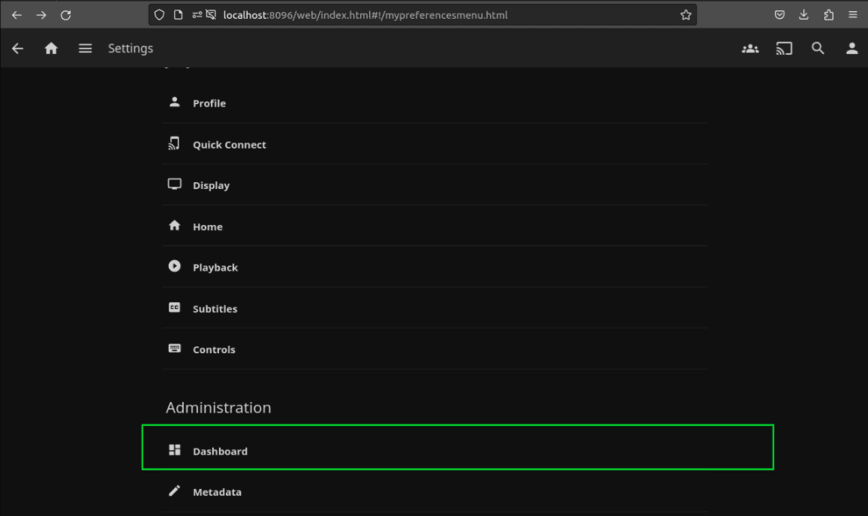
Select dashboard
Under the dashboard section, select Libraries and click on Add Media Library as shown below.
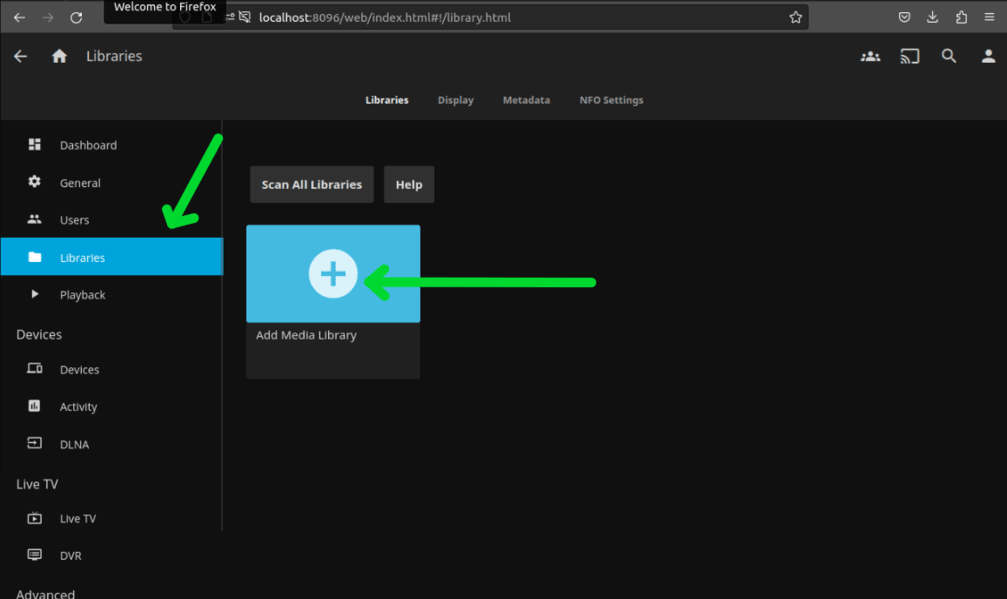
Adding media library
Now, choose Content type, display name and correct folder containing your content and click OK to add.
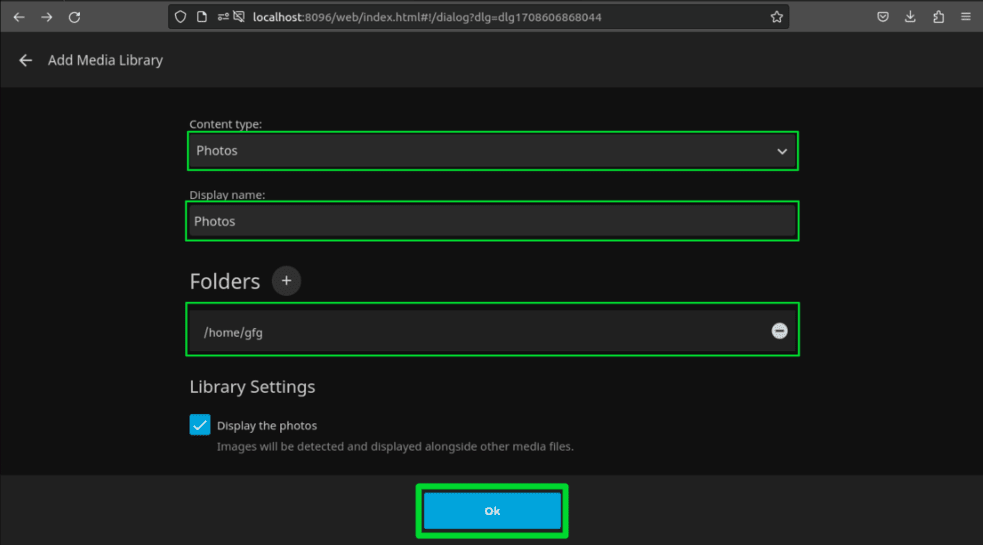
Adding library directory
.png)
Home Page showing recently added media
Now you can see added media folder in your media library.
Step 12 : How to Update/Upgrade
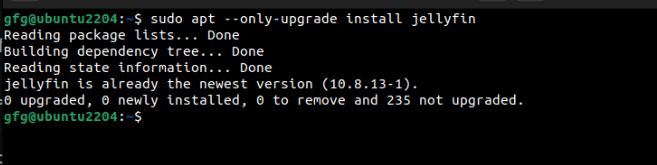
To upgrade Jellyfin to it’s latest version we simply need to use apt command.
First update the repository using apt update command.
sudo apt update -y
We will use apt –only-upgrade command to upgrade jellyfin.
sudo apt --only-upgrade install jellyfin
Upgrading Jellyfin
Step 13 : Uninstall Jellyfin Media Server
Jellyfin installs these four packages in our system. Completely uninstall jellyfin, we will need to remove these packages using apt remove command.
Packages : jellyfin, jellyfin-ffmpeg5, jellyfin-server, jellyfin-web
sudo apt remove jellyfin* -y
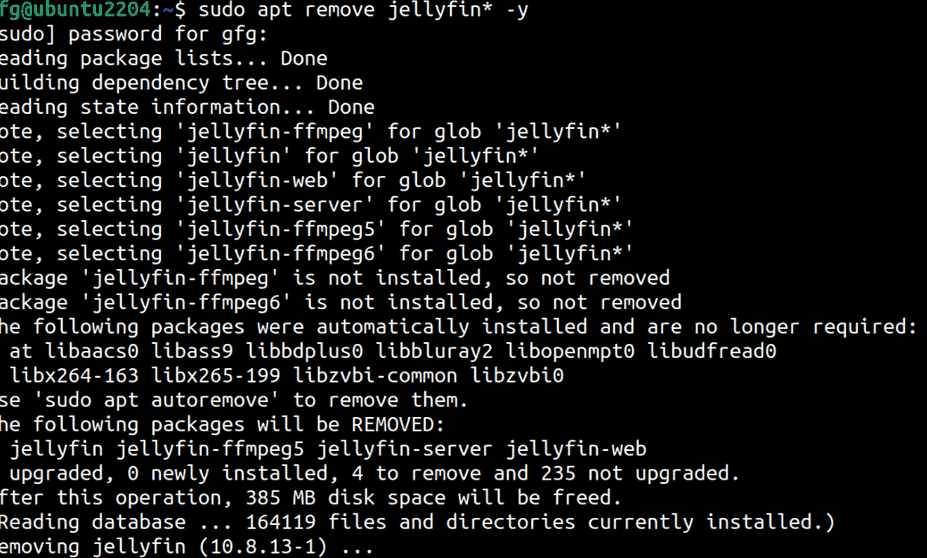
Uninstalling Jellyfin Media Server
Conclusion
When it comes to free and open source media servers, Jellyfin Media Server provides most of if not all the necessary features. Installing it on a free and open-source systems like Ubuntu have become popular in today’s day and age for many reasons, like privacy and data control. It is possible to install Jellyfin Media Server on Linux even if you’re a beginner in Linux thanks to APT package and official repository provided by Jellyfin’s team, because of that users can install, remove and keep their media server up-to-date with familiar apt commands.
Share your thoughts in the comments
Please Login to comment...