How To Change Margins In Google Docs
Last Updated :
18 Apr, 2024
Ever felt like your Google Doc has too much white space, or maybe not enough? Fear not, fellow wordsmiths! Today, we’ll conquer those pesky margins and give your document the perfect layout.
We’ll explore two methods for changing margins in Google Docs: the trusty Page Setup menu and the handy dandy ruler. Whether you need more room for text, want to create a visually impactful border, or simply prefer a specific margin style (like Normal, Wide, or Narrow), this guide has you covered.
How to Reduce Margin in Google Docs
Google Docs offers complete control over margin to a user. Margin refers to blank space surrounding text or other content in a document. Users can decide the margin of all four sides of a document. The option to edit the margin in Google Docs is present in the page setup menu. In the page setup menu, a user can manually enter the margin size of the Top, Bottom, Left, and Right sides. Thus a user can make documents meeting their needs with the desired margin size.
How to Adjust Margins in Google Docs
Reducing the margin of a document is not difficult, it’s rather a simple task. The steps required to reduce the margin of a document in Google Docs are described below.
Step 1: Open Google Docs
First, open Google Docs to reduce the margin of a document. To open Google Docs on your browser, visit the official website of Google Docs.
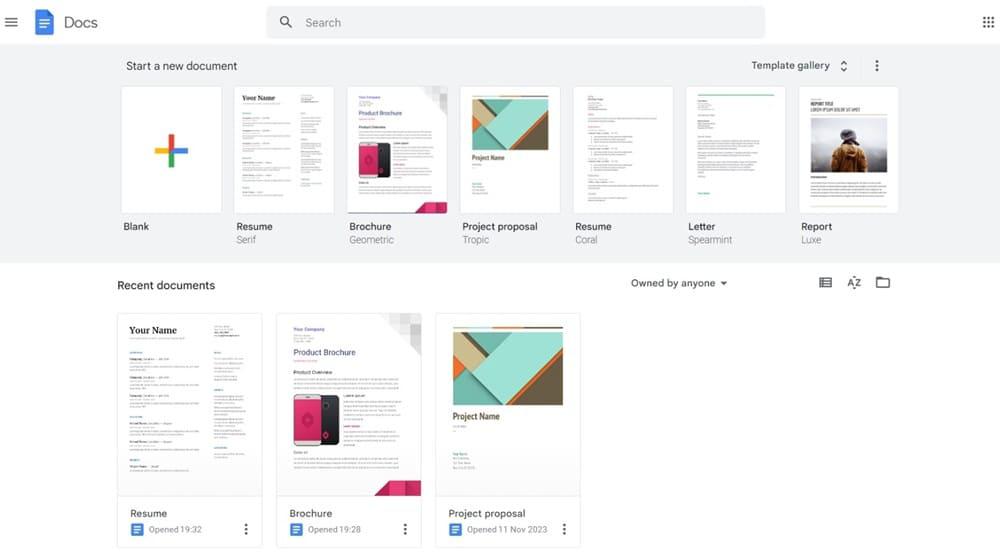
Google Docs home page
Step 2: Open the required document
From the Google Docs homepage open the required document. To open, click on the desired document whose margin needs to be reduced.
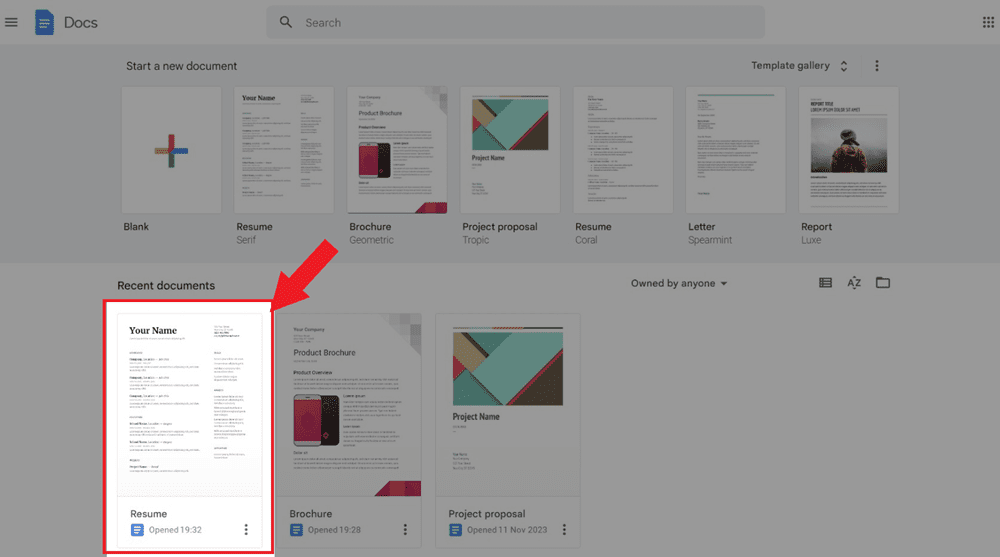
Opening a document named “Resume”
Step 3: Open the File menu
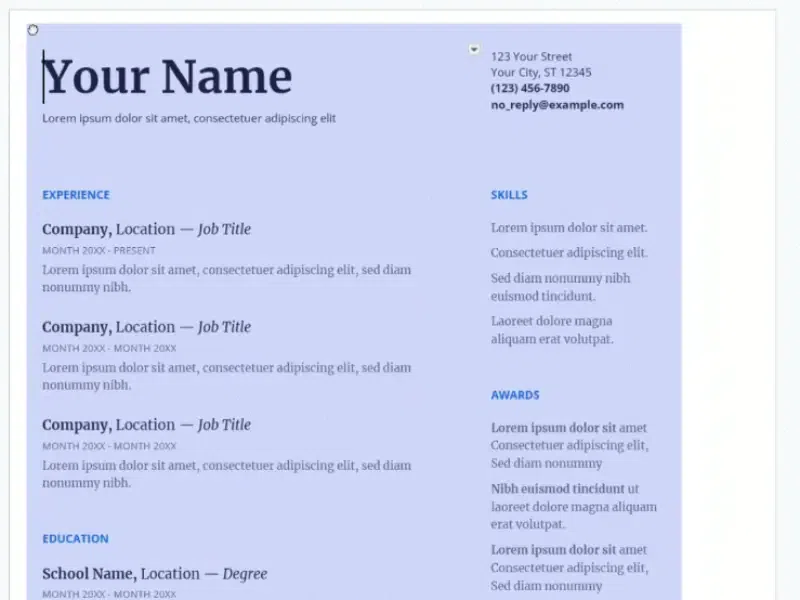
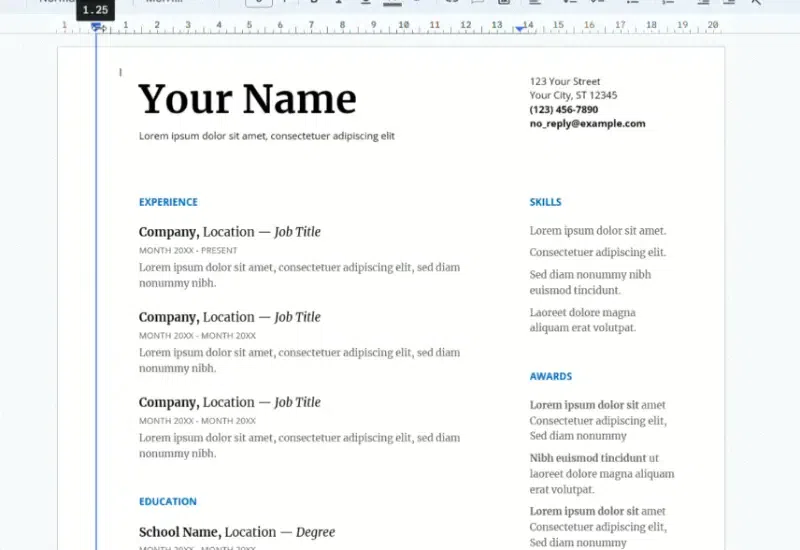
Now you can see that the document is opened on your browser. We need to open the page setup to change the margin size. So to open the page setup, click on the ‘File’ menu on the top bar.
.png)
Click on the file menu
Step 4: Open page setup
After clicking the ‘File’ menu, a list menu consisting of several options opens up. From that list, select ‘Page Setup’ to open Page Setup on Google Docs.
.png)
Select page setup from the file menu
Step 5: Reduce the margin
After clicking Page setup, you can see a popup consisting of various options related to Page appears. In the page setup, you can find a heading called ‘Margins’ and below that heading you can see the option to edit the margin of each side separately.
.png)
Page setup
To reduce the margins click on respected columns of each side and edit its value. For example, to reduce the Top margin, click on the box next to ‘Top’ and edit its value to the desired lower value. Similarly to reduce the margin of the Left side, click on the box next to ‘Left’ and edit its value.
Step 6: Apply the reduced margin
After modifying the margin value to your desired value, click on the blue ‘OK’ button below it to apply reduced margins on your document
.png)
Applying reduced margins
Step 7: View your changes
Now you can see the document with new margins. Thats it! You have reduced the margins of the document successfully on Google Docs.
.png)
Document with a reduced margin
Different Methods to Change Margins in Google Docs
Method 1: Using drag and drop
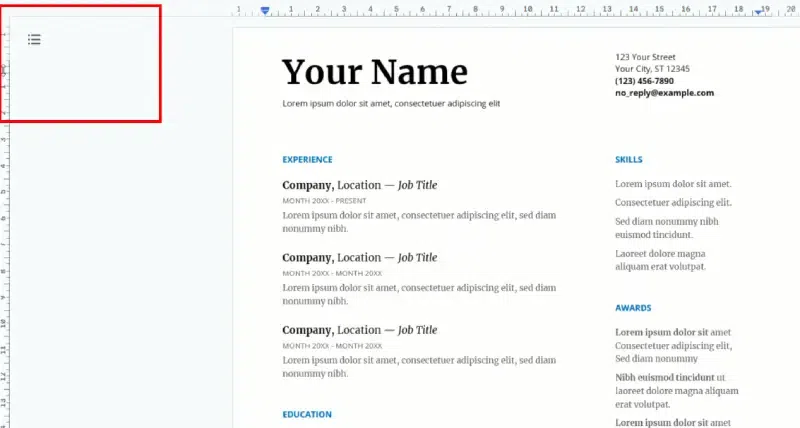
You can also reduce the margin of Google Docs by using drag and drop. If you hover your mouse over the top left corner of your document you can see a small box appears. You can use that box to drag and drop your contents to the required position.
.png)
The box used to drag and drop the content to adjust the margin
After seeing that box simply click and hold the mouse on it and move the contents to the required place. If you want to reduce the margin on the left side drag it to the left side.
Adjusting margin using drag and drop
Now you have successfully reduced the margin by dragging and dropping on Google Docs.
Method 2: Using Ruler
A ruler is visible at the top of a document opened in Google Docs. We can also use that ruler to adjust the margin. You can adjust the margins of all four sides using the ruler. To reduce the margin of a document in Google Docs drag the mouse by placing it on the desired side of the ruler. For example to reduce the left margin drag the mouse to the left by placing the mouse near the left side of the ruler. To reduce the right margin drag the mouse to the right by placing the mouse on the right end of the ruler.
The below gif depicts adjusting the left margin using the ruler in Google Docs.
Adjusting left margin
The below gif shows adjusting the top margin using the ruler in Google Docs.
Now you have successfully reduced the margin by using the ruler on Google Docs.
Conclusion
Reducing the size of the margin of a document helps users to fit more content on the same page, or may improve the look of the page. Sometimes users may need to increase the margin size to achieve the desired style of user. Adjusting margins is therefore an important feature to learn if you are a Google Docs user. Adjusting margins helps to make your documents look better. I hope this article helped you to understand how to reduce margin in Google Docs. Feel free to share your thoughts about the article on the comments!
FAQ’s on Change Margins in Google Docs
How remove margins in Google Docs?
To remove margins in Google Docs, go to File menu> Page setup, and change the values of all four(Top, Bottom, Right and Left) margins to zero.
Can I change the margins of a document on a mobile phone?
No, it is not possible to change the margins of a document on the Google Docs mobile app.
How do I set a 1-inch margin in Google Docs?
To set a 1-inch margin in Google Docs, go to File menu> Page setup, and change the values of all four(Top, Bottom, Right and Left) margins to 2.54 centimetres.
Share your thoughts in the comments
Please Login to comment...