Windows 11 offers several ways to customize font settings, making the interface more personal and easier to read. Users can install a new font or adjust its size for better readability. The default font is Segoe UI Variable, a new version of the traditional Segoe font that uses variable font technology. However, changing the font is not as simple as on Windows 7 and 8. The process of changing the font is not as straightforward as on Windows 7 and 8.
In this article, We’ll show how to customize fonts in Windows 11.
Why do we need to customize fonts in Windows 11?
Customizing the fonts in Windows 11 is much more beneficial for several reasons as per user requirements. Users can tailor their system experience to their tastes by changing the typefaces of the internal system. Customizing fonts can improve the essential accessibility for users with specific readability preferences or visual impairments throughout the operation. Personalizing typefaces can support internal identification and branding in business contexts. At various sizes or on different kinds of monitors or desktops, some typefaces might be easier to read and understandable.
How to Change Default Font in Windows?
To make Windows 11 easier to read and look better, you can change the standard font. This is a straightforward task. Use either the Control Panel or the Settings app to do it. Font choice is personal. You might like a simple, classic font. Maybe a trendy, new font is more your style. Let’s explore how to change the default font in Windows 11.
Method 1: Change the Default Font Using the Control Panel
The Control Panel is a standard tool in Windows. It lets you make detailed changes, even altering the system’s default font.
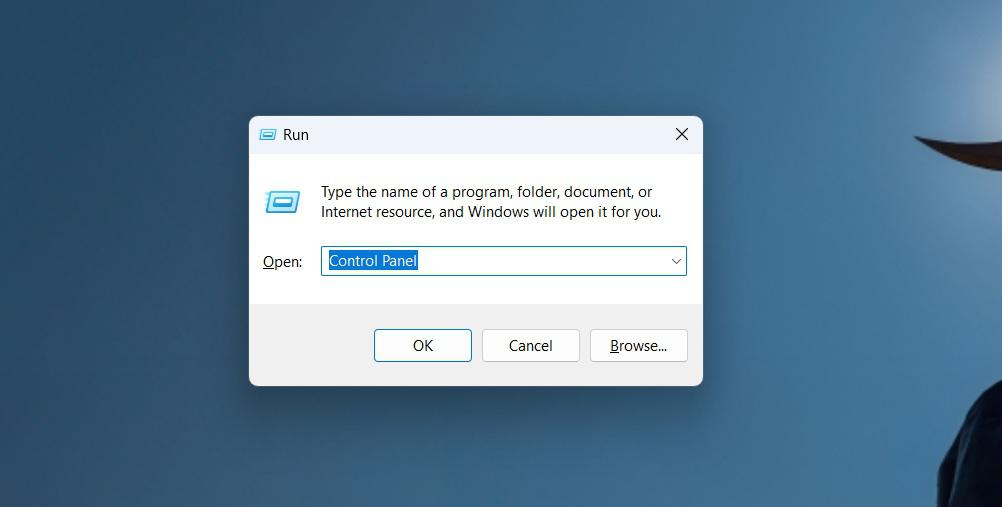
Step 1: Open the Control Panel by pressing Windows + R then in the run dialog type “Control Panel“.
Step 2: Navigate to Appearance and Personalization.
Step 3: Under the Fonts, Click on “Preview, delete, show, and hide fonts“.
Step 4: From the list of fonts you can choose any fonts

Method 2: Change the Default Font Using Settings App
Windows Settings provides a more user-friendly approach to changing your system’s default font.
Step 1: Open the settings app by pressing Windows Key + I
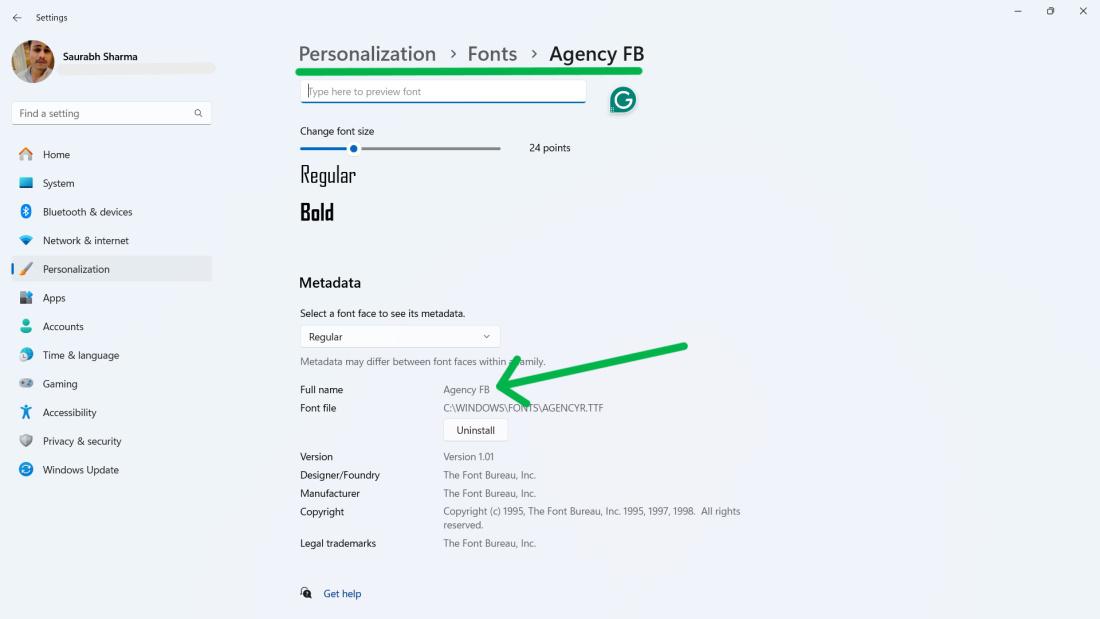
Step 2: Navigate to “Personalization” > “Fonts“
Step 3: Select the desired font style from the list
Step 4: Copy/Note the name of the fonts.
How to Install New Fonts on Your Computer?
Method 1: Install New Fonts Using the Microsoft Store
You can easily install and manage a variety of fonts directly through the Microsoft Store application.
Step 1: Open the settings app by pressing Windows Key + I
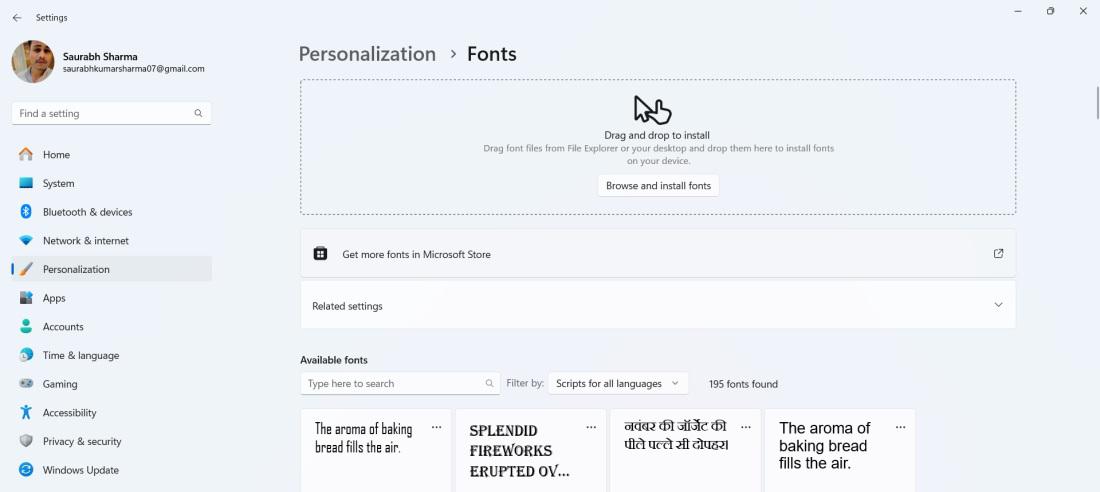
Step 2: Navigate to “Personalization” > “Fonts“
Step 3: Click on “Get more fonts in Microsoft Store“
Step 4: In Microsoft Store, From the list of fonts click on any of them
Step 5: Click on the “Get” button
Step 6: Then, Click on “Open“
Step 7: Note the font name and set it via the Registry Editor as mentioned above.

Method 2: Install New Fonts Using Google Fonts
Google Fonts provides a vast selection of free fonts that can be downloaded and installed on Windows 11.
Step 1: Open Google Fonts website
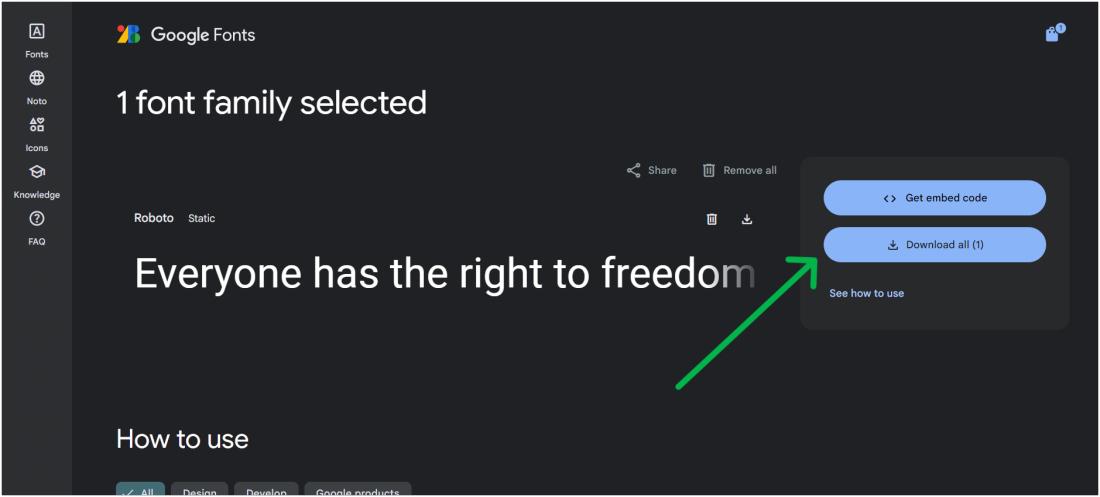
Step 2: Select any font then click on it
Step 3: On the right side click on the “Download all” button
Step 4: Extract the zip file
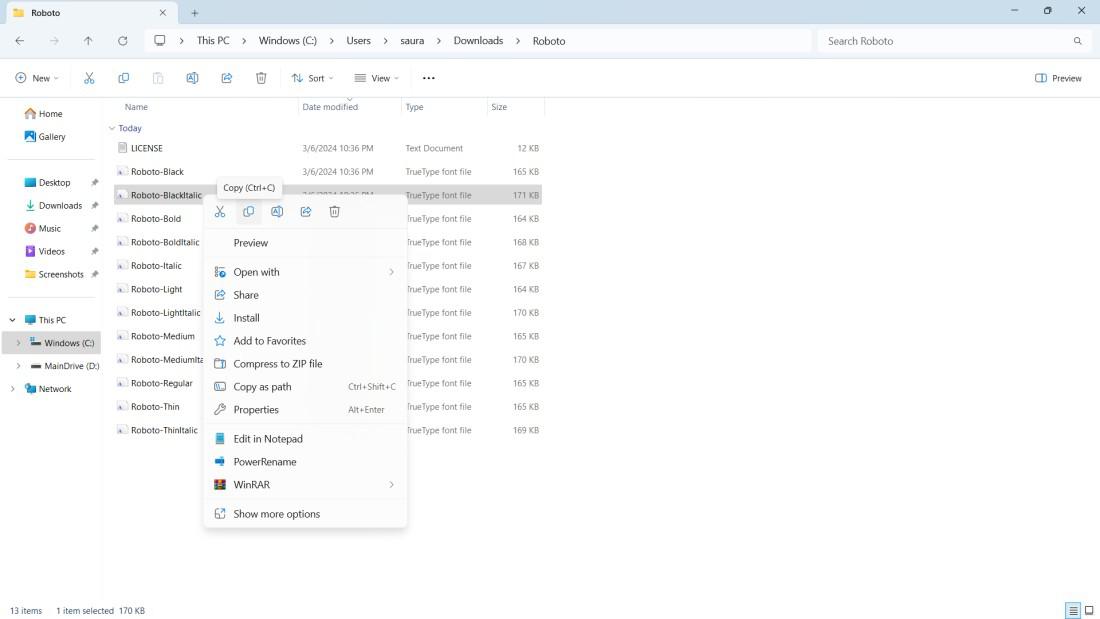
Step 5: Now open the folder then from the list of fonts right right-click on any of them and copy that font by clicking on the “Copy” button.
Step 6: Now navigate to this path “C:\Windows\Fonts” and paste the copied file
Step 7: Note the font name and set it via the Registry Editor as mentioned above
How to Use Installed Fonts On Your Computer?
Before editing anything on the registry editor back up your Windows laptop/PC.
Now to apply the installed font on your computer follow these steps:
Step 1: Open Notepad
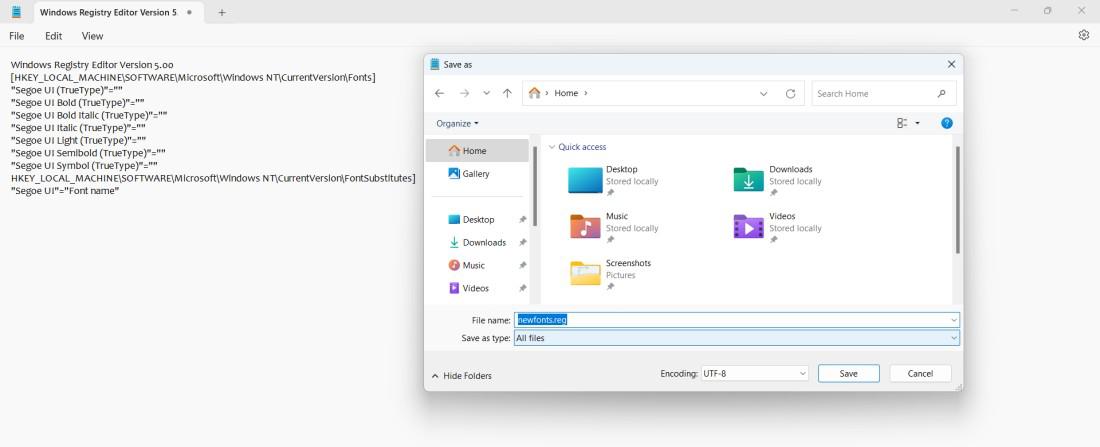
Step 2: In Notepad type the following code
Windows Registry Editor Version 5.00
[HKEY_LOCAL_MACHINE\SOFTWARE\Microsoft\Windows NT\CurrentVersion\Fonts]
"Segoe UI (TrueType)"=""
"Segoe UI Bold (TrueType)"=""
"Segoe UI Bold Italic (TrueType)"=""
"Segoe UI Italic (TrueType)"=""
"Segoe UI Light (TrueType)"=""
"Segoe UI Semibold (TrueType)"=""
"Segoe UI Symbol (TrueType)"=""
HKEY_LOCAL_MACHINE\SOFTWARE\Microsoft\Windows NT\CurrentVersion\FontSubstitutes]
"Segoe UI"="Font name"
Replace the “Font Name” with the actual font name that you have not previously
Step 3: Now save the notepad file. To save the notepad file click the “File” option on the top then click on “Save as“
Step 4: Enter the name of the file and add the .reg extension at the end.
Step 5: Open the file and click on “Yes“.
Step 6: Click “OK” then restart your computer to implement the changes.
Also Check: How to Change Font Size on Windows 11?
How to Restore the Default Font in Windows 11?
To restore the original font, Windows 11 provides an option to reset your font settings to default.
Step 1: Open the Control Panel by pressing Windows + R then in the run dialog type “Control Panel“.
Step 2: Navigate to Appearance and Personalization.
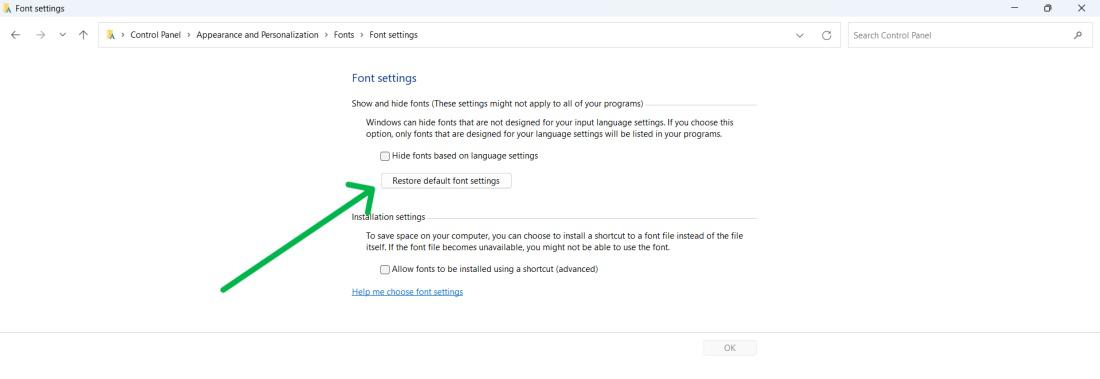
Step 3: Under the Fonts, Click on “Change Font Settings“.
Step 4: Then, Click on the “Restore default font settings” button
Step 5: Restart your computer
Conclusion
In Conclusion, Changing your fonts in Windows 11 is simple and can greatly benefit your experience. From adding new fonts to modifying sizes, these techniques offer adjustability and control in viewing content on your computer.
Also Read
Frequently Asked Questions to Customize Fonts in Windows 11
How Do I Create a Custom Font In Windows 11?
To customize windows 11 fonts follow these steps:
Access font information:
- Open Settings app (Windows Key + I).
- Navigate to “Personalization” > “Fonts.”
- Select desired font style.
- Copy/Note font name.
Install font:
- Open Notepad.
- Type code, replacing “Font Name.”
- Save file (File > Save as), add .reg extension.
- Open file, click “Yes.”
- Click “Ok,” then restart computer.
How Do I Make Font Bold In Windows 11?
To make font bold windows 11, Follow these steps:
- Open Settings app (Windows Key + I).
- Navigate to “Personalization” > “Fonts.”
- Click on desired font style.
- From “Select a font face to see its metadata” dropdown menu select “Bold“
How Do I Change The Font On My Windows 11 Icons?
In Windows 11, you can change the font of your desktop icons by following these steps:
- Open the Settings app.
- Navigate to Personalization > Themes > Desktop Icon Settings > Change Icon.
- Select a new icon.
- If you want to change the icon of a folder or shortcut:
- Right-click the folder or shortcut.
- Select Properties.
- Click on the Customize or Shortcut tab.
Share your thoughts in the comments
Please Login to comment...