State Management with useState Hook in React
Last Updated :
19 Feb, 2024
useState is a built-in hook that empowers functional components to manage state directly, eliminating the need for class-based components or external state management libraries for simple use cases. It provides an easy mechanism to track dynamic data within a component, enabling it to React to user interactions and other events by re-rendering the UI when the state changes. In this article, you will learn about State Management with useState in react.
Prerequisites:
Benefits of using useState:
- Simplicity: Makes state management intuitive and easy to understand.
- Readability: Promotes cleaner code, especially for simple state scenarios.
- Performance: Lightweight due to being part of the core React library.
- Integration: Works seamlessly with other React hooks and features.
When to use useState:
- Managing simple, local state within a single component.
- State that doesn’t need to be shared across multiple components.
- Creating interactive UI elements that respond to user actions.
If your application’s state becomes more complex or needs to be shared across multiple components, consider using a state management library like Redux or Context API.
Approach to Manage State with useState Hook:
To utilize useState , import it from the react library at the top of your component file:
import React, { useState } from 'react';
Within your functional component, call useState with the initial state value as an argument. It returns an array containing two elements:
- The Current state value: Use this in your JSX to display the data dynamically.
- A State update function: Call this function to modify the state and trigger a re-render of the component.
Syntax:
const [stateVariable, setStateVariable] = useState(initialState);
Steps to Create React application:
Step 1: Create a react application using the following command.
npx create-react-application my-react-application
Step 2: Naviate to the root directory of your application using the following command.
cd my-react-application
Project Structure:

project structure
The updated dependencies in package.json f:
"dependencies": {
    "react": "^18.2.0",
    "react-dom": "^18.2.0",
    "react-scripts": "5.0.1",
    "web-vitals": "^2.1.4"
}
Example 1: Basic Counter with Button
- Initial state: count = 0
- Click “Increment“: count = 1 (UI updates to reflect the new count)
- Click “Increment” again: count = 2 (UI updates again)
Javascript
import React, {
useState
} from 'react';
function Counter() {
const [count, setCount] = useState(0);
const handleClick = () => {
setCount(count + 1);
};
return (
<div>
<p>Count: {count}</p>
<button
onClick={handleClick}>
Increment
</button>
</div>
);
}
export default Counter;
|
Start your application using the following command.
npm start
Output:
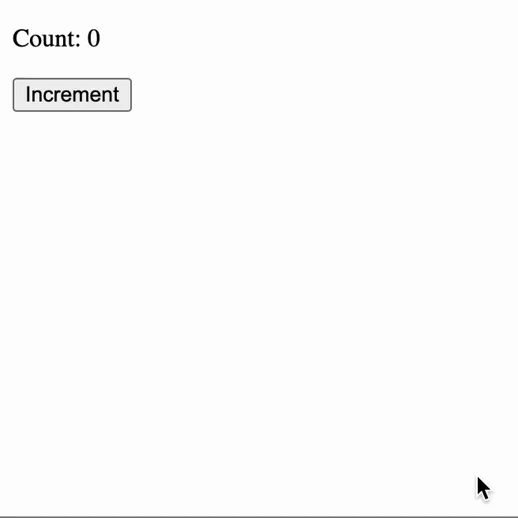
Ouptut
Example 2: Input Field with Value Tracking
- Initial state: name = ” (input field is empty)
- Type “react“: name = ‘react’ (input field shows “react”)
- Type “geek for geeks“: name = ‘geek for geeks’ (input field shows “geek for geeks”)
Javascript
import React, {
useState
}
from 'react';
function InputFeild() {
const [name, setName] = useState('');
const handleChange = (event) => {
setName(event.target.value);
}
return (
<div>
<label>Name:</label>
<input type="text"
value={name}
onChange={handleChange} />
<p>Entered name: {name}</p>
</div>
);
}
export default InputFeild;
|
Output:
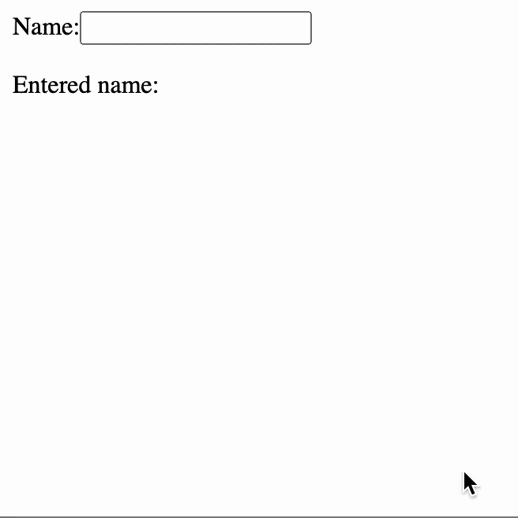
Ouput
Share your thoughts in the comments
Please Login to comment...