Does React useState Hook update immediately ?
Last Updated :
28 Nov, 2023
React, a widely used JavaScript library for building user interfaces, emphasizes a straightforward approach for creating dynamic web applications. React’s state management system, including the useState hook, is pivotal for efficiently tracking and updating application data.
How we can use the useState hook in React?
Introduced in recent React versions, the useState hook allows adding state functionality to functional components without the need for class-based components. However, it’s exclusive to functional components and should not be used in classes or standard JavaScript functions. The hook requires an initial state and returns the current state and a function to update it.
How hook updates work?
React keep track of the states by queuing them in the order they are called. React queue all the changes to be made and update once the component Re-render which is not immediate. So that is how React knows which value corresponds to which state. It goes as per the queue every time the component tries to re-render.
Steps to Create the React Application And Installing Module:
Step 1: Create a React application using the following command:
npx create-react-app foldername
Step 2: After creating your project folder i.e. foldername, move to it using the following command:
cd foldername
Project Structure:

Project Structure
The updated dependencies in package.json file will look like:
"dependencies": {
    "react": "^18.2.0",
    "react-dom": "^18.2.0",
    "react-scripts": "5.0.1",
    "web-vitals": "^2.1.4",
}
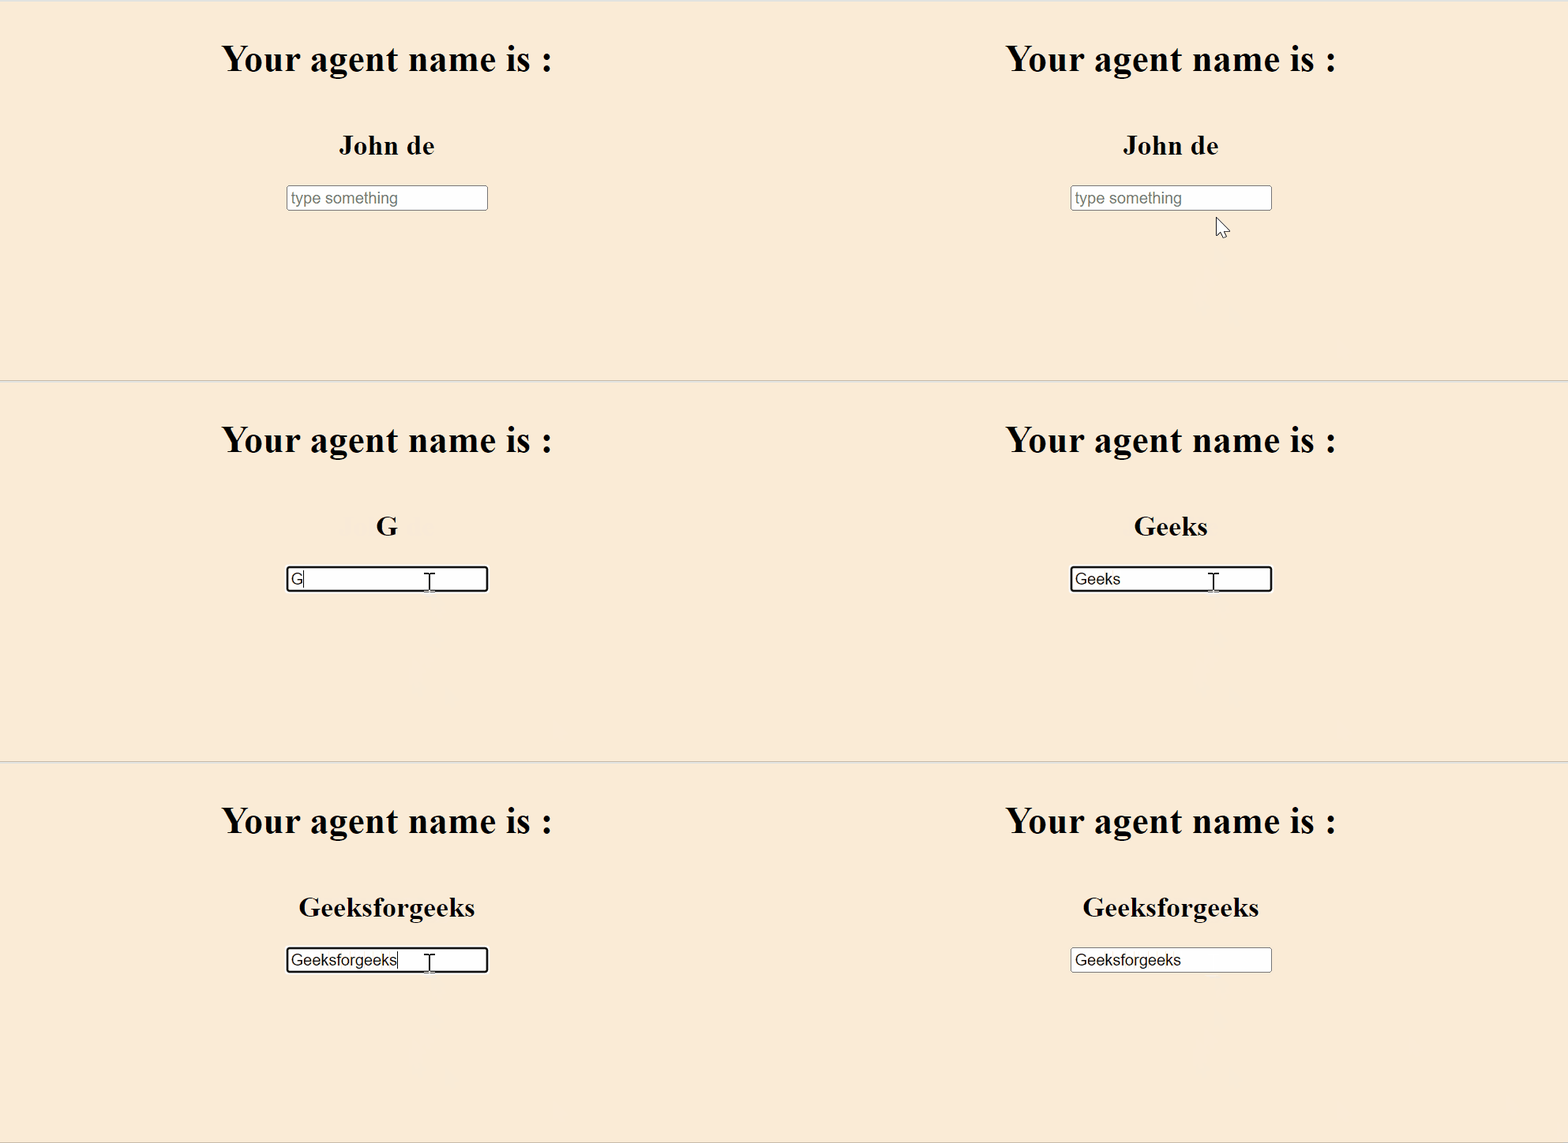
Example: As you can see to update the state we have used the method setState, which is extracted from the hook useState. So to update we have not used this.name or anything like this.setname.
Javascript
import React, { useState } from "react"
import './App.css'
export default function App() {
const [name, setName] = useState("");
function changeName(e) {
setName(e.target.value);
}
return (
<div className="App">
<h1>Your agent name is :</h1>
<h2>{name ? name : "John de"}</h2>
<input placeholder="type something"
value={name} onChange={changeName}></input>
</div>
)
}
|
Step to Run Application: Run the application using the following command from the root directory of the project:
npm start
Output: Now open your browser and go to http://localhost:3000

Output
Share your thoughts in the comments
Please Login to comment...