How to locally manage component’s state in ReactJS ?
Last Updated :
04 Dec, 2023
Any component in React JS majorly depends on its props and state to manage data. A component’s state is private to it and is responsible for governing its behavior throughout its life. A state is nothing but a structure that records any data changes in a react application. It can be used for storing values, form inputs, data from an API, etc. This local state-managed within a component can not be affected by other components.
Prerequisites
To locally manage a component’s state in a class-based component, we instantiate a local state object, which contains all the state variables we need to use in the component. These local state variables can be updated using the setState function. It is important to change the local state only using the setState function as only then will React trigger a component re-render, which is essential for updating the application state.
Steps to Create React Application
Step 1: Create a React application using the following command:
npx create-react-app react-local-state
Step 2: After creating your project folder i.e. react-local-state, move to it using the following command:
cd react-local-state
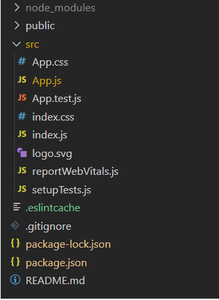
Project Structure:
Example: Let’s look at an example to understand how to locally manage a component’s state.
App.js
import React, { Component } from "react";
import "./App.css";
class App extends Component {
constructor(props) {
super(props);
this.state = { value: 0 };
}
incrementValue = () => {
this.setState((state) => ({
value: state.value + 1,
}));
};
decrementValue = () => {
this.setState((state) => ({
value: state.value - 1,
}));
};
render() {
return (
<div className="App">
<header className="App-header">
<h3>Local State in ReactJS</h3>
<h5>The value managed locally is: {this.state.value}</h5>
<div>
<button onClick={this.incrementValue}>
Increment!
</button>{" "}
<button onClick={this.decrementValue}>
Decrement!
</button>
</div>
</header>
</div>
);
}
}
export default App;
|
Step to run the application: Run the application using the following command from the root directory of the project:
npm start
Output: Now open your browser and go to http://localhost:3000/, you will see the following output:
Share your thoughts in the comments
Please Login to comment...