Python FastAPI – Deployment
Last Updated :
10 Apr, 2024
In this article, we will explore how one as a Python developer can deploy the FastAPI by harnessing the capabilities of AWS. AWS, a leading cloud computing platform, offers a wide range of services to help developers build, deploy, and manage applications at scale EC2. We will use the EC2(Elastic Compute Cloud) service provided by AWS to make our server and run our application onto this server.
Prerequisites
To deploy the FastAPI we need the following things:
- AWS Account: Before starting this tutorial, you must have an AWS account. Read this article in case you don’t have an AWS account.
- GitHub Account: Your project should be on GitHub as we are going to deploy FastAPI by cloning your repository on the server. Read this article in case you don’t have a GitHub account.
- Requirements File: Your project must contain a requirements.txt file which is a text file containing the Python module’s names with their respective version. Else you can install packages manually into the server.
Python FastAPI Deployment on AWS
Step 1: Log in with your AWS Account with your credentials and Navigate to AWS Management Console.
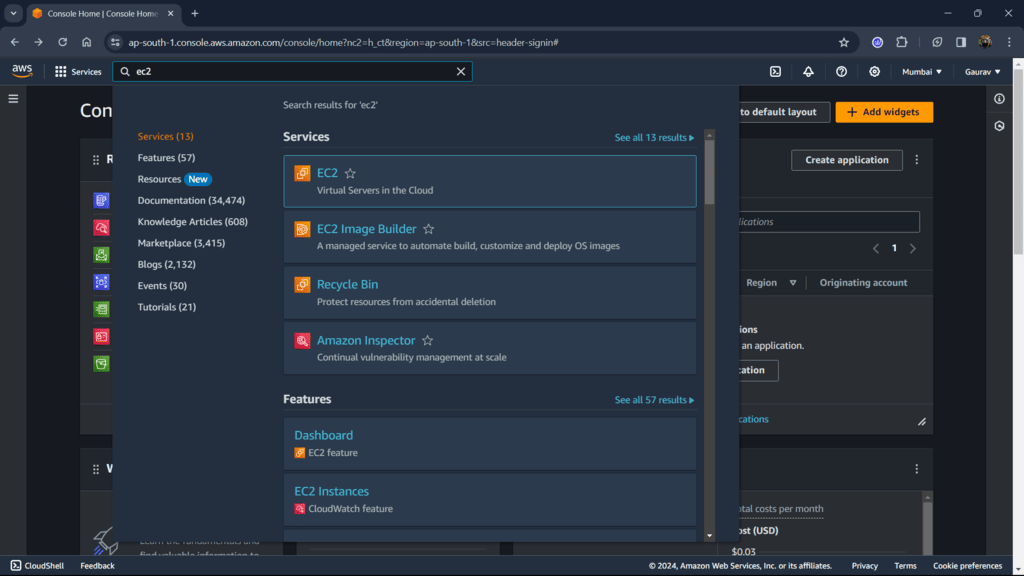
Step 2: After signing in you will land on the AWS Management Console page and search for EC2 as shown below.
AWS
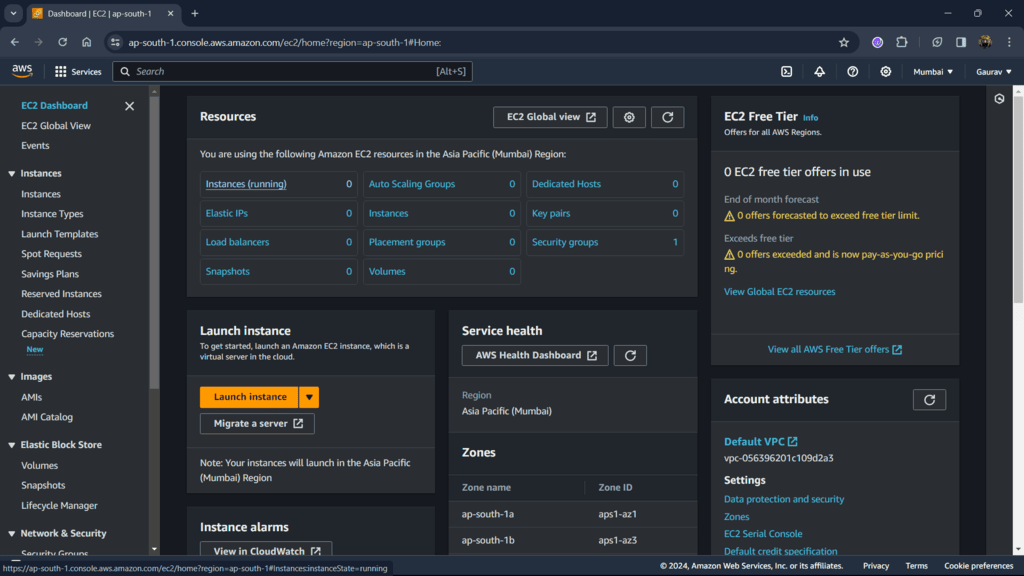
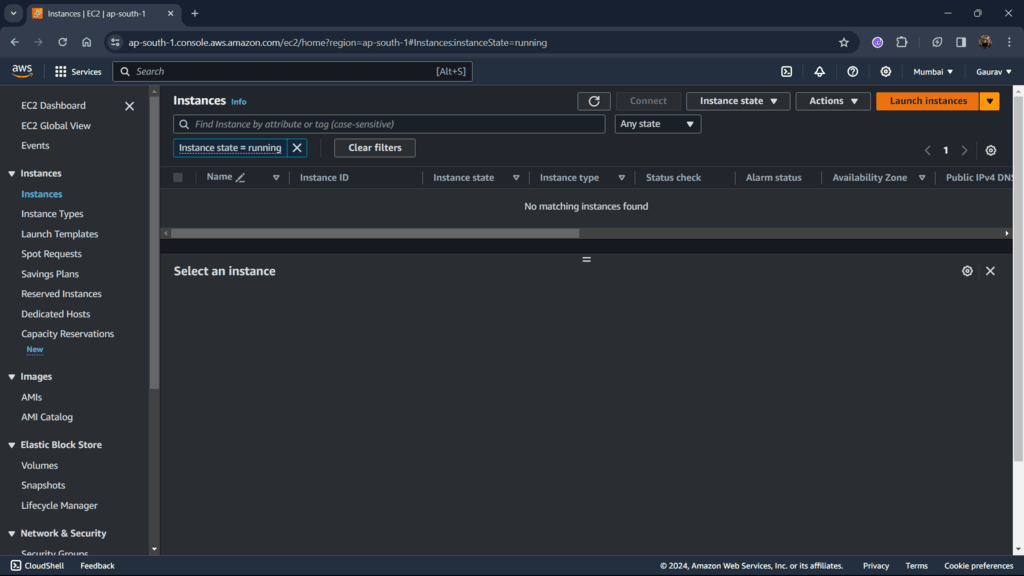
Step 3: This will land you on the Amazon EC2 dashboard from there select instances from the left menu. The dashboard contains all the statistics about your instance.
EC2 Dashboard
Step 4: From the top right, select Launch instances this will allow us to make an EC2 instance (server). This server will contain all the necessary files which you need to deploy your application.
EC2
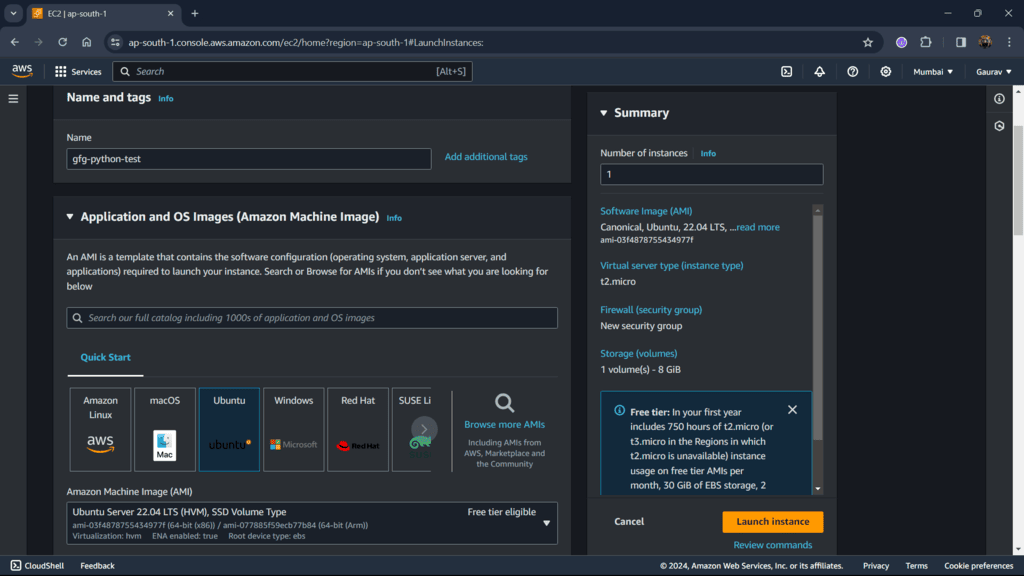
Step 5: Give a name to your server and select OS image (AMI) as Ubuntu. You can also select another image. This OS image will give you the ability to interact with the server. Choosing Amazon Linux is also a good AMI option which already comes with pre-installed packages.
Instance
Step 6: Select the default key-pair name and check boxes of http/https. This will allow us to test your application on the http/https protocol. Not doing so EC2 will not give you access to any incoming traffic through this protocol.
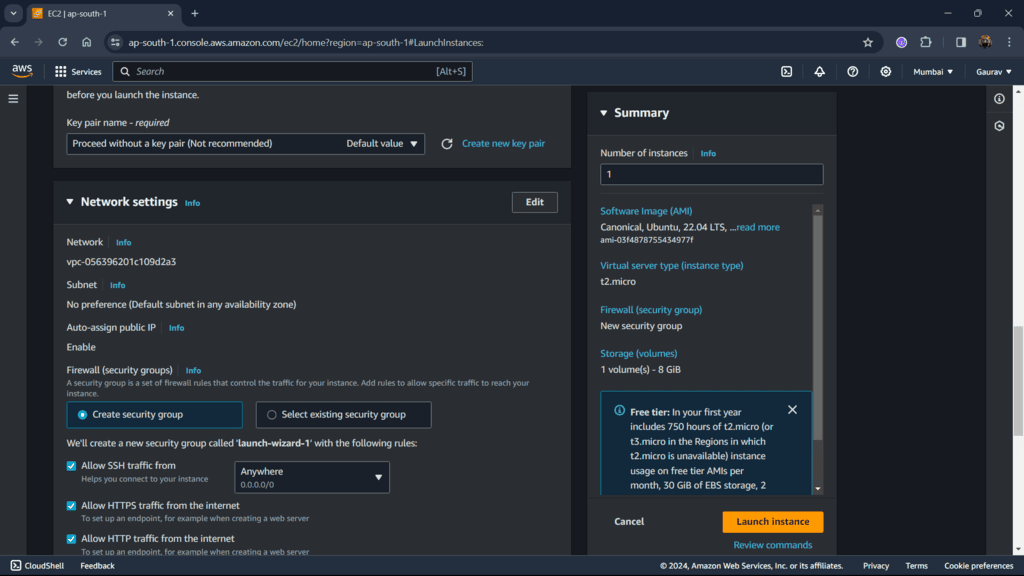
Key Pair and Network
Step 7: Launch the the instance from bottom right corner. After that, you will get the status of success.
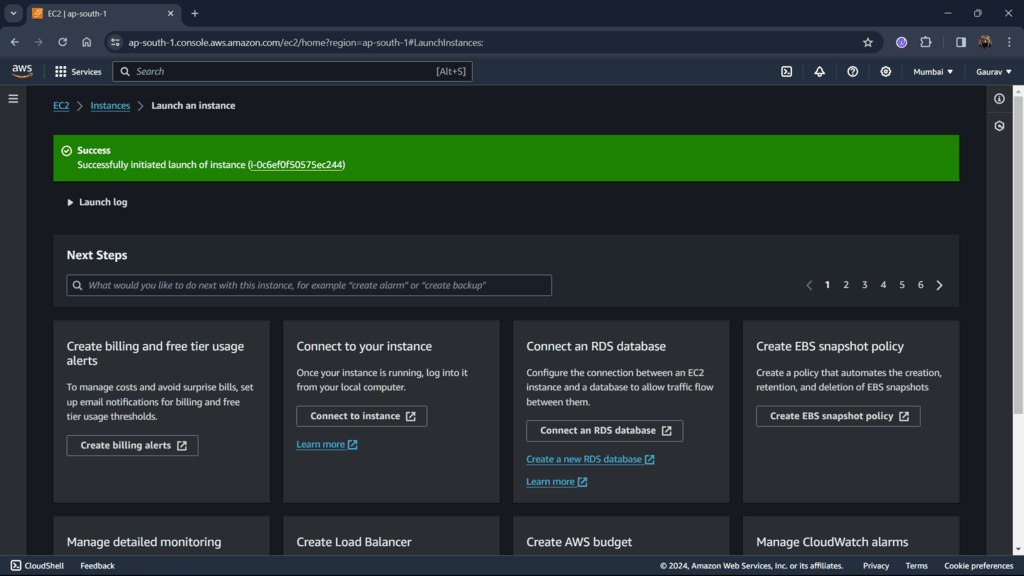
Success
Step 8: Go to your instances and check the box according to your instance name (gfg-python-test here). After checking the box you will get access to modify or read more about your instance. For now let’s connect your server, from the top menu select Connect. This will open a new page to make a connection with Ubuntu and instance.
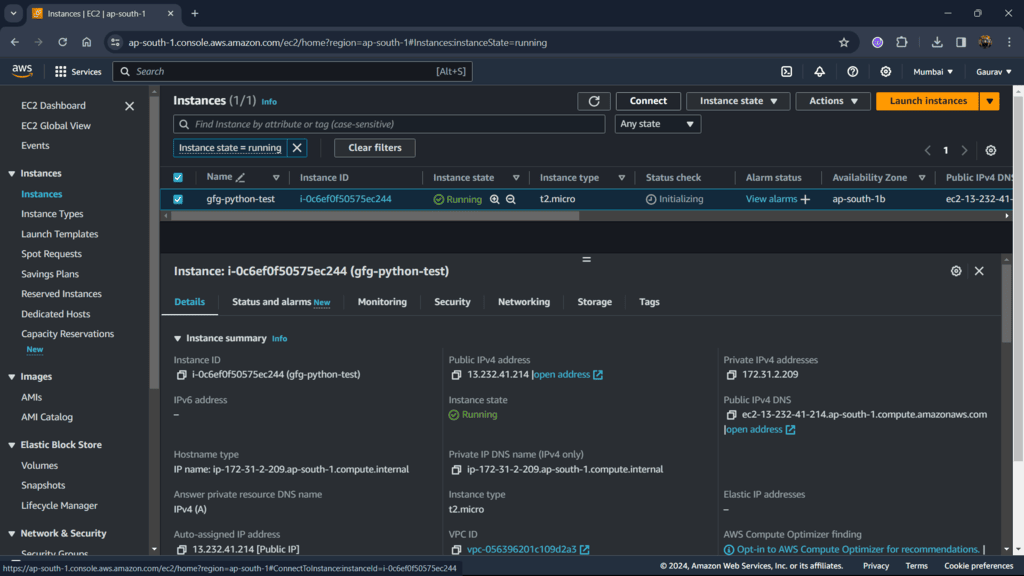
Select Instance
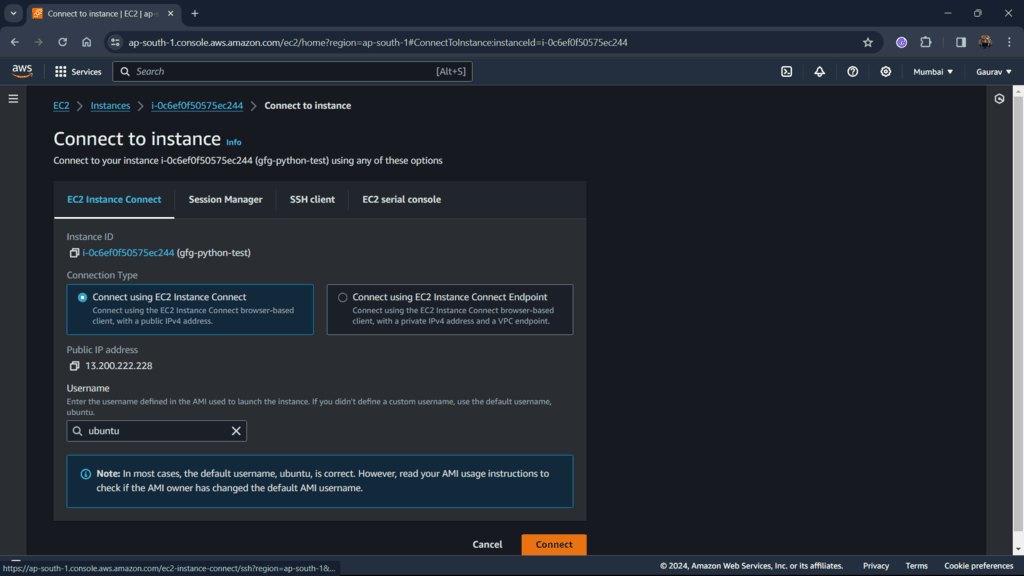
Step 9: Keep setting as it is and connect. This will connect your OS with a server if you want to change the endpoint of your application change the connection type.
Step 10: After the Ubuntu terminal is opened, clone your GitHub repository into the server using the following syntax. Provide your Python application containing the github URL.
git clone <your_github_repository_url>
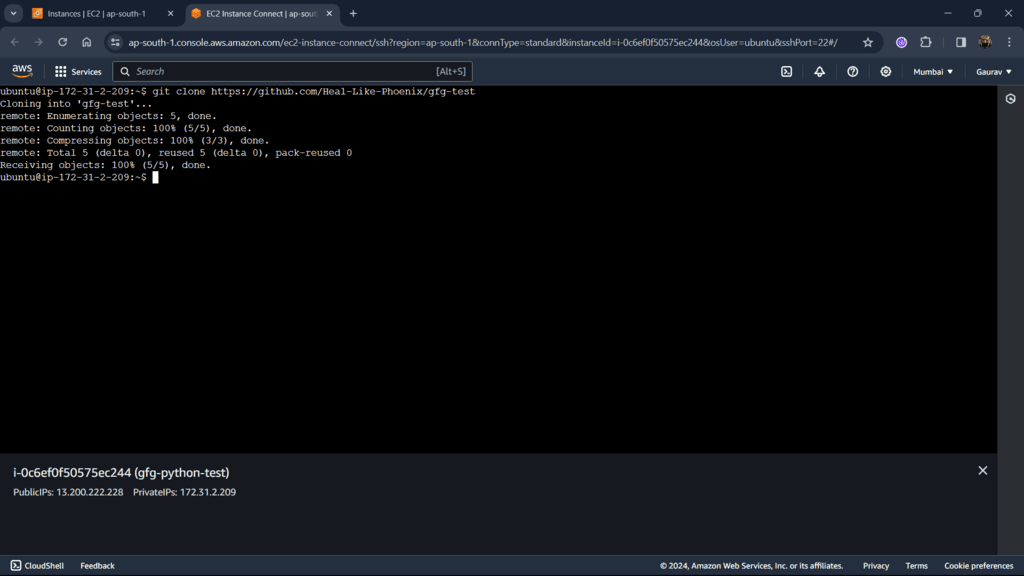
Clone
Step 11: Move to the downloaded git repo directory using the cd command which has requirement.txt and the main python file.
cd <folder_path>
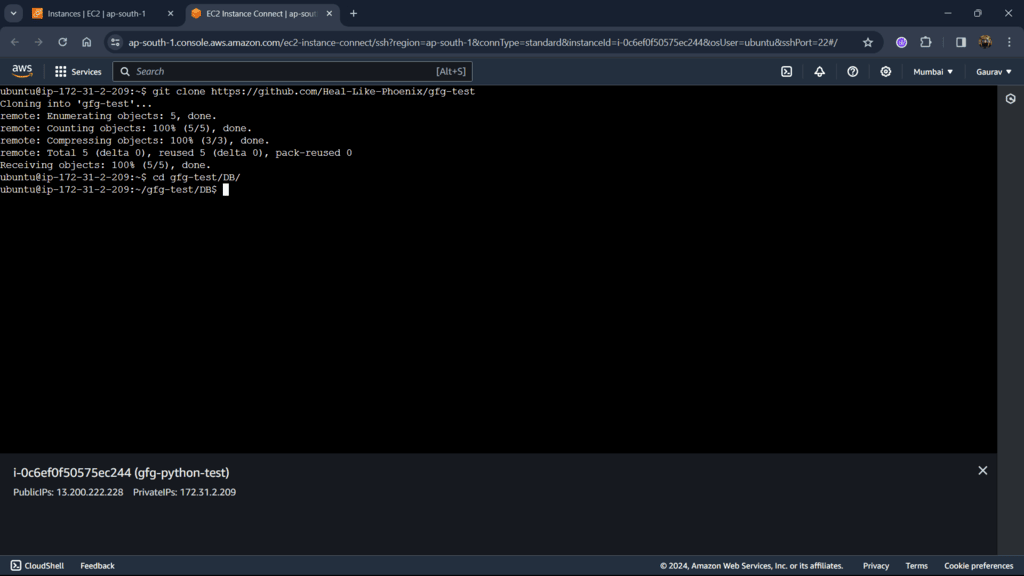
Change Directory
Step 12: Now update present packages in the server using the following command to keep your server up to date.
sudo apt update
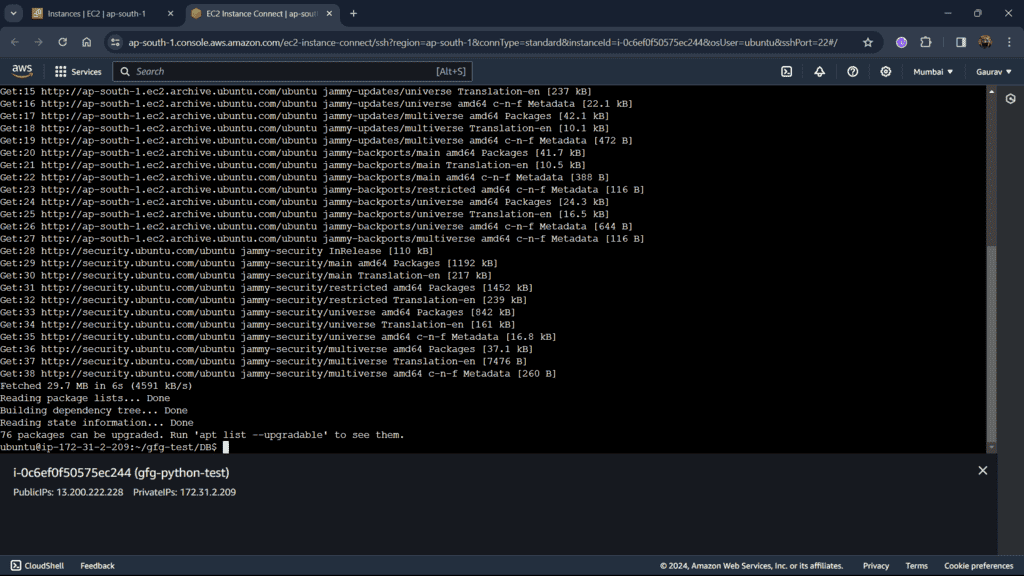
Update package
Step 13: Install pip using python3 in the server to install your packages using the following command and press yes for any prompt.
sudo apt install python3-pip
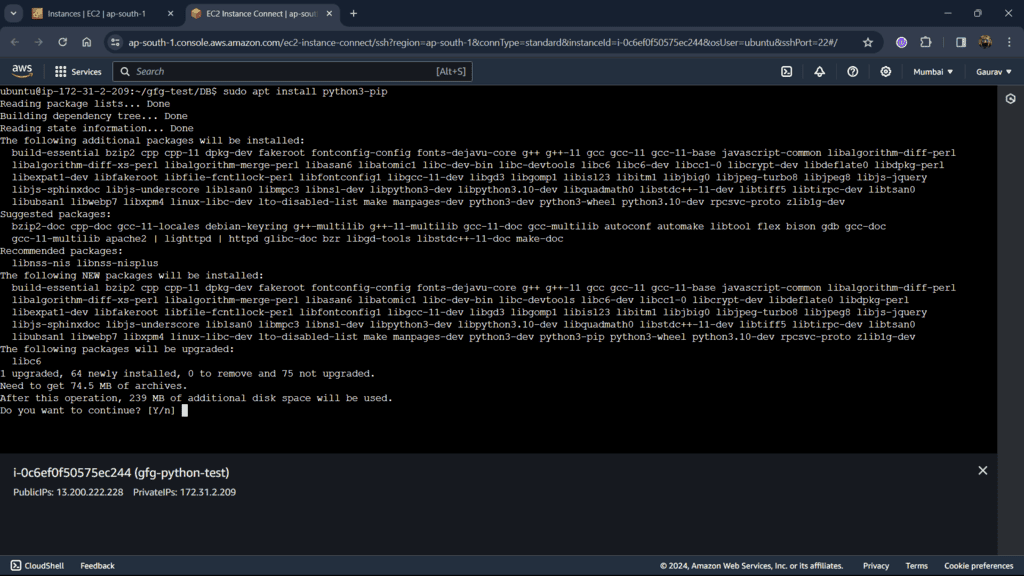
Install pip
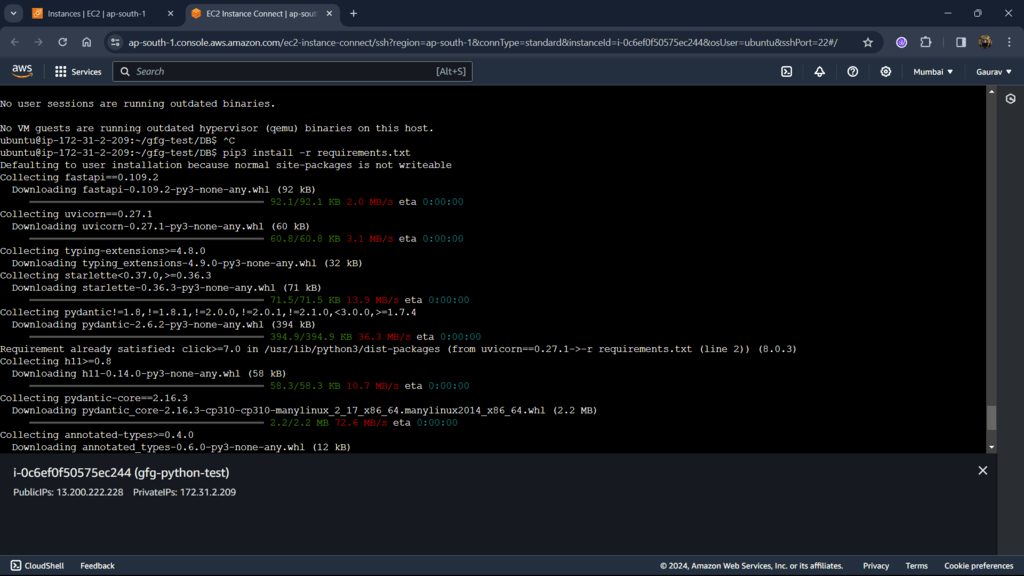
Step 14: Now install all the dependencies into your server using requirements.txt. If not present in your project create it.
pip3 install -r requirements.txt
Install python packages
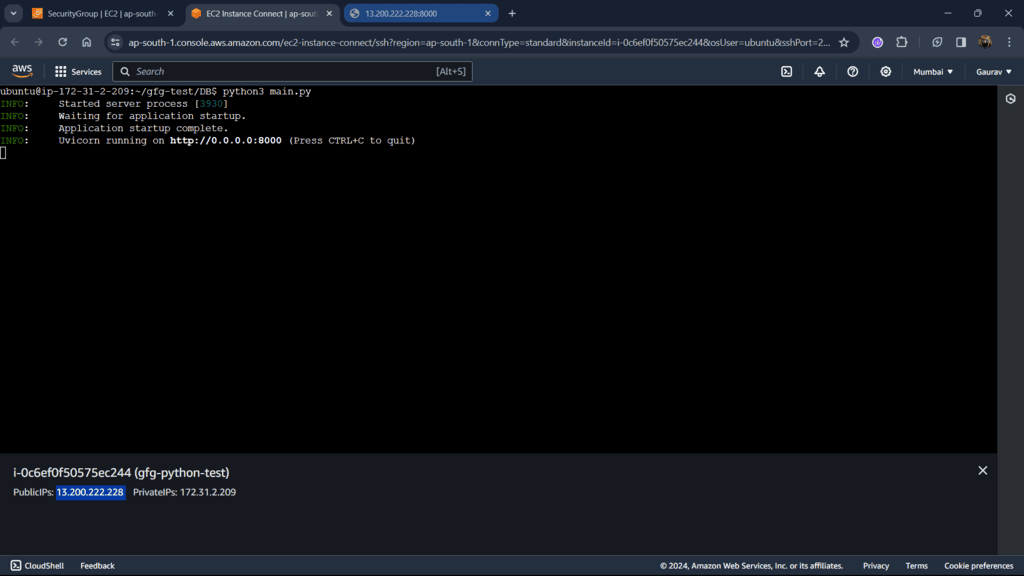
Step 15: Now run your application. I’ve already defined the run function in my main file. So just running the Python file will start the application.
Also, copy the public IP from below and the port number (for me 8000). At this IP your app will be hosted.
Python3
from fastapi import FastAPI

app = FastAPI()

@app.get("/")
def read_root():
    return {"Hello": "World"}

if __name__ == "__main__":
    uvicorn.run("app:app", host="0.0.0.0", port=8000)
Run application
Step 16: To allow your port number to work on the server you must add it to security. Goto Security Groups.
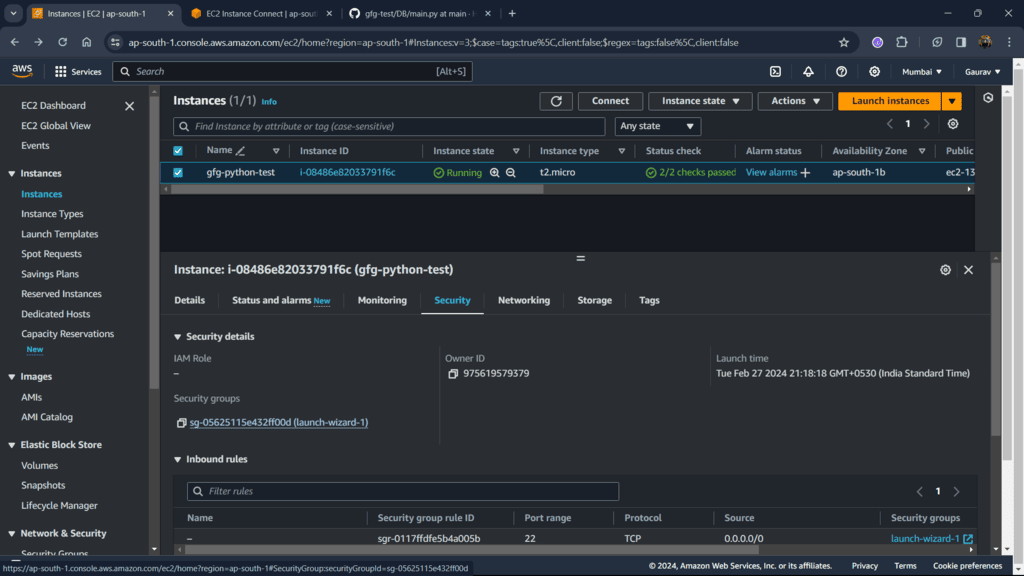
Instance Security
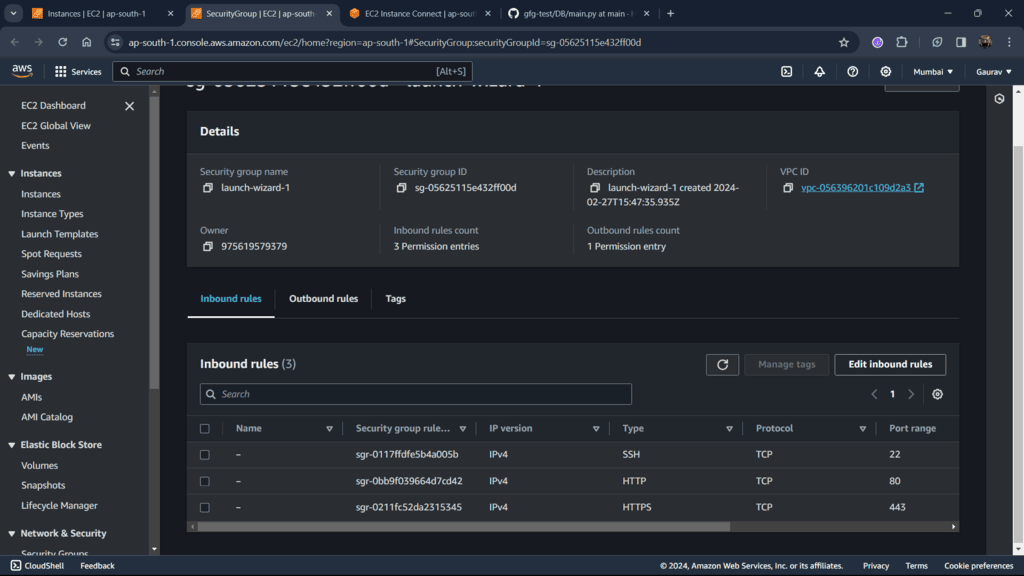
Step 17: Edit inbound rules, this will allow you to add your port number to inbound rules.
Edit Inbound rules
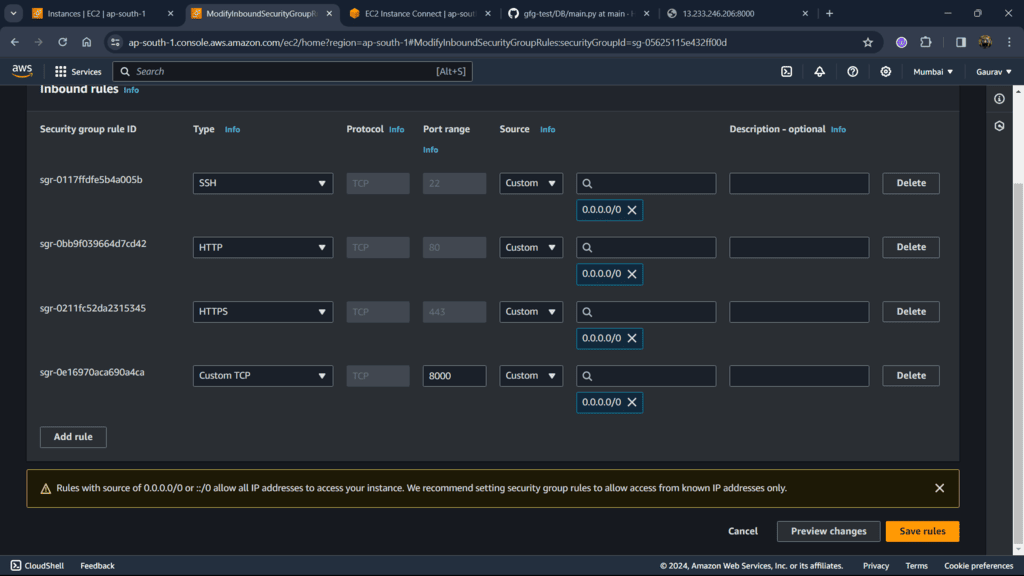
Step 18: Select the type as Custom TCP, and a type port number of your application mine is 8000 also add your IP range i.e 0.0.0.0/0. Save rules.
Add rule
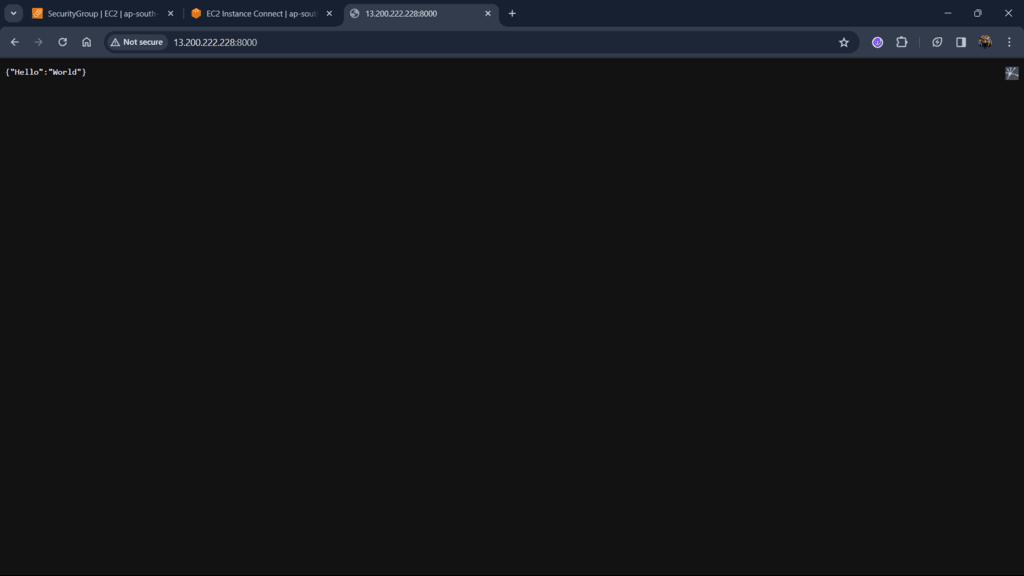
Step 19: Open a new tab and enter your IP with the port number separated with a colon (:). And you can see my FastAPI is working.
My IP is 13.200.222.228:8000.
Note: This IP may or may not work as it can change dynamically to make static IP use elastic IP in EC2.
Conclusion
In this article, we deployed the FastAPI application on AWS using the EC2 service provided by AWS. We used the GitHub repo and cloned our code on the server, also installed the required packages, and then ran the application from which your application will be live in IP provided by AWS.
Share your thoughts in the comments
Please Login to comment...