Are you tired of juggling numerous open browser tabs while conducting research? If so, the Google Docs Explore tool is here to simplify your life. This powerful feature is a game-changer, offering a streamlined solution to consolidate all your essential research materials and resources into one convenient place. Whether you’re exploring the vast expanse of the internet or retrieving documents from your Google Drive, the Explore tool seamlessly integrates them into your Google Docs, transforming your workflow. With this incredible feature at your fingertips, you gain the freedom to cherry-pick topics, research findings, and images, effortlessly adding and citing them in your document. It’s not confined to Google Docs alone, it extends its capabilities to Google Sheets and Slides, ensuring you can use it across various Google applications. Furthermore, it’s accessible on a wide range of devices, from your trusty computer to your favorite iOS and Android devices, making it an invaluable resource for everyone, including students completing school assignments on their tablets. In this article, we’ll guide you through the ins and outs of using the Google Docs Explore tool, helping you enhance your research and document creation experience.
What is Explore Tool in Google Docs?
Explore Tool helps you find information and makes your work easier. Imagine you’re writing about “Google Docs” in your document. You can open the Explore tool and type “Google Docs” in the search box. It will find web articles, pictures, and other useful stuff related to Google Docs. Then, you can add this information to your document with just a click.
How to Use Google Docs Explore Tool
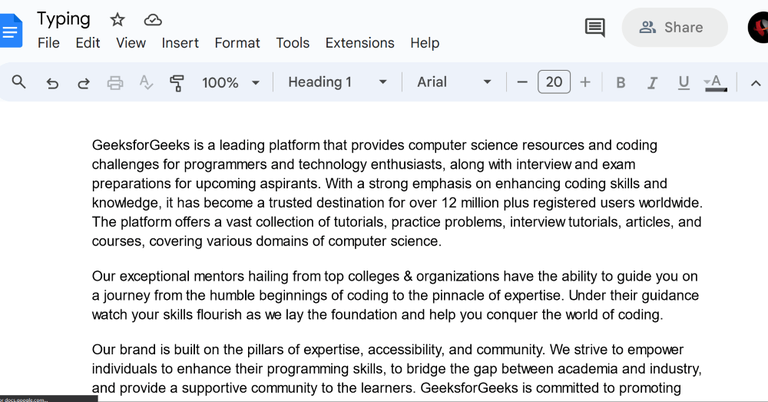
Step 1: Launch Google Docs
Open Google Docs in your web browser.
Opening Google Docs
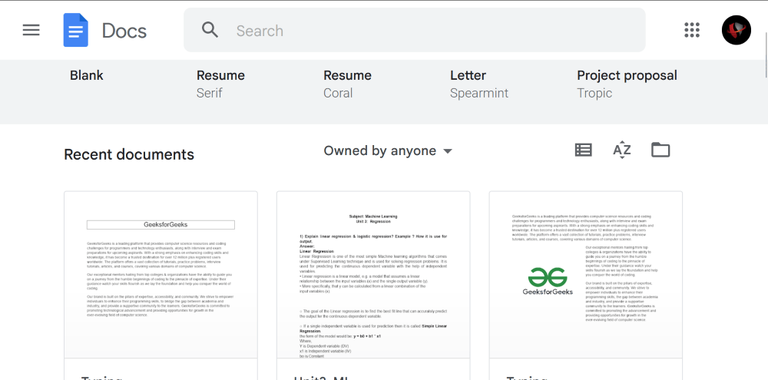
Step 2: Open the Document
Open the Existing Document or Create a new document.
Opening Document
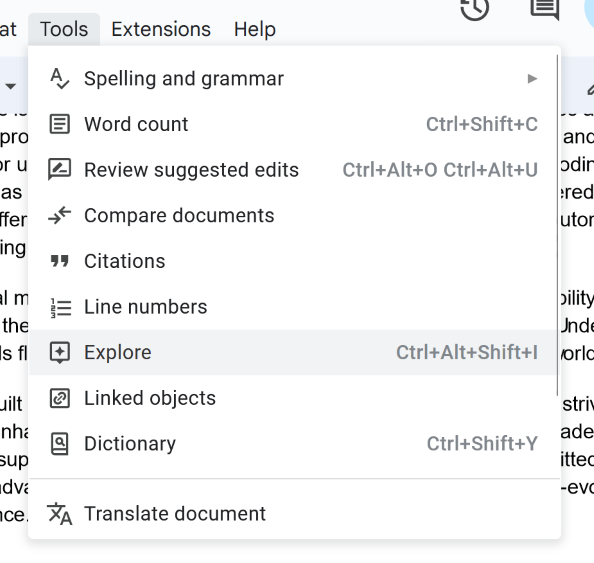
Step 3: Select the Tools Tab
Go to the top menu bar and select “Tools”.
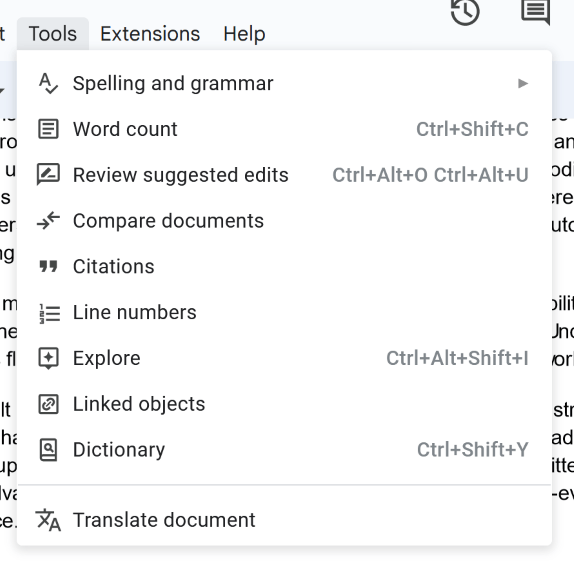
Clicking on the Tools Tab
Step 4: Select Explore from the Drop-down Menu
After clicking on the Explore Tool, the sub-options list will be displayed. So from the sub-options, select the “Explore” option.
Selecting Explore Option
Step 5: Enter the Text to be Searched
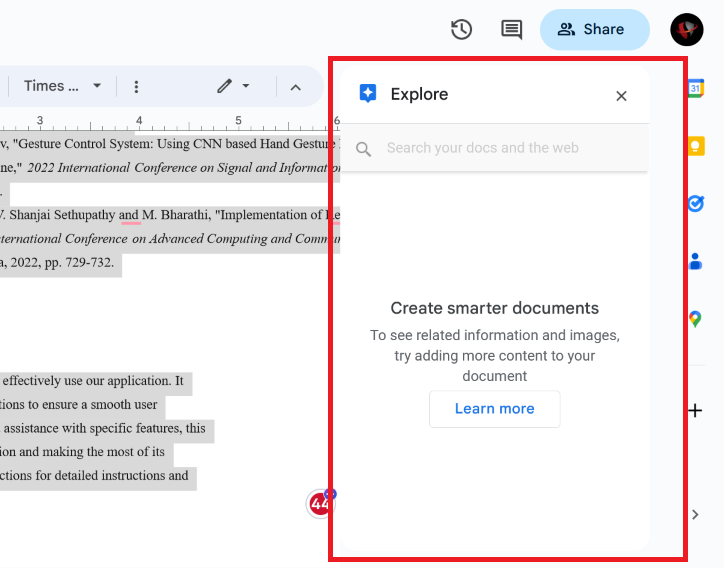
When you click on the “Explore” option on the right side of the screen, a little window called the Explore tool will pop up. In this window, you can type in what you want to look up on Google Docs.
In the example picture below, you can see that we typed “geeksforgeeks” into the box.
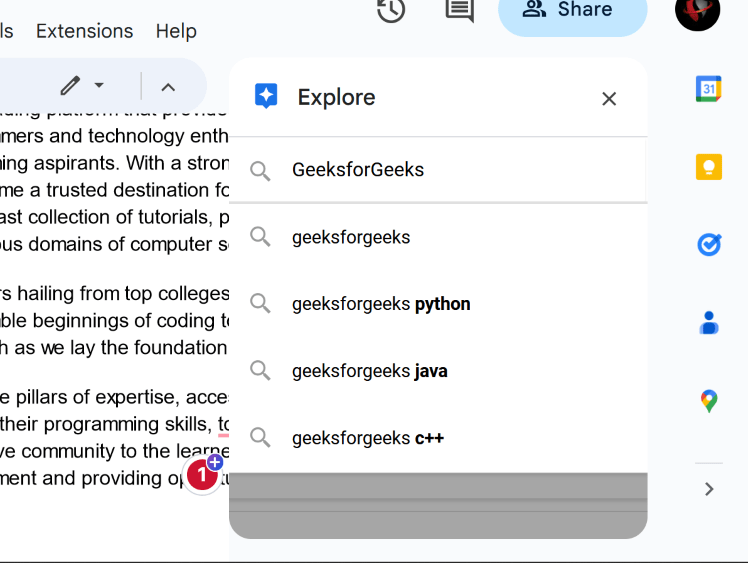
Entering Text
How to use Explore Tool for Citation in Google Docs
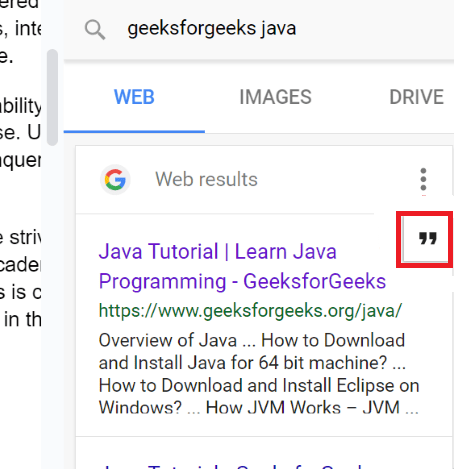
Step 1: Select the Citation Format
After getting the results, we can choose the actual citation format by clicking on the three vertical dots in the below screenshot. You can see that we have selected the MLA format for the citation.

Select the Citation Format
Step 2: Click on the Citation Icon
After selecting the proper citation format, we can click on the citation icon, which is shown in the below screenshot.
Click on the Citation Icon
Step 3: Preview Citation
After clicking on the citation icon, you can see that our citation is been added to the footnotes.

Citation Added
How to Insert Images into Google Docs with the Explore tool
Step 1: Search for an Image in the Search Bar
Enter the text for which we need to pull image from the Google. So in the below screenshot, you can see that we have entered “geeksforgeeks” as our base query And we have got some images of the geeksforgeeks logo.
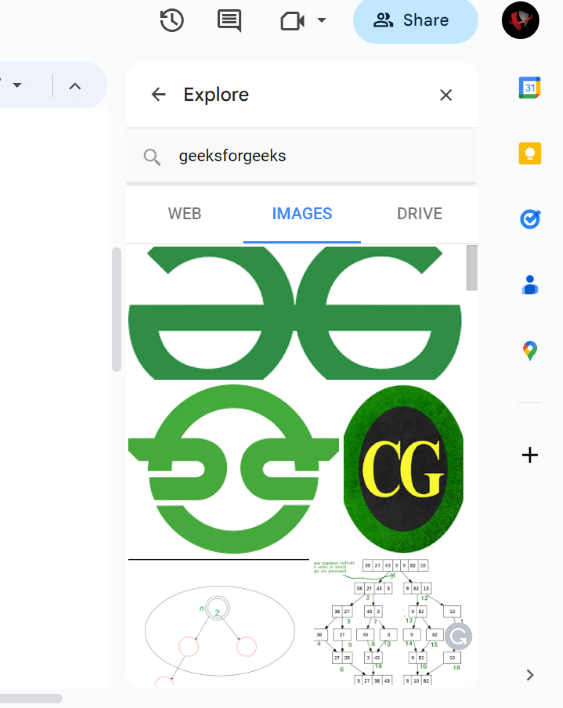
Searching for Image
Step 2: Select on Image and Click Insert Button
Once we retrieve the results, we need to click on the specific image that we need to insert in our document. So we have selected the image. After selecting the image, we need to click on the blue inside button, which is displayed at the top of the image.
Select image >Click Insert Button
Step 3: Preview Image
After clicking on the insert button, the selected image gets inserted into our document without navigating to different tabs or different websites.
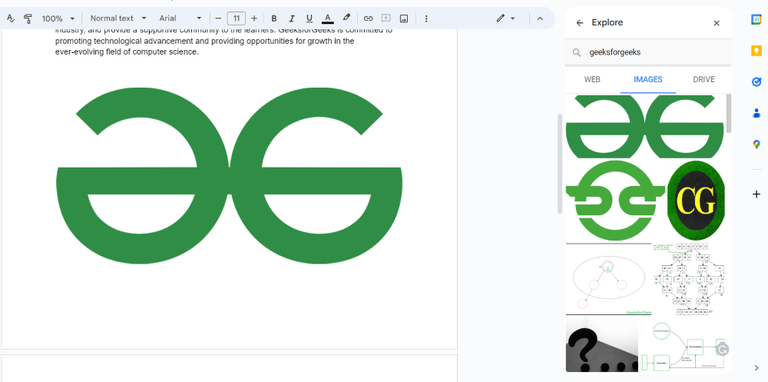
Image Added Successfully
How to Insert Web Results into Google Docs using the Explore tool
Step 1: Search for Keyboard
Once the interface of the Explore Tool is opened, we need to search for the keyboard as per our requirement.

Searching Keyword
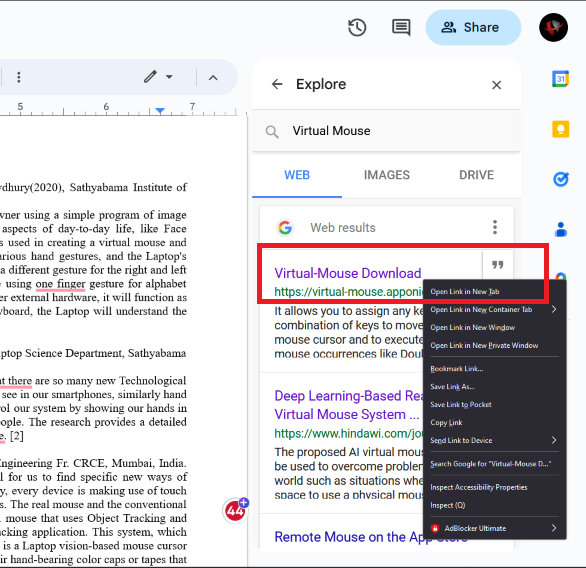
Step 2: Click on Search Result
If you want to open the search result in the new tab, then we can click on the search result and get the tab opened for our reference.
Opening Results
Step 3: Click on See all Results on Google
If you want to browse more results of your input keyboard, then you need to click on the option “See all results on Google”. This will give more results for our input keyboard.

Clicking on See all results on Google Option
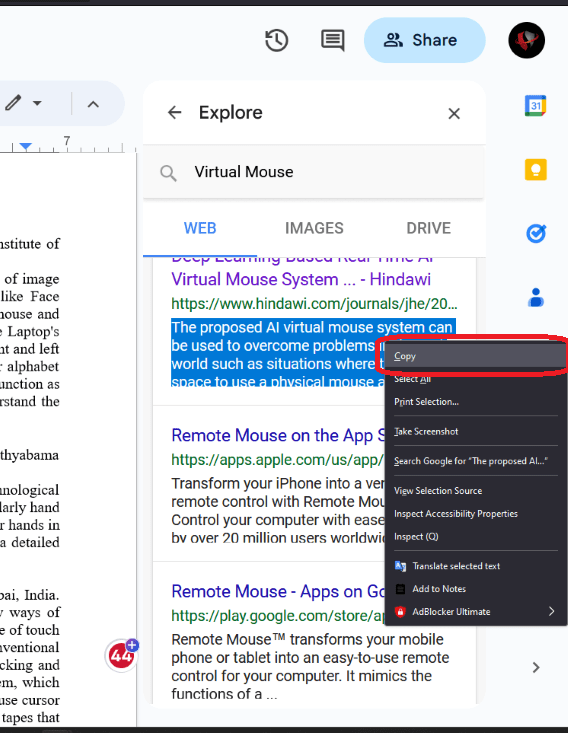
Step 4: Copy and Paste Contents
As per our need, we can copy and paste the results into our document. We can copy the information, images, videos, etc. as per the need.
Copying the Contents
Step 5: Add Citation
We can also add the citation in our document through Web Results, we have discussed how to add citations in the above section of “Using the Explore Tool for Citation in Google Docs”. So, you can refer to the above section and add citations to your document.
How to view Google Drive content in Docs with the Explore tool
We can also view the content from our Google Drive space. So follow the below-stated steps to view Google Drive Content in Docs.
Step 1: Enter Keyword
In the search bar of the Explore Tool, we need to give the input in terms of Keyword

Entering Keyword
Step 2: Click on the Drive option
Once we have given the input, we need to click on the Drive option which is near to the Images option. You can follow the below screenshot for correct navigation.
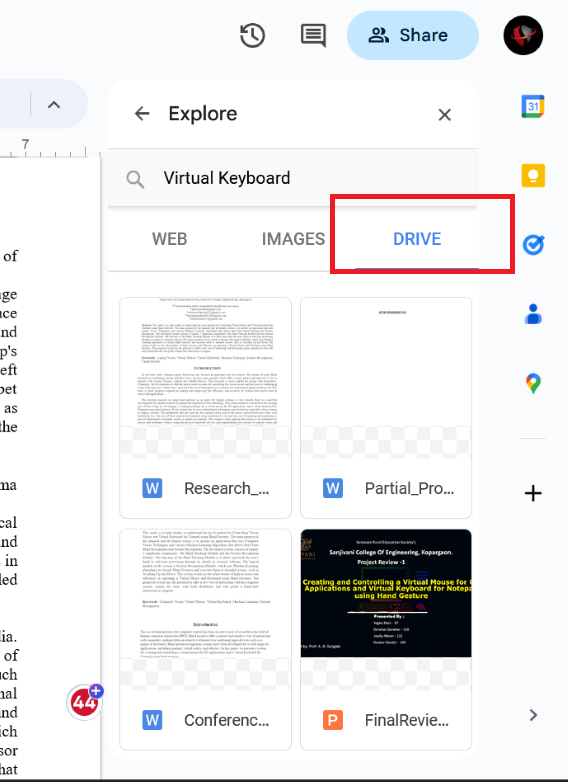
Clicking on Drive Option
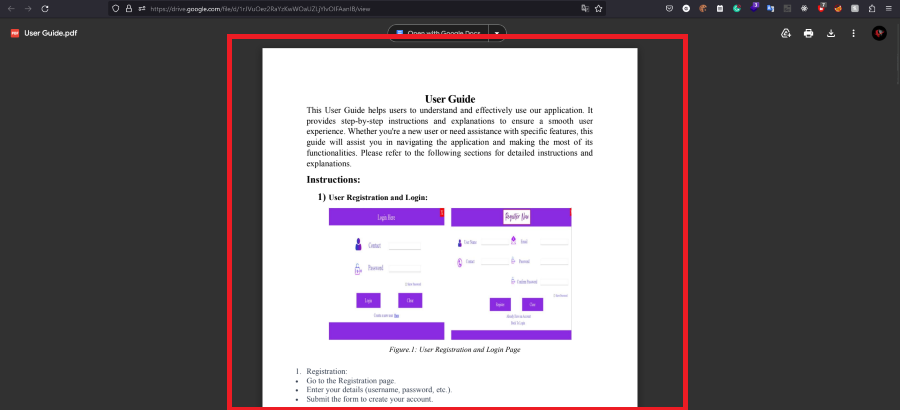
Step 3: Click and Open the Document
After clicking on the Drive option, we will get the list of documents. So, we need to open the document in a new browser tab or window.
Opening Result in New Tab
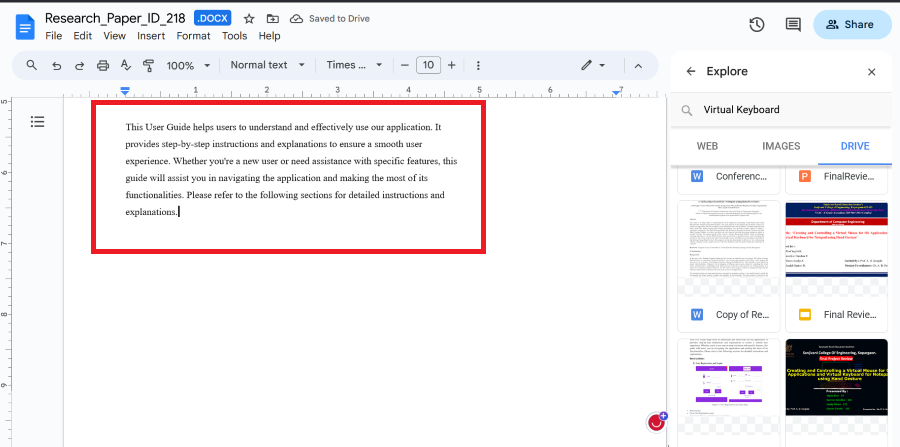
Step 4: Copy and Paste the Contents
After, opening the document, we can copy and paste the contents into our current document which is in Google Docs.
Copying and Pasted the Content
How to use suggestions in Google Docs with the Explore tool?
In Google Docs, the more text we type, the more the Explore tool offers suggestions. So we can use this suggestions feature in our document by following the below steps:
Step 1: Select all Text using Ctrl + A
Firstly we need to select the entire document using the keyboard shortcut (Ctrl + A). The entire text will be selected and it will be highlighted.
Selecting All Contents
Step 2: Open the Explore Tool using Ctrl + Alt + Shift + I
Now, using the shortcut (Ctrl + Alt + Shift + I), open the explore tool sidebar on your Google Docs window.
Opening Explore Panel
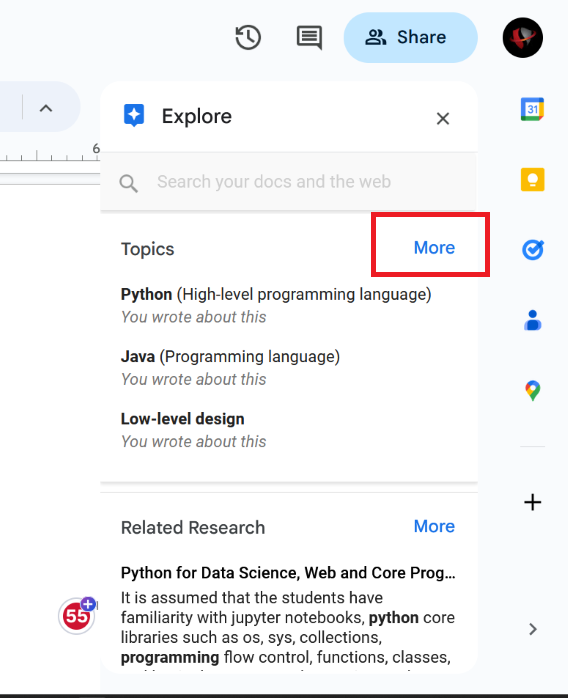
Step 3: Click the More option
Now, in the topics section, click on the keyword to search for the related topic and then click on the More option of extra keyword selections.
Clicking on More option
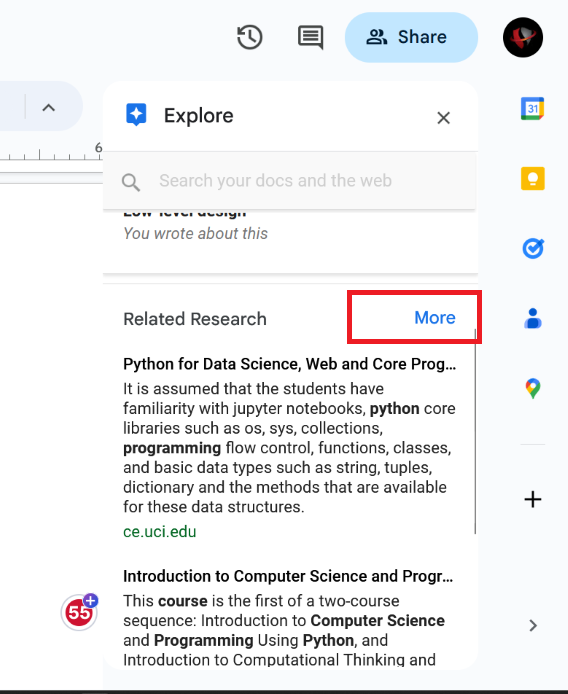
Step 4: Click on Related Research
In the Related Research option, click on the results page to open it in the new window. We can click on More to get more extra research results.
Clicking on More Option (Research Related)
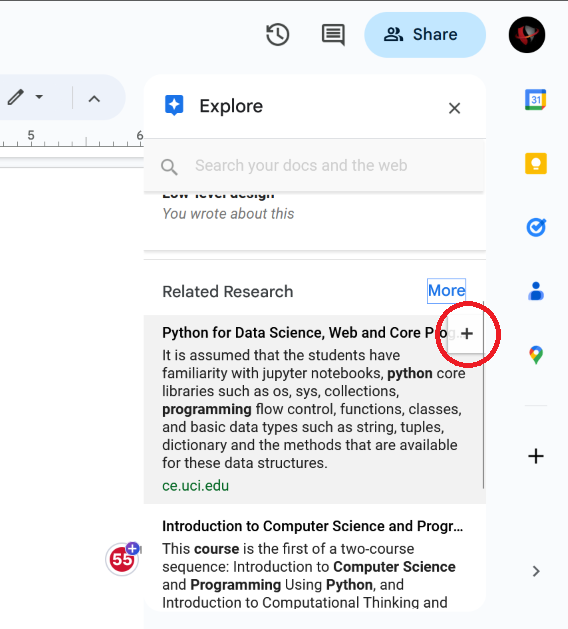
Step 5: Click on + icon to Cite
Now, for performing cite, we need to hover through the mouse icon over a search result and then we need to click on the (+) icon.
Clicking + Icon to Cite
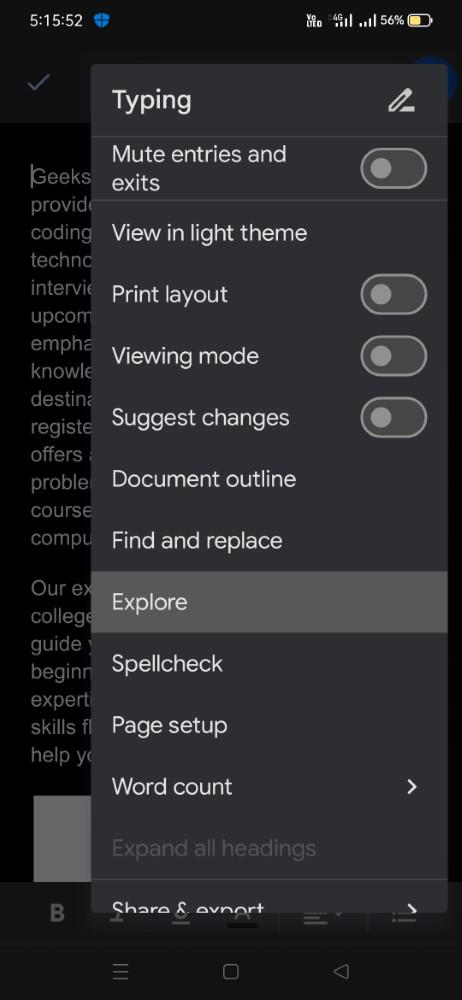
How to use Explore Tool in Google Docs on Mobile?
The functionality of the explore tool can be also accessed by the user on mobile devices Below, we have added the steps that will help you to use the explore tool on mobile applications.
Step 1: Launch Google Docs
Install Google Docs Application on your mobile
Step 2: Open the Google Docs
Firstly, we have to open the Google Docs application.
Installing Google Docs
Step 2: Open the Google Document
From the list of documents as per our choice, we can open the document for which we need to manage the outline.

Open the Google Document
Step 5: Click on three Vertical Dots
Click on the three vertical dots which are placed on the top of the screen. These vertical dots indicate more options.

Clicking on More Options
Step 6: Select Explore Option
From the drop-down options find the explore option and click on the explore option.
Selecting Explore Option
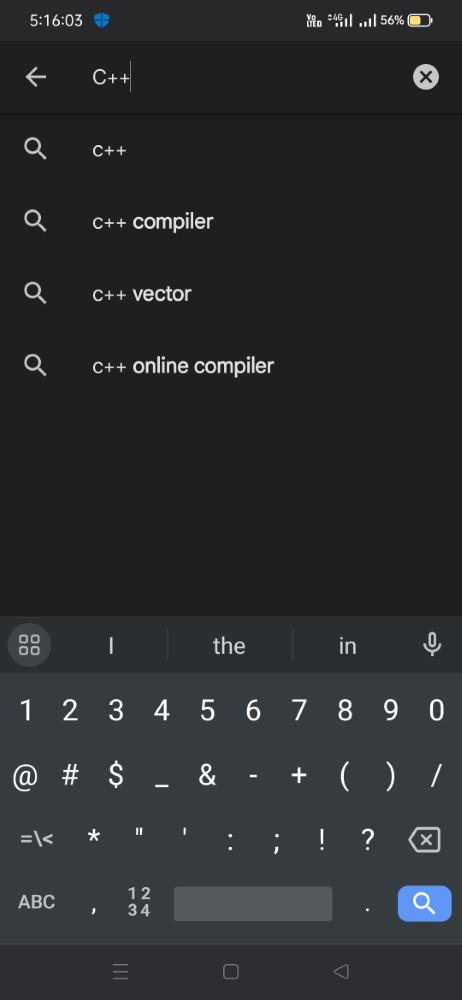
Step 7: Enter the Text
Now enter the input that you need to retrieve from Google.
Entering the Text
Step 8: Select the Image and Click on the Insert Button
As per our choice, we can retrieve or get the text, or we can also add the image to our existing document. So in the below screenshot, you can see that we have clicked on the image option, and we will insert the image into our document. After selecting the image that needs to be inserted into the document, we need to click on the blue inside button, which is situated on the top of the image.

Select image > click Insert
Step 9: Preview Image
Once we click on the insert button, the selected image gets added or inserted into our document. We can use this Explore tool to retrieve the information as we want, without closing the Google Docs application on mobile and navigating to the browser to get the information.
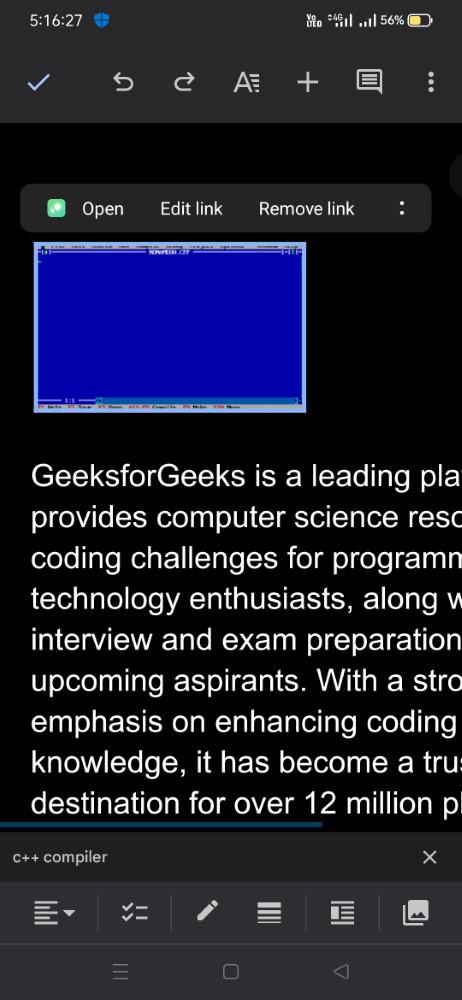
Image Added Successfully
Conclusion
In conclusion, the explore tool in Google Docs is one of the best features offered by Google Docs for research document creators and for students As for document creation, we need to collect information from different sources. So for that, we need to navigate to our web browser and visit different sites. So this work is eliminated by the explore tool, as all the information and images can be collected in a single place, rather than navigating to different sources Also, Using this feature, we can cite any research paper or any sources easily.
FAQs
Whether Explore Tool support languages other than English?
Yes, the exclusive tool in Google Docs supports different types of languages. So we can use it in our documents, written in various languages.
Can we customize the results suggested by the Explore Tool?
Yes, we can customize the suggestions which are given by the explore tool. If we need to search for specific types of content, then we can use the type drop-down which is in the explore tool to be used to filter out the results we can filter out results in terms of images, specific links, and quotes.
Can we insert the information from the Explore Tool in our document?
Yes, We can insert information like text or images into our document using the explore tool. We just need to click on the content to insert it at the cursor’s location.
Share your thoughts in the comments
Please Login to comment...