Google Docs has a separate feature of the drawing tool, which is developed for inserting text boxes and different types of shapes in our actual working document. A text box in Google Docs is mainly used for organizing our thoughts visually or differentiating a text on a page The main motive of using text boxes in our document is to make our document more professional and formal. Also, if you are sharing the document with colleagues, it makes the attention of them towards our document.
Throughout this tutorial, you’ll explore the commands of the drawing tool and master the insertion of drawings or text boxes into your document. Additionally, you’ll gain insights into formatting and rearranging text boxes and shapes.

What is a Text Box in Google Docs?
A text box in Google Docs is a versatile tool that allows users to insert and position blocks of text separately from the main document content. This feature is particularly useful for adding side notes, callouts, or special information that needs to stand out on the page. Text boxes offer flexibility in formatting and placement, enabling users to enhance the document’s visual appeal and organizational structure. Whether it’s for creating flyers, designing newsletters, or emphasizing key points in a report, text boxes provide a creative way to draw attention to specific text, making documents more engaging and easier to navigate.
How To Add a Text Box In Google Docs
Adding Text Box in Google Docs can be done in several ways. These are:
- Adding Text Box using Drawing Option
- Adding Text Box using Shapes tool
- Adding Text Box using a Single Cell Table
We can also add a text box in Google Docs app in Android as well as iOS as given below in the article.
How to insert a Text Box in Google Docs using Drawing Option
Step 1: Launch Google Docs
In the very first step, we need to visit the Google Docs official website, from which we are provisioned to create and edit the documents.
Opening Google Docs Website
Step 2: Open the Google Document
Now, after opening the Google Docs website, We have two options for opening the document. We can open the document that is already present on Google Docs, or we can upload it from our local device and then open it in Google Docs.
Opening the Document
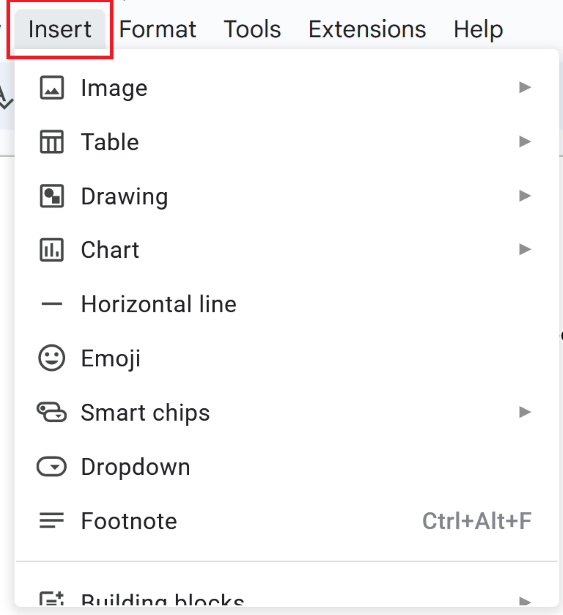
Step 3: Go to Insert Tab
After opening the document in which we need to add the textbox, we need to click on the Insert Tab which is situated on the top panel of the editing space.
Go to Insert Tab
Step 4: Select the Drawing Option and Click New
A list of suboptions will be displayed when we navigate to the Insert Tab, so from these sub-options, we need to select the option of Drawing > New.
 Select Insert > Select Drawing > New Option
Step 5: Click on the Text Box Icon
After clicking the “New” option, a window will pop up. From this window, you should choose the Text Box Icon.
Click on TextBox Icon
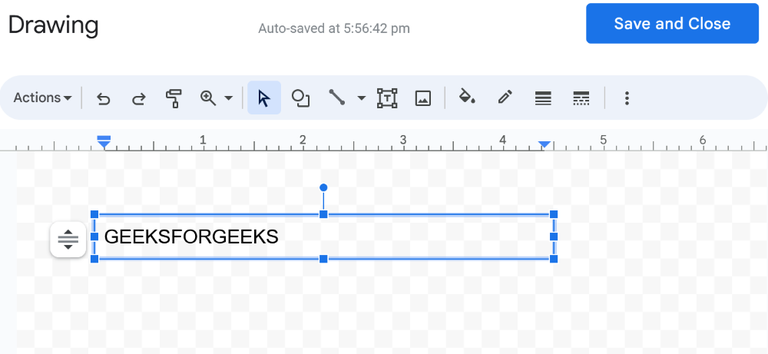
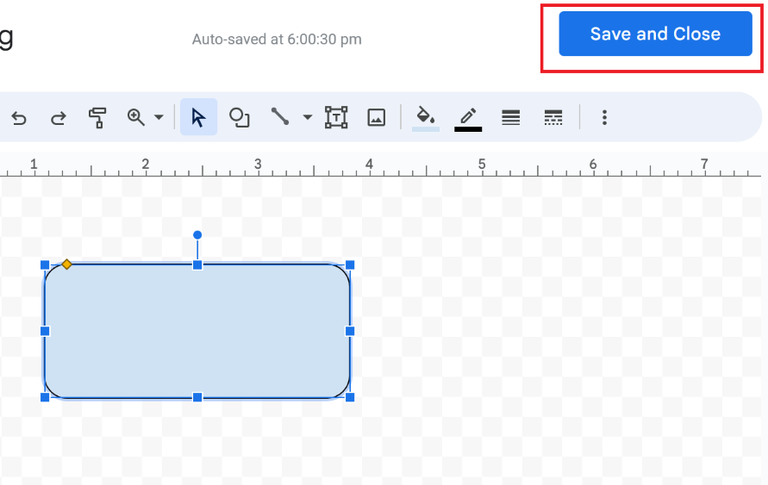
Step 6: Create a Text Box and Click Save and Close Option
To make a text box, you should drag it to the drawing area. Once you’ve done that, you can change it the way you want. After creating the text box, click the “Save & Close” button to add it to your document.
Creating and Saving Text Box
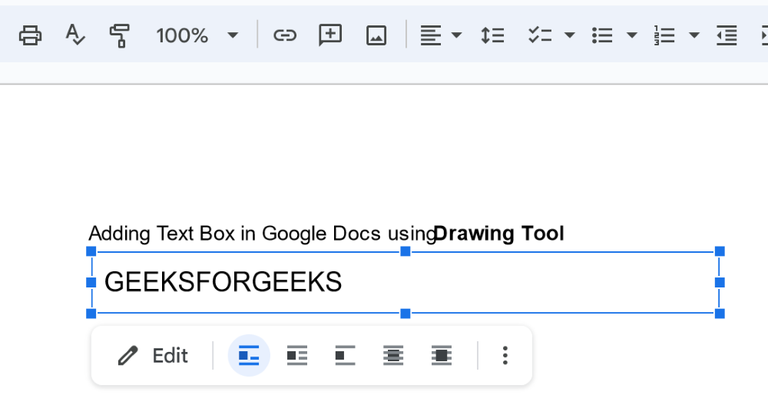
Step 7: Preview Text Box
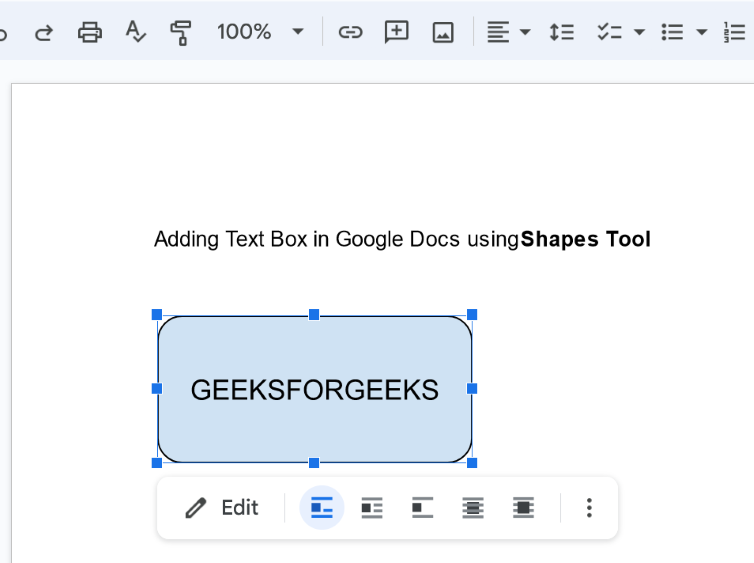
After clicking on the Save & Close Button, the Text Box will get added to our document successfully.
Text Box Added
How to Insert Shapes in Google Docs
You can put different shapes in your document like arrows, squares, stars, and flowchart shapes. These shapes are flexible, so you can add text, change colors, and line thickness. Shapes are handy for making diagrams and adding visual interest to your document.
Step 1: Open the Google Document
After opening the Google Docs website, open the document, in which we need to insert or add the Text Box.
Opening Document
Step 2: Go to Insert Tab
Click on the Insert Tab which is situated on the top panel of the editing space.

Click on Insert Tab
Step 3: Select the Option Drawing
A list of suboptions will be displayed when we navigate to the Insert Tab, so from these sub-options, we need to select the option of Drawing > New.
Select Drawing > New option
Step 4: Click on the Shapes Icon
After clicking on the New option, a window will open, from this window, we need to select the icon of Shapes which is stated in the below screenshot.
Select Drawing > Click New > Click on Shape Icon
Step 5: Choose the Shape
Now, Choose your preferred shape.
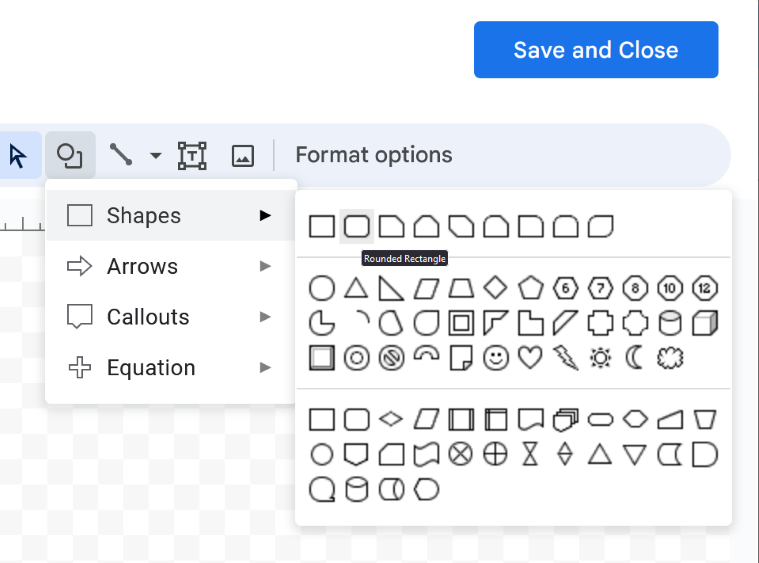
Choosing the Shape
Step 6: Add Text in Shape and Click on Save & Close Button
We need to create the text box by dragging it to the drawing space. We can customize it as per our requirement, after creating the desired shape, we need to click on the Save & Close Button to apply the Text shape to our document.
Adding Text and Saving Shape
Step 7: Preview Text Box
After clicking on the Save & Close Button, the Shape (Text Box) will get added to our document successfully.
Text Box Added
How To Insert a Text Box In Google Docs Using a Single Cell Table
Step 1: Open the Google Document
Open the document, in which we need to Insert or add the Text Box using Table.
Opening the Document
Step 2: Go to Insert Tab
After opening the document in which we need to add the textbox, we need to click on the Insert Tab which is situated on the top panel of the editing space.
Clicking on Insert Tab
Step 3: Select the Table Option
After clicking on the Insert Tab, we will select the 1 x 1 Table Cell and add it to our document.
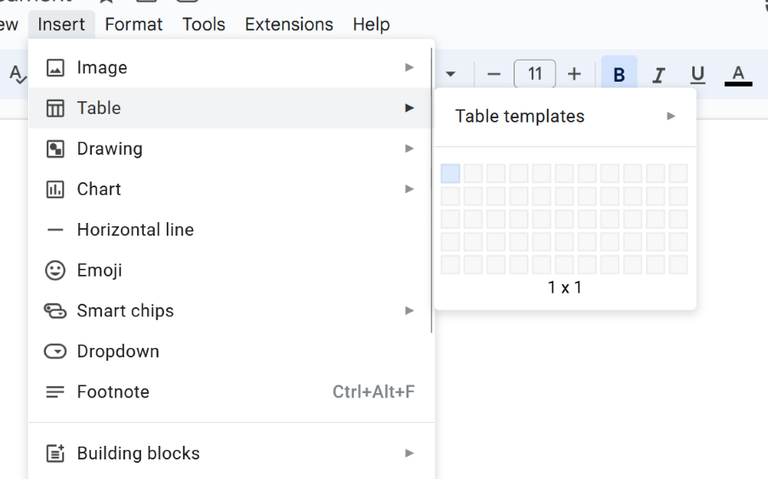
Click Insert > Click on Table > Select x 1 table Cell
Step 4: Insert Text in Cell
Once the Table cell gets inserted into our document, we can adjust its length and width and also we can enter the text into our cell. This is the indirect way to create a Text Box using a Table.
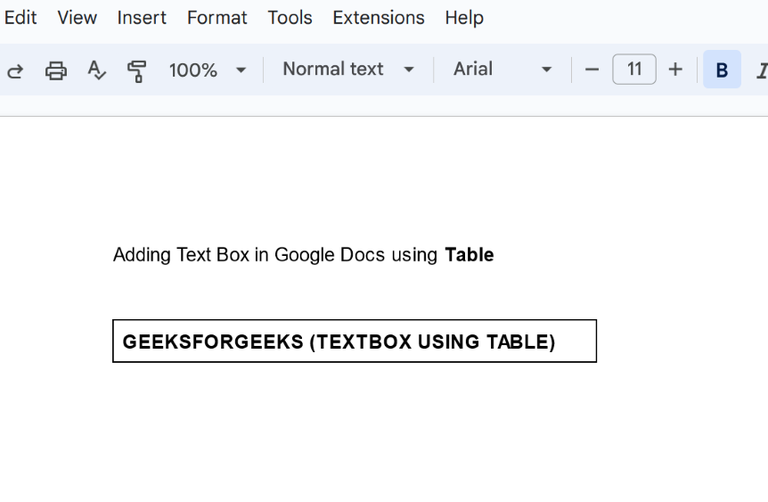
Inserting Text
How To Insert Images Into a Text Box Or Shape In Google Docs
Step 1: Open the Google Document
After opening the Google Docs website, open the document, in which we need to insert images into a Text Box.
Opening Document
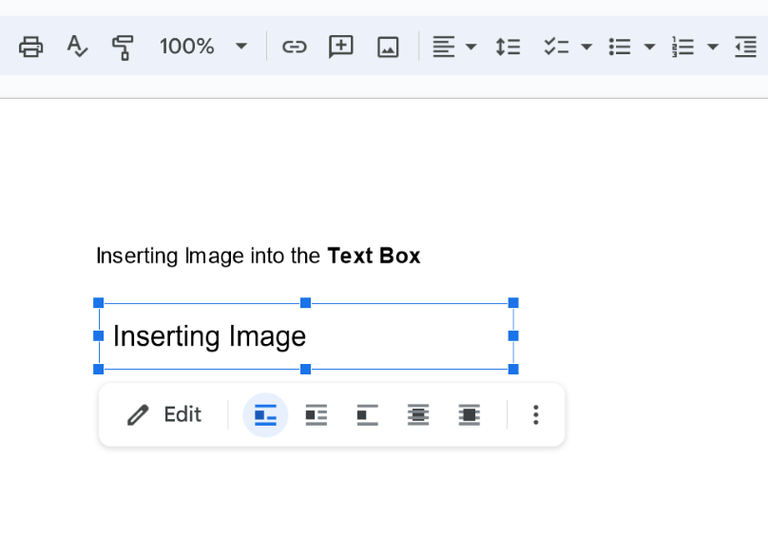
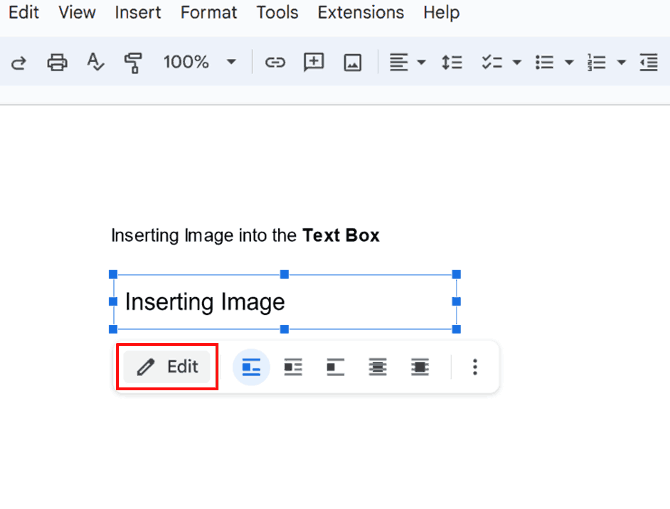
Step 2: Click on Text Box and Select Edit
After opening the document, select the existing text box or shape that is present on our document. After clicking on the text box or shape, we need to select the Edit button of the text box or shape.
Select Edit
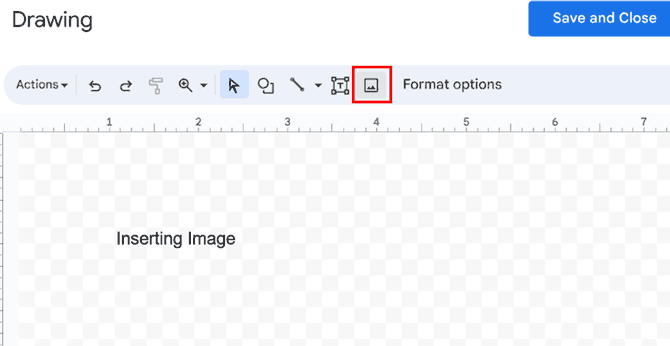
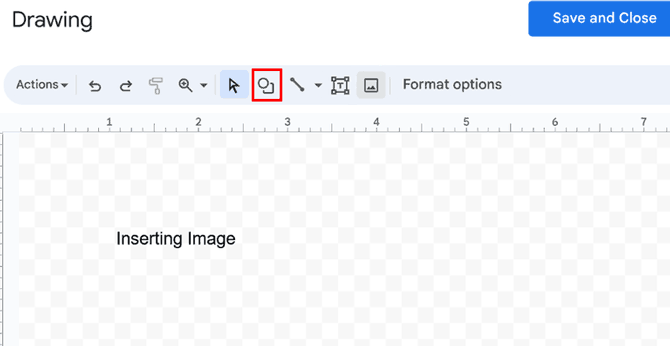
Step 3: Click on the Image Icon
Once we click on the Edit button, a window will get opened. So from this window, click on the Image icon.

Click on the Image Icon
Step 4: Insert the Image
After selecting the image icon, a pop-up will get opened. So from this pop-up up, we need to upload or add the image as per our need or requirement. Once we select the image, we need to click on the blue Select button.
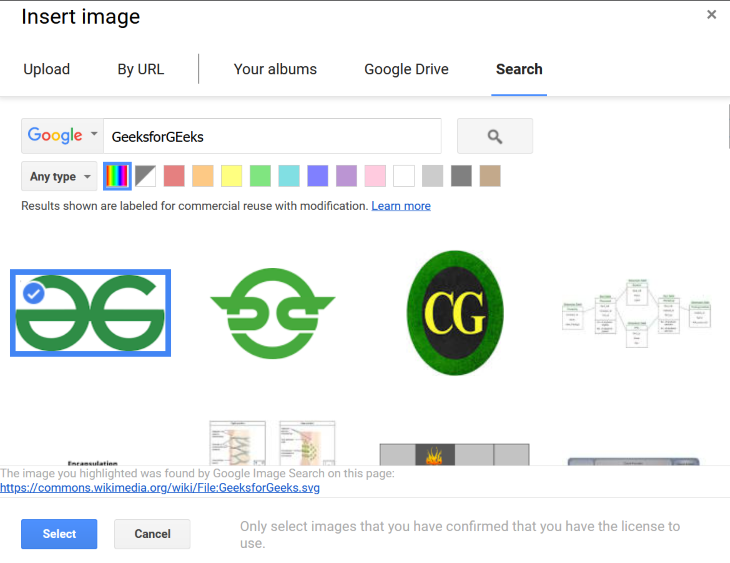
Inserting Image
Step 5: Preview the Image in the Text Box
After clicking on the Select button, the image will get added to the text box. We can customize the image by clicking on the Edit button and selecting the colors or different types of customization options.
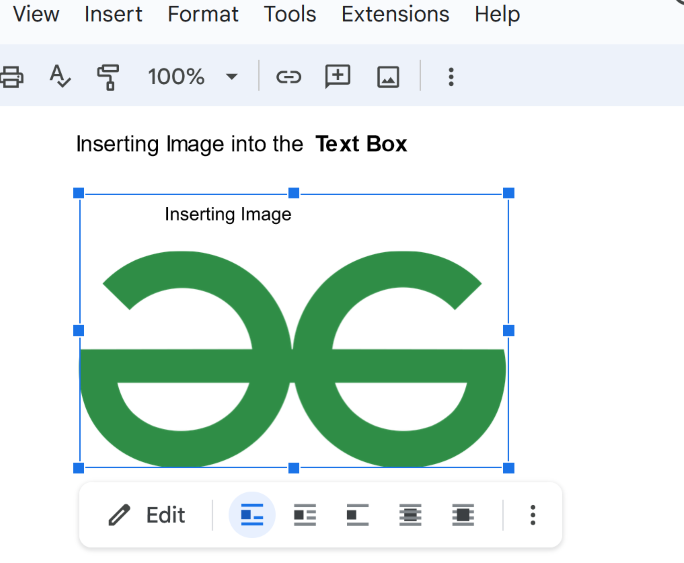
Image Inserted in Text Box
How to Add Text Box in Google Docs on the Mobile App – Android & iOS
The methods of adding text boxes are not limited to laptop or desktop devices, but we can also add a text box on mobile devices using the Google Docs mobile application. So follow the below steps through which we can add a text box in Google Docs on the mobile app.
Step 1: Open Google Docs
Firstly, we have to open the Google Docs application. If you do not have it, you can install it using the Play Store application.
Installing Google Docs
Step 2: Open the Google Document
After installing the mobile application for Google Docs we need to open the design document in which we need to add a text box.

Opening the Document
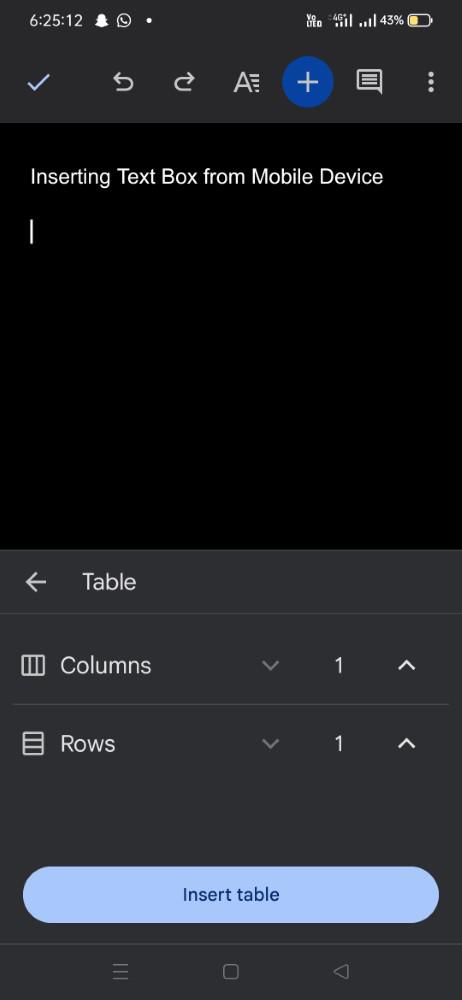
Step 3: Click on (+) Insert Icon
After opening the design document, we need to click on the plus insert icon, which is situated on the top menu of the application.
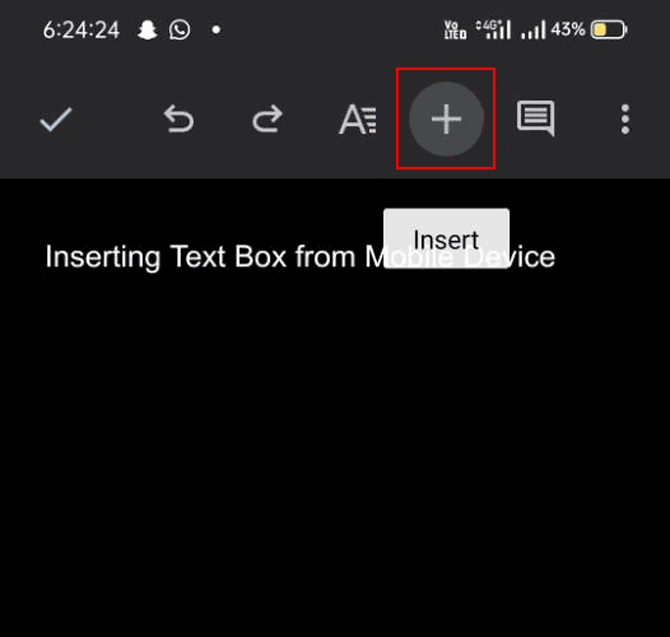
Click on Insert Icon
Step 4: Insert 1 x 1 Table Cell
From the list of options displayed, we need to select the option of the table. And we need to create a 1 x 1 dimension table cell.
Inserting 1 x 1 Table
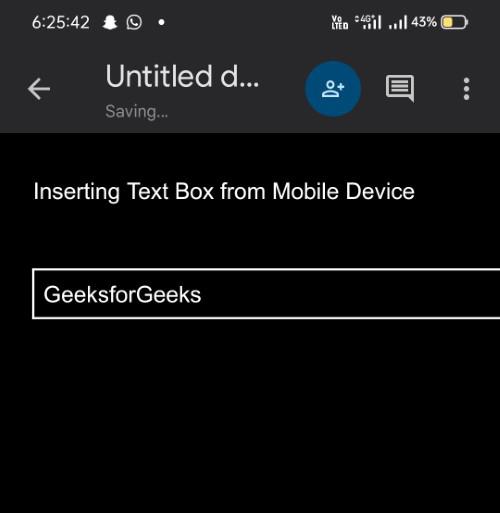
Step 5: Enter Text in the Cell
Once the table gets inserted into our document, we can enter the text into it and adjust its size, color, and other formatting options. So in this way, we can add the text box using the table option.
Entering Text in Text Box
Conclusion
In conclusion, although Google Docs doesn’t have an inbuilt feature of adding text boxes to the document, still using the indirect methods, we can add text boxes to Google Docs and represent our data in a more visual form. In this article, we have seen different types of methods through which we can add text boxes and insert the text as well as images into it Google Docs also has the feature of adding the text box in the mobile application. So using these methods, we can easily create and customize the text box as per our need or requirement.
How to Add Text Boxes in Google Docs – FAQs
How to Put Textbox in Google Docs?
- Step 1: Go to Insert and then click on “Drawing“. Select “New“
- Step 2: Within the Drawing tool, Click the “Textbox” icon
- Step 3: Draw your desired text box shape.
- Step 4: In the toolbar, you’ll see a paint bucket
- Step 5: Click on Save & Close , when you’re done.
How to Insert a Textbox in Google Docs Without Drawing?
You can use single cell table to insert a textbox in Google Docs. Click on Insert > Select Table > and then click on a single cell with one row and one column( 1×1). The single cell will appear on the document.
How to Add textbox in Google Docs on a Picture?
- Go to Insert > Select Drawing > Paste the image in the Drawing application.
- Select the text tool and drag the text box to wherever you want it over the image and resize it as per your preference.
- Type the text you want to add, using the font of your choice.
Can We Change the Size of Text Boxes in the Document?
Yes, Change the size of the text box using the drawing tool of Google Docs. We need to click on the specific text box and then drag the corners of the text box to adjust its size.
What is the Character Limit for Text Boxes in Google Docs?
There is no specific character or word limit in text boxes but we need to keep in mind that a huge amount of text can affect the actual formatting and the readability of our entire document.
We can Add Multiple Text Boxes in our Document?
Yes, We can add multiple text boxes using different methods, as discussed above in our article. For adding multiple text boxes, we need to insert the first text box. Then we need to close the drawing window. And once again, we need to reopen it and add more text boxes as per our needs.
How to insert text box in Google docs quickly?
To insert text box quickly in Google Docs:
- Open your document.
- Click “Insert” > “Drawing” > “New.”
- Click the text box icon.
- Draw the text box and enter your text.
- Customize and save.
Share your thoughts in the comments
Please Login to comment...