React JS Toast Notification
Last Updated :
02 Mar, 2024
Toast Notifications are popup messages that are added so as to display a message to a user. It can be a success message, warning message, or custom message. Toast Notification is also called Toastify Notifications. All toast notification comes under-react-toastify module so to use them we need to import this module.
Prerequisites:
Approach:
To add the React JS Toast Notification in the React Application we will use the react-toastify library. We will use different variants and also the different positions for toast notifications by passing the props for the Toast Component.
Below all the steps are described order-wise to add toast-notification and their configuration.
Steps to Create React Application:
Step 1: Initialize the React Project using this command in the terminal.
npx create-react-app project
Step 2: Move to the project directory.
cd project
Step 3: Use this command to install the required module.
npm i react-toastify
Project Structure:
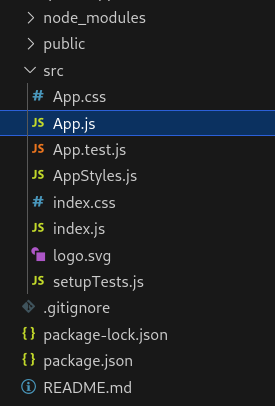
The updated dependencies in package.json file.
"dependencies": {
        "@testing-library/jest-dom": "^5.17.0",
        "@testing-library/react": "^13.4.0",
        "@testing-library/user-event": "^13.5.0",
        "react": "^18.2.0",
        "react-dom": "^18.2.0",
        "react-scripts": "5.0.1",
        "react-toastify": "^9.1.3",
        "web-vitals": "^2.1.4"
},
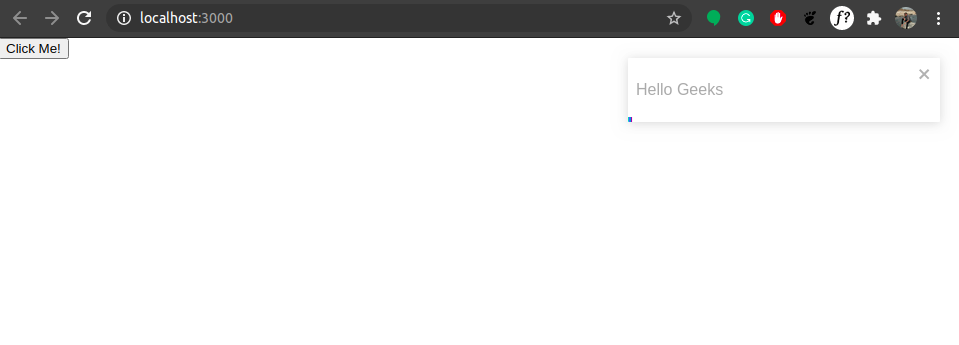
Example 1: This example demonstrate the default position of toast notification i.e. Top Right.
javascript
import React from "react";
import { toast } from "react-toastify";
import "react-toastify/dist/ReactToastify.css";
toast.configure();
function GeeksforGeeks() {
const notify = () => {
toast("Hello Geeks");
};
return (
<div className="GeeksforGeeks">
<button onClick={notify}>Click Me!</button>
</div>
);
}
export default GeeksforGeeks;
|
Steps to Run the Application: Open the terminal and type the following command.
npm start
Output: Open the browser and our project is shown in the URL http://localhost:3000/
Example 2: There is a total six-position where we can show our notification. These are bottom left, bottom center, bottom right, top left, top right, and top center. To change the position we need to pass, one more argument in the toasting method along with string. See below how to configure the position of notifications.
javascript
import React from "react";
import { toast } from "react-toastify";
import "react-toastify/dist/ReactToastify.css";
toast.configure();
function GeeksforGeeks() {
const notify = () => {
toast("Hello Geeks 4", {
position: toast.POSITION.BOTTOM_LEFT,
});
toast("Hello Geeks 6", {
position: toast.POSITION.BOTTOM_RIGHT,
});
toast("Hello Geeks 5", {
position: toast.POSITION.BOTTOM_CENTER,
});
toast("Hello Geeks 1", {
position: toast.POSITION.TOP_LEFT,
});
toast("Hello Geeks 3", {
position: toast.POSITION.TOP_RIGHT,
});
toast("Hello Geeks 2", {
position: toast.POSITION.TOP_CENTER,
});
};
return (
<div className="GeeksforGeeks">
<button onClick={notify}>Click Me!</button>
</div>
);
}
export default GeeksforGeeks;
|
Steps to Run the Application: Open the terminal and type the following command.
npm start
Output: Open the browser and our project is shown in the URL http://localhost:3000/

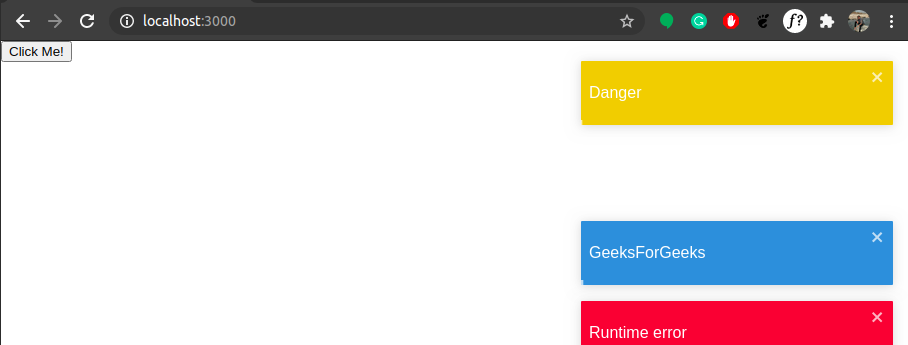
Example 3: Upto now we have used default notification but there are four more built-in type notifications. These are a success, warning, info, and error. See below how to use them.
javascript
import React from "react";
import { toast } from "react-toastify";
import "react-toastify/dist/ReactToastify.css";
toast.configure();
function GeeksforGeeks() {
const notify = () => {
toast.warning("Danger");
toast.success("successful");
toast.info("GeeksForGeeks");
toast.error("Runtime error");
toast("Hello Geeks");
};
return (
<div className="GeeksforGeeks">
<button onClick={notify}>Click Me!</button>
</div>
);
}
export default GeeksforGeeks;
|
Steps to Run the Application: Open the terminal and type the following command.
npm start
Output: Open the browser and our project is shown in the URL http://localhost:3000/
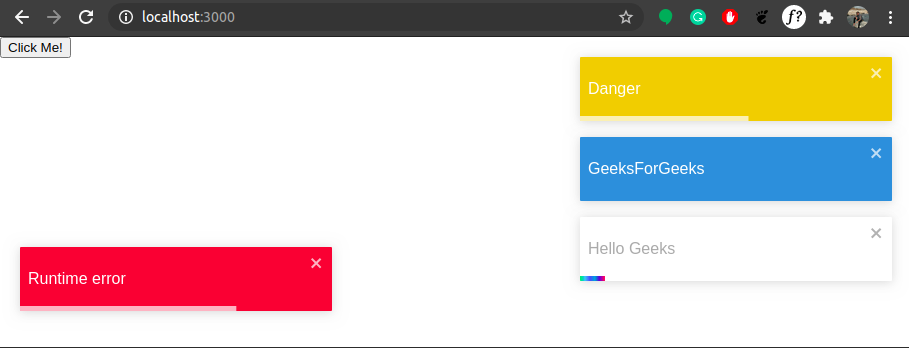
Example 4: By default, notifications are shown for 5second only. To configure time, we use autoClose method, and if we set the autoclose method to false, then the user has to close that notification otherwise it will remain there only. See below how to use it.
javascript
import React from "react";
import { toast } from "react-toastify";
import "react-toastify/dist/ReactToastify.css";
toast.configure();
function GeeksforGeeks() {
const notify = () => {
toast.warning("Danger", { autoClose: 10000 });
toast.success("successful", { autoClose: 3000 });
toast.info("GeeksForGeeks", { autoClose: false });
toast.error("Runtime error", {
position: toast.POSITION.BOTTOM_LEFT,
autoClose: 15000,
});
toast("Hello Geeks");
};
return (
<div className="GeeksforGeeks">
<button onClick={notify}>Click Me!</button>
</div>
);
}
export default GeeksforGeeks;
|
Steps to Run the Application: Open the terminal and type the following command.
npm start
Output: Open the browser and our project is shown in the URL http://localhost:3000/
Share your thoughts in the comments
Please Login to comment...