OpenCv | Coloured Blank Image
Last Updated :
26 Aug, 2019
This article aims to learn how to load a blank coloured image using OpenCv. Using OpenCV, we can generate a blank image with any colour one wishes to.
So, let us dig deep into it and understand the concept with the complete explanation.
Code : C++ code for creating blank colored image
#include <highlevelmonitorconfigurationapi.h>
#include <opencv2\highgui\highgui.hpp>
#include <opencv2\opencv.hpp>
using namespace cv;
using namespace std;
int main(int argc, char** argv)
{
Mat img(600, 800, CV_8UC3, Scalar(100, 250, 30));
String geeks_window = "COLORED BLANK IMAGE";
namedWindow(geeks_window);
imshow(geeks_window, img);
waitKey(0);
destroyWindow(geeks_window);
return 0;
}
|
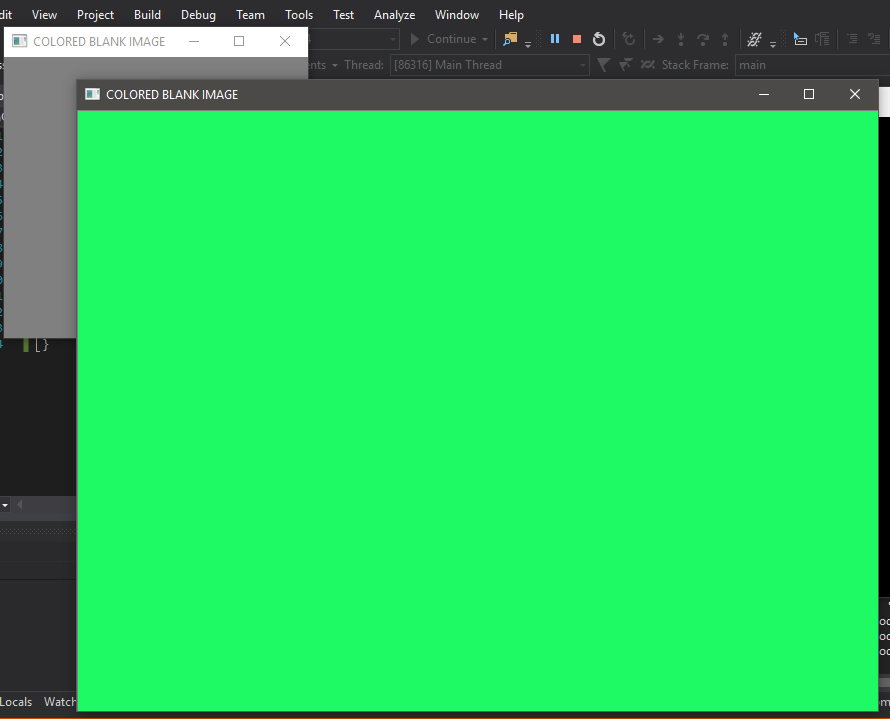
Output :
Explanation :
Mat img(600, 800, CV_8UC3, Scalar(100, 250, 30));
|
No. of rows in the image i.e. height
rows = 100
No. of columns in the image i.e. width
columns = 250
Data Type i.e. depth. There are a lot of arguments for a type
type = CV_8UC3 (we have randomly chosen one of the possible arguments)
Value of Blue, Green and Red channels
scalar = (100, 250, 30)
It is constructor available in Mat Class and it creates image with selected rows and columns as arguments. An image created this way has around 24 bits for each pixel as it allocates 8 bit integer value representing RGB – red, green and blue planes respectively. The value of these three integers can vary from 0(black) to 255(white). Here in the code above, each pixel of the newly created image is initialized with a constructor to 3 unsigned integers i.e. scalar values – 100, 250, 30. This means it has assigned blue, green and red channel with 100, 250, 30 respectively. As you can see the image is kind of greenish as the value for green channel is a lot higher. The image is a combination of these three colour values.
Like Article
Suggest improvement
Share your thoughts in the comments
Please Login to comment...