How to Create Email Groups In Outlook
Last Updated :
23 Jul, 2023
Quick Steps
- On the Navigation panel, choose People
- Select Home > New Contact Group
- Type the name of the group
- Select Contact Group > Add Members
- Add people from your address book or contacts list
- Choose Save & Close.
In today’s fast-paced digital era, effective communication is essential for staying connected and productive. Outlook, one of the most widely used email platforms, offers a range of features to simplify and enhance email management. One such feature is the ability to create email groups, which allows you to send messages to multiple recipients simultaneously. Whether you need to communicate with a team, collaborate with colleagues, or send updates to a specific group of contacts, knowing how to create email groups in Outlook can significantly streamline your communication process.
In this article, we will provide a step-by-step guide on how to create email groups in Outlook, enabling you to efficiently manage and streamline your email communication.

How to Create Outlook Groups for Windows
Step 1: Open “Microsoft Outlook”
To start Microsoft Outlook on your Windows computer, search Microsoft Outlook and Click the icon.
Note: No matter which version of Microsoft Outlook you are using on your Windows device, whether it’s Microsoft Outlook 2010, 2013, 2016, or 2019, the process of creating email groups will be the same.
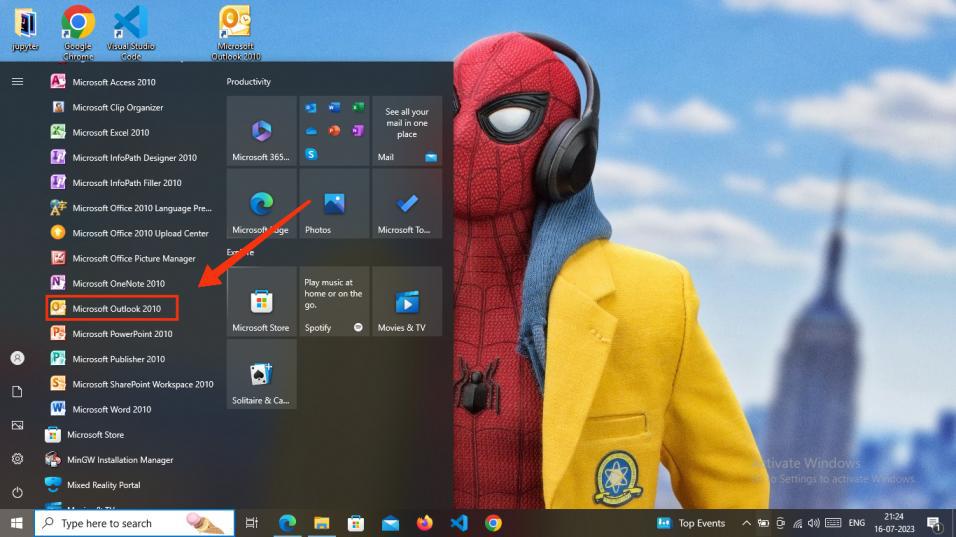
Click the Microsoft Outlook icon to open the App
Step 2: Select the “People icon”
Navigate to the left side of the Outlook interface and select the People icon by clicking on it.
Note: If you are using Outlook 2010: Click on Contacts at the bottom left of the Outlook window.
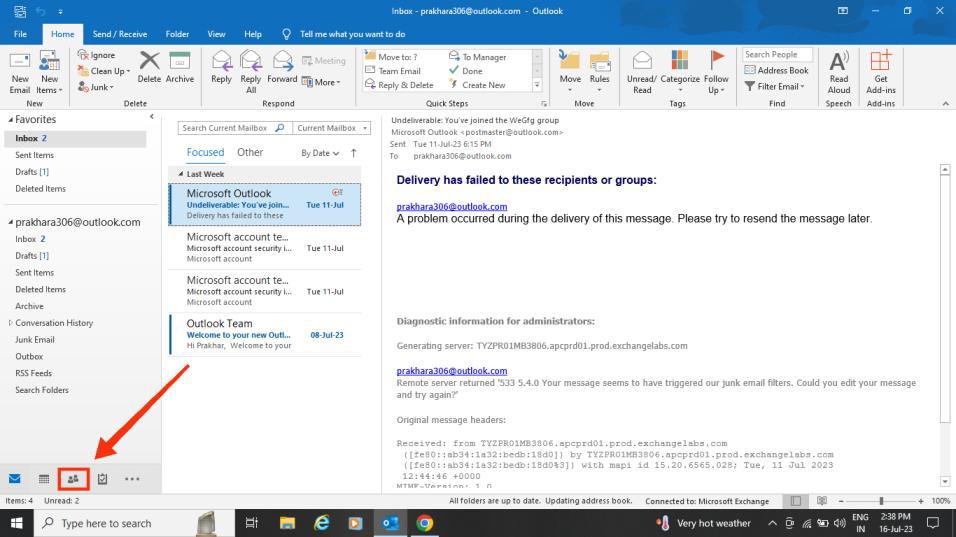
Select People Icon from the bottom left panel
Step 3: Select “New Contact Group” icon
In Microsoft Outlook, locate the new contact group icon positioned in the top left corner of the home panel > Click the icon
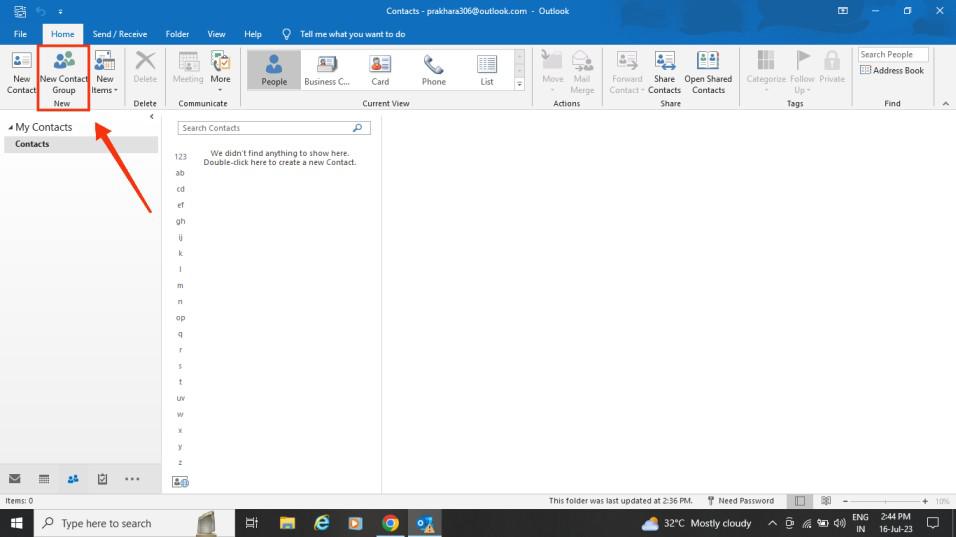
People > New Contact Group
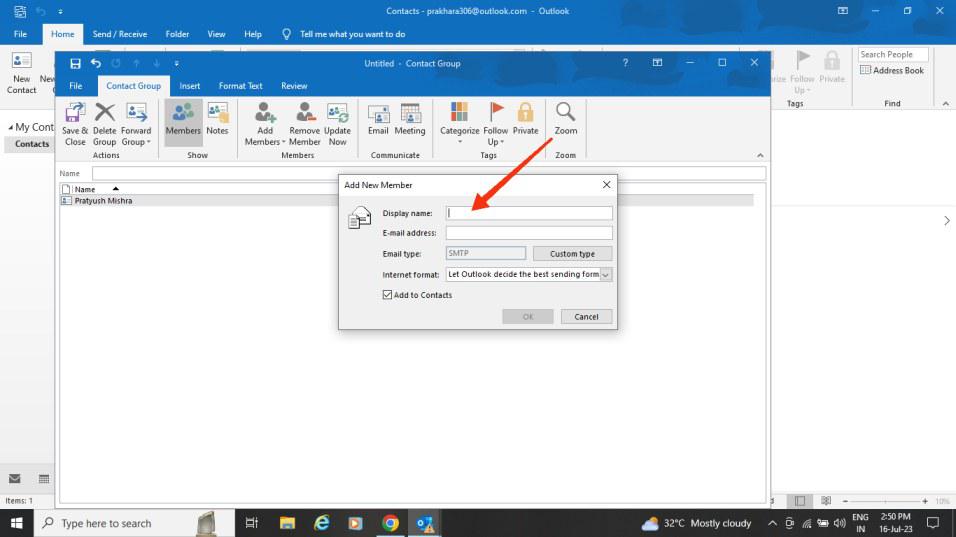
Step 4: Click on “Add members”
Now click on the “Add Members” icon to include members in your group.

New Contact Group > Add Members
Step 5: Add a Display Name and Email Address of your members
You are now required to provide the name and email address of the members you wish to add to your group.
Note: Ensure you save the changes by clicking on the “Save and close” box that appears at the top left corner.
Add Display Name > Add Email Address > Click Ok
Step 6: Your Email Group is Created
Now your email group has been successfully created, and you can now send emails to the group by selecting the mail icon.
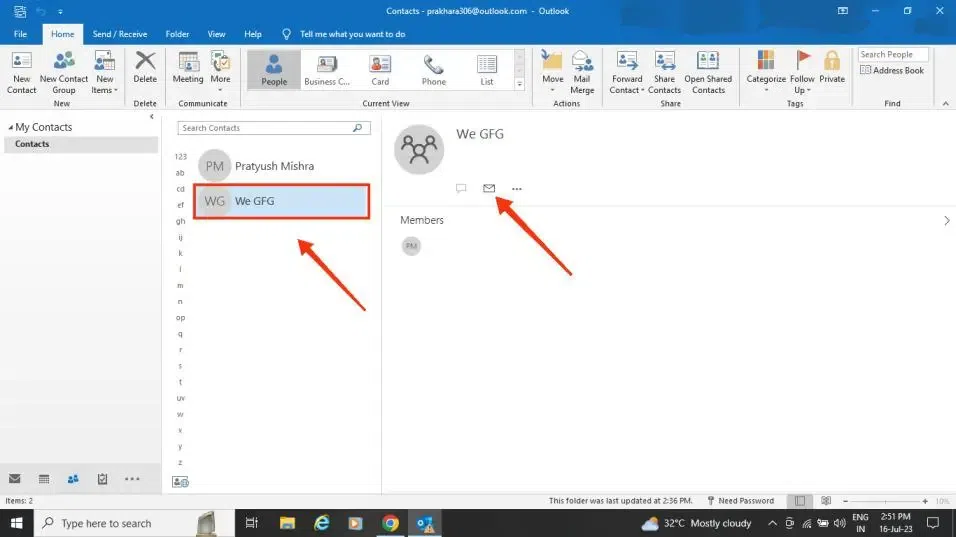
Congrats! Your Email Group is created on Windows.
How to Create Outlook Group For Mac
Step 1: Open Microsoft App on your Mac
To open Microsoft Outlook on your Mac, find the icon for Microsoft Outlook and click on it.
.jpg)
Click on the Microsoft Outlook icon to open the app on your Macbook
Step 2: Click on People Icon
Navigate to the bottom of the left navigation pane, and click on the people icon.
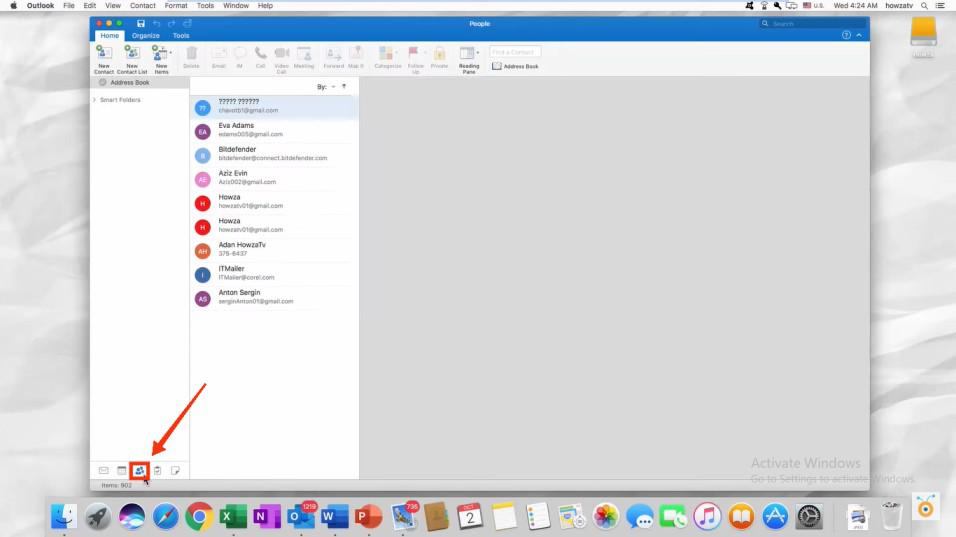
Click People icon
Step 3: Select “New Contact List”
Click on the new contact list icon, which is present in the home panel at the top left corner of Microsoft Outlook.
Note: If the New Contact List option is grayed out, set your preferences to Show my “On My Computer” folders, and then return to finish creating your contact list.
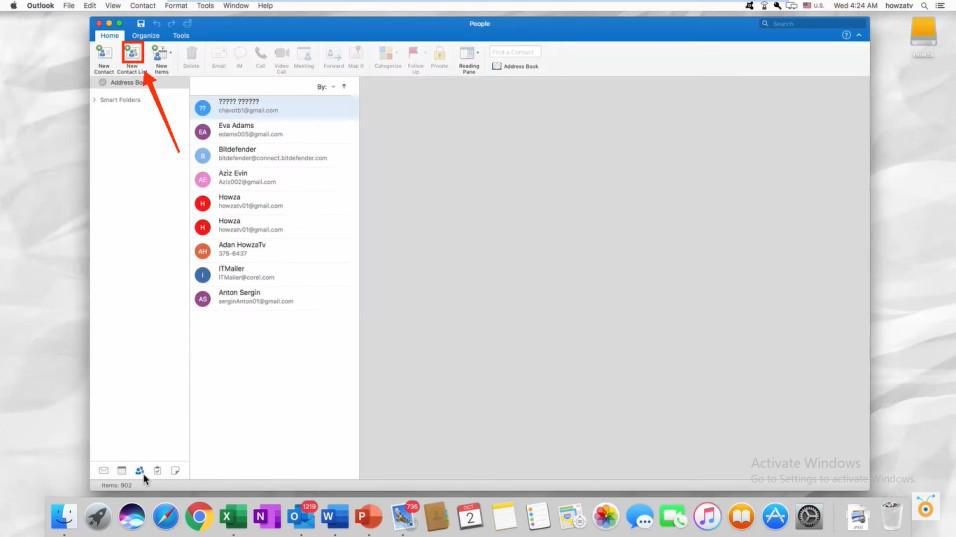
People Icon > Click on the New Contact List Icon
Step 4: Set up a name of contact list and Add Members
It’s necessary to provide a name for your group. After that, click on the “Add (+)” icon to include members in your group.
- You can keep adding multiple people to your new group through the members’ box.
- You can add an existing list of contact emails to your new list.
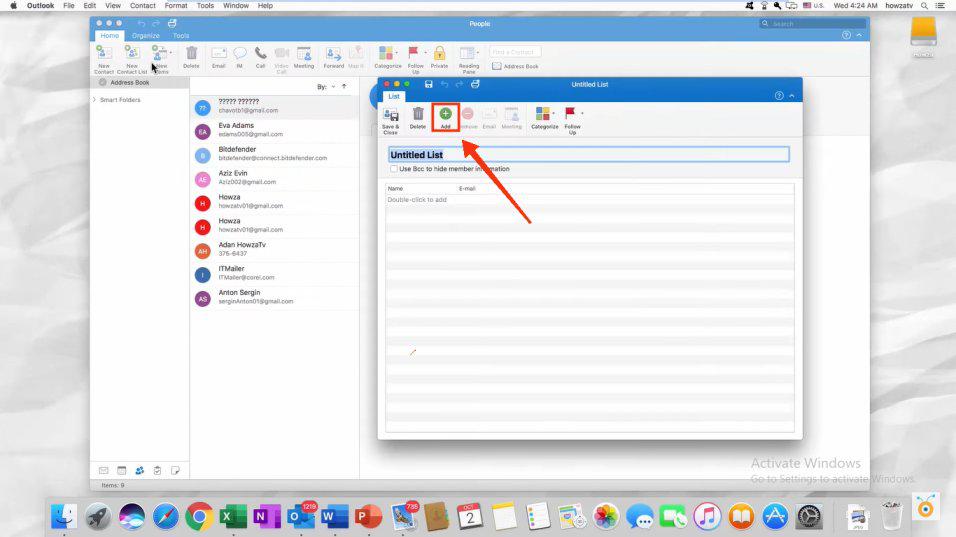
New Contact List > Name your Group > Add Members
Step 5: Select Save & Close
Once you have added members to your group by adding their names and email addresses, don’t forget to click the Save button to ensure your changes are saved.
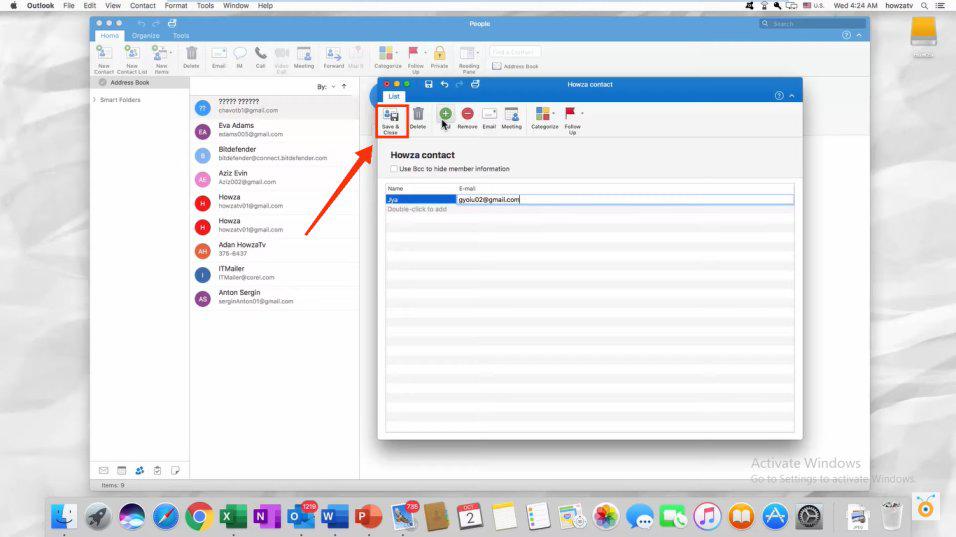
Click Save & Close
Step 6: Your Email Group is Created on Mac
Now your email group has been successfully created, enabling you to send emails to all the members by simply clicking on the email icon located in front of your group.
How to Create Email Groups in Outlook Web
Step 1: Sign in to Outlook on the web
To access the Microsoft Outlook web app, click here to log in.
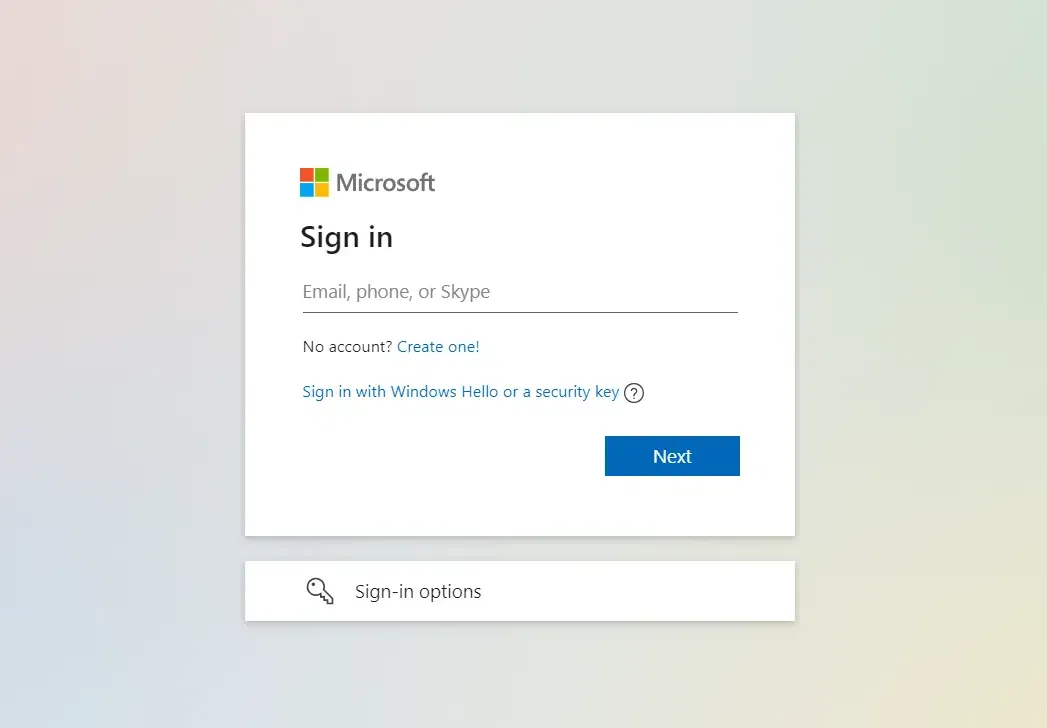
Visit Microsoft Outlook > Sign in
Step 2: Click “People” or the people icon on the left sidebar
After opening Outlook go to the home page and click on the New Group present on the left side of the page.
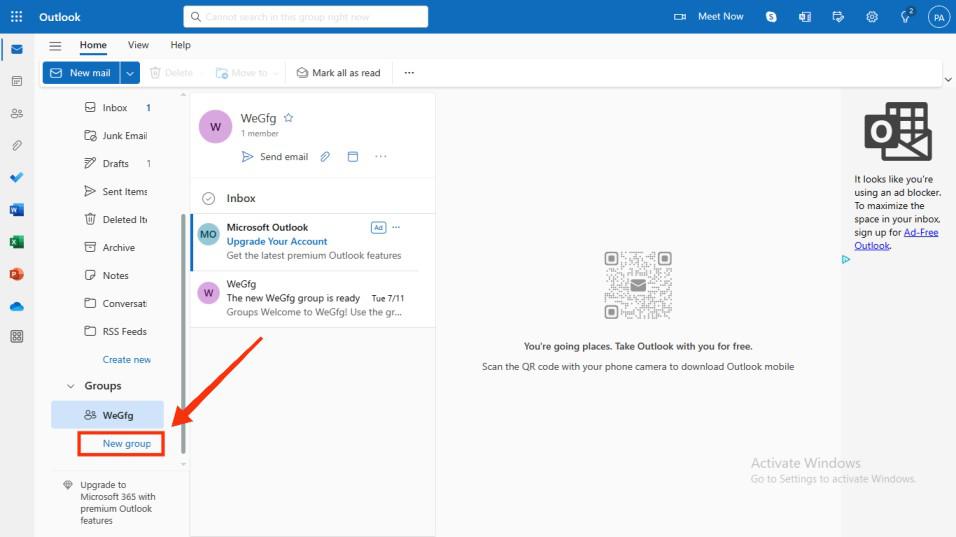
Click on New Group
Step 3: Name the Group and add the Description
Once the dialog box appears, enter the desired name for the contact group you wish to generate. In the description field, you can input the content of the group, followed by clicking on the “Create” button.
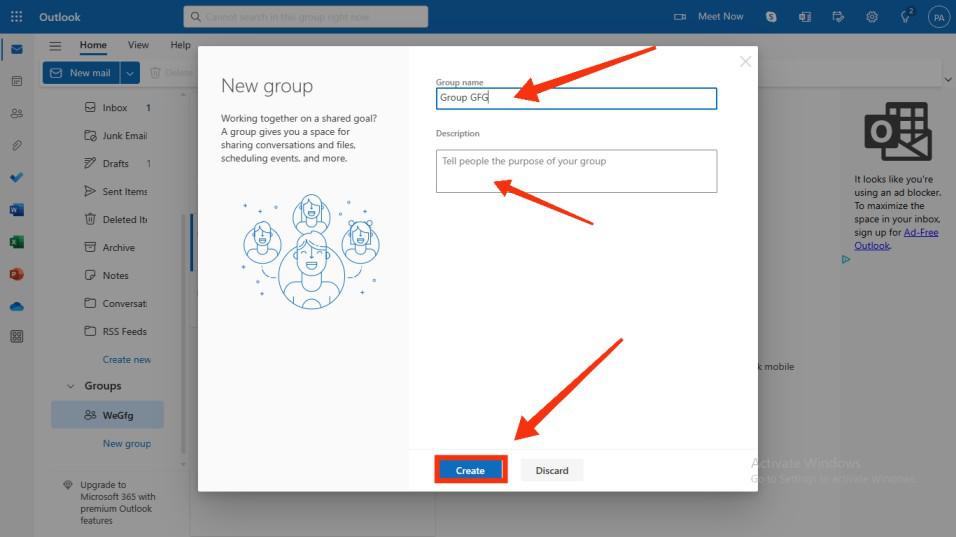
Name Group > Group Name> Add Description > Create
Step 4: Add members to your Group
Type in the email addresses or names of the contacts you want to add to the email group. Once you’ve selected contacts to add to the group, click on Add.
In case you are uncertain about the members’ list, you have the option to omit this step and add members to your group at a later time.

Add members > Click Add
Step 5: Email Group on Outlook Web is Created
Now your email group is created and you can share any information and email in the group by clicking on the “Send email” button.
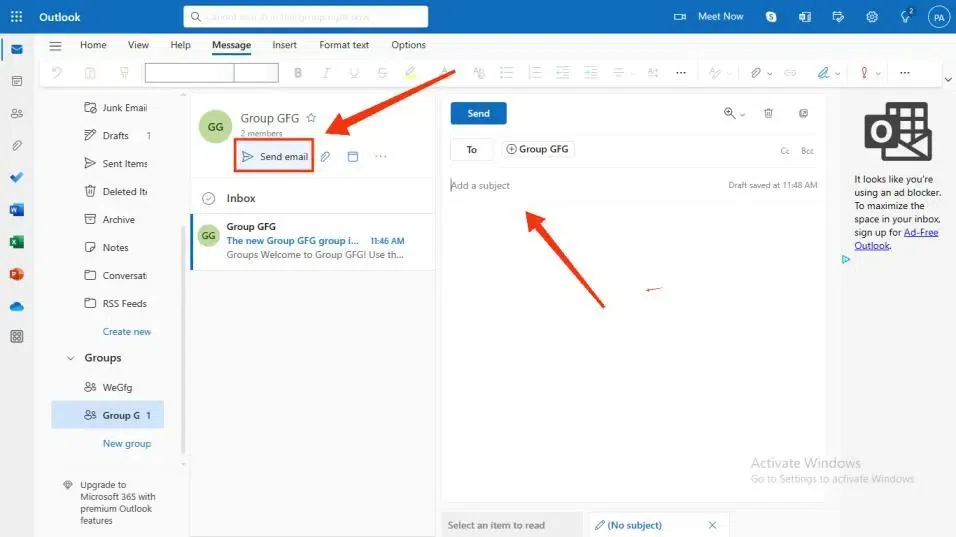
Congrats! Your Email Group on Outlook Web is Created
Conclusion
In conclusion, creating email groups in Outlook is a simple and efficient way to streamline your communication and improve productivity. By organizing contacts into groups, you can easily send emails to multiple recipients without the hassle of manually selecting each recipient every time. Whether you’re managing a team, coordinating with clients, or planning events, email groups can save you time and effort. Remember to follow the step-by-step guide we discussed earlier to create your email groups effectively. So, why wait? Start organizing your contacts into email groups in Outlook today and experience the benefits of efficient communication firsthand.
Share your thoughts in the comments
Please Login to comment...