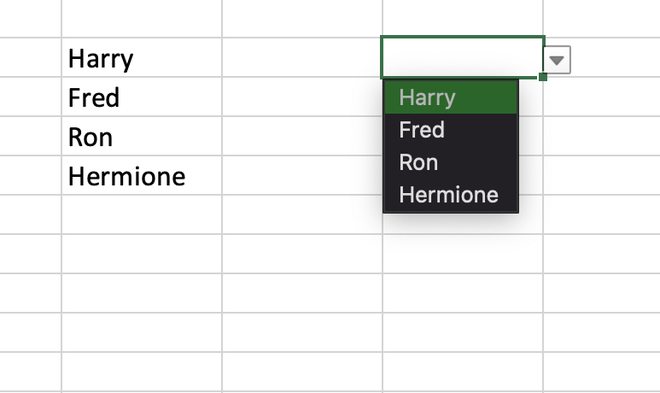
A drop-down list allows us to make our Excel sheet more dynamic and intelligent by allowing the users to choose from a list of predefined options. Not only does this make data entry fast but it also helps in restricting the data that can be added to some cells.
Naturally, once you have created a drop-down list, you might also need to edit, copy, or delete it at some point in time. And this is exactly what we are going to learn about in this article. So let us look at the different ways in which you can edit, copy, and delete a drop-down list in Excel but first, check out how to create a dropdown in Excel if you don’t already know.
How to Edit Drop-Down List in Excel
Based on the method that you used to create a drop-down list, you can edit a drop-down list in Excel in different ways. Let us look at them one by one.
How to Modify a Comma-Separated Drop-Down List
If you simply want to add or remove the list items of a drop-down, then follow these steps-
Step 1: Select the cell with the desired drop-down
Select the cell where the desired dropdown is present.
Select the desired cell
Note that if you wish to select multiple cells with the same drop-down, then use the Ctrl key(On Windows) or Cmd key(On Mac) while making a selection.
Or,
You can select a single drop-down and use the checkbox option to apply the changes to all the drop-downs with the same content. You will see this later in this section.
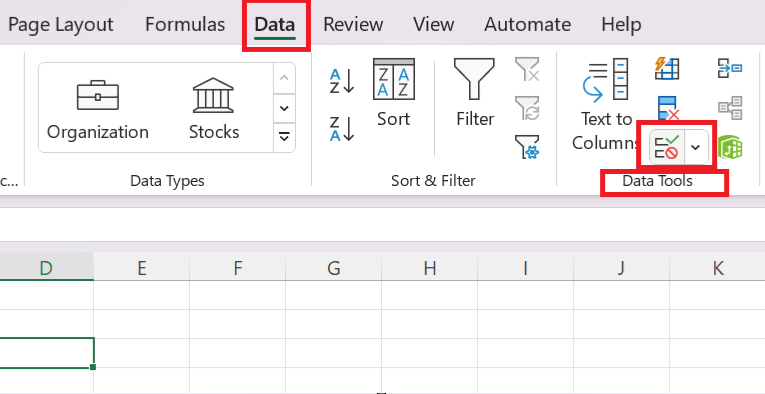
Step 2: Go to the Data tab and Select the Data Validation option
Go over to the data tab and select the data validation option from the data tools group.
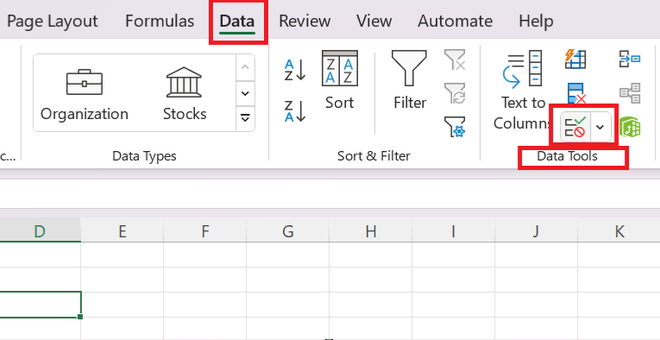
select the data validation option
Step 3: Add or Remove the list items in the source box
In the dialog box that opens, you will see a box titled source. You can remove or add the list items in this box as desired.
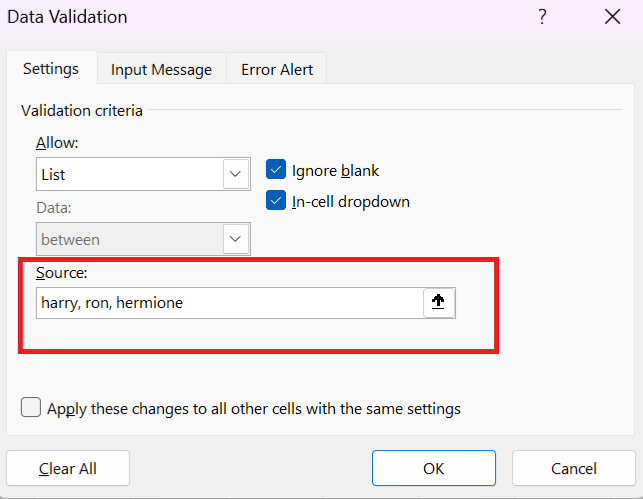
Note that you can manually type new values as well as select the values from the spreadsheet. Also, in this section, we are adding a new item but you can delete any value present in the source box as desired.
Step 4: Tick the checkbox to apply changes to all similar drop-downs
Check the ‘apply these changes to all other cells with the same settings’ box in order to reflect the changes in the list items of all such dropdowns.
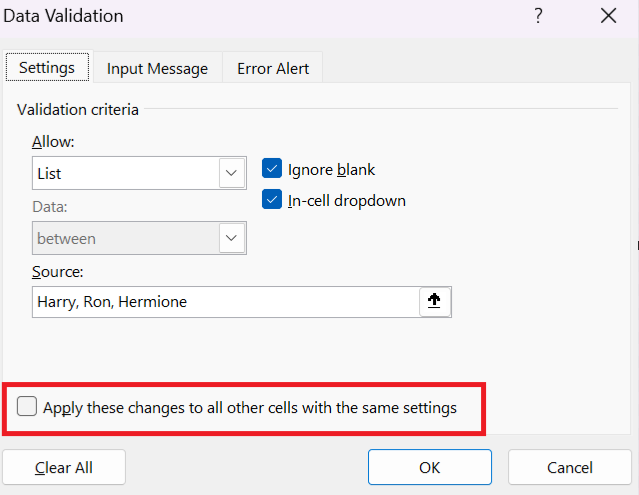
check the box
Step 5: Save changes
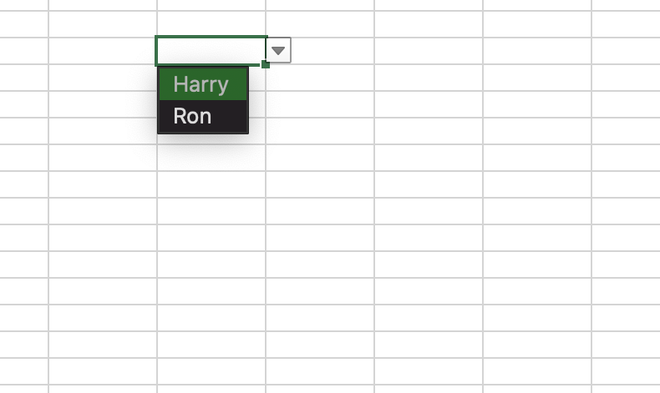
Click on ok to save the changes. You can see that now the drop-down list has 3 items.
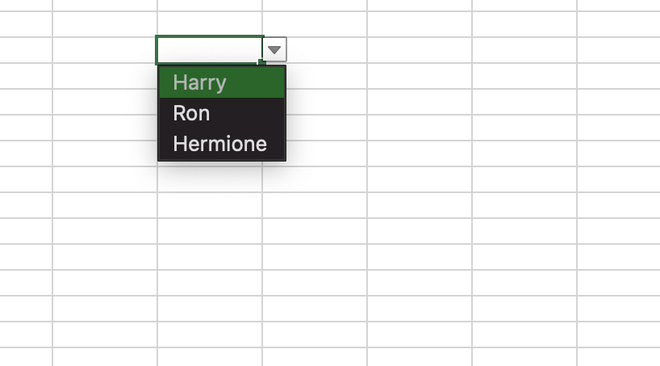
result
How to Edit Drop-Down Menu Based on a Range of Cells
Follow these steps to edit a drop-down list that is based on a cell range-
Step 1: Select the cells with the desired drop-down list
Select the cells containing the drop-down list. In order to select multiple cells, use the Ctrl key(On Windows) or Cmd key(On Mac) while making a selection.
select the cell with a dropdown
Step 2: Select the data validation option
Go over to the Data tab and select the Data Validation option from the Data Tools tab.
select data validation
Step 3: Make changes in the source box
In the dialog box that opens, change the range in the source box. You can now exclude or include the desired items.

edit the list
Step 4: Save changes
Click ok to save the changes.
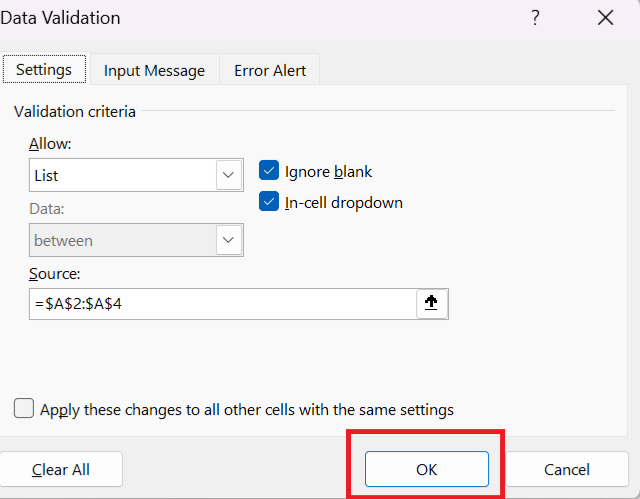
click ok
How to Change Drop-Down List Based on a Named Range
Follow these steps to edit a drop-down list that is based on a named range-
Step 1: Select the cell with the desired dropdown
Select the cell with the drop-down that you want to edit.
select the cell with the drop-down
Step 2: Choose the name manager option
Go over to the Formulas tab and click on the Name Manager option from the Defined Names drop-down.
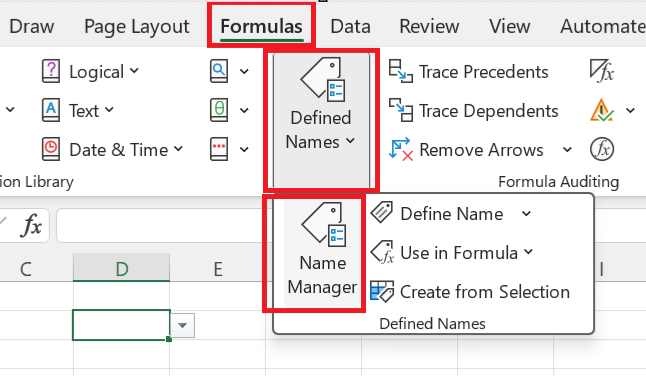
select name manager
Step 3: Select the desired named range
In the dialog box that opens, you will see the list of all name ranges. Select the named range you wish to edit.
In other words, you have to select the named range that forms the dropdown that you wish to edit.

select the named range
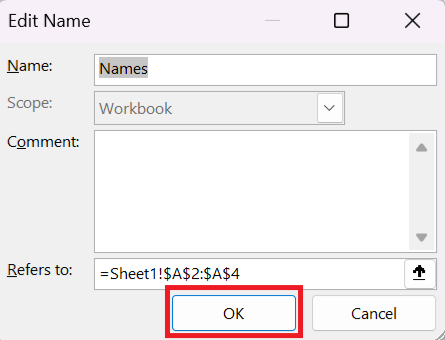
Step 4: Make changes
A new dialog box appears. Add or remove the cells as needed in the ‘Refers to’ box.

make changes in the refers to the box
Step 5: Save the changes
Click ok followed by the close option to save the changes.
click ok
Step 6: Click on the Close Tab
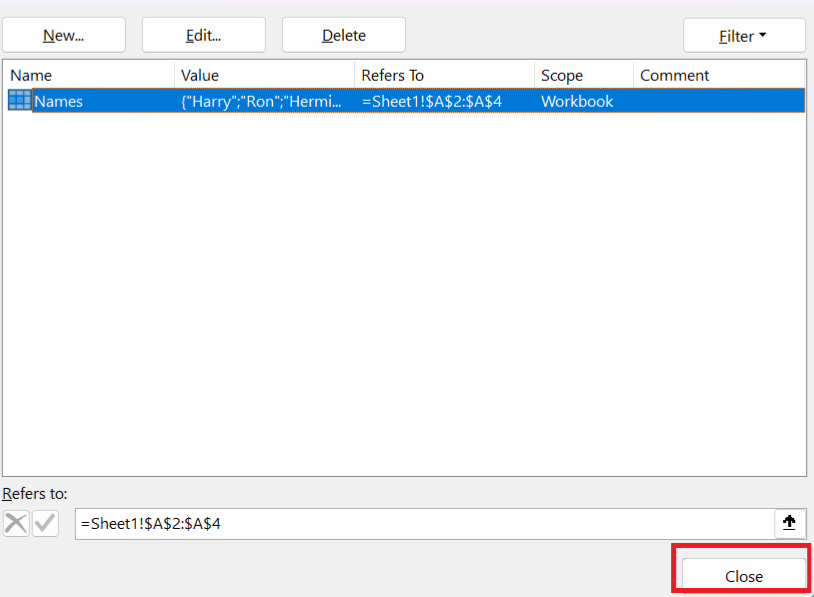
click close
Note that the changes made will be reflected in all the drop-downs that are based on a given named range.
How to Edit Drop-Down Menu Created From Table
Excel tables are dynamic in nature. Thus, in order to edit a drop-down made out of an Excel table, all you have to do is make changes in the table as needed. These changes will be reflected in all the corresponding drop-downs automatically. How to Edit Drop-Down Menu Created From Table
How to Quickly Add or Remove Items in Drop-Down List
Learn how to efficiently add or remove items from a drop-down list in your spreadsheet. Whether using Excel, Google Sheets, or another platform, discover quick steps to update your drop-down menu by editing the underlying data source, ensuring seamless customization for enhanced data management and user interaction Here is how you can quickly add or remove a certain item from a drop-down list in Excel without having to use the data validation option.
How to Quickly Add Items in Drop-Down List
Follow these steps to quickly add new items to a drop-down list-
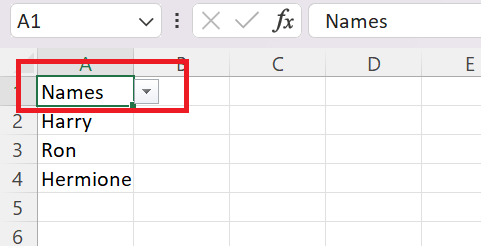
Note that for the sake of this example, we are taking a drop-down based on a cell range containing names as shown below-
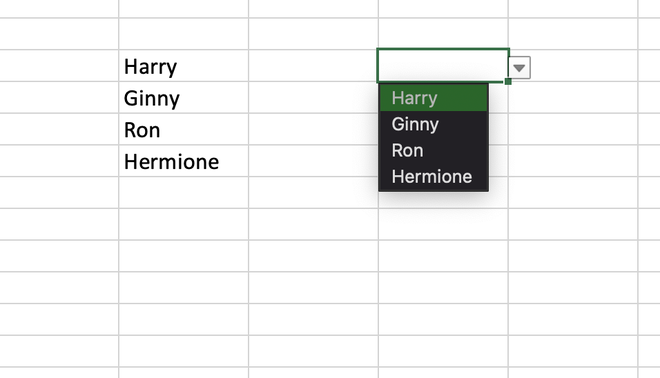
example
Step 1: Right-click on the Cell and Select Insert a new cell in the cell range
To insert a new cell in the cell range, click on the cell below the position where you want to insert the cell. Right-click the cell and click on Insert.

insert
This will open a dialog box.
Step 2: Select the Shift cells down from the options and Click ok
In the dialog box that opens, select the shift cells down option and click ok.
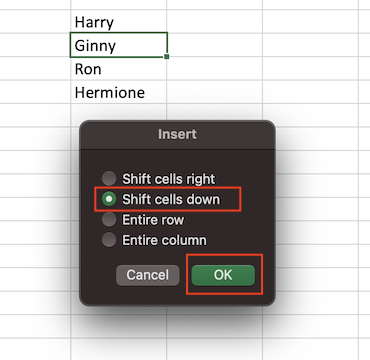
shift cells down
This will create a new empty cell just below the first item.
Step 3: Add the new item
In the new cell just created, simply type the item you want to add.

add new item
You will see that the new item is added to the drop-down list automatically.
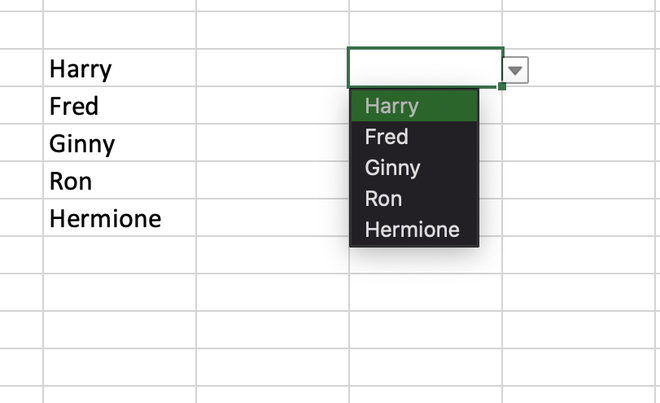
result
To add more items, simply repeat the above three steps.
How to Quickly Remove Items from a Drop-Down List
Follow these steps to quickly remove items from a drop-down list-
Step 1: Right Click on the Cell, and Select delete the desired item from the cell range
In the cell range, simply click on the item you want to remove and right-click to delete.
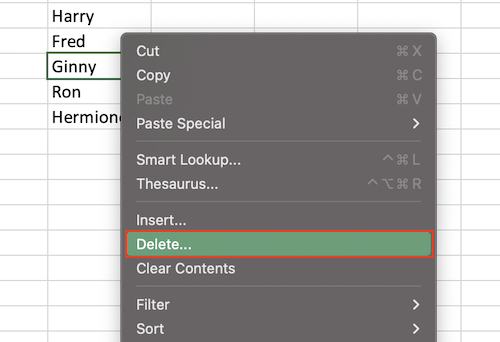
delete
Step 2: Select the Shift cells up from the Options
In the dialog box that opens, click on the shift cells up option and press ok.
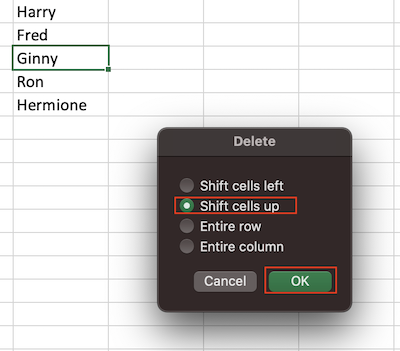
shift cells up
You will see that the item is deleted from the cell range as well as from the drop-down.
item deleted
How to Copy Drop-Down List in Excel
Once you have created a drop-down in Excel, you might wish it to appear in multiple cells without having to create it manually each time. In order to do this, you can simply copy a drop-down list in Excel.
Copy and Paste
Hold and drag the fill handle and drag it through the cells where you want the drop-down to appear. Alternatively, you can simply copy the drop-down using Ctrl + C and paste it using Ctrl + V.
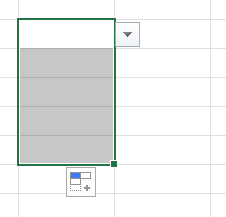
hold and drag the fill handle
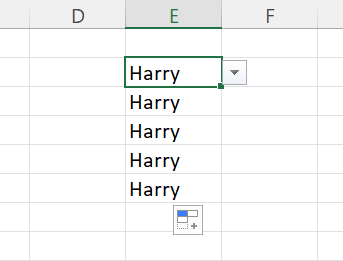
the resultant copied drop-downs
Note that this copies the drop-down along with the current selection. Thus, either use this method when nothing has been selected in the drop-down or follow these steps to copy a drop-down without the current selection-
Step 1: Copy the drop-down
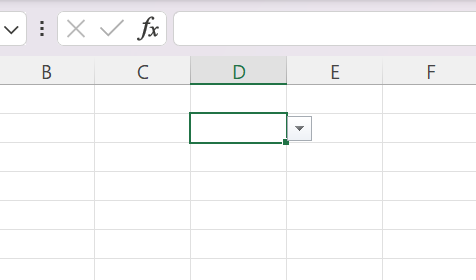
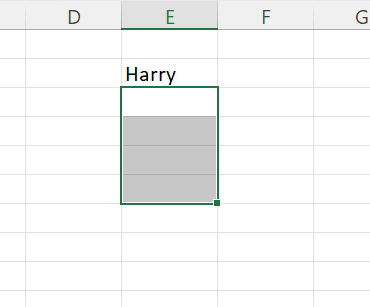
Select the cell where the drop-down is present and copy it using Ctrl + C. A dotted border will appear around the cell post selection.
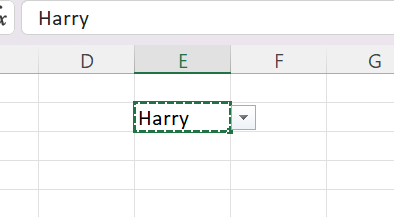
select the cell with the drop-down
Step 2: Select cells
Select the cells where you want to copy this drop-down.
select the cells where the drop-down has to be copied
Step 3: Paste the dropdown
Right-click in the selected area and choose the ‘Paste Special’ option from the Paste Special dropdown.
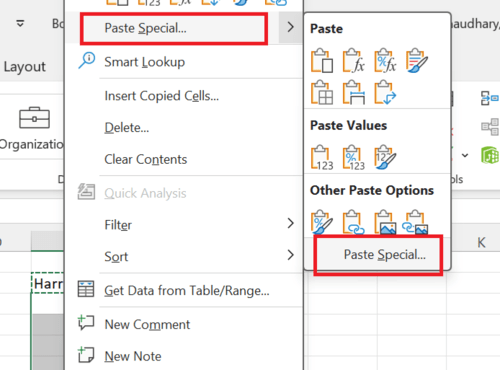
paste special
Step 4: Select the validation option
Select the ‘Validation’ option in the dialog box that opens and click OK to save the changes.
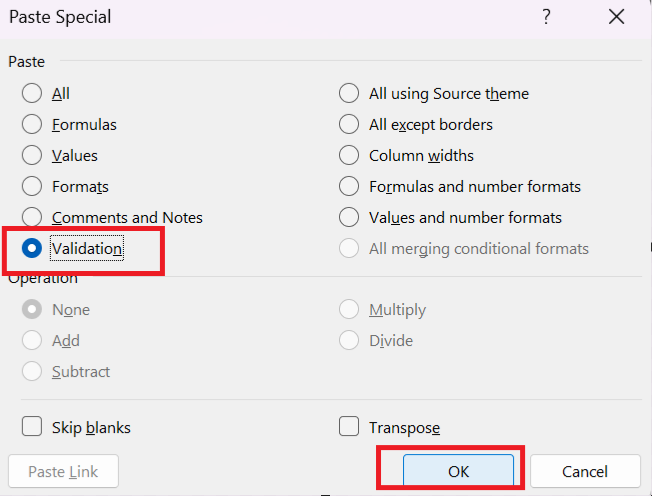
select the validation option and click ok
How to Delete Drop-Down List in Excel
Depending on your need, you might want to remove the drop-down from selected cells or from all the cells in a given Excel sheet. Here is how you can do both-
How to Remove the Drop-Down Menu from Selected Cells
Step 1: Select the cells with the desired drop-down
Select the cell/cells from where you wish to remove the drop-down.
select the drop-downs to be deleted
Step 2: Choose data validation
Go over to the data tab and select the ‘Data Validation’ option from the data tools tab.
select data validation
Step 3: Clear All
In the dialog box that opens, select the ‘Clear All’ button and click ok.
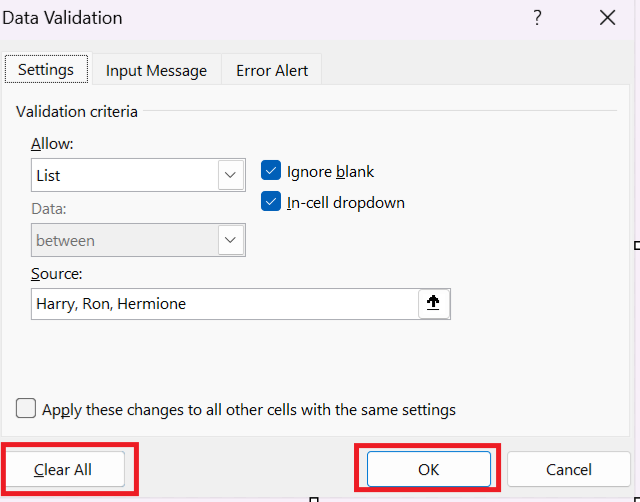
select clear all
Note that the drop-down will be removed but the selected value still remains in the cells. You can simply delete them like you normally would using the delete key.
How to Delete Drop-Down List from all Cells of the Current Sheet
Not all drop-downs might be present in a certain order in your Excel sheet. Due to this, selecting them using the above method becomes a bit tedious. Thus, in order to delete a specific drop-down that is present in a lot of cells at different positions in a sheet, follow these steps –
Step 1: Select any one cell with the desired drop-down
Select any one cell where the required drop-down is present.
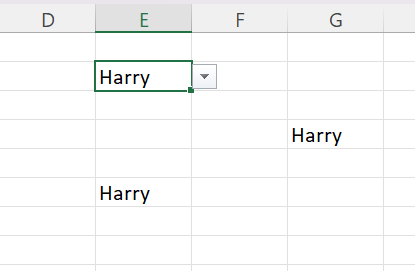
select any one dropdown
Step 2: Choose the data validation option
Go over to the data tab and select the ‘Data Validation’ option from the data tools tab.
select data validation
Step 3: Check the apply same settings box
In the dialog box that appears, check the ‘Apply these changes to all other cells with the same settings’ box.
check the box
Step 4: Clear all and save changes
Now click ‘Clear all’ followed by ‘OK’ to save all changes.
clear all
This is essentially how you can remove drop-downs from an Excel sheet.
Conclusion
In this article, we looked at how we can edit, copy, or delete a drop-down in Excel. Dropdowns are quite useful when it comes to data entry and collaborations in Excel and it is important to use effective methods to manage them like the ones we saw in this post. To improve your Excel skills further, you might want to look at this topic next – Use Custom Data Validation Function To Limit Number of Digits In Excel
FAQs
1. What is the use of a drop-down?
A drop down is used to limit the data that a user can input in a given cell. The drop down list contains a pre-defined set of values from which the user can select an option. This makes data entry quick and easy along with restricting the values that one can input.
2. Can we lock our drop-downs such that a user cannot make any changes to them?
Yes, you can ensure no changes are made to your drop down by others using the protection settings of Excel available in Home -> Cells -> Format -> Protection. Refer to this article to know more – How to Lock cells in Excel.
3. Can Excel drop-downs be filtered or searched?
Yes, this can be achieved using the AutofFilter option of Excel present in the Data tab.
Share your thoughts in the comments
Please Login to comment...