Quick Steps to Share Your Calendar in Outlook for Windows
- Select Calendar Icon
- Click Share Calendar > Choose a Calendar
- Select Add Users > Click Ok
- Select Calendar Permission > Choose User
- Select the access level to give > Select OK

Mastering time management is essential for maintaining organization and optimizing productivity in our busy lives. Whether you are a professional, student, or an individual with a packed schedule, you will constantly find yourself balancing numerous commitments, appointments, and tasks. Fortunately, Microsoft Outlook for Windows provides a powerful solution to simplify our lives by providing seamless calendar sharing with others. Whether it’s collaborating with colleagues, coordinating events, or attending business meetings, the ability to share your Outlook calendar can be a transformative game-changer. This feature empowers you to create a smooth flow of events, ensuring that everyone involved remains informed and synchronized.
Say goodbye to missed appointments and confusion caused by scheduling conflicts – it’s time to harness the full potential of Outlook’s calendar-sharing capabilities.
How to Share a Calendar with Specific People
Step 1: Open “Microsoft Outlook”
Locate the Outlook icon and click on it to launch the Outlook application on your Windows laptop.
Open Microsoft Outlook
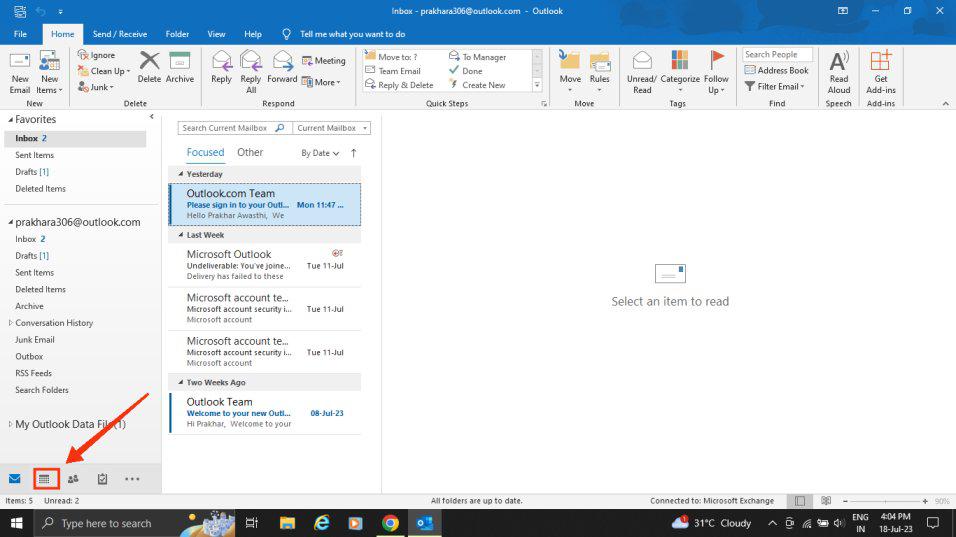
Step 2: Select the “Calendar” Icon
To access the calendar in Outlook, click on the Calendar icon located at the bottom left of the interface.
Select Calendar icon
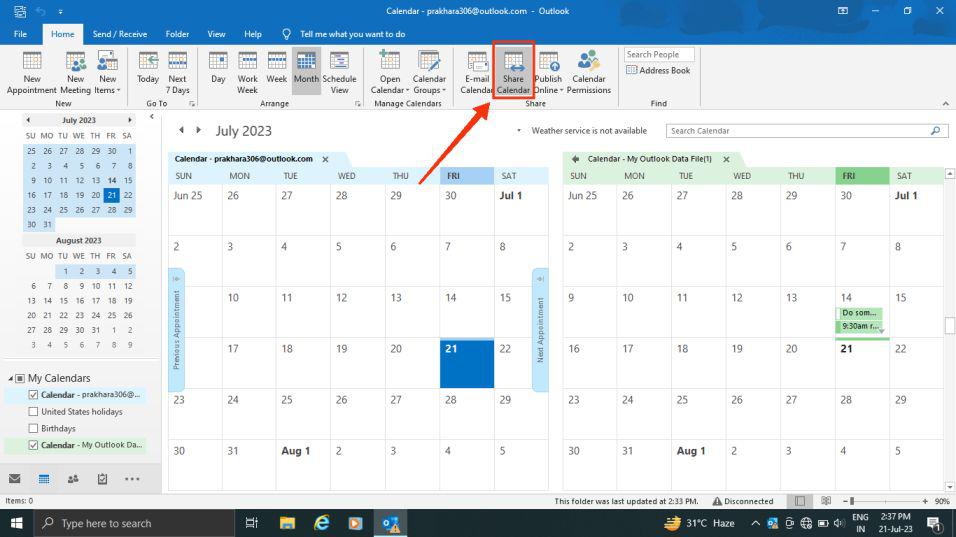
Step 3: Click Share Calendar
Now select the share calendar icon located in the home tab.
Click share calendar
Step 4: Choose Calendar from Calendar Properties and Click Add
From the calendar properties dialog box choose calendar.
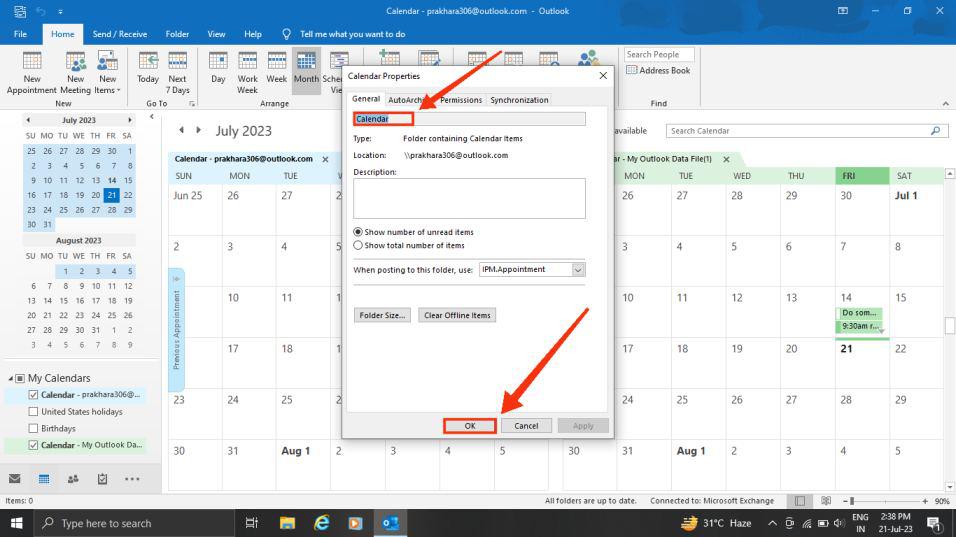
Choose calendar > Click Ok
Step 5: Select and Add Specific Users > Click Ok
Next, include specific users to send them calendars individually.

Add people > Click Ok
Step 6: Select Calendar Permission
Now click on the “Calendar Permissions” tab to access the Permissions.
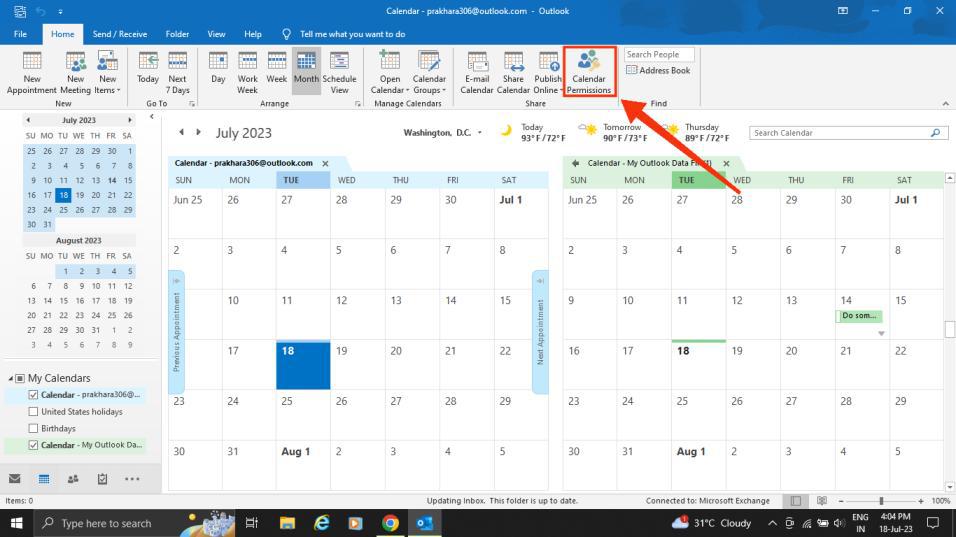
Select calendar permissions
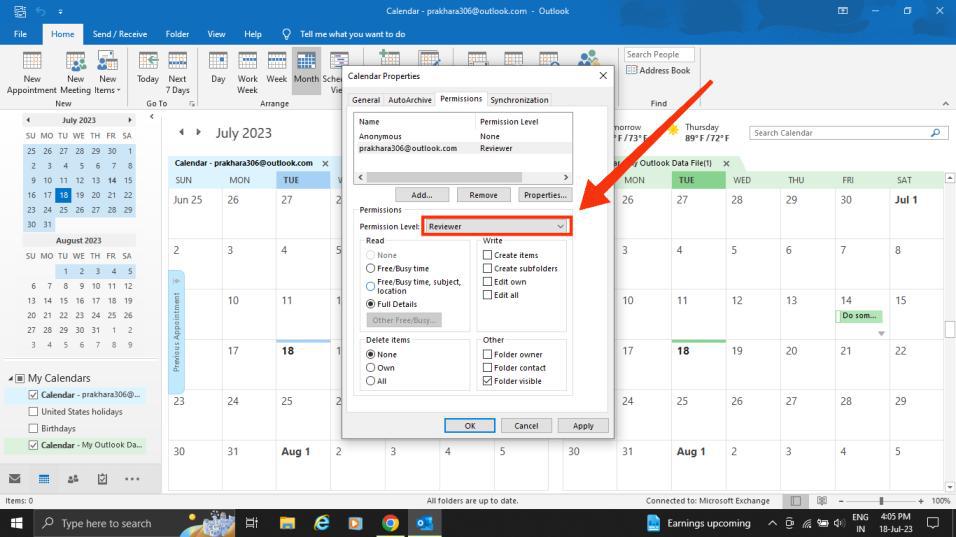
Step 7: Select Permission Level and Click Ok
Now, select the type of permission you wish to grant when sharing your calendar with specific individuals. Once you click “Ok,” an email will be sent to notify the users with whom you’ve shared the calendar.
Typically, permissions in Microsoft Outlook are categorized into five types:
- Can view when I’m busy
- Can view titles and locations
- Can view all details
- Can edit
- Delegate
.jpg)
Select permission level > Click Ok
How to Share Calendar with Everyone on Outlook
Step 1: Open Microsoft Outlook
To launch the Outlook application on your desktop, locate the Outlook icon and give it a click.
Open Microsoft Outlook
Step 2: Select the Calendar icon
To access the calendar in Outlook, click on the calendar icon located at the bottom left of the interface.
Select calendar icon
Step 3: Click Share Calendar
Click on the share calendar icon located in the home tab.
Click share calendar
Step 4: Choose Calendar from Calendar Properties and Click Add
From the calendar properties dialog box, type calendar and then press ok.
Choose calendar
Step 4: Select My Organization
After clicking on the Calendar Permissions Select My Organization from the Permission level.
Select all details
Step 5: Select Calendar Permission and Click Ok
Now click on the “Calendar Permissions” tab to access the Permissions.
Select calendar permissions
How to share your Outlook calendar via Email
If you wish to avoid granting someone permission to access and view your calendar updates, there is an alternative method – you can send them an email with a copy of your calendar for a specific date range. By doing so, the recipient will have visibility into the events on your calendar at the time of sending, but they won’t be able to view any updates you make after the email is sent.
Step 1: Click Calendar
To access the calendar in Outlook, click on the Calendar icon located at the bottom left of the interface.
Select calendar icon
Step 2: Click Home > E-mail Calendar
Now click on the Home tab and then click on the E-mail Calendar icon present in the Home tab.
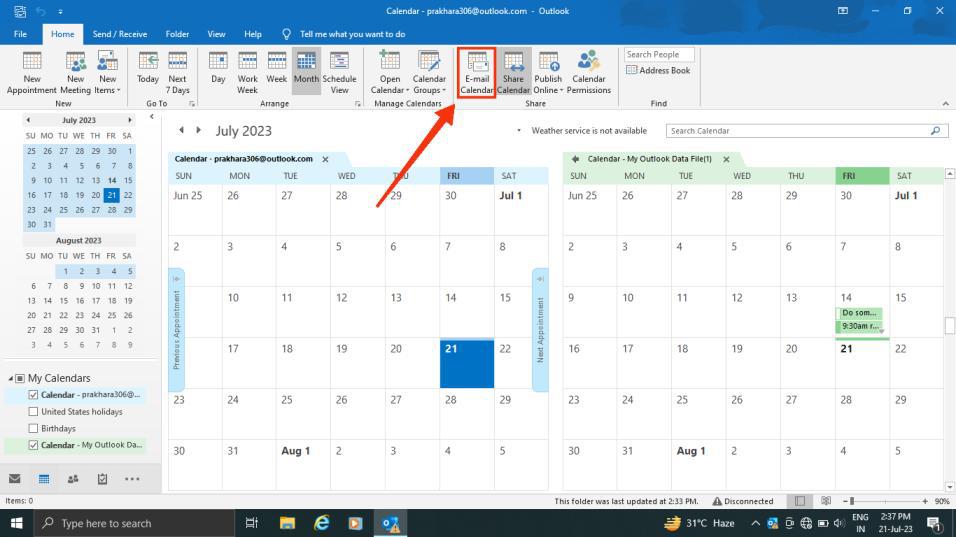
Click E-mail calendar
Step 3: Pick the calendar and time period you want to share
You are required to choose the time duration of your calendar that you wish to share.

Pick Calendar >> Pick Time Period
Step 4: Set any other options you want, and then click OK
Once you have made your desired selections, click on the “OK” button to apply any other chosen options.
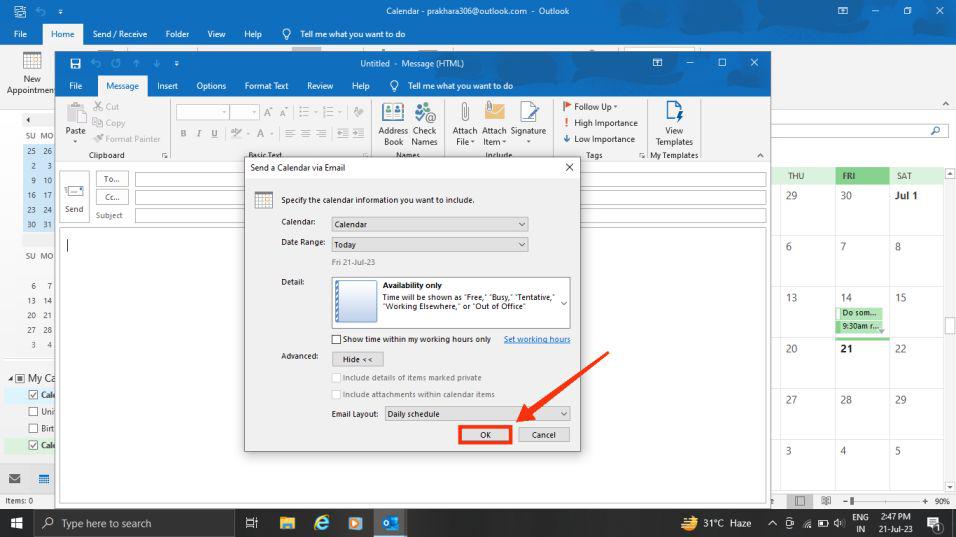
Select other option >> click ok
Step 5: Add a User you want to email and Click Send
Enter the username of the user you wish to share your calendar with, and then click the “Send” button.
Note: The recipient will be able to see a snapshot of your calendar inside the message you sent.
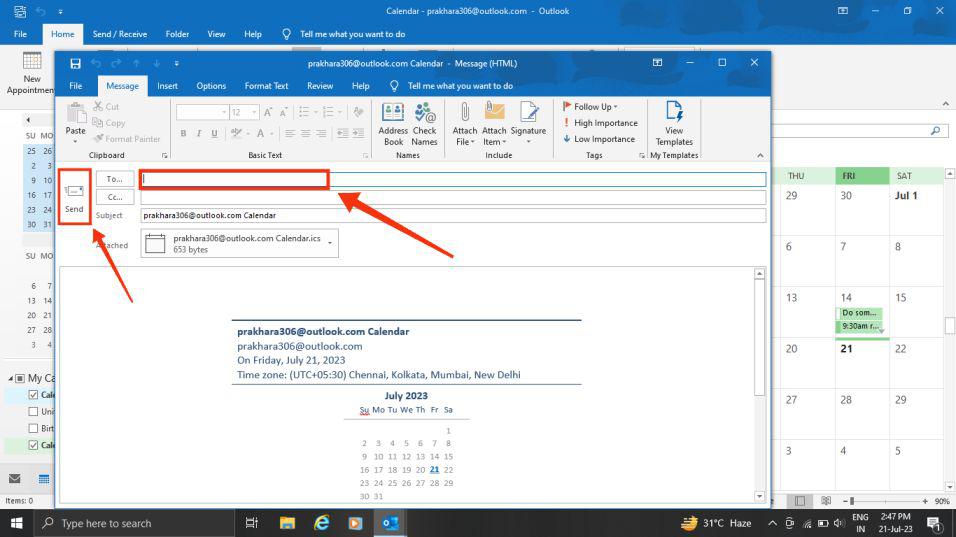
Add a user >> Click Ok
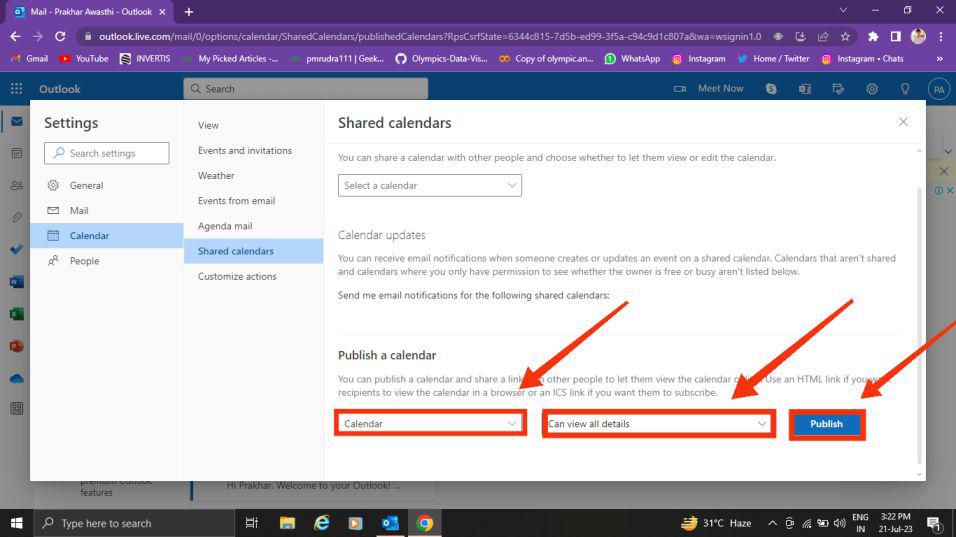
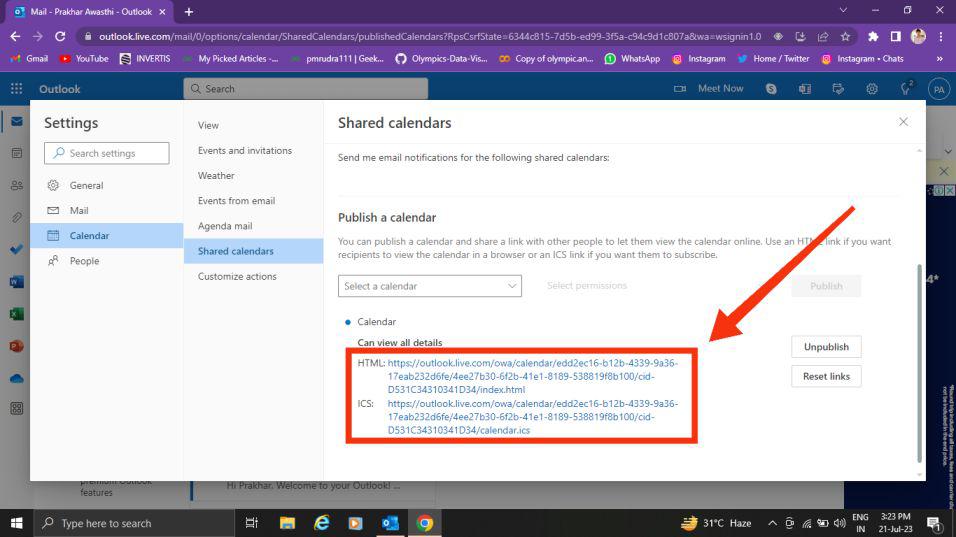
How to Share Outlook Calendar by Publishing it to a Web Page
Provided you have access to a web server supporting the World Wide Web Distributed Authoring and Versioning (WebDAV) protocol, you have the option to publish your calendar on that platform.
Note: If you are not sure that your server supports WebDAV? Your server administrator or internet service provider (ISP) should be able to tell you.
Step 1: Click Calendar
To access the calendar in Outlook, click on the Calendar icon located at the bottom left of the interface.
Select calendar icon
Step 3: Click Home >> Select Publish Online
Select the Publish online icon located in the Home tab to publish your Calendar.
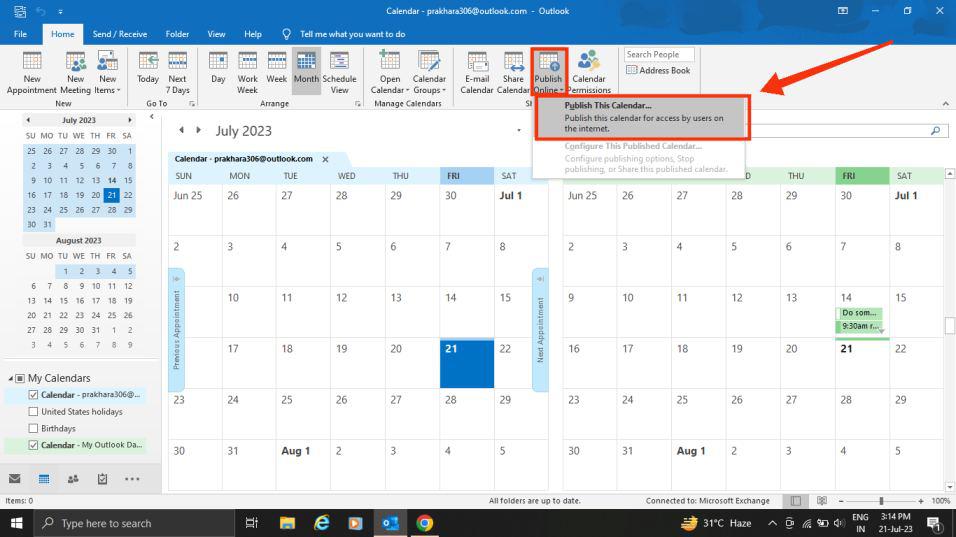
Select Publish Online icon
Step 4: Publish to WebDAV Server
Now, Publish it to WebDAV Server
Note: For Microsoft 365 users, publishing your calendar to a WebDAV server is still possible. However, before doing so, you need to remove {Anonymous: CalendarSharingFreeBusySimple} from the sharing policy. It’s important to note that this action will prevent you from publishing your calendar in the future.
Publish your Calendar
Step 5: Enter the Location of the WebDAV Server
In the Location box, enter the location of the WebDAV server, select any other publishing options you want, and then click Ok.
Conclusion
Sharing your calendar in Outlook for Windows is an invaluable tool that improves collaboration and communication in various personal and professional scenarios. By adhering to the instructions presented in the above guide, you can easily share your calendar with specific individuals, allowing them the required access to your schedule. Whether you’re sharing with colleagues, family, or friends, Outlook for Windows offers a user-friendly and secure platform for this purpose. Leveraging these capabilities, you can streamline scheduling, prevent conflicts, and foster better communication with those around you. However, it is crucial to exercise caution when sharing sensitive information via calendar sharing. Always be mindful of the permissions you grant and regularly review who can access your calendar. Additionally, make sure to remove any unnecessary sharing permissions to safeguard data privacy and security.
FAQs
Can I share my calendar with multiple people at a time?
Yes, you can share your calendar with multiple people at a time you just have to do is type all the people’s email addresses when you are in the process to share the calendar.
Can I share a specific date or a portion of my calendar?
Yes, you can share a specific portion of your calendar, when managing the permissions, you can select a particular date that you want to share.
For Windows Can I share multiple calendars in Outlook?
Yes, you can share multiple calendars this can also be managed in the permissions and sharing panel.
Can I send reminders of my shared calendar to the person I am sharing my calendar?
No, Outlook doesn’t provide you with the feature of sending a reminder.
Share your thoughts in the comments
Please Login to comment...