Schedule an Email in Outlook – Quick Steps
- Create New Email > Add Recipient Email Address
- Click on Options > Select Delay Delivery
- Set Time and Date > Click Ok
- Click on Send Button
In today’s fast-paced digital world, we all know how important it is to communicate effectively. Email remains a crucial tool for professional communication, but there are times when sending an email immediately might not be the best option. Maybe you’re working with colleagues or clients in different time zones, or perhaps you’d like to compose your messages in advance. If that sounds familiar, then you’re in luck! Outlook has a handy feature that can help you perfect the timing of your emails: email scheduling and delay delivery.
In this article, we’ll dive into the world of scheduling emails and delaying their delivery in Outlook. These features can be game-changers, allowing you to send your messages at the perfect moment. By mastering these tools, you can simplify your email management, improve your professional communication, and leave a lasting impression with your emails. So, let’s explore Outlook’s scheduling abilities and learn how to become a pro at timing your emails just right.

How to schedule an email in Outlook on Window
You can use this Outlook feature on Windows, Mac, and a web browser.
Step 1: Open Outlook on Windows.
Launch the Outlook App on your Windows Laptop.
Step 2: Click on New Email
From the Outlook home screen, proceed to the upper right corner and select “New Email.”
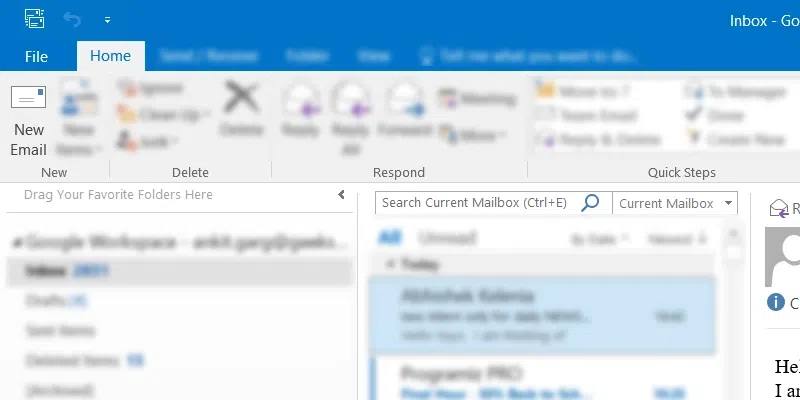
Click New Email
Step 3: Click on Options and Select Delay Delivery
After drafting an email, click on “Options” in the top menu, and then select the “Delay Delivery” option to edit the time and date for sending the email.
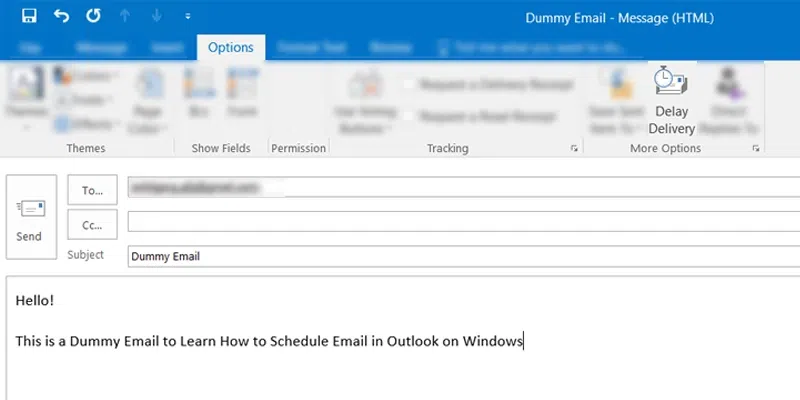
Click Options > Delay Delivery
Step 4: Set date and time and exit
Now, under Delivery Options, enable the “Do not deliver before” option, set the time and date, and then click the “Close” button.
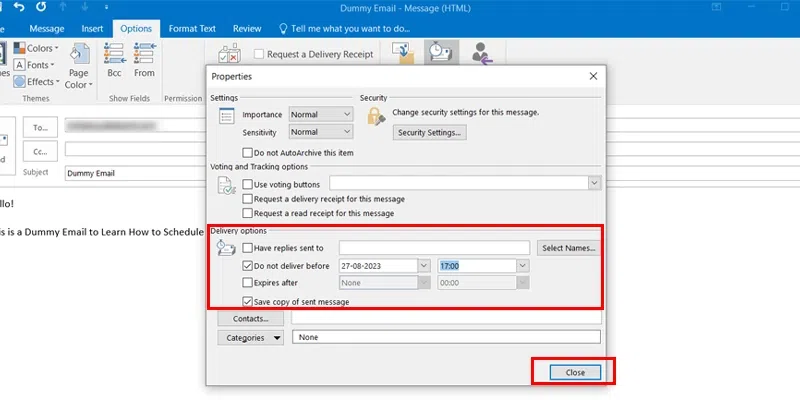
Set Time and Date in Delivery Options > Click Close
Step 5: Click Send
After setting the time and date in the Delay Delivery Options, your email is now ready to be scheduled. Click on the “Send” button.
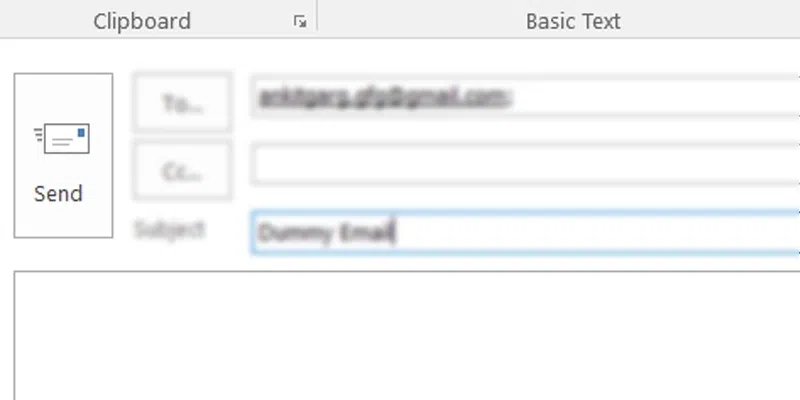
Click on Send Button
How to Schedule an Outlook Email on Mac
Step 1: Launch Outlook App on your Mac Device
Step 2: Click New Email
Note: Select either “New Message” or “New Email” based on your latest Mac Version.
Step 3: Compose an Email in your Outlook
Step 4: Select Send Later.
Note: Click on the drop-down button at the right of Send button and select Send Later.
Step 5: Select the Date and Time
A dialogue box will appear. Set the time and date and select Send. You can check the Outlook email in the Draft section.
How to Schedule an Email in Outlook on Web App
Step 1: Launch Outlook
Open Outlook in your web browser or simple click here to open it.
Step 2: Select New Mail and Draft an Email
After signing in to your Outlook account, click the “New Mail” button displayed in the top right corner of your Outlook home screen.
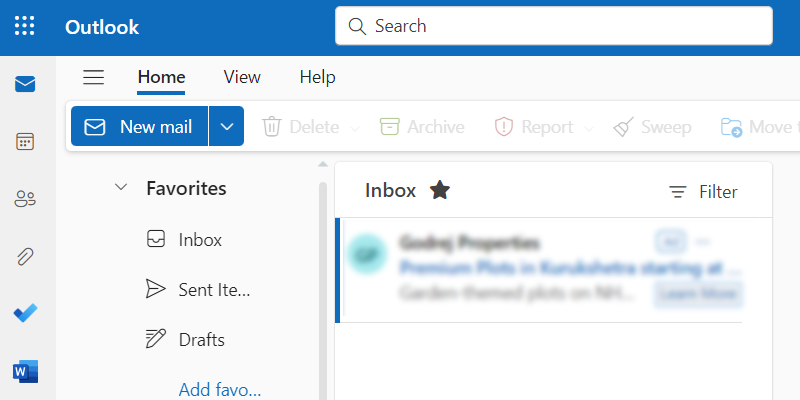
Create New Email
Step 3: Click on Send Drop Down Arrow and Select Schedule Send
Now after drafting you email, click on the drop down arrow and select “Schedule Send” to schedule your email for a particular time and date.
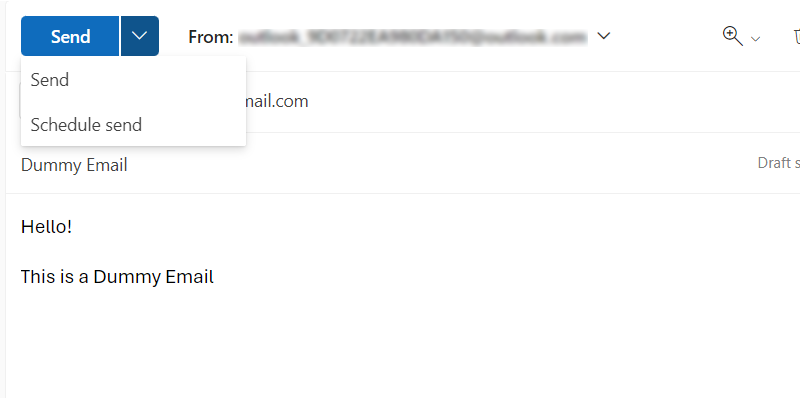
Select Send Drop Down Button > Select Schedule Send
Step 4: Set date and time and Send.
Now after clicking the Schedule Send, Outlook will ask you to “Set Custom Date and Time”. Now select the preferred time and date and click on “Send” button to schedule the email in your Outlook.
Note: If you want to edit or change the set time or date, you can visit the Drafts section to find the email for any further edits or cancelling the schedule.
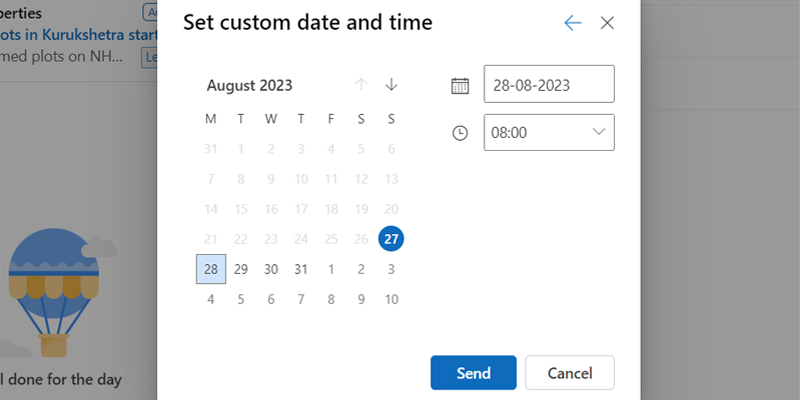
Set Custom Date and Time > Click Send
How to Create a Send Delay for All Emails in Outlook
Here is how you can easily create an Outlook delay delivery setting for all emails.
Step 1: Visit the File tab.
Log in to your Outlook account and visit the File tab at the top left corner of the window.
Step 2: Visit Manage Rules & Alerts.
Visit Info and select Rules & Alerts. You will find an option to manage existing rules for emails.
Step 3: Set New Rule.
Visit Email Rules and set a new rule. The Rules Wizard window will open.
Step 4: Select Apply rule on messages I send and then Next.
Visit Start from a blank rule section. Select Apply rule on messages I send and hit Next. A list of checkboxes will appear. Clear them all. Select Next.
Step 5: Select Yes.
Once all the checkboxes are unselected, a confirmation box will appear. Select Yes to apply this new rule to all sent Outlook messages.
Step 6: Select Defer delivery by a number of minutes.
Select the checkbox and Edit the rule description on the list. Select a ‘Number of ‘ to open a dialogue box. Enter the number of minutes you want to delay send Outlook emails. Choose OK.
Step 7: Select Next in the Rule Wizard.
Step 8: Select exceptions if you want and choose Next.
Step 9: Customize a name for this new rule. Turn on this rule by selecting its checkbox.
Step 10: Select Finish.
Step 11: Select Ok in the Rules and Alerts box to save changes.
When you hit Send, the email will be stored in the Outbox and will be delayed as per the new customized parameter.
How to Delay or Schedule Sending Mail in Office 365
Check these steps to schedule send email Outlook via Office 365.
1. Access Outlook on the web
Step 1: Log in to your Outlook account and compose an email.
Step 2: Select Send Later.
Step 3: Set the time and date at your convenience and click Send.
2. Access Outlook on Windows
Step 1: Compose an email and visit the Options tab.
Step 2: Select Delay Delivery in the More Options section.
Step 3: Check Do not deliver before and set a time and date.
Step 4: Click Send.
Conclusion
You can disable the schedule an email in Outlook feature anytime. Set your time and date at your convenience and enjoy the professional benefits of scheduling or delaying emails on Outlook. Make sure Outlook is running to send and receive scheduled emails. Your scheduled email will only be sent when you open Outlook the next time.
FAQs
How can I schedule email delivery in Outlook?
Visit Options and select Delay Delivery. Select ‘Do not deliver before’ and set a date and time. This rule will be implied to the specific messages you want to send later.
How can I set a 20-minute delay for Outlook emails?
Create a new rule in the Manage Rules & Alerts. Set the delayed delivery time by 20 minutes and apply it to the respective email. Unselect all default rules and set the email for delayed delivery.
Where do my delayed Outlook emails go?
All your delayed or scheduled emails are stored in the Outlook Outbox folder. You can visit those emails and can edit elements or cancel the rule too.
Will a delayed Outlook email show the delayed time stamp?
You will see the time stamp when you hit the Send button. On the other hand, the receiver will see the time his email inbox received the delayed email.
Do delayed emails on Outlook need an internet connection?
Yes. Your Outlook will need to be active and have an internet connection to send the delayed emails on the scheduled time and date. In fact, your Outlook must run in the background to send delayed emails. Even if your device is on, keep your Outlook running to avail of this feature.
How can I find out if an email is scheduled or not?
Check the time stamp and compare it with your receiving time. If it does not match, the sender might have scheduled it for delayed delivery.
Share your thoughts in the comments
Please Login to comment...