How to Create a New Fragment in Android Studio?
Last Updated :
30 Aug, 2022
Android Studio is the official integrated development environment for Google’s Android operating system, built on JetBrains’ IntelliJ IDEA software and designed specifically for Android development. You can Develop Android App using this. Here, We are going to learn how to create a new Fragment in Android Studio. A Fragment is a piece of an activity that enables a more modular activity design. A fragment is easier to reuse within activities and layouts. Android devices have a variety of screen sizes and densities. It simplifies the reuse of components in different layouts and their logic. We can also use fragments also to support different layouts for landscape and portrait orientation on a smartphone.
Step by Step Implementation
Step 1: Create a New Project in Android Studio
To create a new project in Android Studio please refer to How to Create/Start a New Project in Android Studio. The code for that has been given in both Java and Kotlin Programming Language for Android.
Step 2: Create New Fragment
Right-Click on the First button inside Java, then click on New.
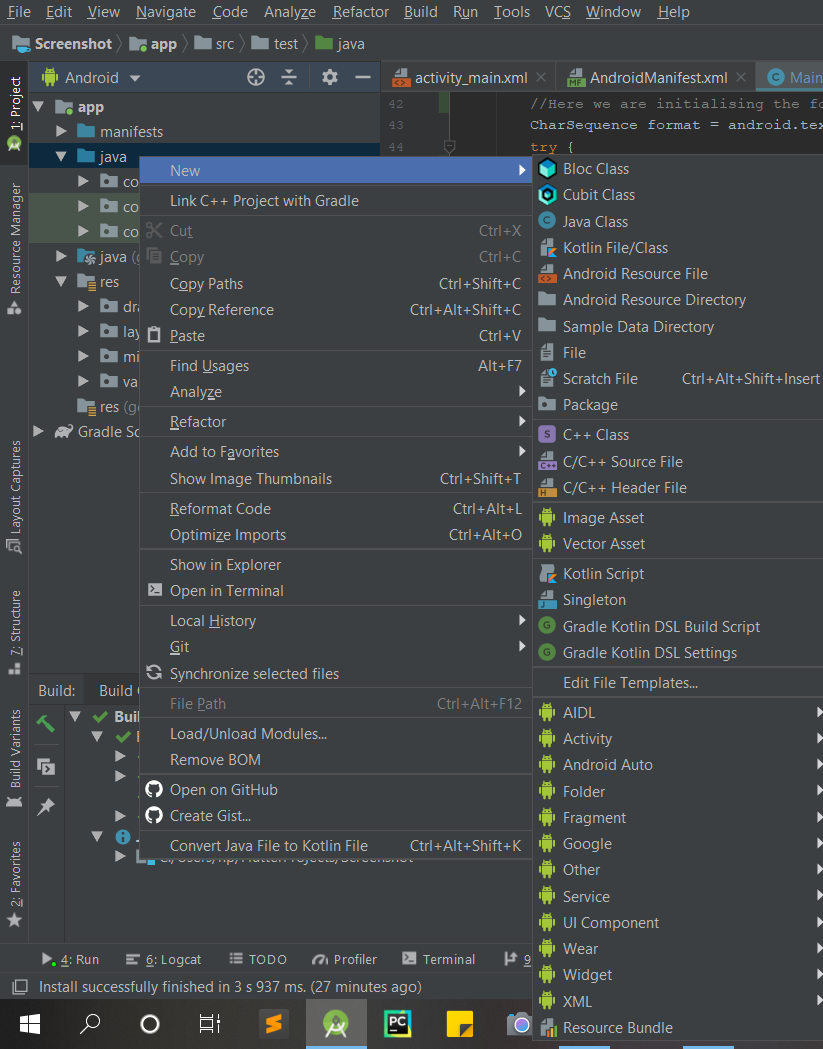
Then Go to Fragment.
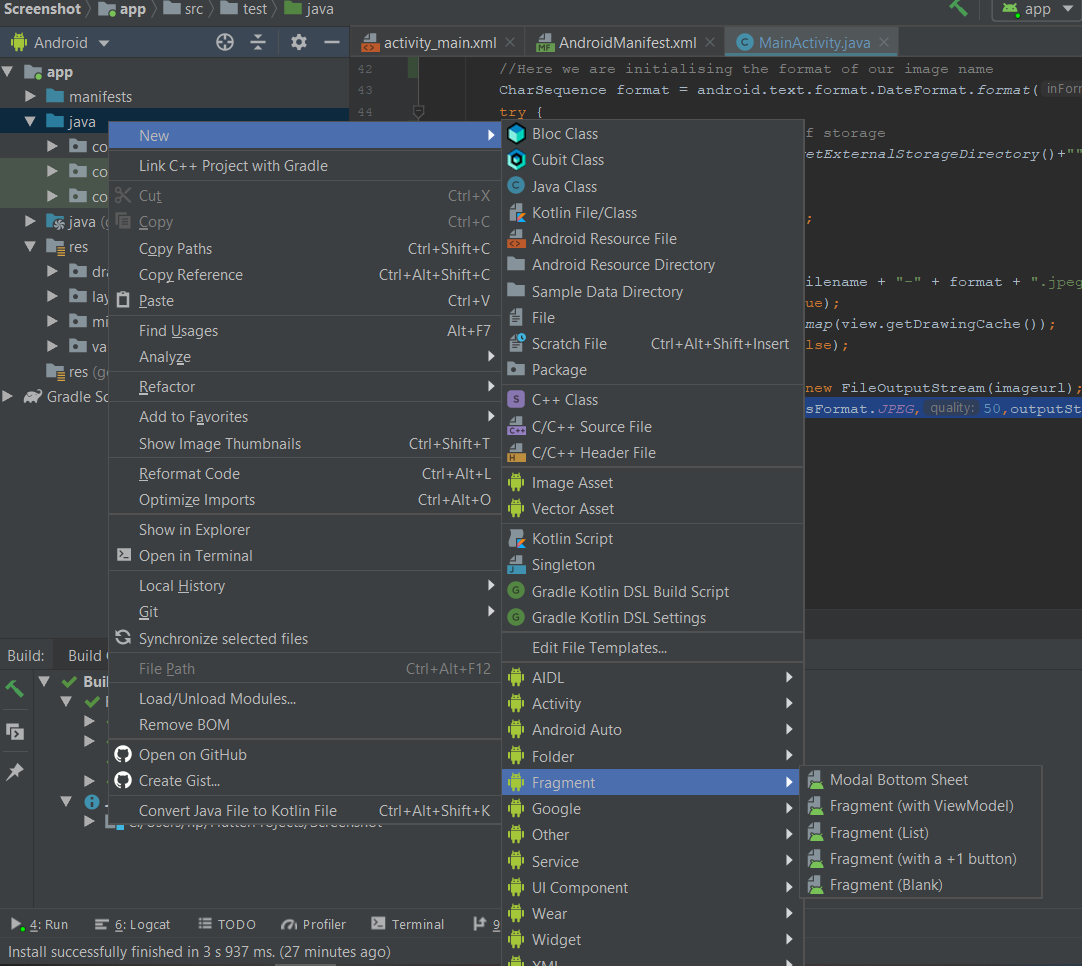
The next step is to choose the Fragment type.
Fragment in Android refers to a single screen with a user interface. For Beginners, “Blank Fragment” is recommended).
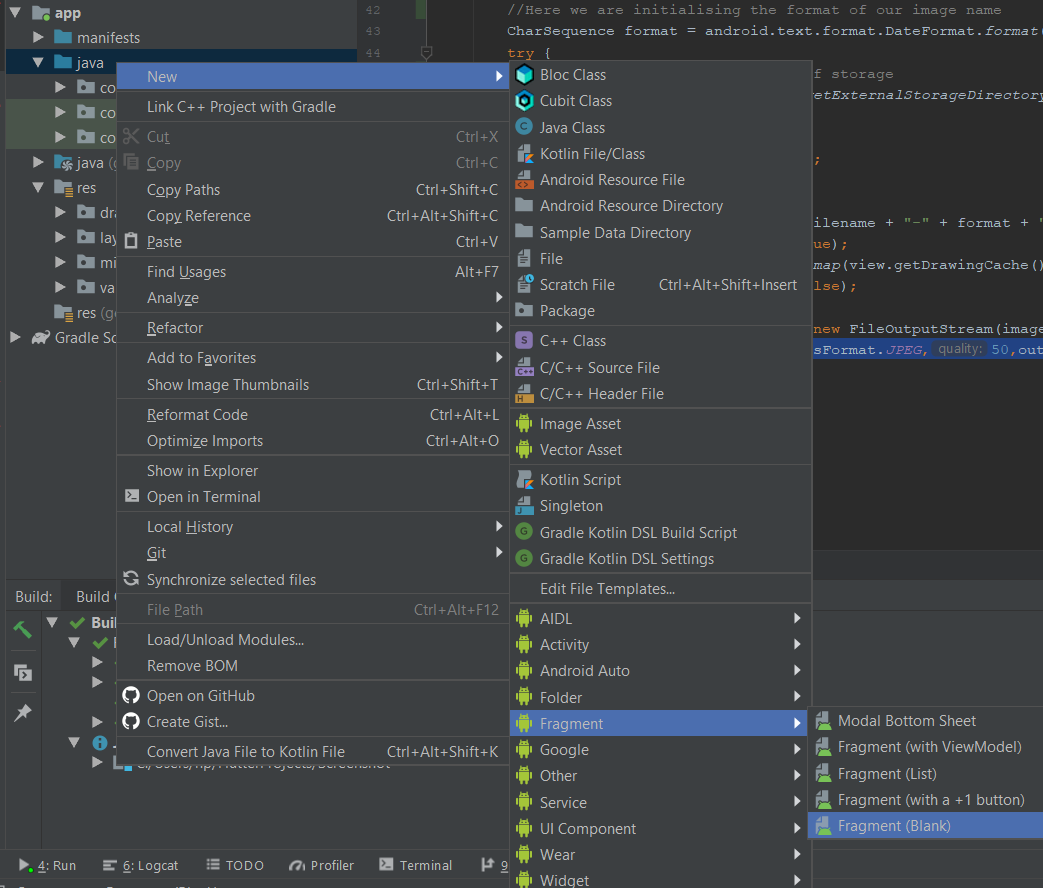
Click on Fragment(Blank).
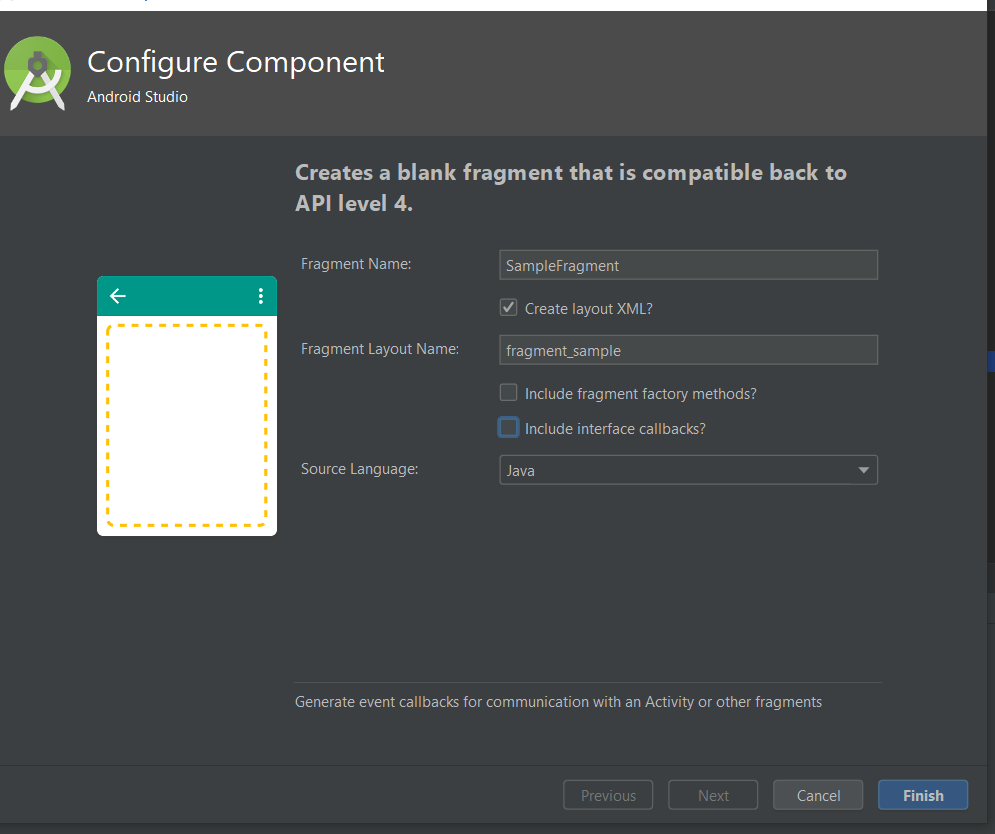
Now, A new Dialog Box will appear.
Then, fill in the Fragment Name text field. In Android studio, files named in CamelCase are preferred. An XML file is used to provide functionalities of the user interface for our app. An XML file of the fragment is created using the first word in the fragment name.
Click on Finish. And you have created your Fragment.
Share your thoughts in the comments
Please Login to comment...