In this article, we will learn how to make a simple project on Automation of Invoice Processing using RPA in UiPath Studio. This is a simple application of Robotic Process Automation in which invoices get downloaded in pdf formats from the desired email address, then from those invoices, specific information like email, name, due date, and balance is extracted and stored in an Excel sheet and then from that sheet the data is formatted in a specific way written on a template and then sent to the email addresses mentioned in the invoices.
Take a note of the following points:
- For this, we are using 5 invoices of a specific format as shown below. You can create these invoices by using www.invoicely.com for free. Send these invoices to your email id through which mails have to be sent to customers.

- Create an Excel file “invoicedata” with entries in the first row as shown below :

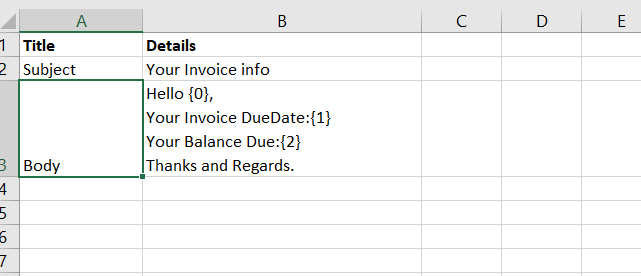
- Create an Excel file “template” with entries as shown below:
- Adobe Acrobat Reader free version (pdf viewer) is used for opening invoices.
To start implementing the Automation of Invoice Processing using RPA in UiPath Studio follow the below steps:
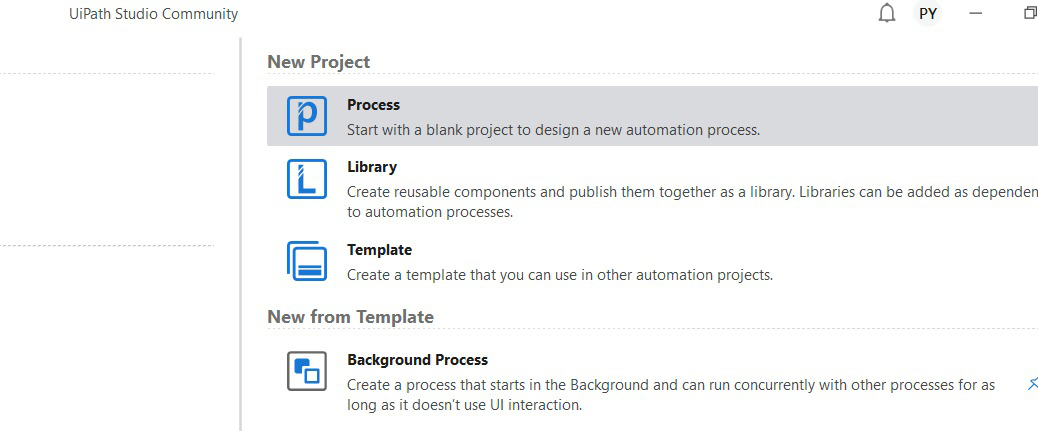
Step 1: Open the Uipath Studio and create a new process by clicking on the Process tab.
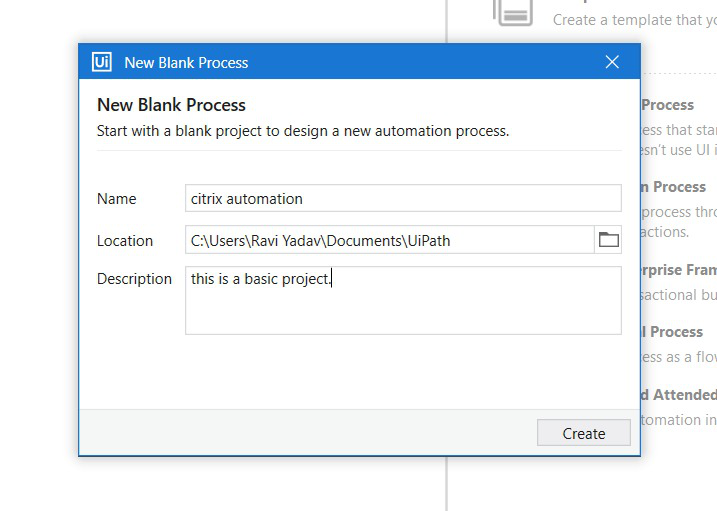
Step 2: Set the name of the process and give a short description then click on Create.
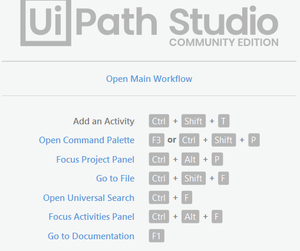
The Uipath studio will automatically load and add all the dependencies of the project. The design page will get opened, click on OPEN MAIN WORKFLOW.

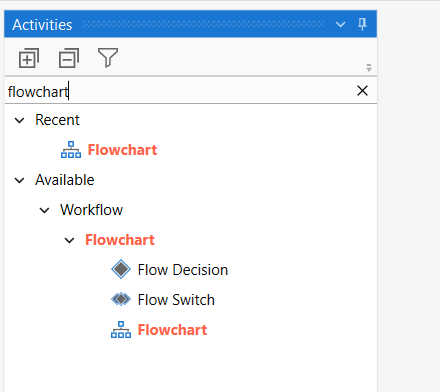
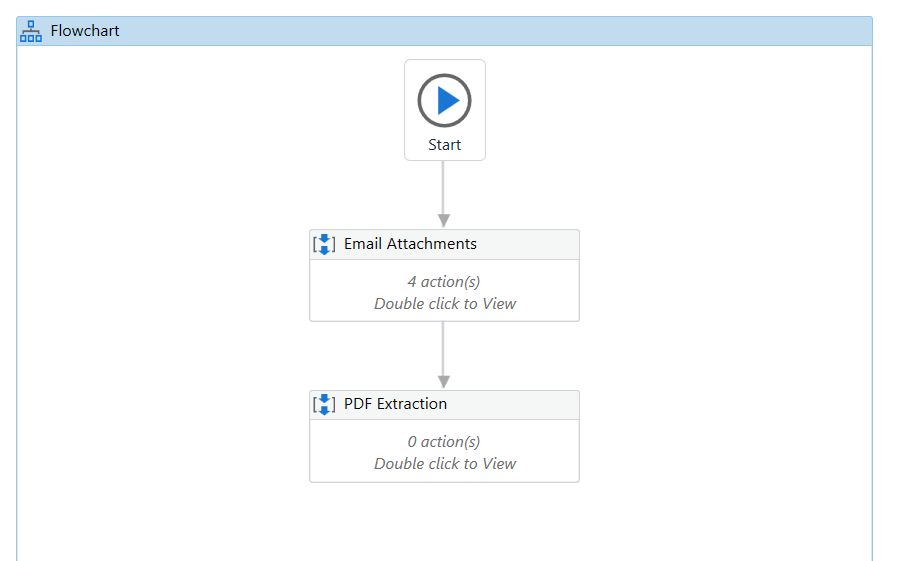
Step 3: Now in the activities panel search for Flowchart activity. Drag and drop it in the designer window.
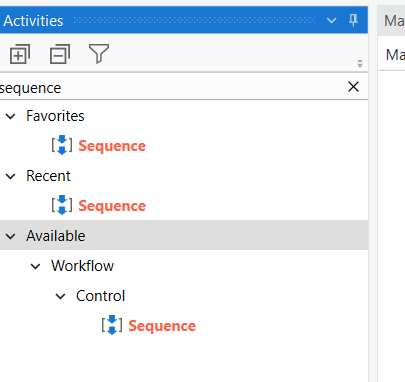
Step 4: Now in the activities panel search for Sequence activity. Drag and drop it in the designer window.
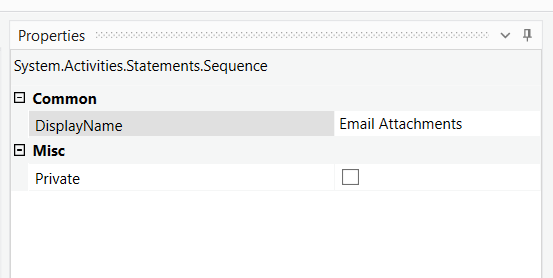
Change the name of the sequence to ‘Email Attachments’ in the properties section.
Double-click on it to add more activities.
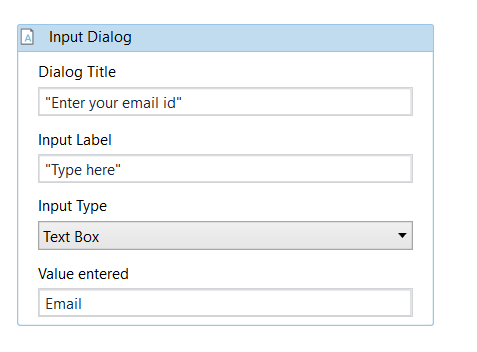
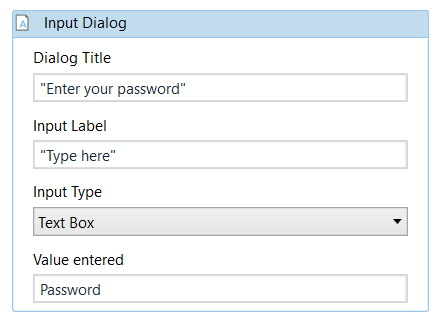
Step 5: Now in the activities panel search for Input Dialog Box activity. Drag and drop it in the Email Attachments sequence.
Double-click on it to enter details. In the Value entered field you need to create a variable ‘Email’ to store the email id entered by the user. Make sure to change the scope of this variable to that of the flowchart.
Step 6: Now again in the activities panel search for Input Dialog Box activity. Drag and drop it in the Email Attachments sequence.
Double-click on it to enter details. In the Value entered field you need to create a variable ‘Password’ to store the password entered by the user. Make sure to change the scope of this variable to that of the flowchart and tick mark the ‘IsPassword‘ field in the properties section.
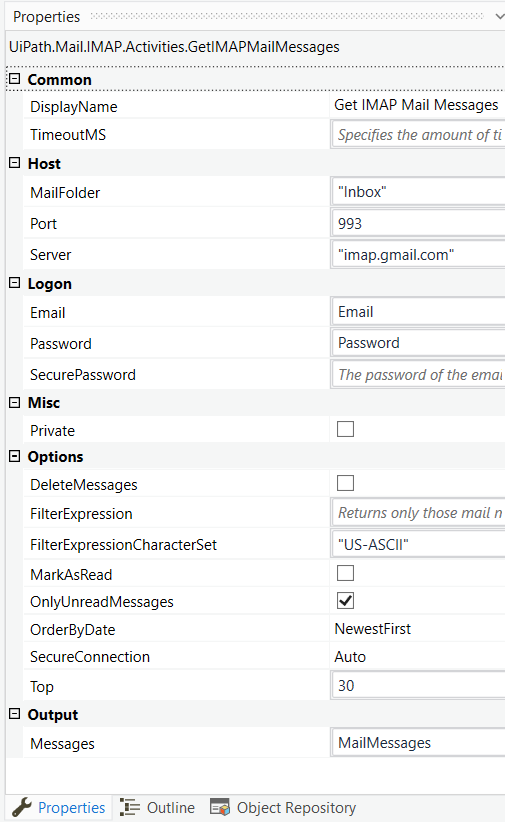
Step 7: Now in the activities panel search for the “Get IMAP Mail Messages” activity. Drag and drop it in the Email Attachments sequence.
Click on it and enter details in the properties section as shown in the image below. You need to create a variable ‘MailMessages‘ in the output field.
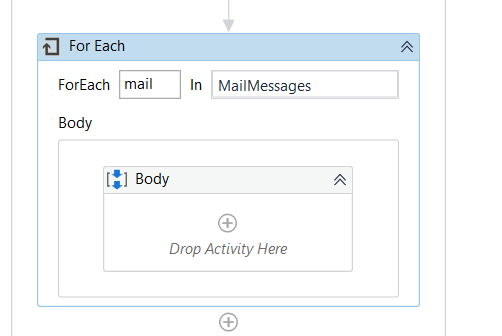
Step 8: Now in the activities panel search for ‘For Each’ activity. Drag and drop it in the Email Attachments sequence.
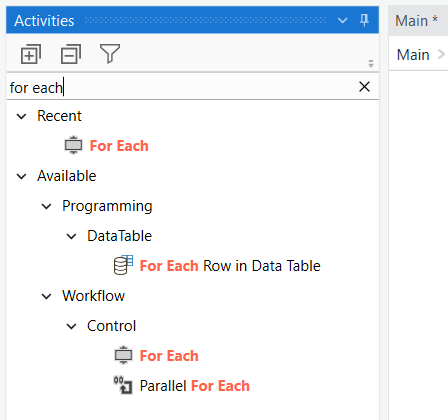
Write mail in place of the item and in the next field pass the MailMessages variable as shown in the image below. Make sure to change the TypeArgument in the properties panel to ‘System.Net.Mail.MailMessage‘.
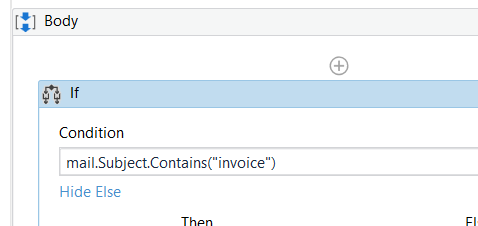
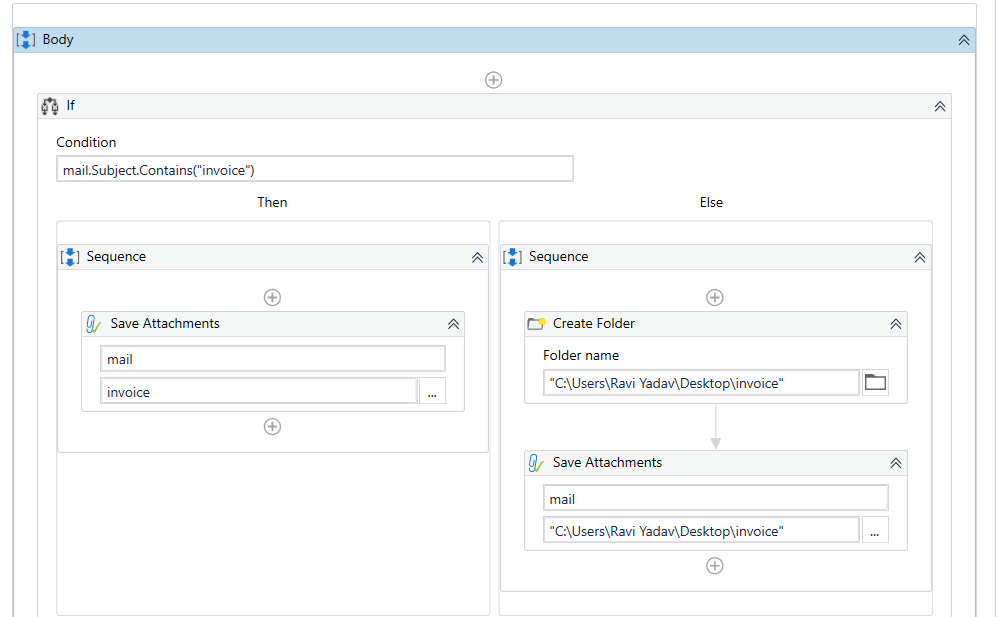
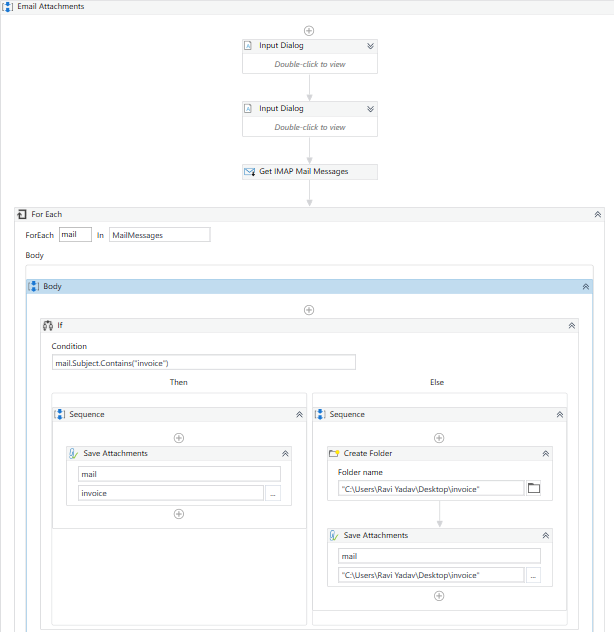
Step 9: Now in the activities panel search for ‘if’ activity. Drag and drop it in the Body.
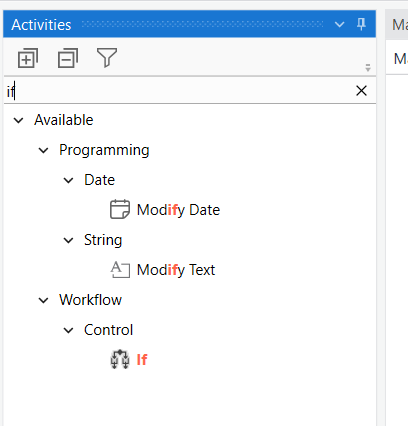
Create a variable ‘invoice’ and set the variable type to ‘string’. Specify the if condition as shown below.
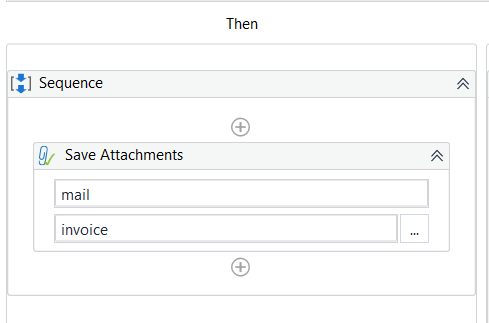
Step 10: Add a sequence in the Then section. Search for the Save attachments activity and drop it in this sequence in the Then section.
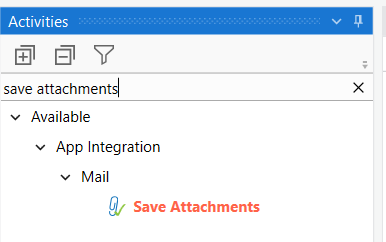
Add details as shown below.
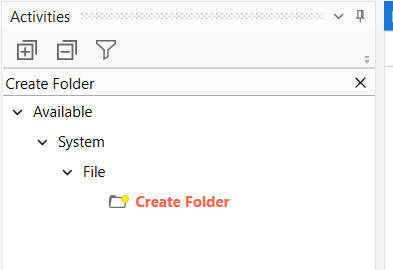
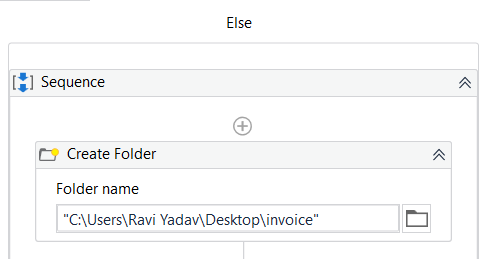
Step 11: Now add a sequence in the else section and inside that sequence add ‘create folder’ activity.
Now pass the location for creating the folder as shown below.
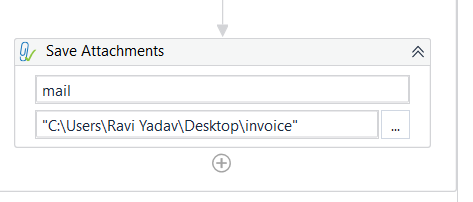
Step 12: Now add save attachments activity below create folder activity and enter details as shown below.
If you follow the same steps then your body section will look like this.
And your Email Attachments sequence will look like this.
Step 13: Add a sequence to the flowchart and change the display name to PDF Extraction.
Double-click on it to add activities inside it.
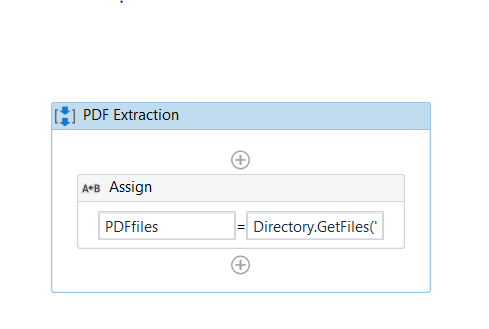
Step 14: Now in the activities panel search for ‘assign’ activity. Drag and drop it in the PDF Extraction sequence.
Create a variable ‘PDFfiles‘ and change the variable type to an array of strings.

Assign the location of the invoice folder that we have created in the Email Attachments sequence to PDFfiles variable. Example: Directory.GetFiles(“C:\Users\Ravi Yadav\Desktop\invoice”)
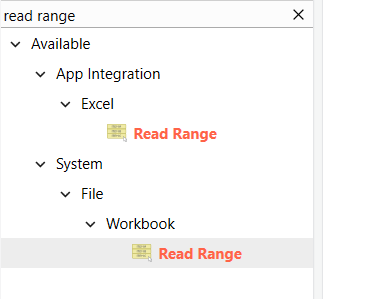
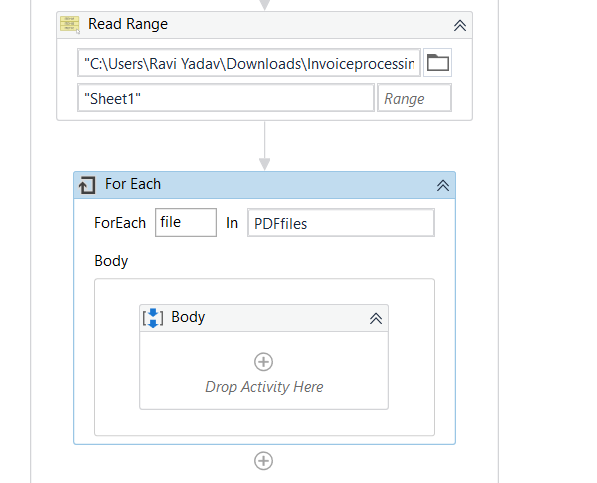
Step 15: Now in the activities panel search for the ‘read range‘ activity of the workbook. Drag and drop it in the PDF Extraction sequence.
Pass the location of the ‘invoicedata‘ Excel file in the read range activity.
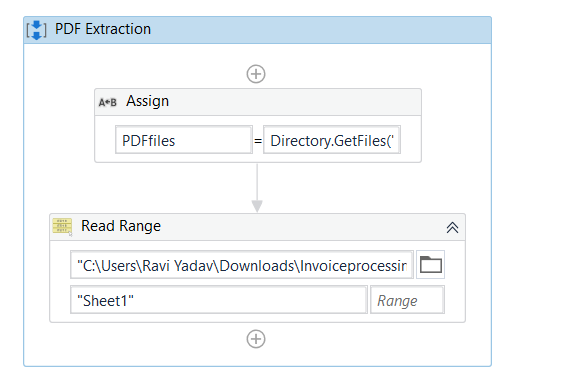
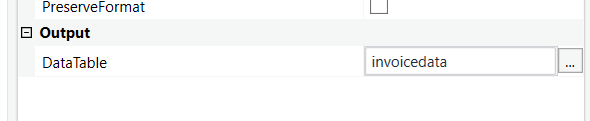
Under the output section in properties, the panel creates a variable ‘invoicedata‘.
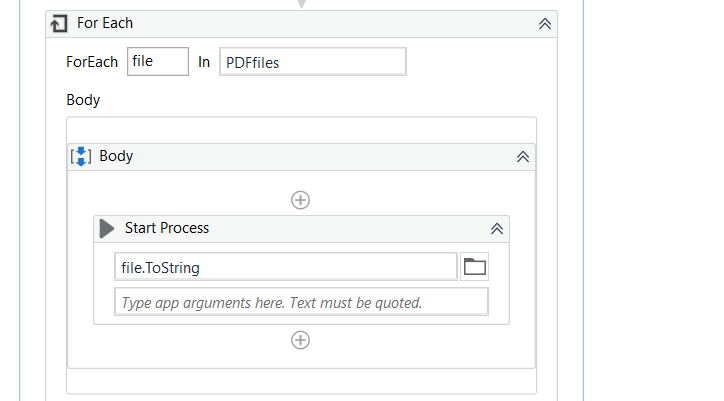
Step 16: Add for each activity and enter values as ‘ForEach file in PDFfiles’ as shown below.
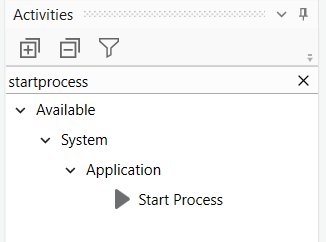
Step 17: Now in the activities panel search for ‘start process’ activity. Drag and drop it in the body.
Enter value – file.ToString in it.
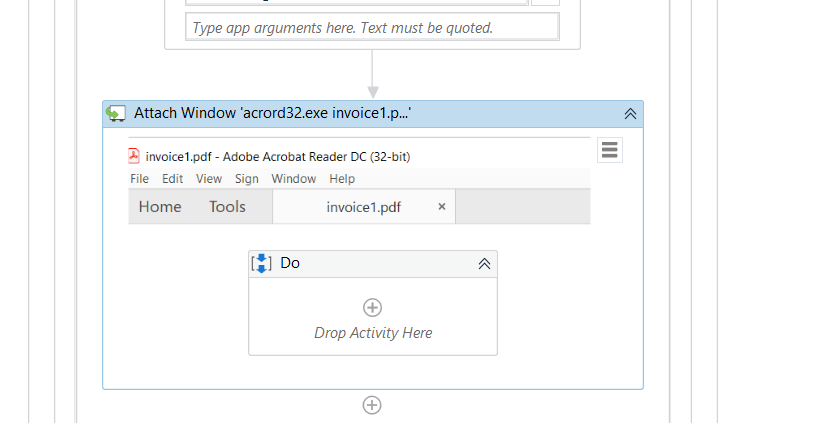
Step 18: Now in the activities panel search for ‘attach window’ activity. Drag and drop it in the body.
Make sure to open any one of the invoices on the background screen so that you can capture the window when clicked upon ‘indicate window on screen’.
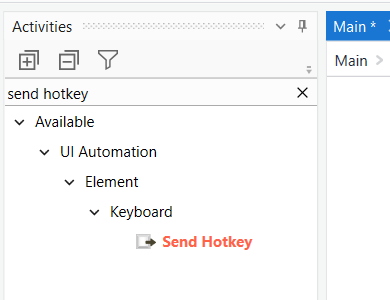
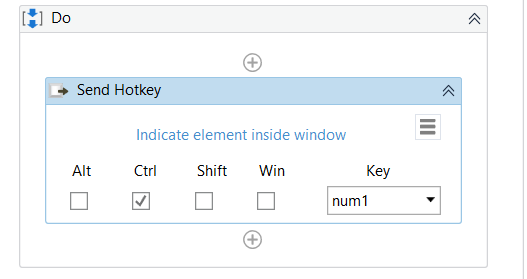
Step 19: Now in the activities panel search for ‘send hotkey’ activity. Drag and drop it in the do section.
Select the ‘ctrl‘ option and write the value ‘num1’ as shown below.
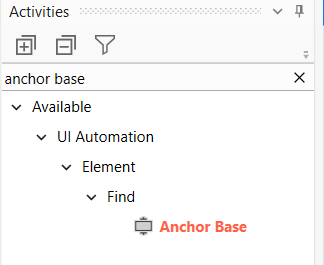
Step 20: Now in the activities panel search for ‘anchor base’ activity. Drag and drop it in the do section.
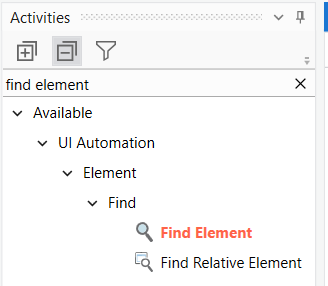
Step 21: Now in the activities panel search for ‘find element’ activity. Drag and drop it in the ‘anchor‘ part of anchor base section.
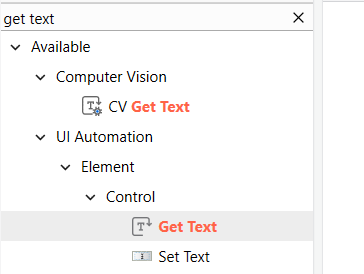
Step 22: Now in the activities panel search for ‘get text’ activity. Drag and drop it in the ‘drop action activity here’ part of anchor base section.
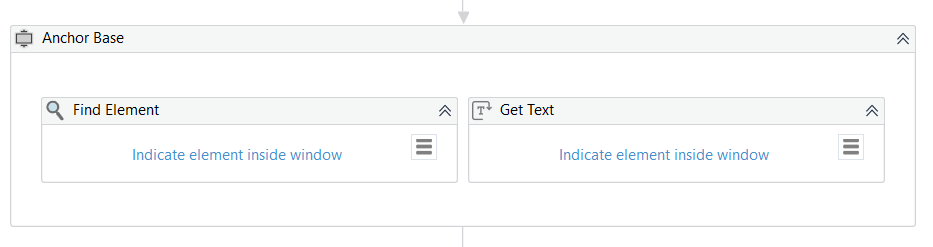
Your AnchorBase will look like this.
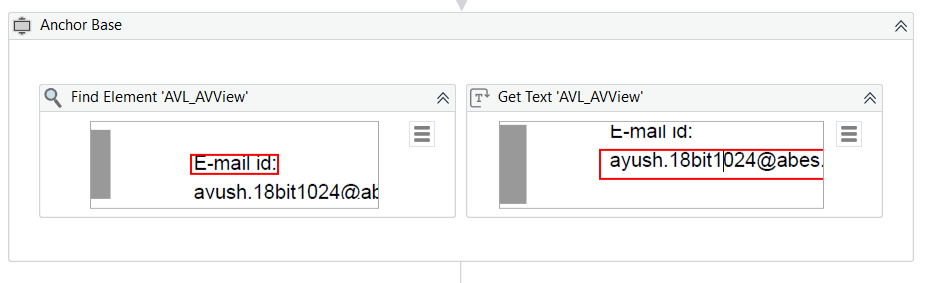
Now in the Find Element part, indicate the keyword E-mail id written in the invoice by selecting it and in the Get Text part, indicate the email address corresponding to the email id. In the properties panel of get text part , create a variable ‘emailId‘ with the type ‘generic value’ under the output tag.
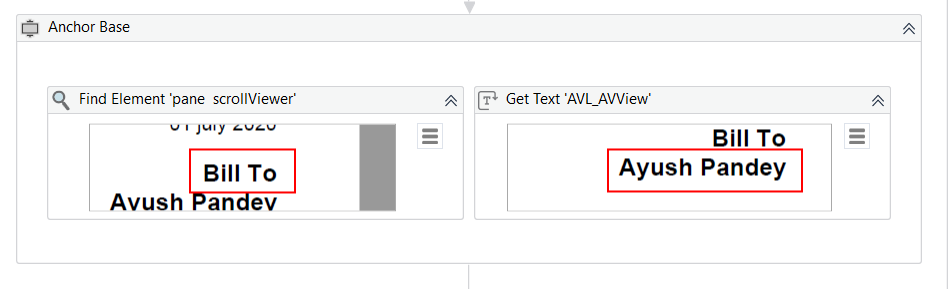
Add another anchorBase activity with find element and get the text as explained above.
Now in the Find Element part, indicate the keyword Bill To written in the invoice by selecting it, and in Get Text part, indicate the Bill to name corresponding to the Bill to. In the properties panel of the Get text part, create a variable ‘BillTo‘ with the type ‘generic value’ under the output tag.
Add another anchorBase activity with find element and the Get text as explained above.
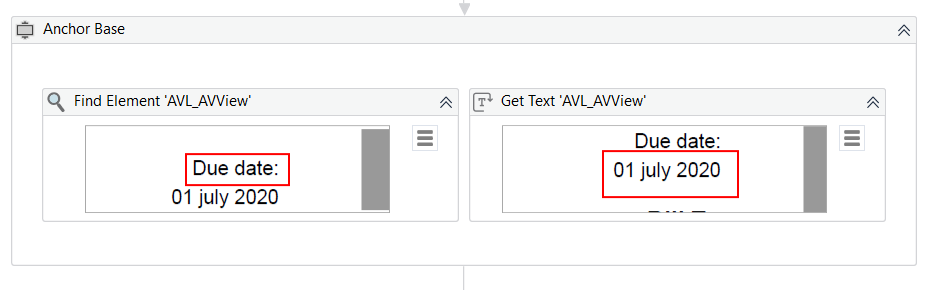
Now in the Find Element part, indicate the keyword Due date written in the invoice by selecting it and in Get Text part, indicate the Due date corresponding to the due date. In the properties panel of get text part , create a variable ‘DueDate’ with the type ‘generic value’ under output tag.
Add another anchorBase activity with find element and get text as explained above.
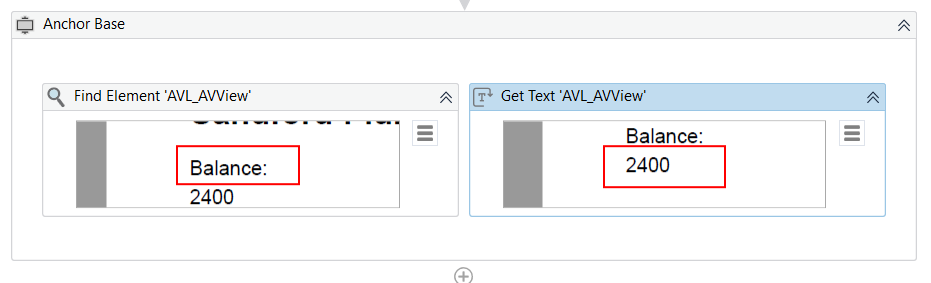
Now in Find Element part, indicate the keyword Balance written in the invoice by selecting it and in Get Text part, indicate the balance corresponding to the balance. In the properties panel of get text part , create a variable ‘Balance’ with the type ‘generic value’ under the output tag.
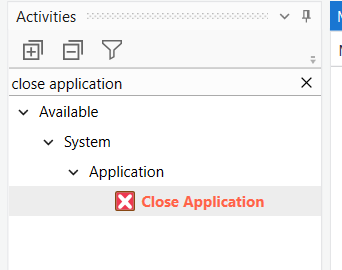
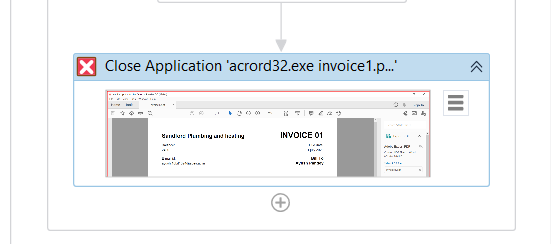
Step 23: Now in the activities panel search for ‘close application’ activity. Drag and drop it in the do section.
Indicate the invoice window in the close application activity.
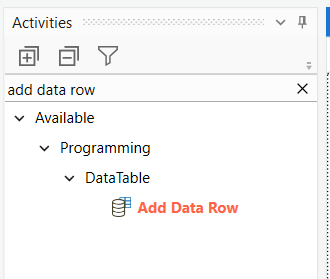
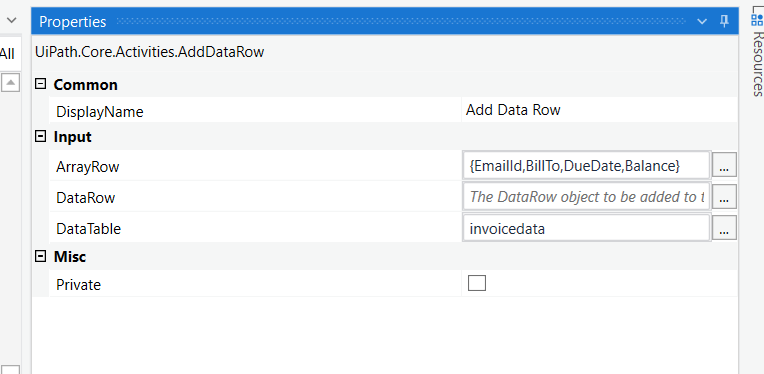
Step 24: Now in the activities panel search for ‘add data row’ activity. Drag and drop it in the do section.
Click on this activity and then in the properties panel, supply the data table ‘invoicedata‘ and array row ‘{EmailId,BillTo,DueDate,Balance}’.
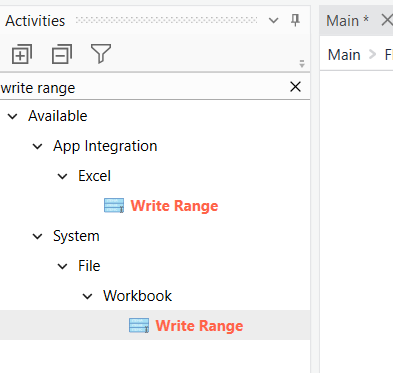
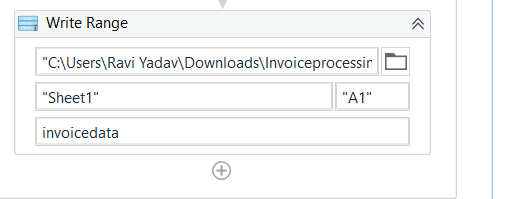
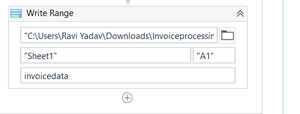
Step 25: Now in the activities panel search for ‘write range’ activity of workbook. Drag and drop it in the do section.
Pass the location of ‘invoicedata‘ Excel file in the workbook path and in the data table write ‘invoicedata‘ as shown below.
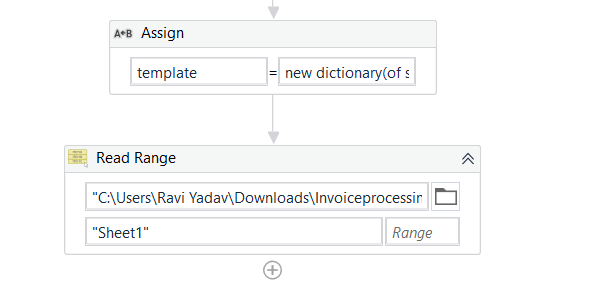
Step 25: Now add assign activity in the PDFExtraction sequence (outside the for each block) and in the ‘To’ field create a variable ‘template’ with variable type as shown below.

And in the expression field write – new dictionary(of string, object)
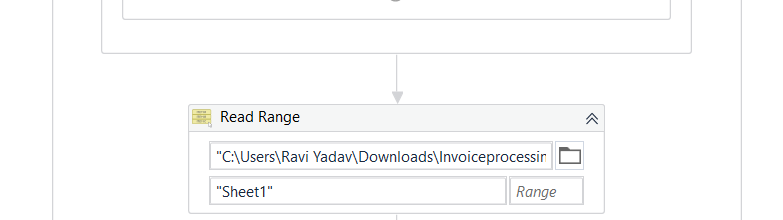
Step 27: Now add a read range activity and pass the location of the ‘template’ Excel file in the path as shown below.
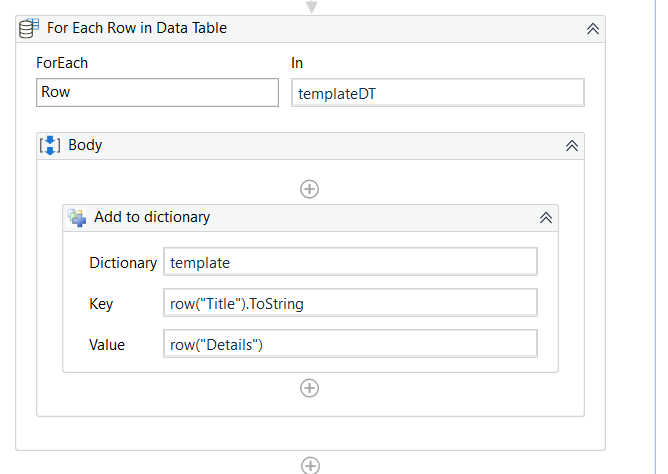
Step 28: Now in the activities panel search for ‘for each row’ activity . Drag and drop it in the do section.
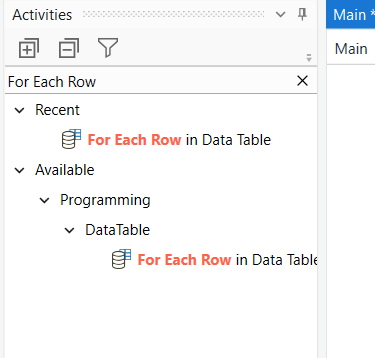
Enter values as for each ‘row’ in templateDT(create this variable for ‘in’ field).In the body add ‘add to dictionary’ activity. For using this activity you need to install Microsoft.Activities.Extensions package.
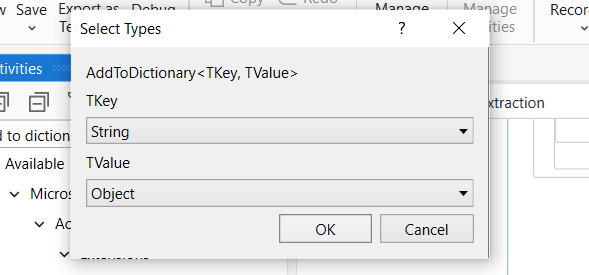
When you are adding this activity in the body a dialog box will appear asking for you to choose the types, choose a string, and object.
Enter the values as shown below.
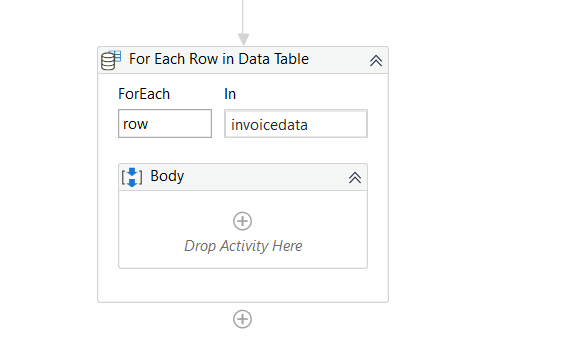
Step 29: Now add read range activity and pass the location of the ‘invoicedata‘ Excel file in the path.
Step 30: Now add for each row activity and write values as :
Step 31: In the body part, add SMTP mail message activity.Enter values as:
To: row("EMAIL").ToString

Subject: convert.ToDateTime(DateTime.Now).ToShortDateString+"_"+template("Subject").ToString

Body: String.Format(template("Body").ToString,row("BILL TO").ToString,row("DUE DATE").ToString,
      row("BALANCE DUE").ToString)
In the properties panel, enter values as:
Port: 587
Server: "smtp.gmail.com"
Email: Email
Password: Password
From: Email
Save the process using the Save button in the design panel and then click on Run. Your bot is ready!!!!
Note: If you face any error in sending mail go to your Gmail account security settings and turn on LESS SECURE APP ACCESS.
You can check out the documentation of uipath on the official doc site.
Share your thoughts in the comments
Please Login to comment...