Robotic Process Automation(RPA) – Google Form Automation using UIPath
Last Updated :
14 Oct, 2020
In this article, we are going to learn how we can automate filling the Google Forms using Uipath Studio. This project is a basic application of Robotic Process Automation (RPA). The user just needs to provide the Excel file that holds the data to be entered in the form and that’s it, rest of the work will be done by the bot that we are going to create using the steps mentioned below:
Note: The Excel file should store data as per the requirement of the Google Form.
Step 1: Create a new process in Uipath Studio by clicking on the Process Tab.
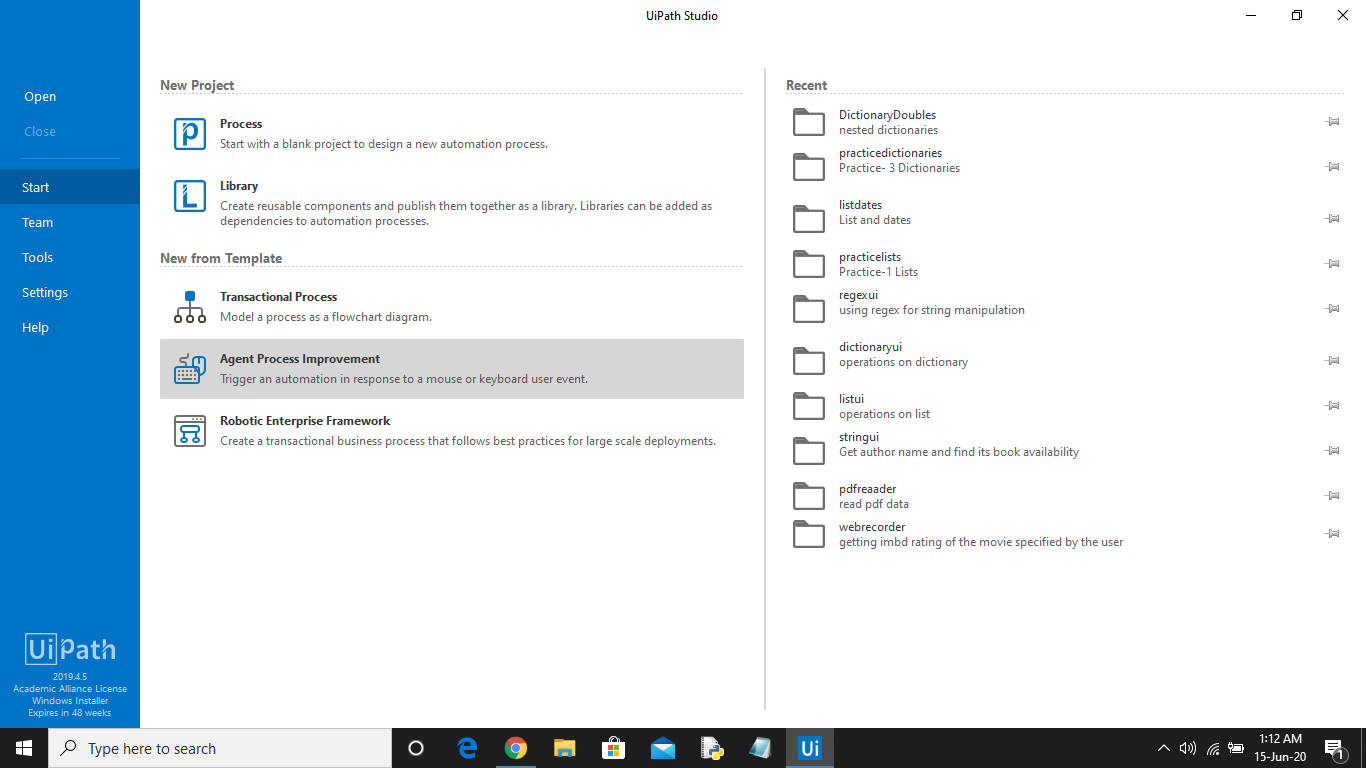
Step 2: Set the name of the process, give a brief description and click on Create. The Uipath studio will automatically load and add all the dependencies of the project.

The following screen will be opened.

Step 3: Now in the activities panel search for Sequence activity. Drag and drop it in the designer window.
Step 4: Now in the activities panel search for Select File activity. Add it to the sequence. This activity will open a select file dialog box for the user to select the file.
Step 5: Now click on the Variables tab to create a variable of string type that will store the path of the Excel file selected by the user. In the properties panel of Select File activity add the variable in the Output area to the Selected File field.

Step 6: In the activities panel search for Excel Application Scope activity. Add it to the sequence. This activity helps you access and manipulate Excel files.
Now pass the variable that stores the file path to this activity.
Step 7: Now in the activities panel search for Read Range activity. You will notice that there are two Read Range activities. Select the one under App Integration. Add it to the Do area of Excel application scope. Specify the SheetName and Range for reading the data.
Now in the Properties Panel of the Read Range activity, in the Output area, select the DataTable tab and press Ctrl+K. This will create a variable of the required type, in this case, DataTable type. Specify the name and press Enter.

Step 8: Now in the activities panel search for Open Browser activity and drag and drop it below Excel Application Scope. Now in the URL field pass the URL of the Google Form that you want to automate.

Step 9: Now search for For Each Row activity in the activities panel and add it to the Do of Open Browser activity.
Now in the Properties Panel of the For Each Row activity specify the DataTable variable created earlier in Read Range activity.

Step 10: Open the Google form in the Internet Explorer in the background. Now search for Type Into activity in the activity panel and add it to the Body of For Each Row activity. Now click on Indicate Screen and select the text field of the form where you want to enter the text. Provide the text in the given format.
row("columnname").tostring
Replace the column name with the column name in your Excel sheet.

Step 11: Repeat Step-10 for all the column headers in your Excel sheet.
Step 12: Now in the activities panel search Click activity and drop it below the last Type Into activity. Click on Indicate Screen and indicate the Submit button of the form.

Step 13: Fill the Google Form with random values once so that you are redirected to submit another response page. Now add another Click activity and indicate the submit another response button.

Step 14: Save the process using the Save button in the design panel and then click on Run. Your bot is ready for automating the Google Forms. The below video displays the working of Bot.
Like Article
Suggest improvement
Share your thoughts in the comments
Please Login to comment...