Spring Data JPA – @Table Annotation
Last Updated :
29 Dec, 2021
Spring Boot is built on the top of the spring and contains all the features of spring. And is becoming a favorite of developers these days because of its rapid production-ready environment which enables the developers to directly focus on the logic instead of struggling with the configuration and setup. Spring Boot is a microservice-based framework and making a production-ready application in it takes very little time. In this article, we will discuss how to add table names to Spring Boot Project. @Table(), the JPA annotation is used for adding the table name in the particular MySQL database.
Syntax:
@Entity
@Table(name=”Student”)
public class Student {
…
}
Attribute:
Name: The name of the table. It is an optional attribute.
Use of @Table annotation in JPA
The @Table annotation allows you to specify the details of the table that will be used to persist the entity in the database. The @Table annotation provides four attributes, allowing you to override the name of the table, its catalog, and its schema, and enforce unique constraints on columns in the table. For now, we are using just the table name which is EMPLOYEE.
@Entity
@Table(name = "EMPLOYEE")
public class Employee {
   @Id @GeneratedValue
   @Column(name = "id")
   private int id;
}
Example
Step 1: Go to this link. Fill in the details as per the requirements. For this application:
Project: Maven
Language: Java
Spring Boot: 2.5.6
Packaging: JAR
Java: 11
Dependencies: Spring Web,Spring Data JPA, MySql Driver
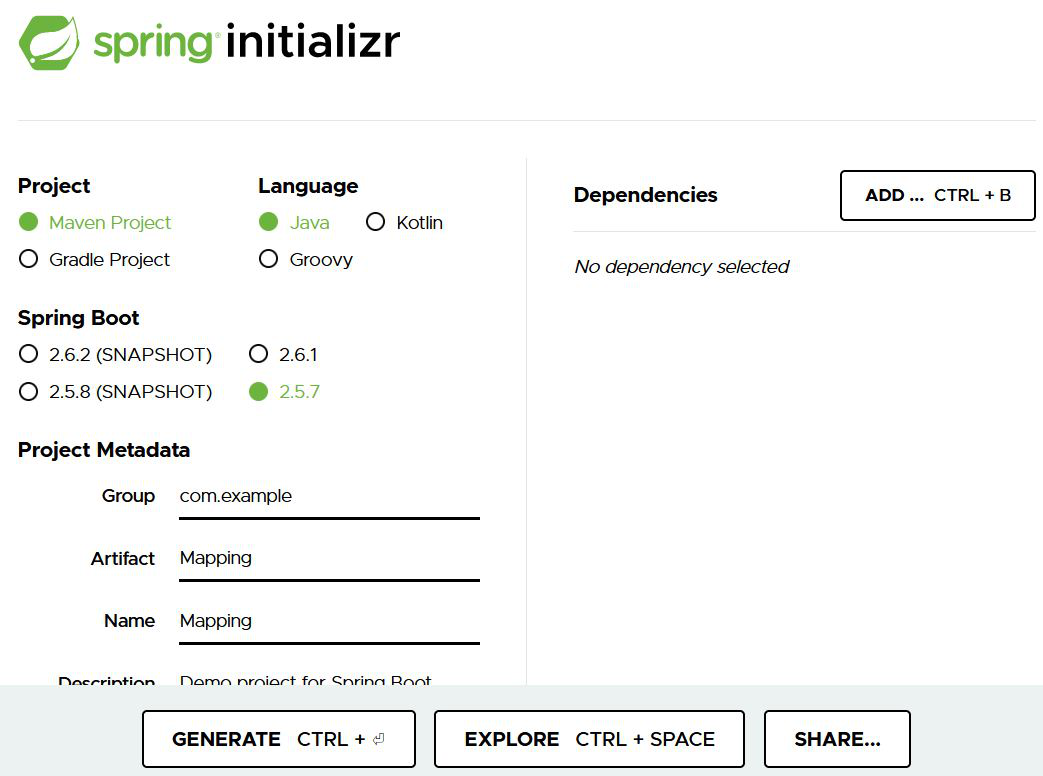
Click on Generate which will download the starter project.
Step 2: Extract the zip file. Now open a suitable IDE and then go to File > New > Project from existing sources > Mapping and select pom.xml. Click on import changes on prompt and wait for the project to sync as pictorially depicted below as follows:

Step 3: Adding the necessary properties in the application.properties file. (mapping is the database name)
spring.datasource.username=root
spring.datasource.password=Aayush
spring.datasource.url=jdbc:mysql://localhost:3306/mapping
spring.jpa.hibernate.ddl-auto=update
Step 4: Create a model folder in the project folder and make a StudentInformation class.
ProjectStrucuture:

StudentInformation.java
Java
package com.example.Mapping.Models;
import java.util.*;
import javax.persistence.*;
@Entity
@Table(name = "Student")
public class StudentInformation {
@Id
@GeneratedValue(strategy = GenerationType.IDENTITY)
private int rollno;
private String name;
public int getRollno() { return rollno; }
public StudentInformation() {}
public StudentInformation(int rollno, String name)
{
this.rollno = rollno;
this.name = name;
}
public void setRollno(int rollno)
{
this.rollno = rollno;
}
public String getName() { return name; }
public void setName(String name) { this.name = name; }
}
|
Run the main application:
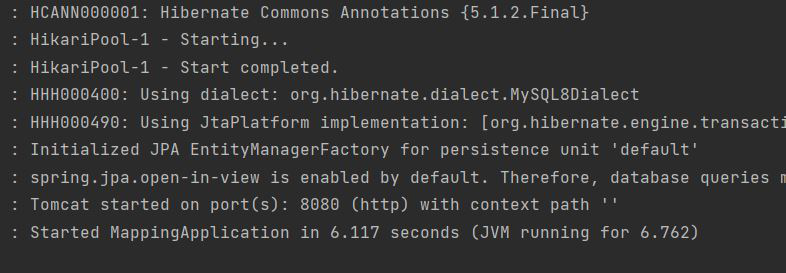
Database output:

Share your thoughts in the comments
Please Login to comment...