Microsoft Azure – Create Web Apps in Azure
Last Updated :
30 Mar, 2023
Here, In this article, we’ll see how we can create an App Service Web App which lets you quickly build, deploy, and scale enterprise-grade web, mobile, and API apps running on any platform. App Service allows you to select your runtime stack (available stacks: Python, .Net, Java, PHP, Node, Ruby) while creating a web app. Azure Web App provides great benefits like high performance, scalability, high security, and compliance requirements while using a fully managed platform to perform infrastructure maintenance.
Prerequisites:
- App Service Plan should be created first before creating a Web App.
- Before getting started please do check out this article.
Implementation:
Follow the below steps to create a Web App in Azure:
Step 1: Log in to Azure Portal.
Step 2: Access App Service from azure global search and Click Create.
Step 3: Select Basic >> under Project Details select your active azure subscription and resource group.
Step 4: Under Instance Details:
- App Name: Enter unique https://<app_name>.azurewebsites.net app name.
- publish type: Select your type either code or Docker Container.
- Select your runtime stack (available stacks: Python, .Net, Java, PHP, Node, Ruby).
- Region: Select your app deployment region (Note: Select your region where your Azure Service Plan deployed.).
- Select the App Service Plan you have already deployed.

Step 5: Click on Review + create then verify all your deployment details and Click Create
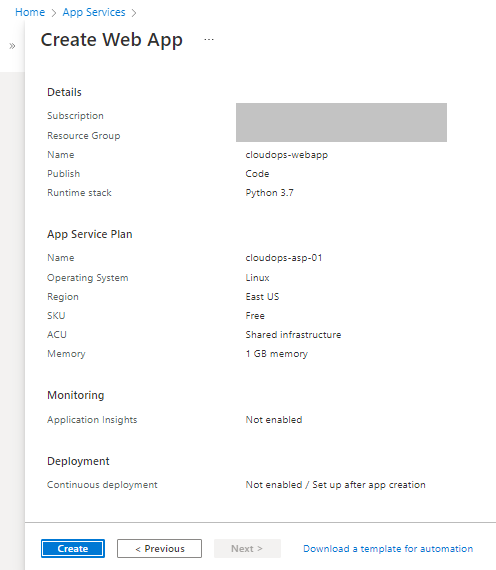
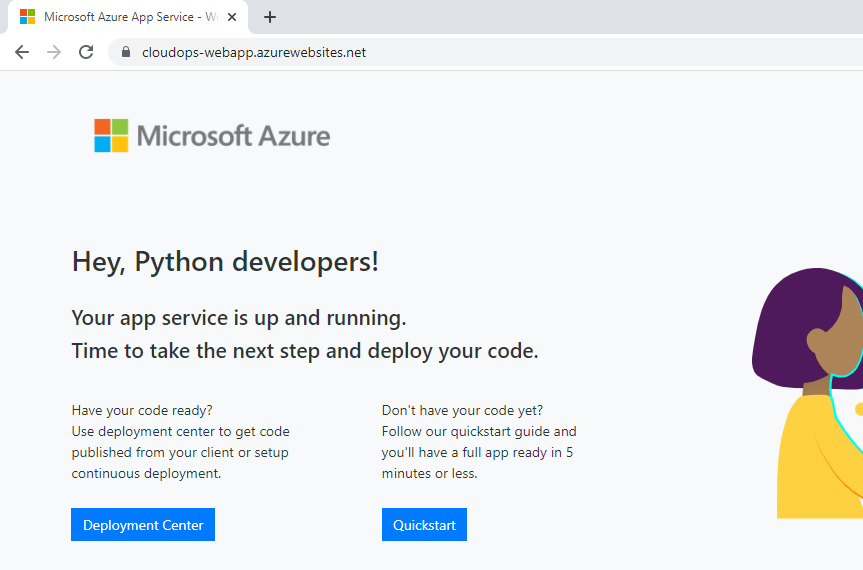
Once the deployment is done, you can open the deployment section from there you can click on browse to view the default home page.
Share your thoughts in the comments
Please Login to comment...