Microsoft Azure – Migrating From MySQL to Cloud
Last Updated :
31 Mar, 2023
In this article, we will learn how to migrate your MySQL database to Azure. Here we are going to migrate an existing MySQL database to an Azure Database for MySQL. There are many ways to do that, and we’ll use MySQL Workbench to do it.
To follow along, you need an existing MySQL database that can be accessed from Azure. If you don’t have one, you can create a MySQL server in an Azure VM and run a SQL script with sample data, which you can find over the internet. You’ll also need to install MySQL Workbench in a place that can access your existing database and Azure.
Step 1: We’ll start by creating an Azure Database for MySQL server in the Azure portal.
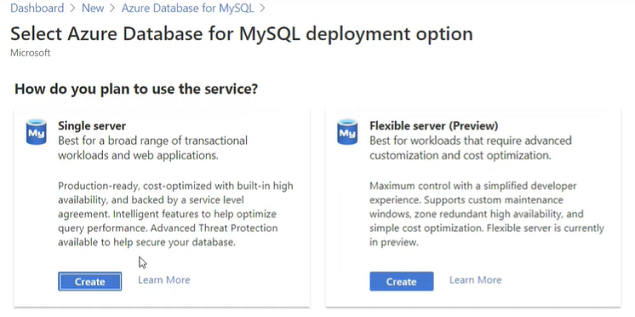
Step 2: Now we’ll select Single server.
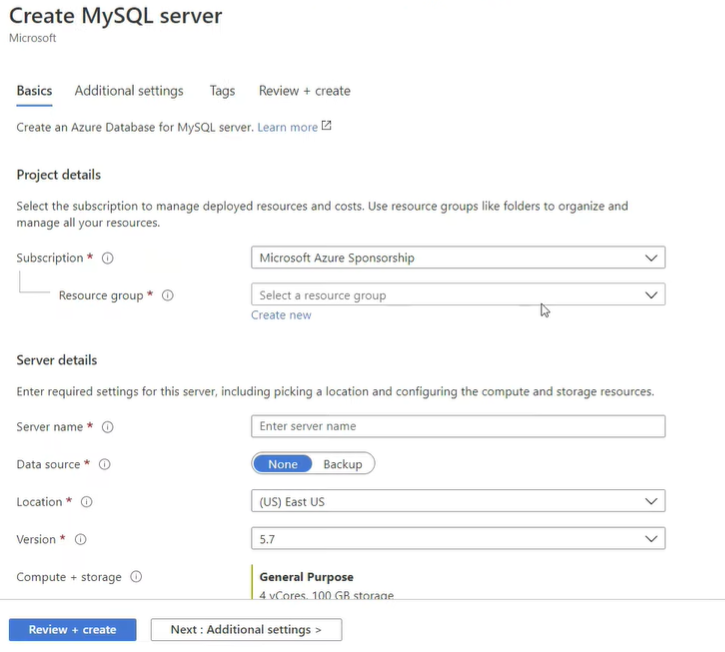
Step 3: Then select a Resource group, and next, fill in a server name. Here we’ll put in a username for the server, and now also a password for it. Finally, confirm the password and click on Create.
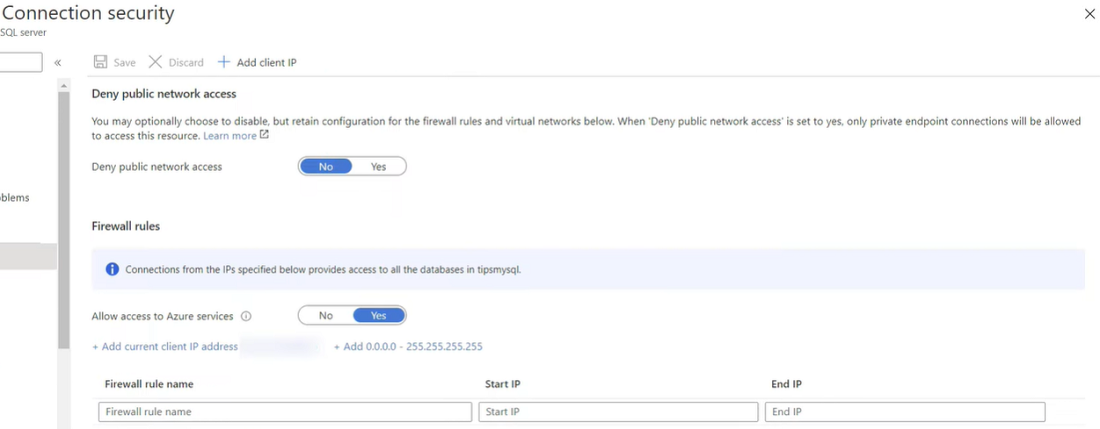
Step 4: Before we can migrate data to it, we need to make sure that we can access it. For that we don’t deny public network access and the allow access to Azure services setting is enabled. You might also need to add your IP address to the firewall before it works for you.
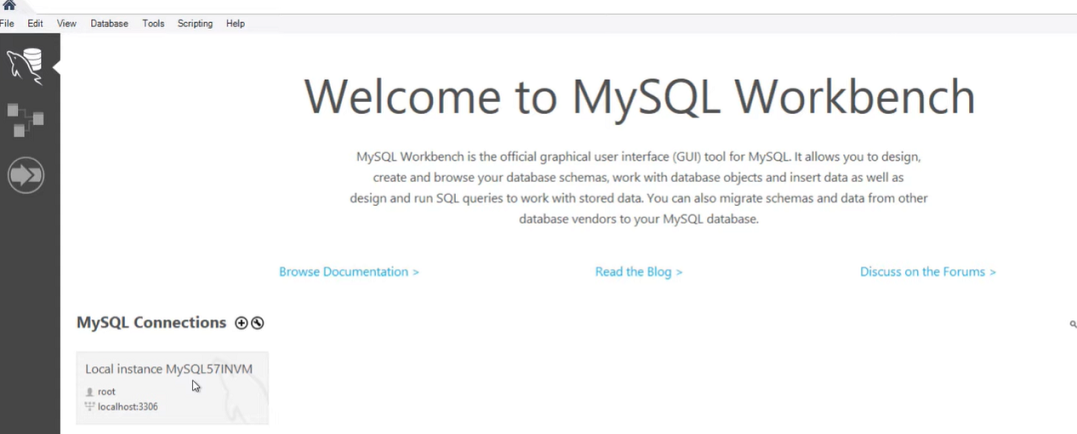
Step 5: Now navigate to the MySQL Workbench. This is running on our local machine, which is connected to our Azure subscription with an Azure express route connection. Wherever your MySQL database is located, you need to make sure that it can connect to Azure.
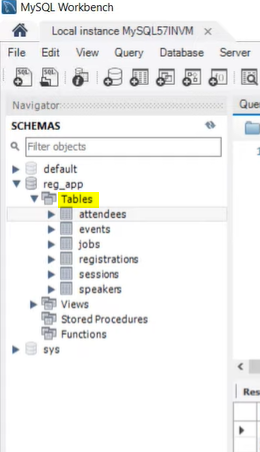
Step 6: Now let’s connect to the MySQL database. The below image shows the schema and tables of the database.
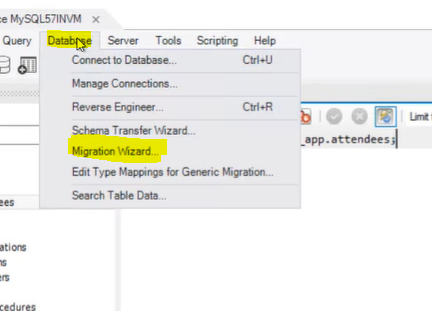
In here, you can go to Database -> Migration Wizard. We can use this wizard to migrate our data.
The below image shows our source database, in our existing MySQL.
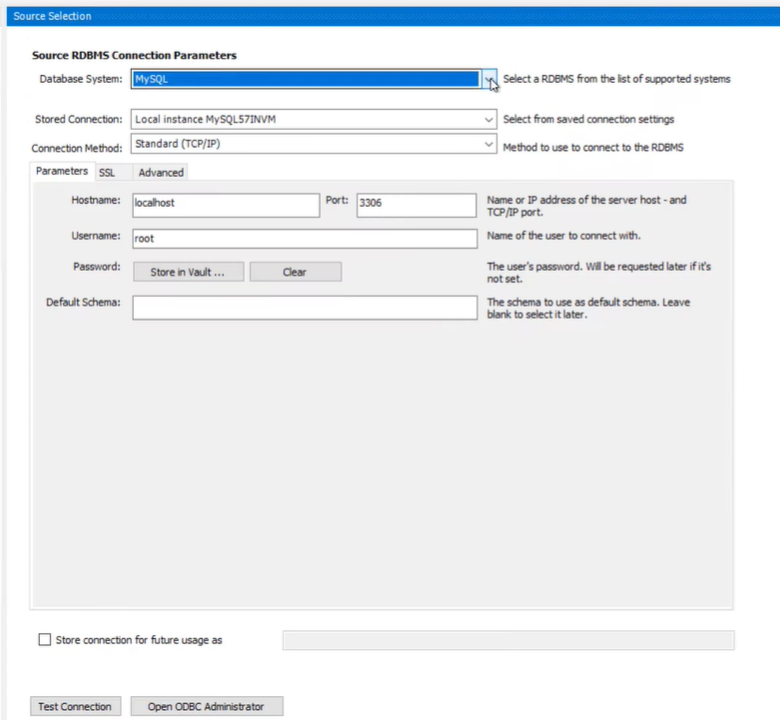
Step 7: Next, now let’s add our Azure MySQL as a new connection. There is a Hostname for it, which you can find in the Connection string blade of the server in the Azure portal. And add in the username and the password.
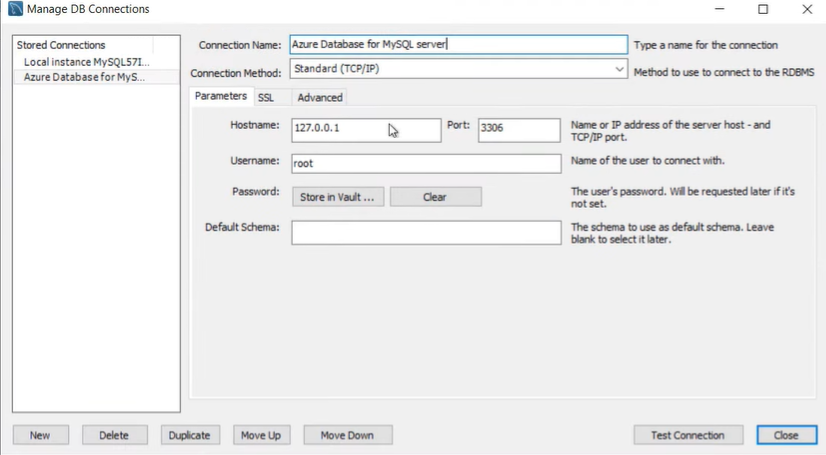
So now we have the source and target. Next, now it will check the schema.
Step 8:Now we will pick the schema to migrate this one.
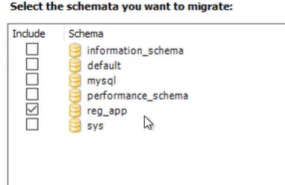
Depending upon what you want to only migrate ie, tables and/or views, make the selection. Here we will only migrate our tables. Then it will create the SQL scripts for migration.
Step 9: Then we’ll choose to do an online migration.
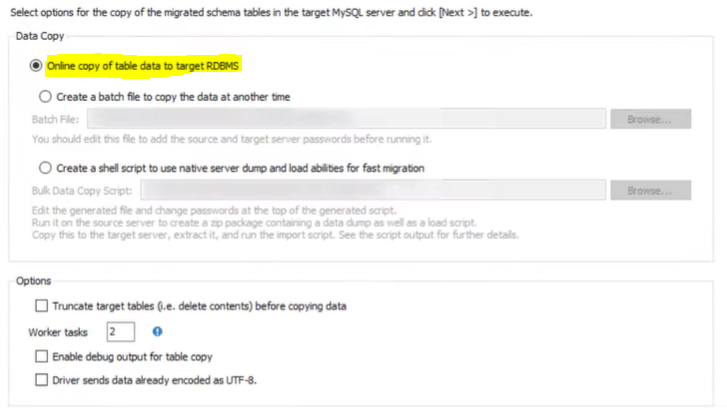
At this point, you have successfully migrated your database to the cloud.
We can also create a batch file or script to migrate the data. When you migrate your MySQL database to Azure, you let Azure take care of running your database and making it highly available, secure, scalable and performant, so that you can focus on building applications that add value.
Like Article
Suggest improvement
Share your thoughts in the comments
Please Login to comment...