Microsoft Azure Arc Enabled Kubernetes
Last Updated :
03 Apr, 2023
In this article we will learn how to get started with Azure Arc enabled Kubernetes in the Azure Portal. Azure Arc enables Kubernetes lets you connect to Azure those Kubernetes clusters which are running outside of Azure. So, these clusters could be running on-premises, on the edge, or on other clouds, and you can use Azure Arc to enable Kubernetes to connect to Azure and then use the powerful Azure management tools like Azure Monitor, Azure Policy, GitOps configuration, so on to manage these clusters.
Implementation:
As you search for Kubernetes, the Kubernetes Azure Arc result surfaced. Clicking on which will open the browse view for all the on-premises Kubernetes clusters which have already registered with Azure Arc. Now to register a new cluster, you click on this button, which will open the cluster registration blade. The first app here mentions a bunch of prerequisites, which you need to make sure you square off before proceeding.

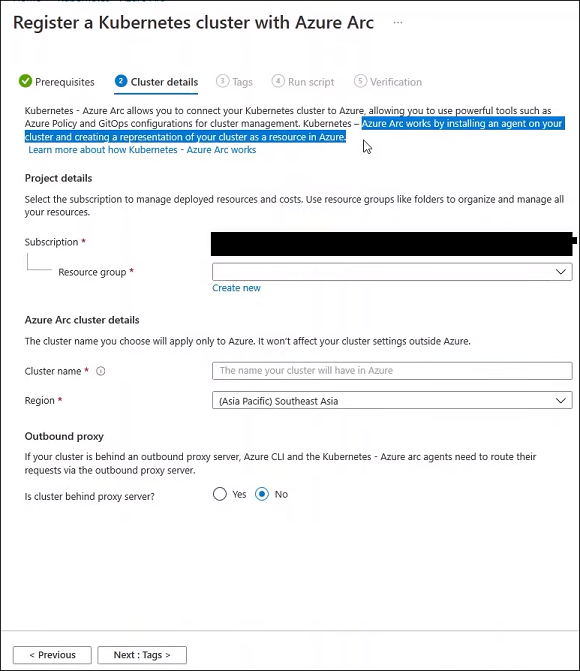
Now to register a cluster, you need to first create its representation on Azure and then install the Azure Arc agent on this on-premises cluster. This cluster name will be used for identifying this on-premises cluster. This name can be any name and does not have to be the same as the actual cluster name. Next, you will choose where in Azure you want this to be located. At this point, you only need to provide additional information if your cluster is behind an outbound proxy server. If not, you can just move ahead.
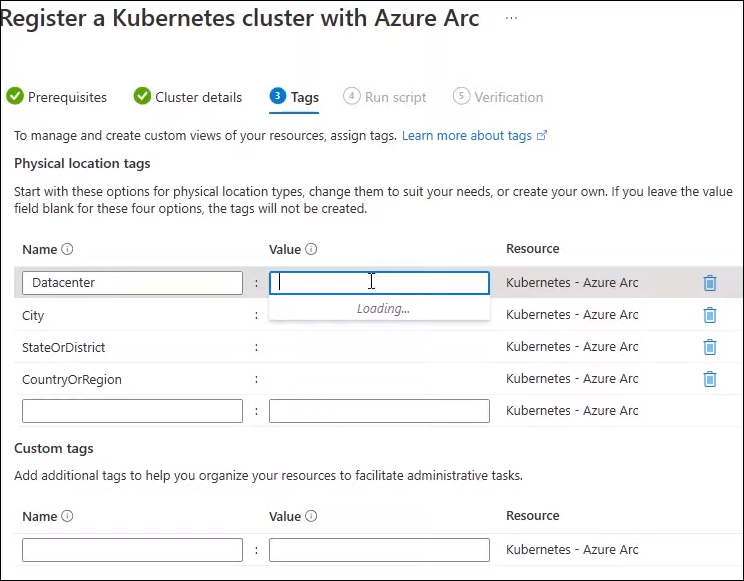
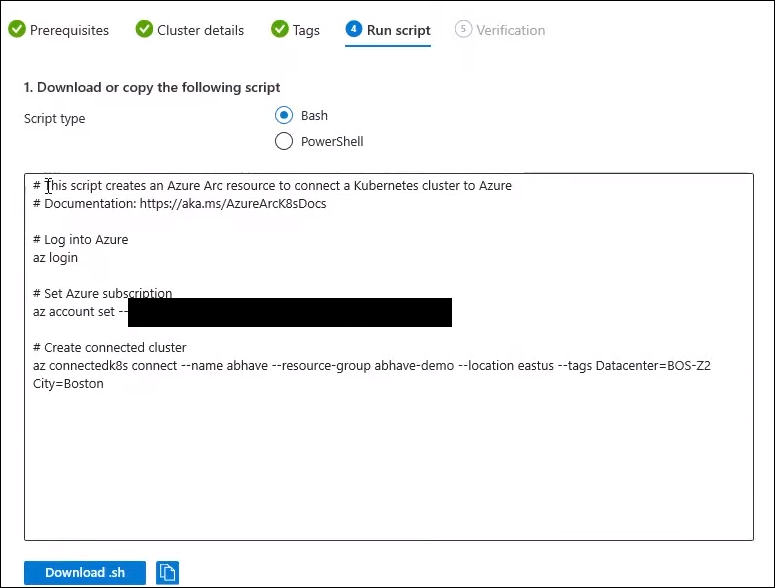
A point to note is you can optionally use the physical location tags to represent where this cluster lives outside of Azure. For example, you can go to specify the Boston Data Center as the location of your cluster. At this point your script is ready.
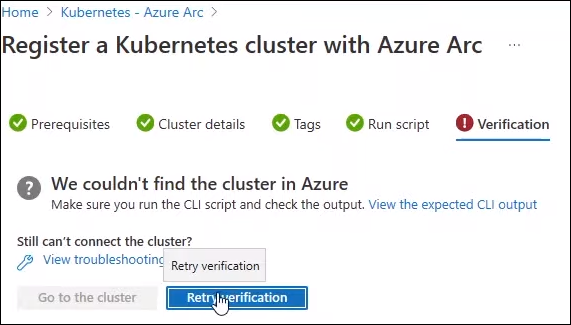
You can download it and run it on your on-premises cluster, which will install the Azure Arc agent and register the cluster with Azure. Note that this step needs to be performed outside of the portal. But you can verify on the portal itself whether the agent has been successfully installed or not because as soon as the cluster is registered, the button “Go to the cluster” will be enabled and you will be able to click on this button to view and manage my cluster.
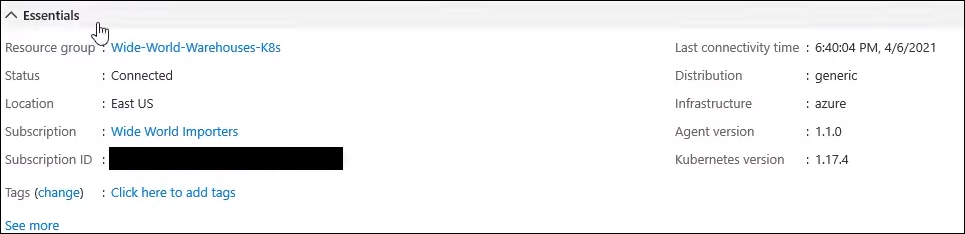
Now let’s go back to the list of clusters that you had already shown before and select one of the clusters to read the details. . So in this clusters view, you can see that the cluster is already connected to Azure and you can also see other essential details like the Kubernetes distribution, infrastructure, Kubernetes version, etc.
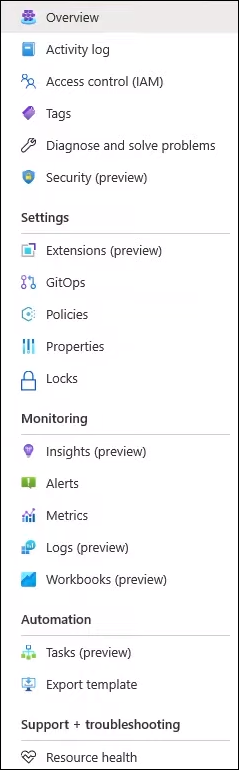
Now, you can use the left-side resource menu to discover the various capabilities that Azure has to offer to manage this cluster. For example, if you go to the Insights tab, you can set up monitoring of your cluster using Azure Monitor for containers. Or you can go to the GitOps tab and set up the GitOps capability which will help me deploy the applications and configuration to your cluster. You can even go to this policies tab using which you will be able to use Azure Policies for your Kubernetes. Or, you can go to the security tab and check if there are any security recommendations for your cluster.
Hence, this is how you can get started with Azure Arc-enabled Kubernetes in the Azure Portal.
Like Article
Suggest improvement
Share your thoughts in the comments
Please Login to comment...