Microsoft Azure – Resize a Azure Virtual Machine for Windows or Linux Servers
Last Updated :
31 Mar, 2023
In this article, we will look into the process of resizing Azure VM size for Linux and Windows servers.
Implementation:
Follow the below steps to resize a Azure Virtual Machine with new size.
Note: The Process is same for both the Windows and Linux OS Servers.
Step 1: Log in to Azure Portal.
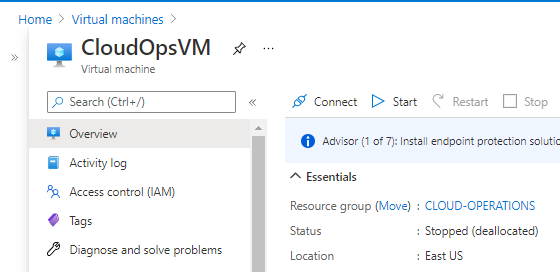
Step 2: Go to Virtual Machines and select your Virtual Machine which you want to resize.
Step 3: Before resizing we have to stop the running server. Click on “Stop” to stop the running VM. Wait un-till you get the Status : Stopped (deallocated) and then go to next step for resize. If already in Stopped (deallocated) Status go to next step.
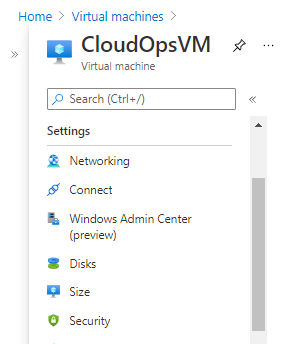
Step 4: Now, from the left menu navigate to Settings >> Click on Size
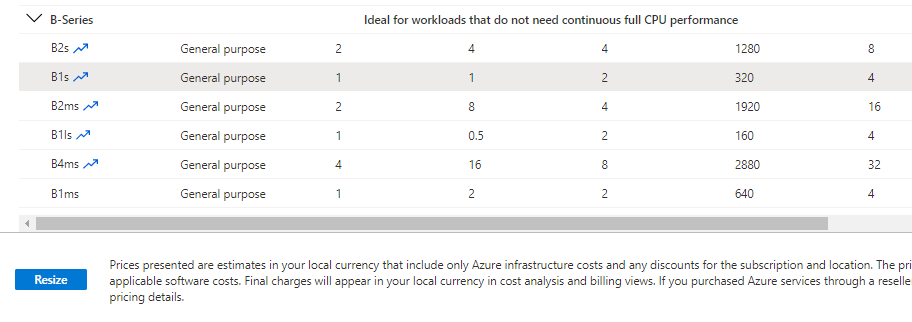
- Expand the Series you want and select your preferred new size.
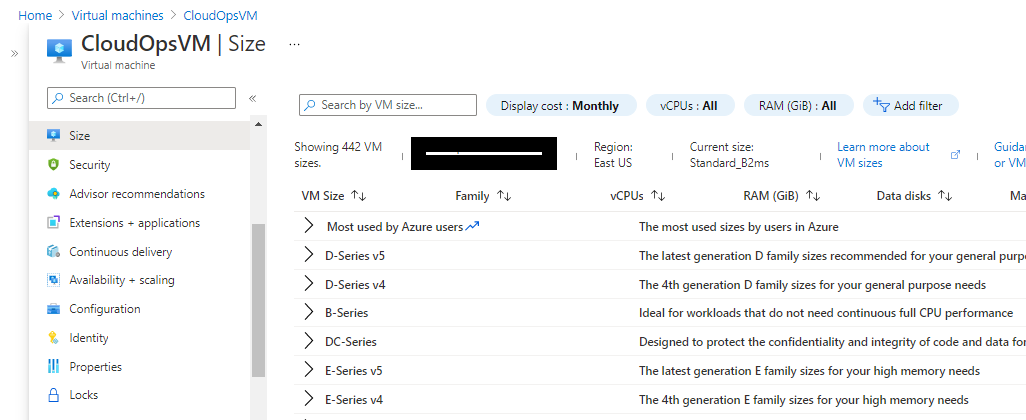
Note: Before selecting the size always check the price of a VM. Use Azure pricing calculator to forecast the cost of a VM.
Step 5: After selecting your size >> Click on below “Resize” button
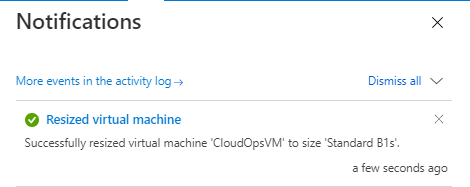
Step 6: Once the VM resize is done, you will get a notification like the following (refer below screenshot)
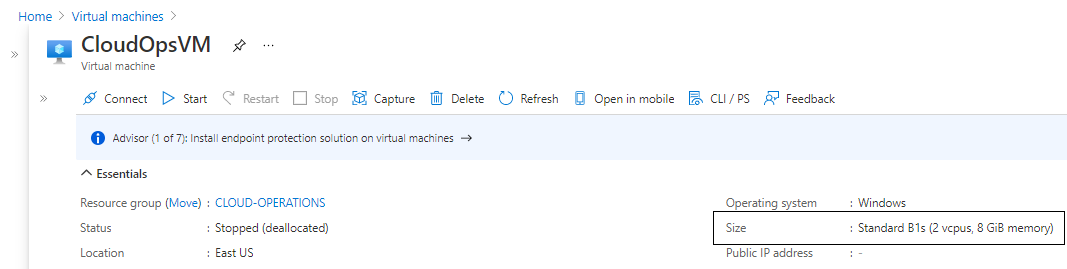
Step 7: Now on the same page navigate to the overview section from the left menu and then expand Essentials to verify the new size.
- You can verify from below screen that it was resized with Standard B1s from Standard B2s.
- Then, Click on Start to start a stopped VM.
That’s it you are done.
Like Article
Suggest improvement
Share your thoughts in the comments
Please Login to comment...