How to use update-alternatives
Last Updated :
16 Nov, 2023
In the Ubuntu environment, adding NeoVim (nvim) to update-alternates while using Snap manager mainly involves the process of creating a symbolic link to the nvim executable in a directory listed in the system’s PATH. Snap packages are mainly isolated, so their binaries might not be automatically included in update-alternatives. To resolve this, we need to manually create a symbolic link from the nvim executable within the Snap package to the directory. In this article, we will see how we can add nvim to update-alternatives when using snap under Ubuntu.
What is Snap in Ubuntu?
Snap in Ubuntu is a software package manager similar to the apt manager which is developed by Canonical. This package manager allows developers to package their applications and all the related dependencies into he single container, which makes it easy to distribute and also install software over different Linux distributions. Snap packages are created to be self-contained with all the essential libraries and all the dependencies bundled together making sure that the application runs consistently over the Linux systems.
Installation of Snap in Ubuntu
Follow the below steps to install the Snap package manager in the Ubuntu Operating System without encountering any issue or error.
Step 1: First update the system with all the latest packages by using the apt package manager. Execute the below command in the terminal to update the system.
sudo apt update
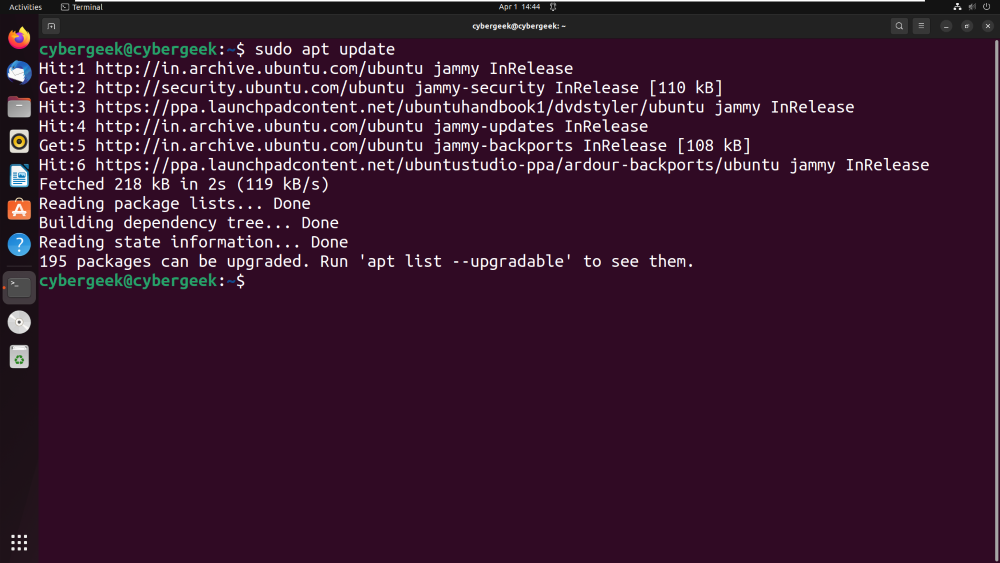
Updating System
Step 2: After updating the system, install the Snap daemon, which is the background service required for managing and running Snap packages.
sudo apt install snapd

Installing Snap Daemon
Step 3: After installing the daemon, start and enable the Snap socket for communication between the system and the Snap daemon.
sudo systemctl enable --now snapd.socket

Starting Snap Daemon
What is Nvim in Ubuntu?
Neovim or nvim, is a text editor that serves as an extension of the original Vim (Vi Improved). It runs on various operating systems, including Linux, macOS, and Windows. Neovim aims to improve upon Vim by adding new features, enhancing extensibility, and providing a more maintainable codebase. It’s particularly popular among developers and system administrators for its powerful editing capabilities and flexibility.
Installation of NVim in Ubuntu
Follow the below steps to install the NVim application on the Ubuntu system using Snap Manager:
Step 1: First update the system with all the latest packages by using the apt package manager. Execute the below command in the terminal to update the system.
sudo apt update
Updating System
Step 2: Now, install the Neovim application using Snap Manager by executing the below command in the terminal.
sudo snap install --classic nvim

Installing NVim
How to add NVim to update-alternatives when using Snap under Ubuntu?
To add NVim to update-alternatives when using Snap under Ubuntu, we can do this by using two different methods. Below we have listed both these methods:
- Method 1: Using update-alternatives
- Method 2: Manual Symlink
So let’s see both these methods in detail.
Method 1: Using update-alternatives
In this method, we will be using the update-alternatives. Follow the below specified steps:
Step 1: Firstly, confirm the location of the Neovim binary installed via snap, typically located in the /snap/bin/ directory. Execute the below command to confirm the location.
which nvim

Find the Path to Snap’s Binary
Step 2: Then, integrate Neovim into the alternatives system, setting a priority of 100 for the snap version. Use the below command to integrate.
sudo update-alternatives --install /usr/bin/nvim nvim /snap/bin/nvim 100

Add to update-alternatives
Step 3: Choose the alternative configuration for Neovim using update-alternatives. Select the number corresponding to the snap version.
sudo update-alternatives --config nvim

Configure the Alternative
Step 4: Confirm the alternative configuration for Neovim using update-alternatives –display nvim.
update-alternatives --display nvim

Verify Alternative Configuration
Step 5: Ensure that the version of Neovim displayed using nvim –version is the one installed via snap.
nvim --version

Verify Installation
Method 2: Manual Symlink
In this method, we will be creating a manual symlink. Follow the below-specified steps with the given commands.
Step 1: Firstly, confirm the location of the Neovim binary installed via snap, typically located in the /snap/bin/ directory. Execute the below command to confirm the location.
which nvim

Find the Path to Snap’s Binary
Step 2: Now by using the below command in the terminal, establish a symbolic link from the snap Neovim binary to /usr/bin/nvim.
sudo ln -s /snap/bin/nvim /usr/bin/nvim

Create a Symlink
Step 3: Confirm the existence and correctness of the symlink using the below command in the terminal.
ls -l /usr/bin/nvim

Verify the Symlink
Step 4: Ensure that the version of Neovim displayed using nvim –version is the one installed via snap.
nvim --version

Verify Installation
Conclusion
In conclusion, integrating Neovim installed via Snap into Ubuntu’s update-alternatives system can be achieved through two methods. The first method involves using the update-alternatives command to seamlessly integrate Neovim with specified priorities, while the second method manually creates a symbolic link for Neovim. Both approaches enhance the accessibility and system-wide integration of Neovim, providing flexibility in usage for users on Ubuntu.
Share your thoughts in the comments
Please Login to comment...