In the Linux Operating System, we use different administrative commands to control and manage the system. To perform the administrative work on the system, we use sudo as the main primary command. sudo in Linux is the command utility that allows us to execute the commands with superuser privileges. The main goal of the sudo command is to allow non-privileged users to run the commands such as changing the system configs, managing the system process, and also to install the software on the system.
Why Update the Sudo Version on Linux?
On Linux OS, keeping the version of sudo up to date can be useful to ensure that the system is secure and up to date. As many of the administrative tasks are performed by the sudo command, keeping it updated is a crucial task. Below are some of the specified reasons for updating the sudo version on Linux.
- Security: Newer versions of
sudo often include important security updates that patch vulnerabilities or address security issues. Keeping sudo up to date helps protect your system from potential exploits and security breaches.
- Bug Fixes: Updates also include bug fixes that can improve the reliability and stability of
sudo. These fixes can prevent crashes or other unexpected behavior.
- Compatibility: As the Linux ecosystem evolves, it’s essential to keep
sudo updated to ensure it works seamlessly with other software components, libraries, and system updates.
- Features: Newer versions
sudo may introduce new features, enhancements, and improvements in user access control, which can be beneficial for system administrators.
How to Update the sudo Version on Linux?
To update the sudo version on Linux, we have different methods that will help us to properly upgrade the sudo utility version on the system. Below is the list of methods that will be helpful to update the sudo version on Linux.
- Method 1: Using APT Package Manager
- Method 2: Using Synaptic Package Manager
- Method 3: Building From Source
So, we will update the sudo version on Linux by using the above-listed methods:
Method 1: Using APT Package Manager
In this method, we will be updating the sudo version on Linux using the default APT Package Manager. So follow the below-listed steps to update the sudo version without encountering any errors.
Step 1: Initially, we need to launch the terminal window on our Linux System. So to launch the Linux window, we need to launch it through the All applications or by pressing the shortcut “Ctrl + Alt + T“.
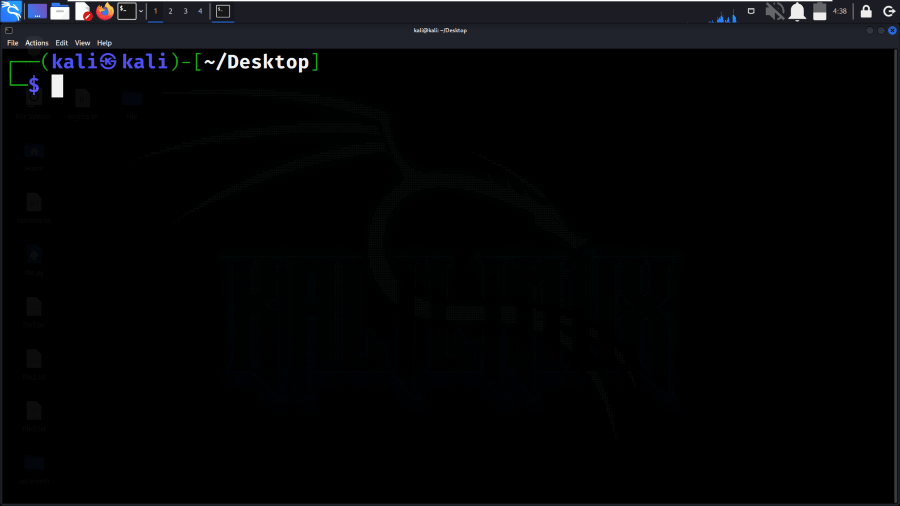
Opening Terminal
Step 2: Once the terminal gets launched, we need to update the package list by executing the below command:
sudo apt update
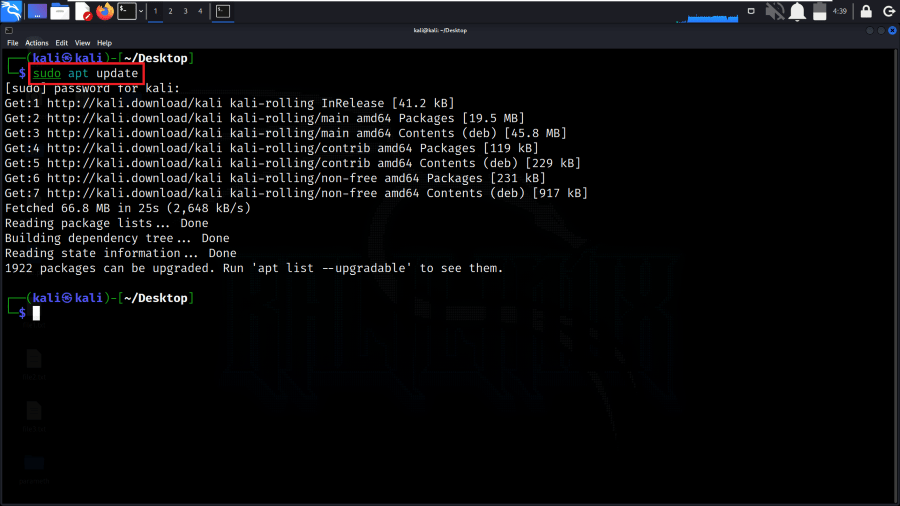
Updating System
Step 3: Now, we need to upgrade the sudo package to the latest available version. We need to execute the below command with the help of the apt manager to update the sudo version.
sudo apt install --only-upgrade sudo
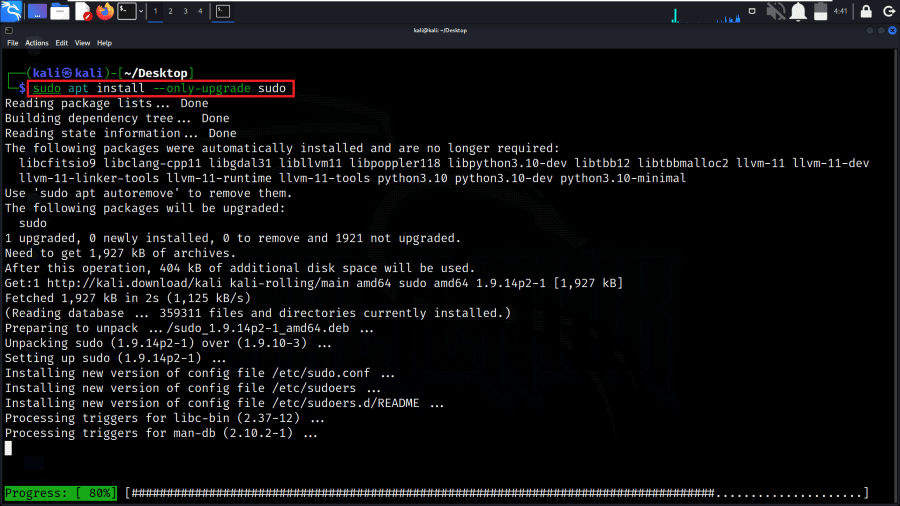
Updating Sudo Latest Version
Step 4: After upgrade of sudo, we need to check the latest version of the sudo by executing the below command in the Linux terminal
sudo -V
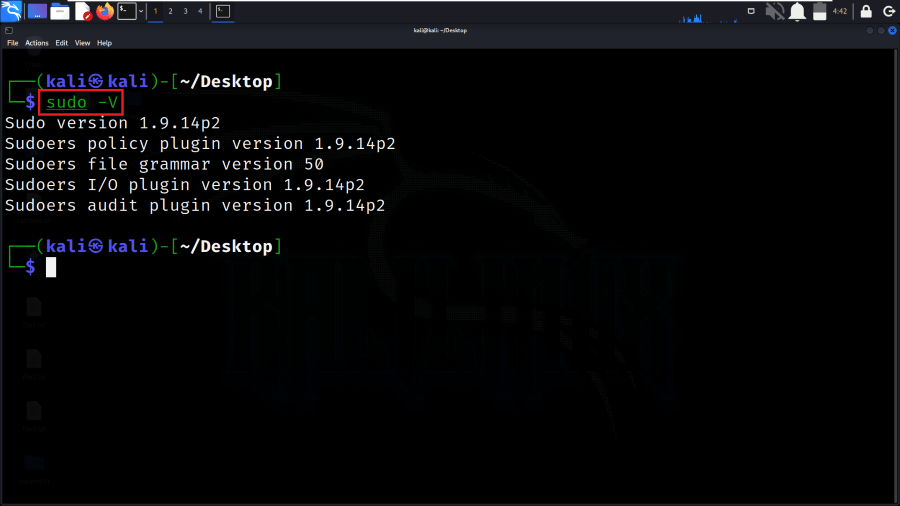
Updating Sudo Latest Version
Method 2: Using Synaptic Package Manager
In this method, we will be updating the sudo version on Linux using the Synaptic Package Manager. This will provide a more efficient upgrade of the sudo version. So follow the below steps to update the sudo version using the Synaptic Package Manager.
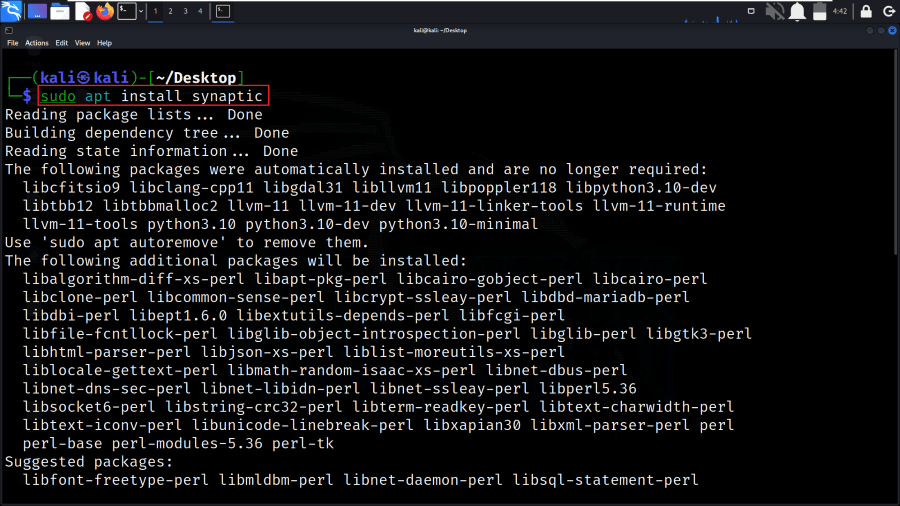
Step 1: First, we need to install the Synaptic Package manage on our system by executing the command stated below.
sudo apt update
sudo apt install synaptic
Installing Synaptic Package Manager
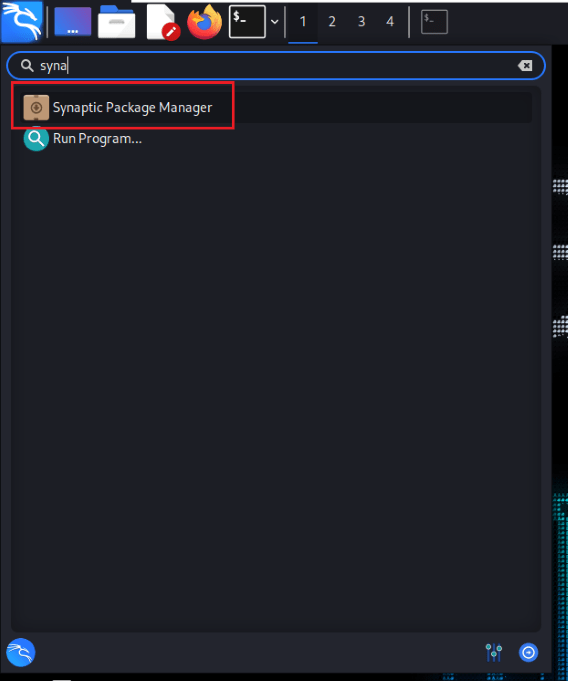
Step 2: Once the Package Manager gets installed, we need to launch the manager by navigating to the Applications menu and searching for Synaptic Package Manager.
Launching Synaptic Package Manager
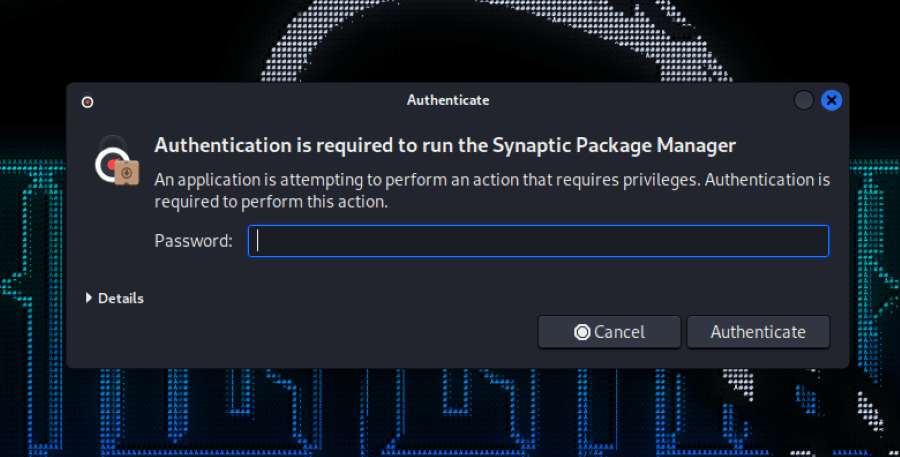
Step 3: While launching the Package Manager, we need to enter our system password to run it with the superuser privileges.
Entering Password
Step 4: After successful launching of the Manage, we have to search for the “sudo” keyword in the search box as stated in the below screenshot.
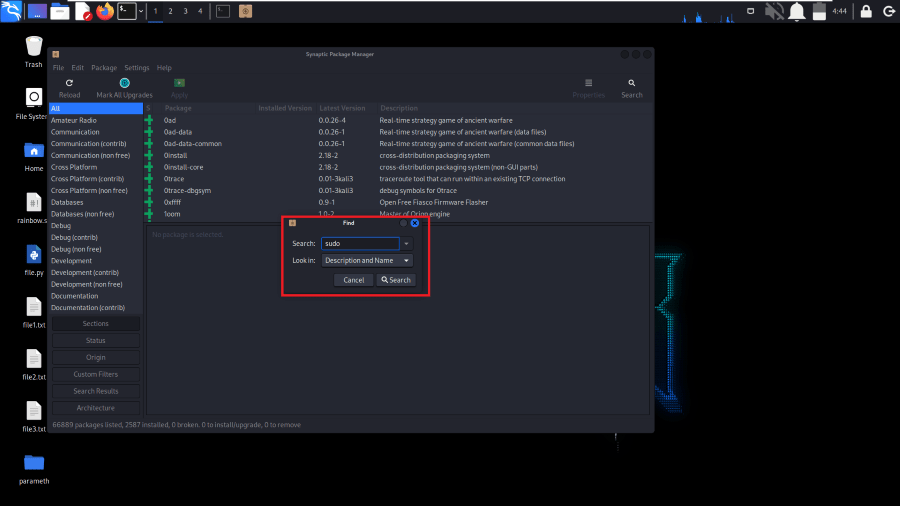
Searching sudo package
Step 5: Once the result appears, Right-click on the sudo package in the list, and from the context menu, select “Mark for Upgrade.“
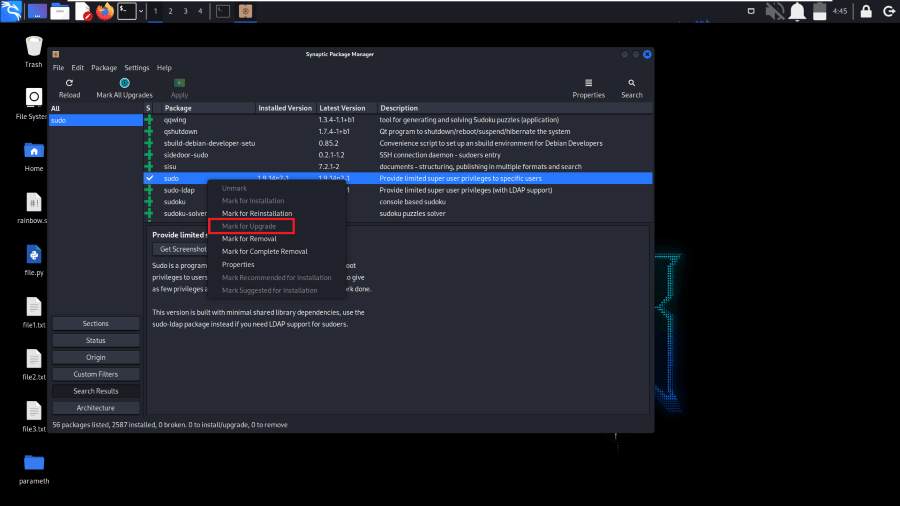
Selecting Mark for Upgrade
Step 6: After marking the package for an upgrade, click on the “Apply” button, usually located in the toolbar at the top of the Synaptic window. Synaptic will show you a summary of the changes to be made. Review them to ensure that only the sudo package is being upgraded. If everything looks good, click the “Apply” button to proceed.
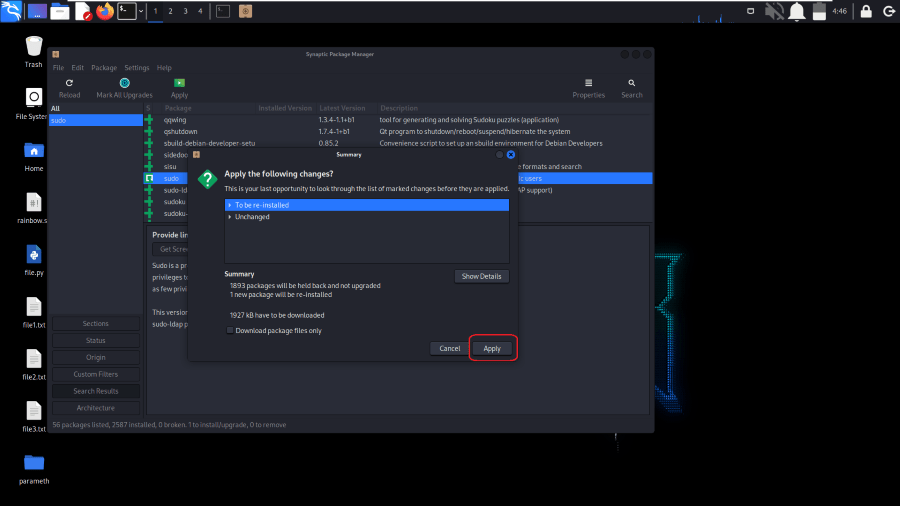
Applying Changes
Step 7: Synaptic will download and install the updated sudo package. Once the upgrade is complete, we can close Synaptic Package Manager.
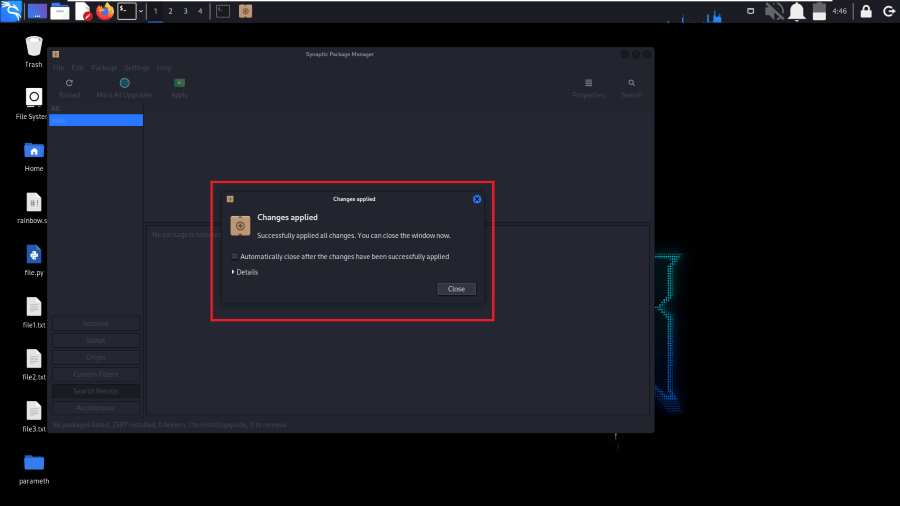
Closing Package Manager
Step 8: After upgrade of sudo, we need to check the latest version of the sudo by executing the below command in the Linux terminal
sudo -V
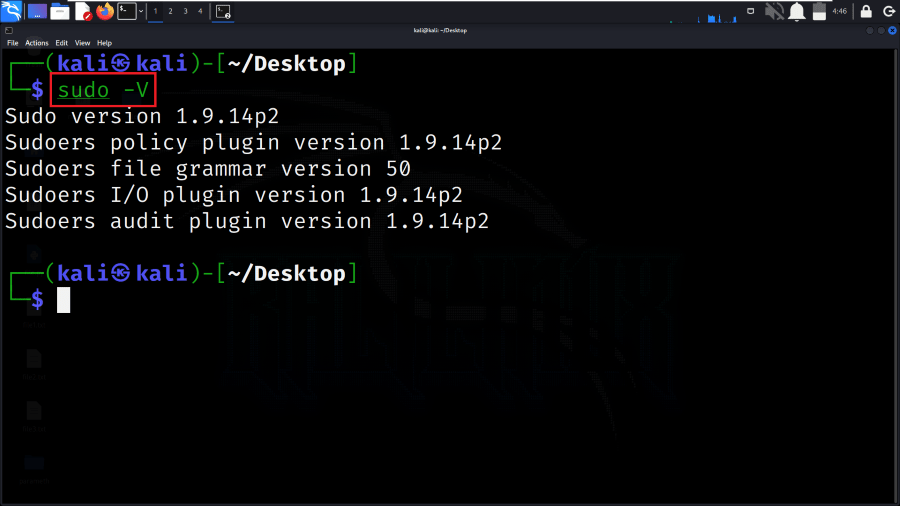
Checking Sudo Version
Method 3: Building From Source
In this method, we will be building the sudo from the source. This is the advanced method as all the process is done from scratch. So follow the below method to update the sudo by building it from the source.
Step 1: First, we need to install all the build tools and dependencies like “gcc“, “make” and some other development libraries. So to install those dependencies we can execute the below command on our system.
sudo apt update
sudo apt install build-essential
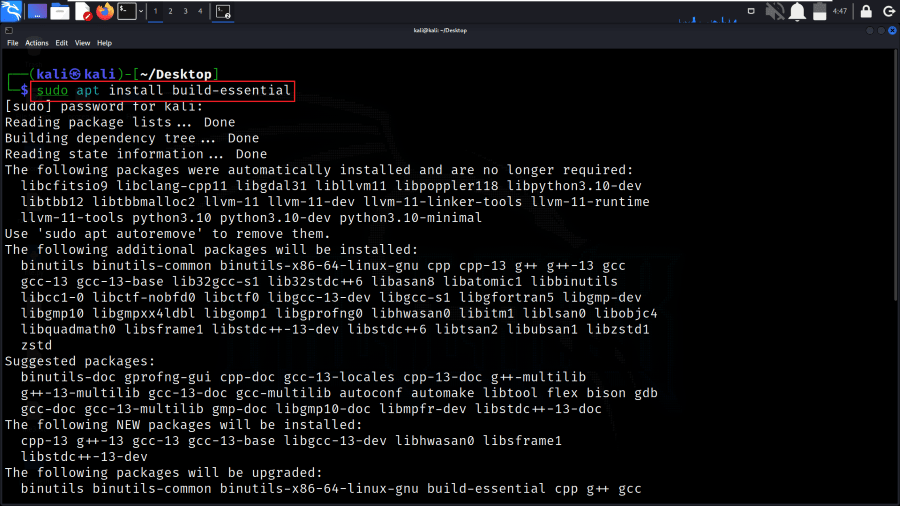
Installing Build Dependencies
Step 2: Once the dependencies are installed, we need to get the source code of sudo from the official website. So, we will get the code using the wget command in Linux.
wget https://www.sudo.ws/dist/sudo-1.9.14p3.tar.gz
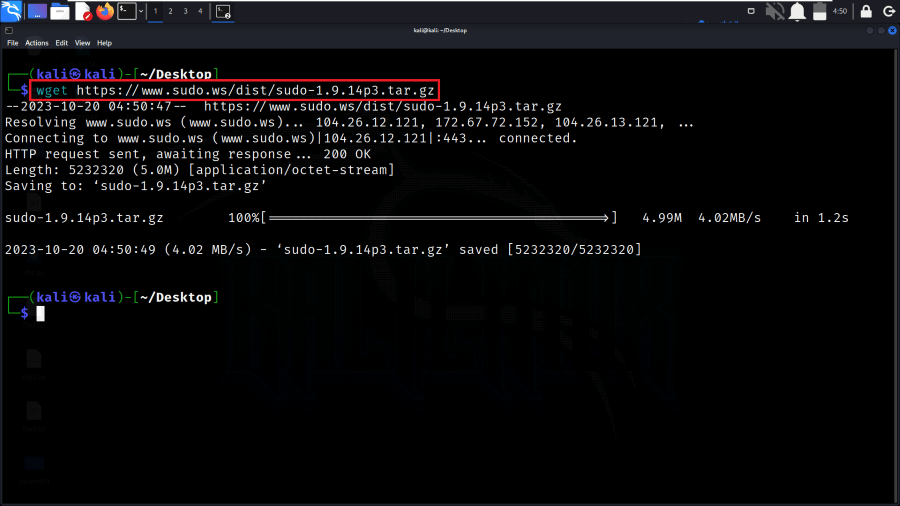
Downloading sudo Source Code
Step 3: Once the code is been downloaded, we need to navigate to the directory and extract the code using the tar command in the Linux OS.
tar -xzvf sudo-1.9.14p3.tar.gz
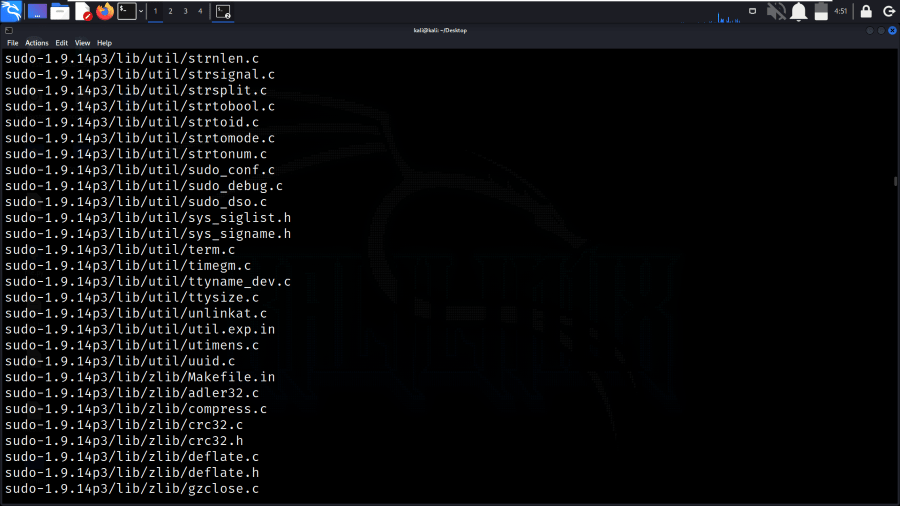
Extracting Source Code
Step 4: Then we need to navigate to the extracted sudo source directory and configure the build. We need to execute the below command to configure the build.
cd sudo-1.9.14p3
./configure
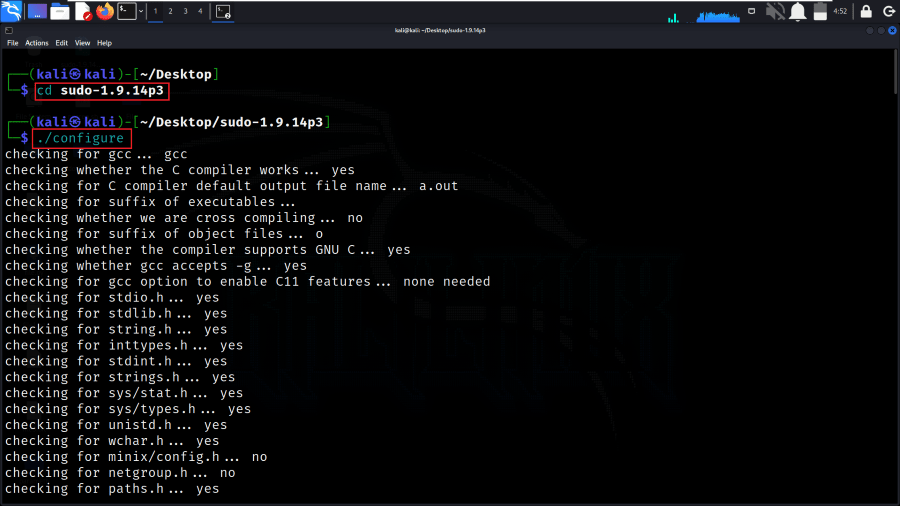
Configuring the Build
Step 5: After configuring, you can compile sudo by running the make command:
make
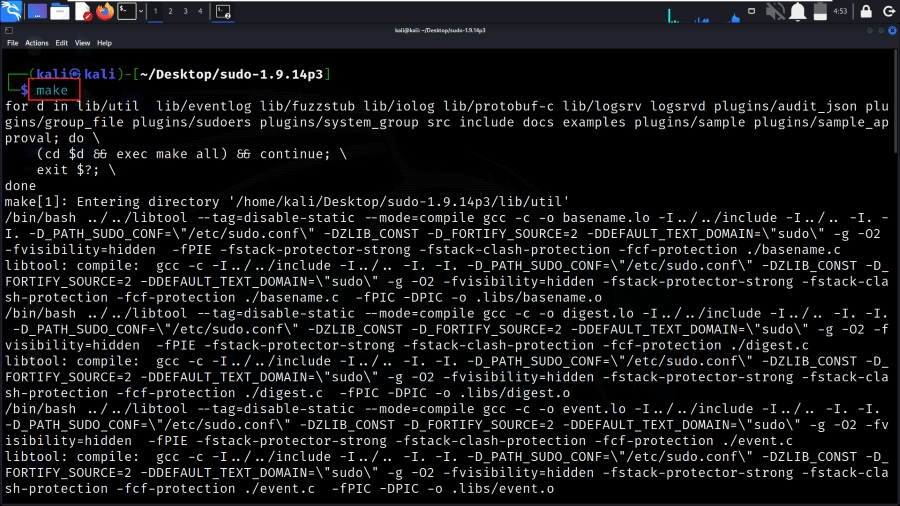
Compiling Sudo
Step 6: Once the compilation is complete, we can install the new sudo by executing the below command.
sudo make install
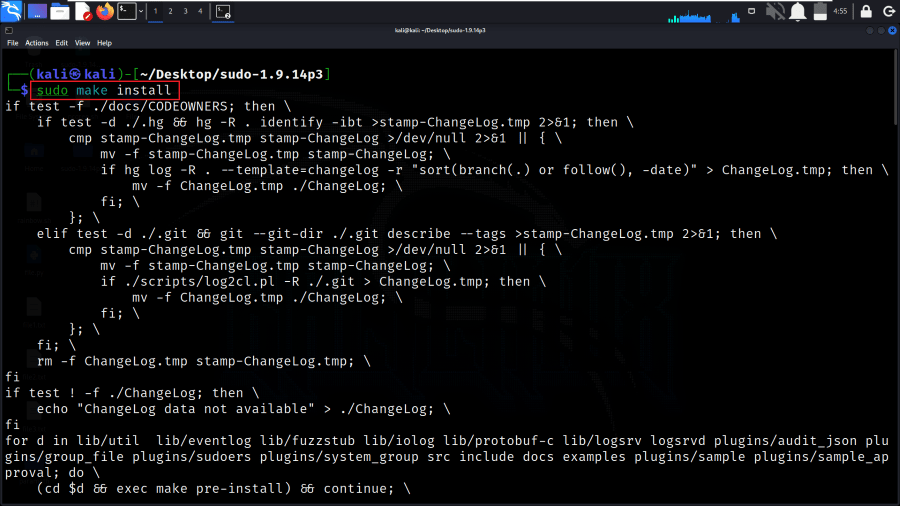
Installing new sudo
Step 7: After the latest installation of sudo, we need to check the latest version of the sudo by executing the below command in the Linux terminal
sudo -V
Checking Sudo Version
Conclusion
In conclusion, updating the sudo package on a Linux system is an important task that enhances security, ensures compatibility with evolving software environments, and incorporates important bug fixes and features. Utilizing package managers like APT or graphical tools such as Synaptic simplifies the process for most users, while advanced users can consider manual source code compilation. Regularly maintaining sudo is pivotal to safeguarding system integrity and access control, providing a robust defense against security vulnerabilities, and ensuring that the sudoers’ policy remains effective and reliable.
Share your thoughts in the comments
Please Login to comment...